

Het beheersen van vuur op budgetvriendelijke offset smokers: een professioneel overzicht
Offset smokers are considered the pinnacle of traditional barbecue, providing rich flavours unattainable with pellet grills or electric smokers. Unfortunately, professional pits often cost thousands of dollars; therefore, many enthusiasts opt for budget-conscious thin-gauge offset smokers as an entry point into this form of cooking.
Though budget offset smokers can sometimes experience temperature swings and heat loss, achieving champion-level barbecue is entirely possible through technical modifications and efficient fire management. This guide offers an objective, step-by-step framework for mastering such units.
Inhoudsopgave
Deel 1. Understanding Thin-Gauge Metals
Budget offset smokers face the challenge of insufficient thermal mass. Thick gauge steel (1/4″ or thicker) acts like an energy storage battery by absorbing and stabilising heat; conversely, thin metal smokers tend to be highly vulnerable against external influences like external air temperatures or other sources that change during smoking sessions.
- Rapid Heat Loss: Thin walls radiate heat back out almost as fast as it’s produced, sending heat waves through the room in almost equal measure to its source – in this instance, a fire.
- Sensitivity to Fuel: Because fireboxes have limited thermal storage capacity, their temperatures change quickly depending on the current state of the firebox.
- Draft Requirement: Efficient combustion requires a strong vacuum effect (draft), drawing oxygen in through the intake while pushing clean smoke out through the exhaust pipes, and preventing creosote buildup. Adherence to this flow pattern is crucial in order to avoid creosote buildup and ensure safe combustion conditions.
Deel 2. Essential Equipment Modifications for Precision
To bridge the gap between a budget unit and a professional pit, certain hardware upgrades are recommended:
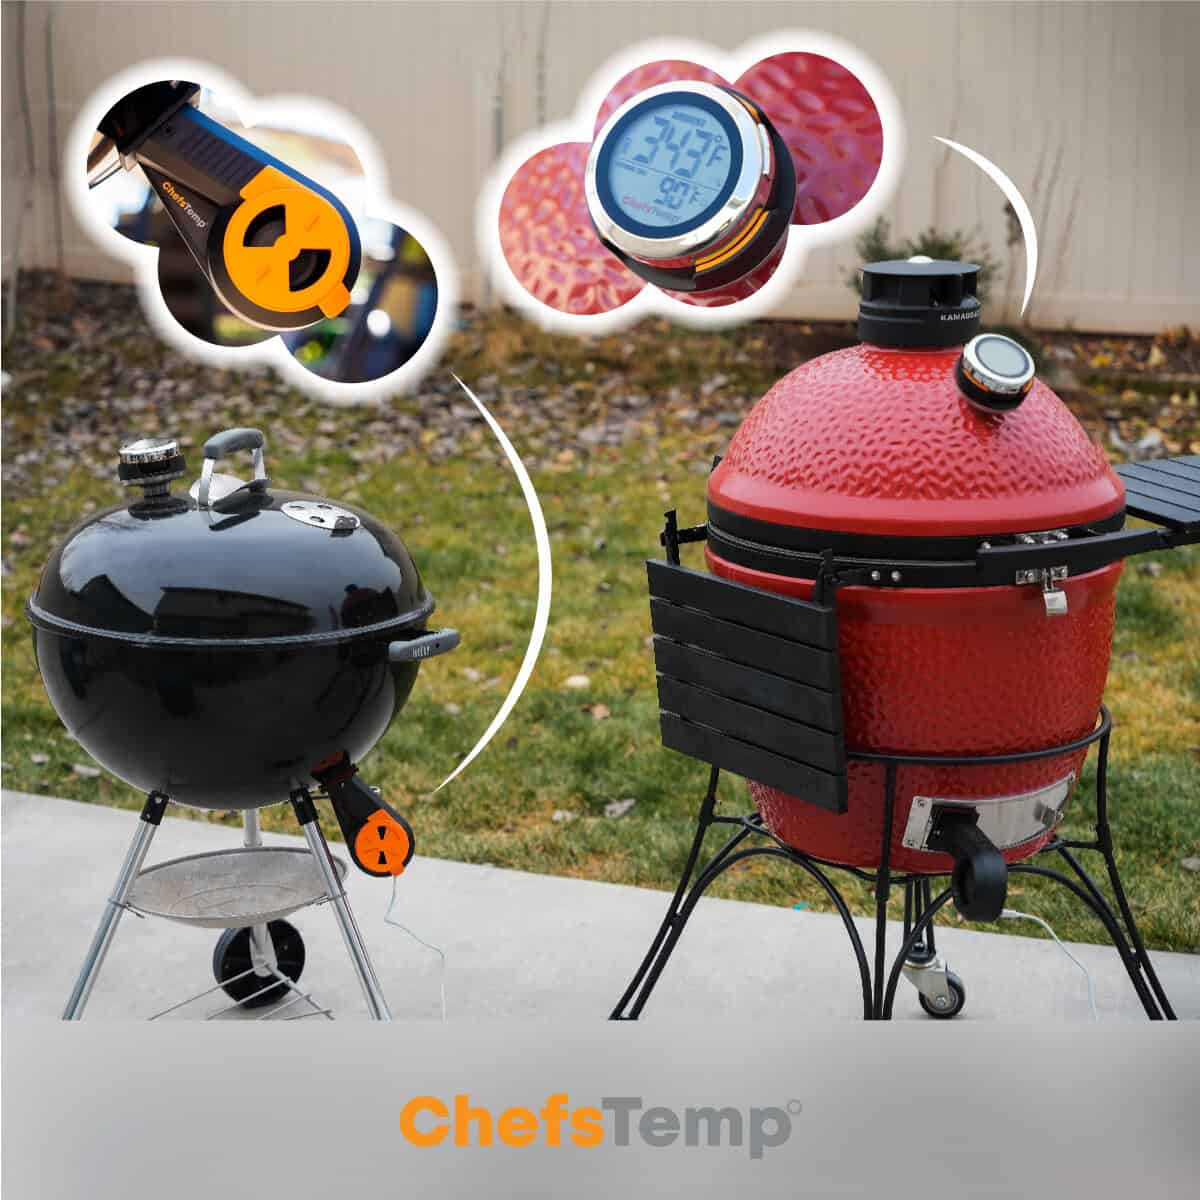
- Digital Grate-Level Monitoring: Factory-installed analogue thermometers are often inaccurate by up to 50°F. A high-precision digital probe (such as the S1 of Smoke X4) should be placed directly at the grate level, next to the meat, to monitor actual cooking conditions.
- Forced Induction (Fan Blower Systems): Systems like the Breezo of S1 automate airflow. By attaching a fan to the firebox intake, the smoker maintains an oxygen-rich coal bed even when natural drafting is weak.
- Sealing and Insulation: Using high-temperature gaskets or furnace tape around the firebox and cook chamber doors minimises “leaking” air, ensuring that the fan-controlled intake remains the primary driver of combustion.
Deel 3. Fuel Selection and Preparation
The quality of the fire depends entirely on the preparation of the fuel.
Charcoal as a Heat Base
Lump charcoal is the preferred base for budget smokers. Unlike briquettes, lump charcoal contains no fillers or binders, burning hotter and cleaner. It serves as the “thermal engine” of the pit, maintaining the coal bed that ignites the wood.
Sizing and Splitting Wood
Using oversized logs in a small firebox is a common error. Wood should be split into “mini-splits” (approximately 1–2 inches in diameter). Small pieces ignite more quickly and burn at higher temperatures, ensuring the fire stays in the oxidation zone for cleaner smoke.
The Preheating Technique
Adding cold wood to a firebox causes a temporary drop in temperature and a burst of “dirty” white smoke. To mitigate this, place the next wood split on top of the firebox or inside the cook chamber (away from the flame) to preheat the chamber. Preheated wood ignites instantly upon contact with the coal bed, maintaining a steady temperature curve.
Deel 4. The Fire Management Workflow
Success on a thin-metal smoker requires proactive rather than reactive management.
Starting the Fire
Step 1. Light a chimney of lump charcoal until it is covered in white ash.
Step 2. Pour the coals into the firebox and add two small wood splits.
Step 3. Keep the firebox and cook chamber doors open initially to allow the metal to heat up and the fire to establish an open flame.
Step 4. Once the metal is hot and the wood is burning cleanly (Thin Blue Smoke), close the doors to begin the drafting process.
Tip: Klik hier voor meer informatie over Hoe upgrades van thermometers geld besparen door minder houtskoolafval te produceren Indien interesse.
Managing the Temperature Curve
Barbecue temperatures move on a curve. If the target temperature is 250°F to 275°F, do not wait for the temperature to drop below 250°F before adding fuel. Add a preheated split when the temperature hits 255°F on its way down. This allows the new fuel to ignite and catch the curve before it bottoms out.
Maintaining the Coal Bed
In small units, wood alone may not produce enough ash to sustain a sufficient coal bed. Periodically add unlit lump charcoal to the firebox. While this may produce a brief period of heavier smoke, leaving the firebox door open for 30–60 seconds will help the new charcoal ignite cleanly without affecting the meat’s flavour.
Deel 5. Visual Audit of Smoke Quality
Visual cues can serve as accurate indicators of fire health:
- Thin Blue Smoke (TBS): It is considered the gold standard, indicating complete combustion and optimal flavour.
- Thick White/Grey Smoke: Indicates a “choked” fire or incomplete combustion. This smoke contains creosote, which imparts a bitter, acrid taste. If white smoke appears, increase oxygen immediately by opening the intake vents or the firebox door.
Deel 6. Meat Preparation and Cooking Tactics
Beyond the fire, the way the meat is handled impacts the final result:
- Trimming for Airflow: Square off the meat (such as ribs) to ensure uniform airflow around the product. Save trimmings for sausage or ground meat to minimise waste.
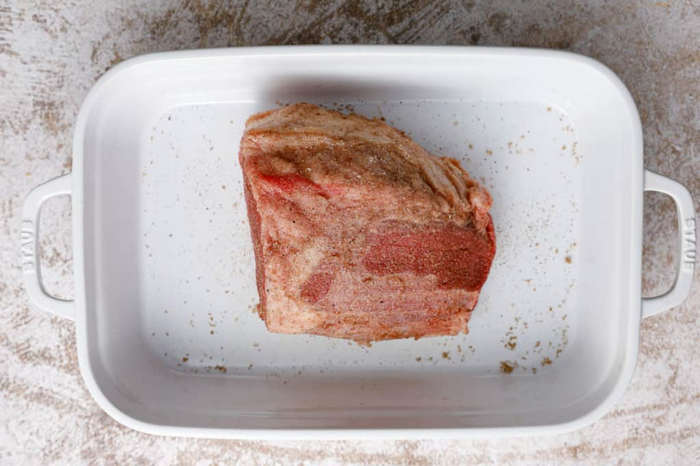
- Binder and Rub Application: Use a light binder (e.g., hot sauce or mustard) to help the seasoning adhere. In small smokers, avoid overly thick coatings that might block smoke penetration.
- The Spritz: Given the high airflow in offset smokers, meat can dry out. Spritzing with a liquid (apple juice, water, or cider vinegar) after the bark has set (usually 1.5–2 hours in) helps maintain surface moisture and attracts smoke particulates.
Tip: Klik hier voor meer informatie over grilling sausage temperature Indien interesse.
Deel 7. Post-Cook Protocol
To maintain the longevity of a budget smoker and ensure safety:
- Avoid Smothering: Do not attempt to extinguish the fire by closing all vents. This traps soot and creosote inside the unit.
- Oxygenated Burn-Out: Open all vents and doors after removing the meat. Allow the fire to burn itself out completely. This results in fine ash that is easy to clean the following day and prevents the growth of mould or rust inside the chamber.
Conclusion: Skill vs. Equipment
Mastering an economical offset smoker is a rewarding challenge for any pitmaster, given the limited insulation and thermal mass it demands. Operating these budget-minded units without protection, such as insulation, requires greater knowledge of fire physics, airflow management, proactive strategies, and general fire safety principles than their more costly counterparts do. While more costly models offer convenience over budget models, applying basic principles can produce professional-grade barbecue that rivals any high-end establishment!
Ontdek andere ChefsTemp-producten


Ontdek meer recepten en leer keukentrucs door lid te worden van onze kookcommunity op Facebook.
Dit vind je misschien ook interessant:


