Perfectly Juicy Whole Roast Chicken – Brine it, Roast it, Temp it
Executive Chef–Stewart Lane
A good roast chicken is one of the great joys in life. Many of the greatest chefs and restaurateurs around the world claim that a roast chicken would be their choice for a last meal. Yet with simplicity comes challenges. Getting both; tender and juicy meat with crispy golden-brown skin, can be difficult feat to achieve. With a few simple steps, and some patience, you can make the most delectable and juicy roast chicken right in your own home.
BRINE, DRY OR WET?
A brine is, at its core, a salt solution. Salt works to break down the proteins in muscle fibers, preventing them from constricting during cooking and drying out the meat. This is perfect for lean meats such as pork chops, chicken breasts, turkey and even some fish.
This technique is a game changer but has its drawbacks. For a whole chicken extra water is forced into the skin creating a tougher finished texture and not the golden snap we desire. You need space in your refrigerator to keep the bring and meat cold, (below 41 degrees F or 5 C) so you avoid the danger zone of bacterial growth. What are you to do? Is there another way? Welcome to dry brining, a catchy term that means salting your food far in advance of cooking. This technique brings the benefits of traditional brining, without the water-logged loss of flavor that can come with salt solution brines. Dry brining also increases the (the browning process associated with caramelization) and saves space in your refrigerator.
HOW TO DRY BRINE.
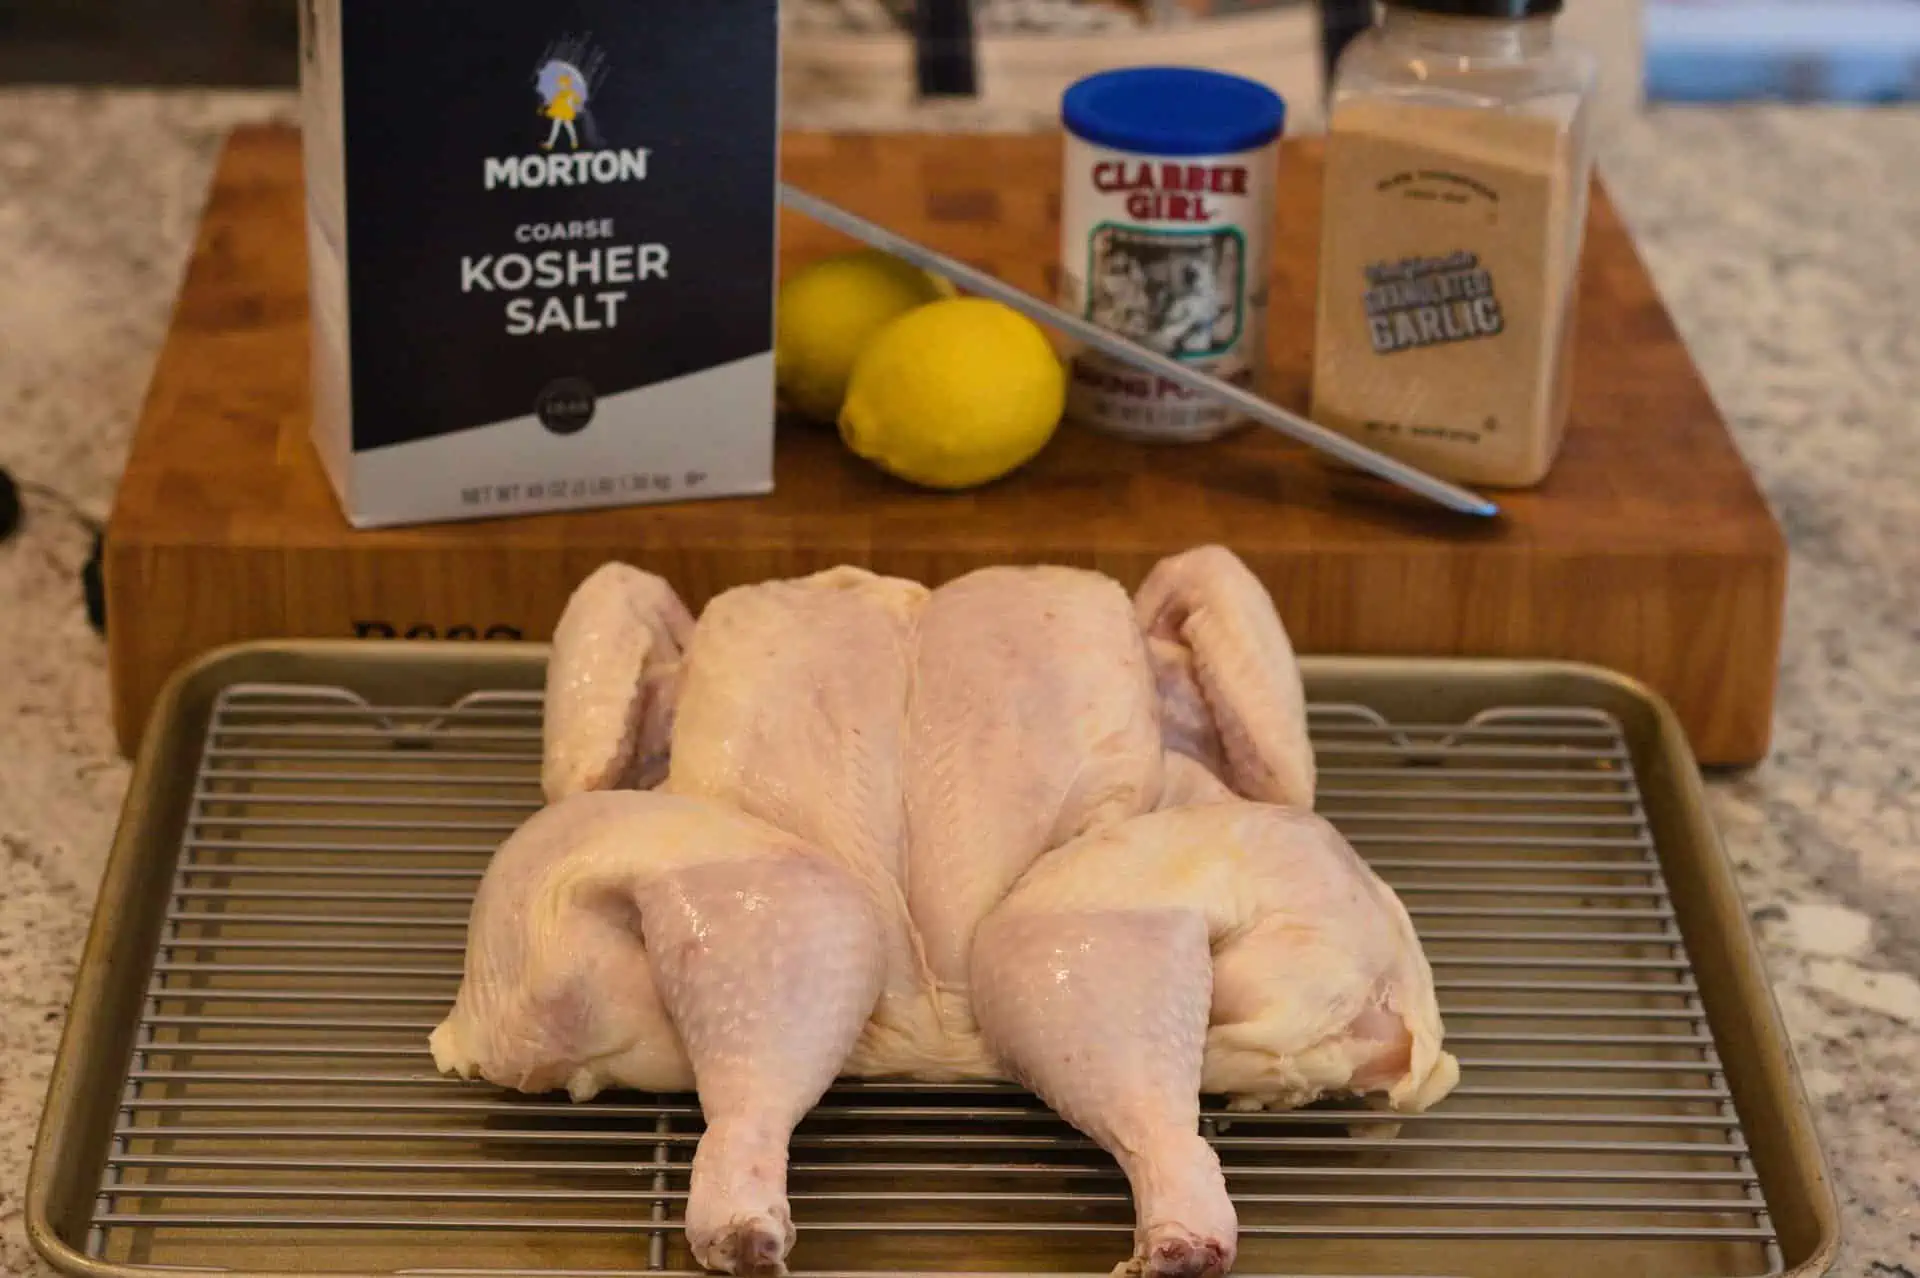
The dry brine can be as simple as plain kosher salt, but where is the fun in that? When I make a dry brine, I like to make a mixture that will impart both flavor as well as help create that beautiful golden-brown skin. I make a mixture of kosher salt, baking powder, lemon zest and granulated garlic. The salt creates the brine, the baking powder breaks down proteins in the skin (creating a crispy skin), and the lemon zest and the granulated garlic bring a punch of bright and savory flavors.
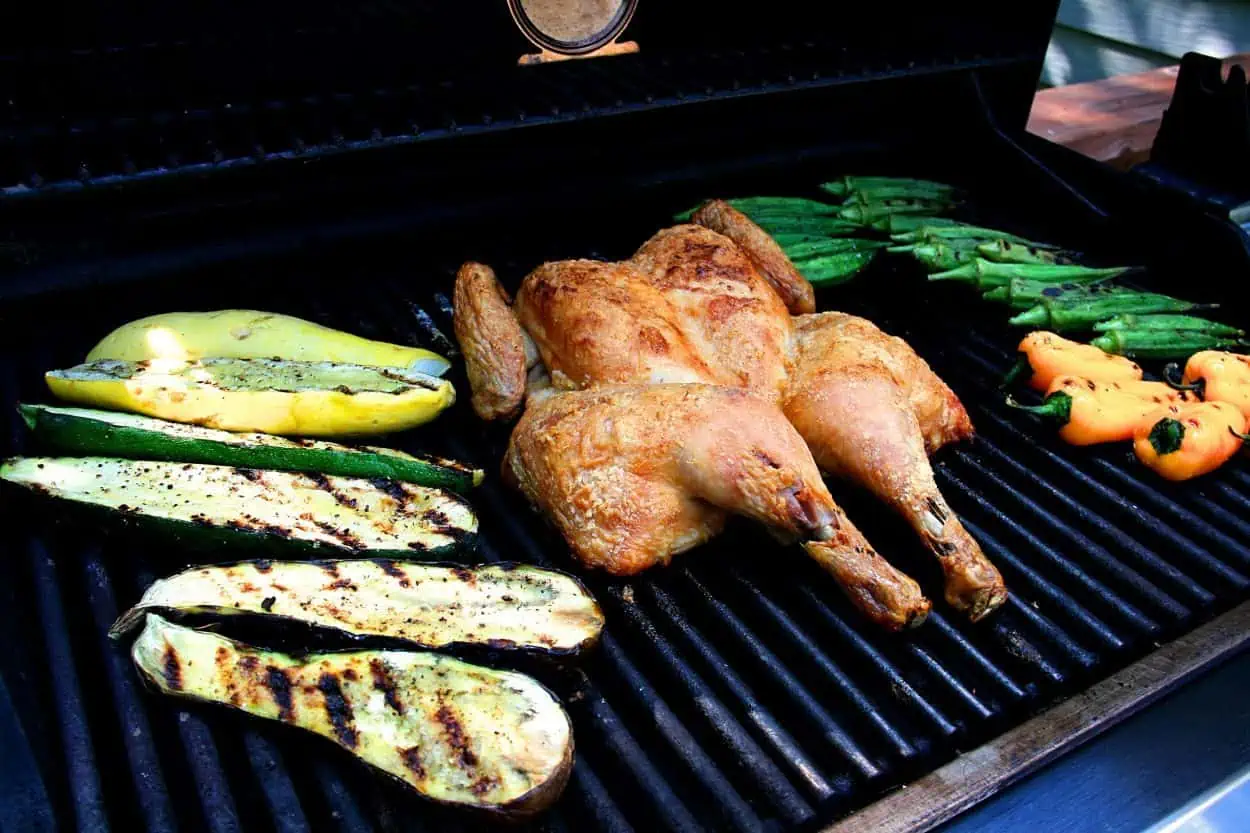
If you are going to roast your chicken on the grill, then butterfly the chicken to provide the greatest surface area and promote even cooking.
.
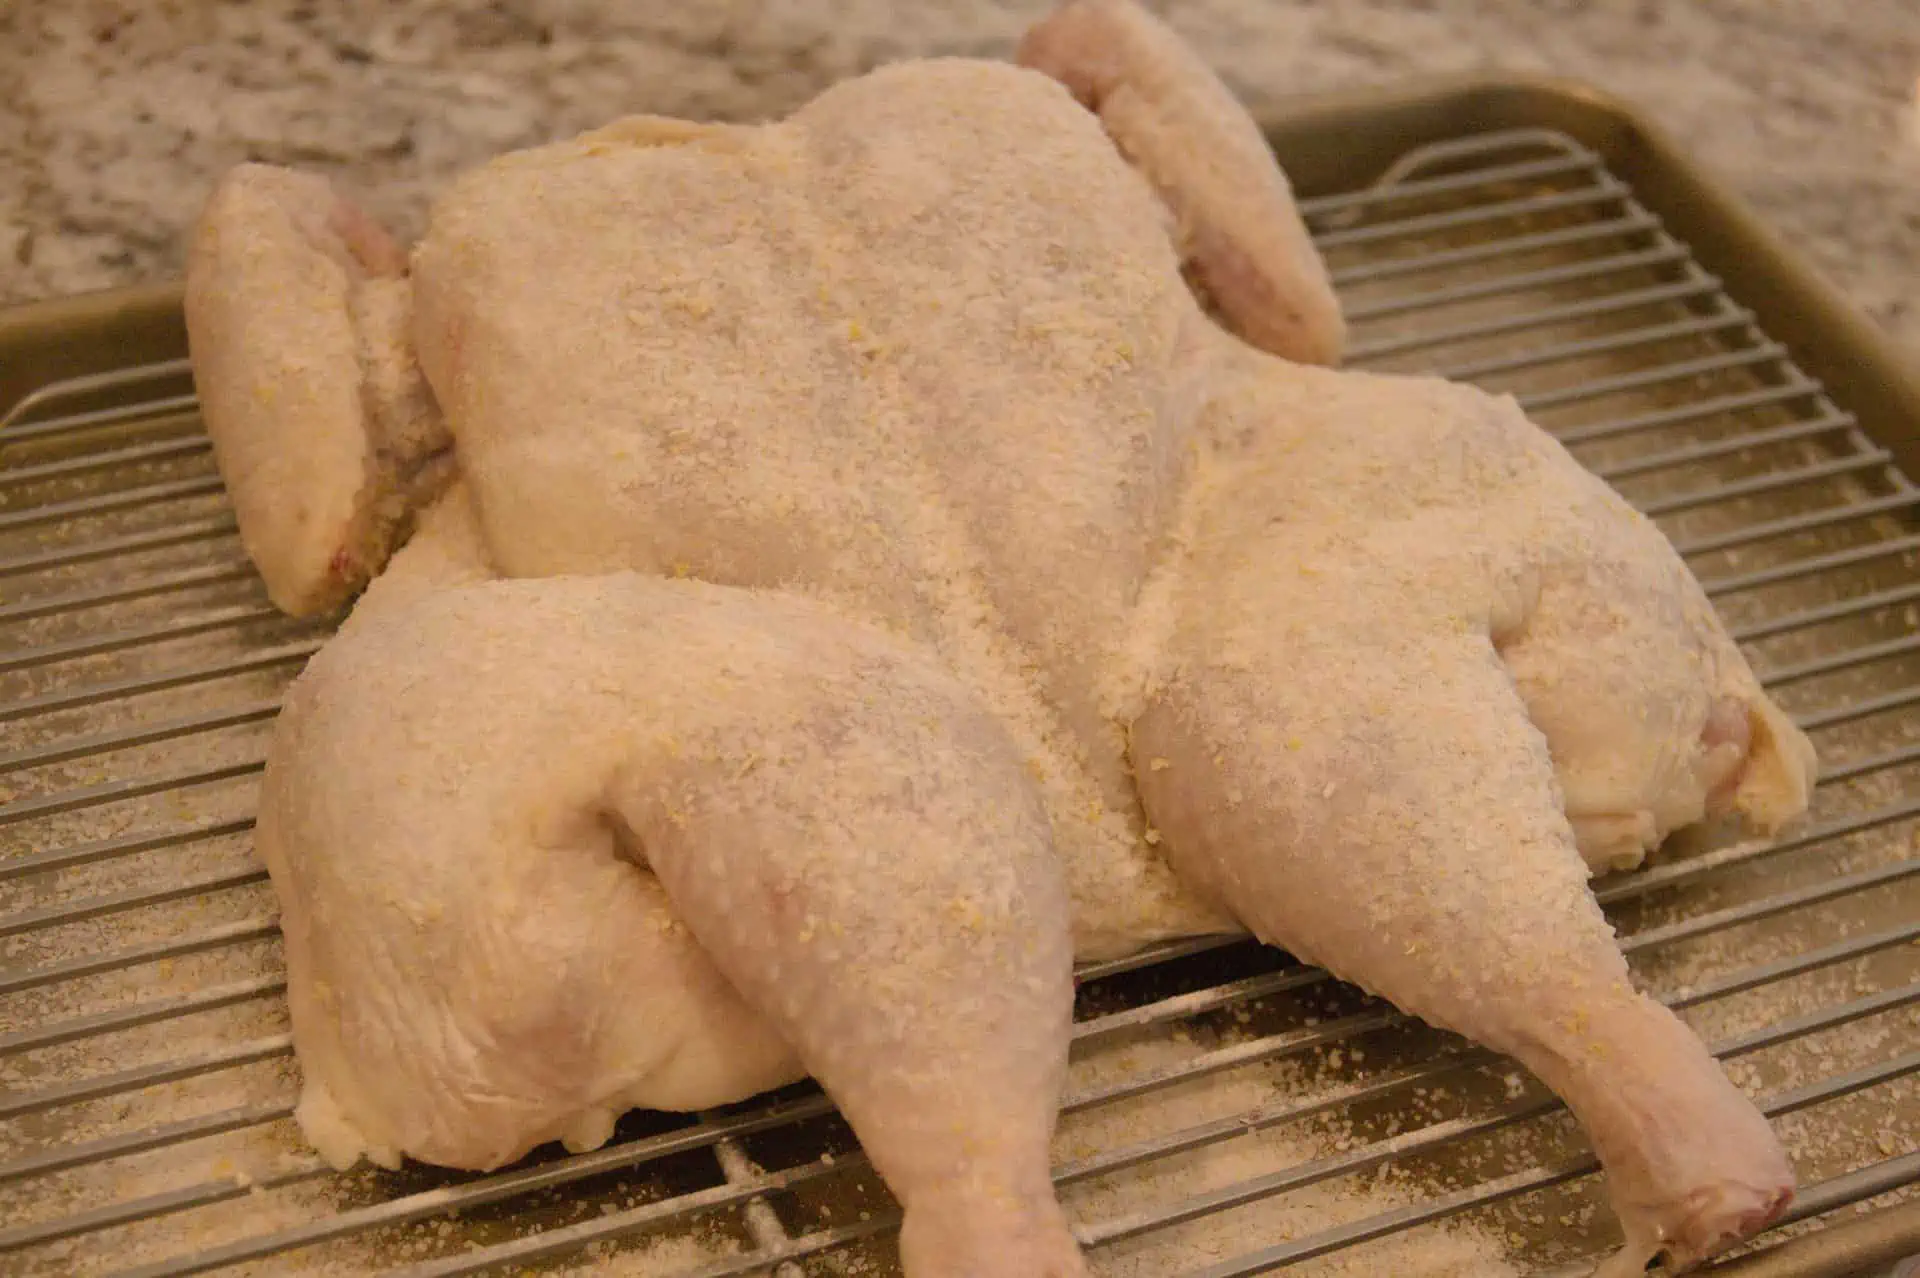
Remove the spine, with either strong kitchen shears or a sharp boning knife. Save the spine for stock since it is full of connective tissue and collagen. Place the chicken on a wire drying rack and press down on the breastbone to flatten slightly. Make your dry brine mixture and liberally season the chicken. This is best achieved by letting the brine sprinkle over the bird from about 7-9 inches above the meat. This will allow even coverage of the brine. Place a piece of plastic wrap over the chicken and set the wire rack on a rimmed baking sheet. Let this rest in your refrigerator overnight, or 24 hours.
ROASTING
There are two ways you can cook this bird, either on the grill or in the oven.
Take the chicken out of the refrigerator, remove the plastic wrap, and drain the rimmed sheet pan. Add some sliced onions, celery, carrots, and some lemon wedges if you would like to the pan then top with the chicken on the rack. Preheat the oven to 450 degrees F (or 232C). Roast on the middle rack, rotating every 15 minutes, till the skin is golden brown and the thermometer inserted into the breast registers 150 degrees F (or 66C) while the thighs register 165 degrees F (or 74C). Carry-over cooking will take the breasts the rest of the way to the USDA recommended final cooking temperature of 165 degrees F (74C).
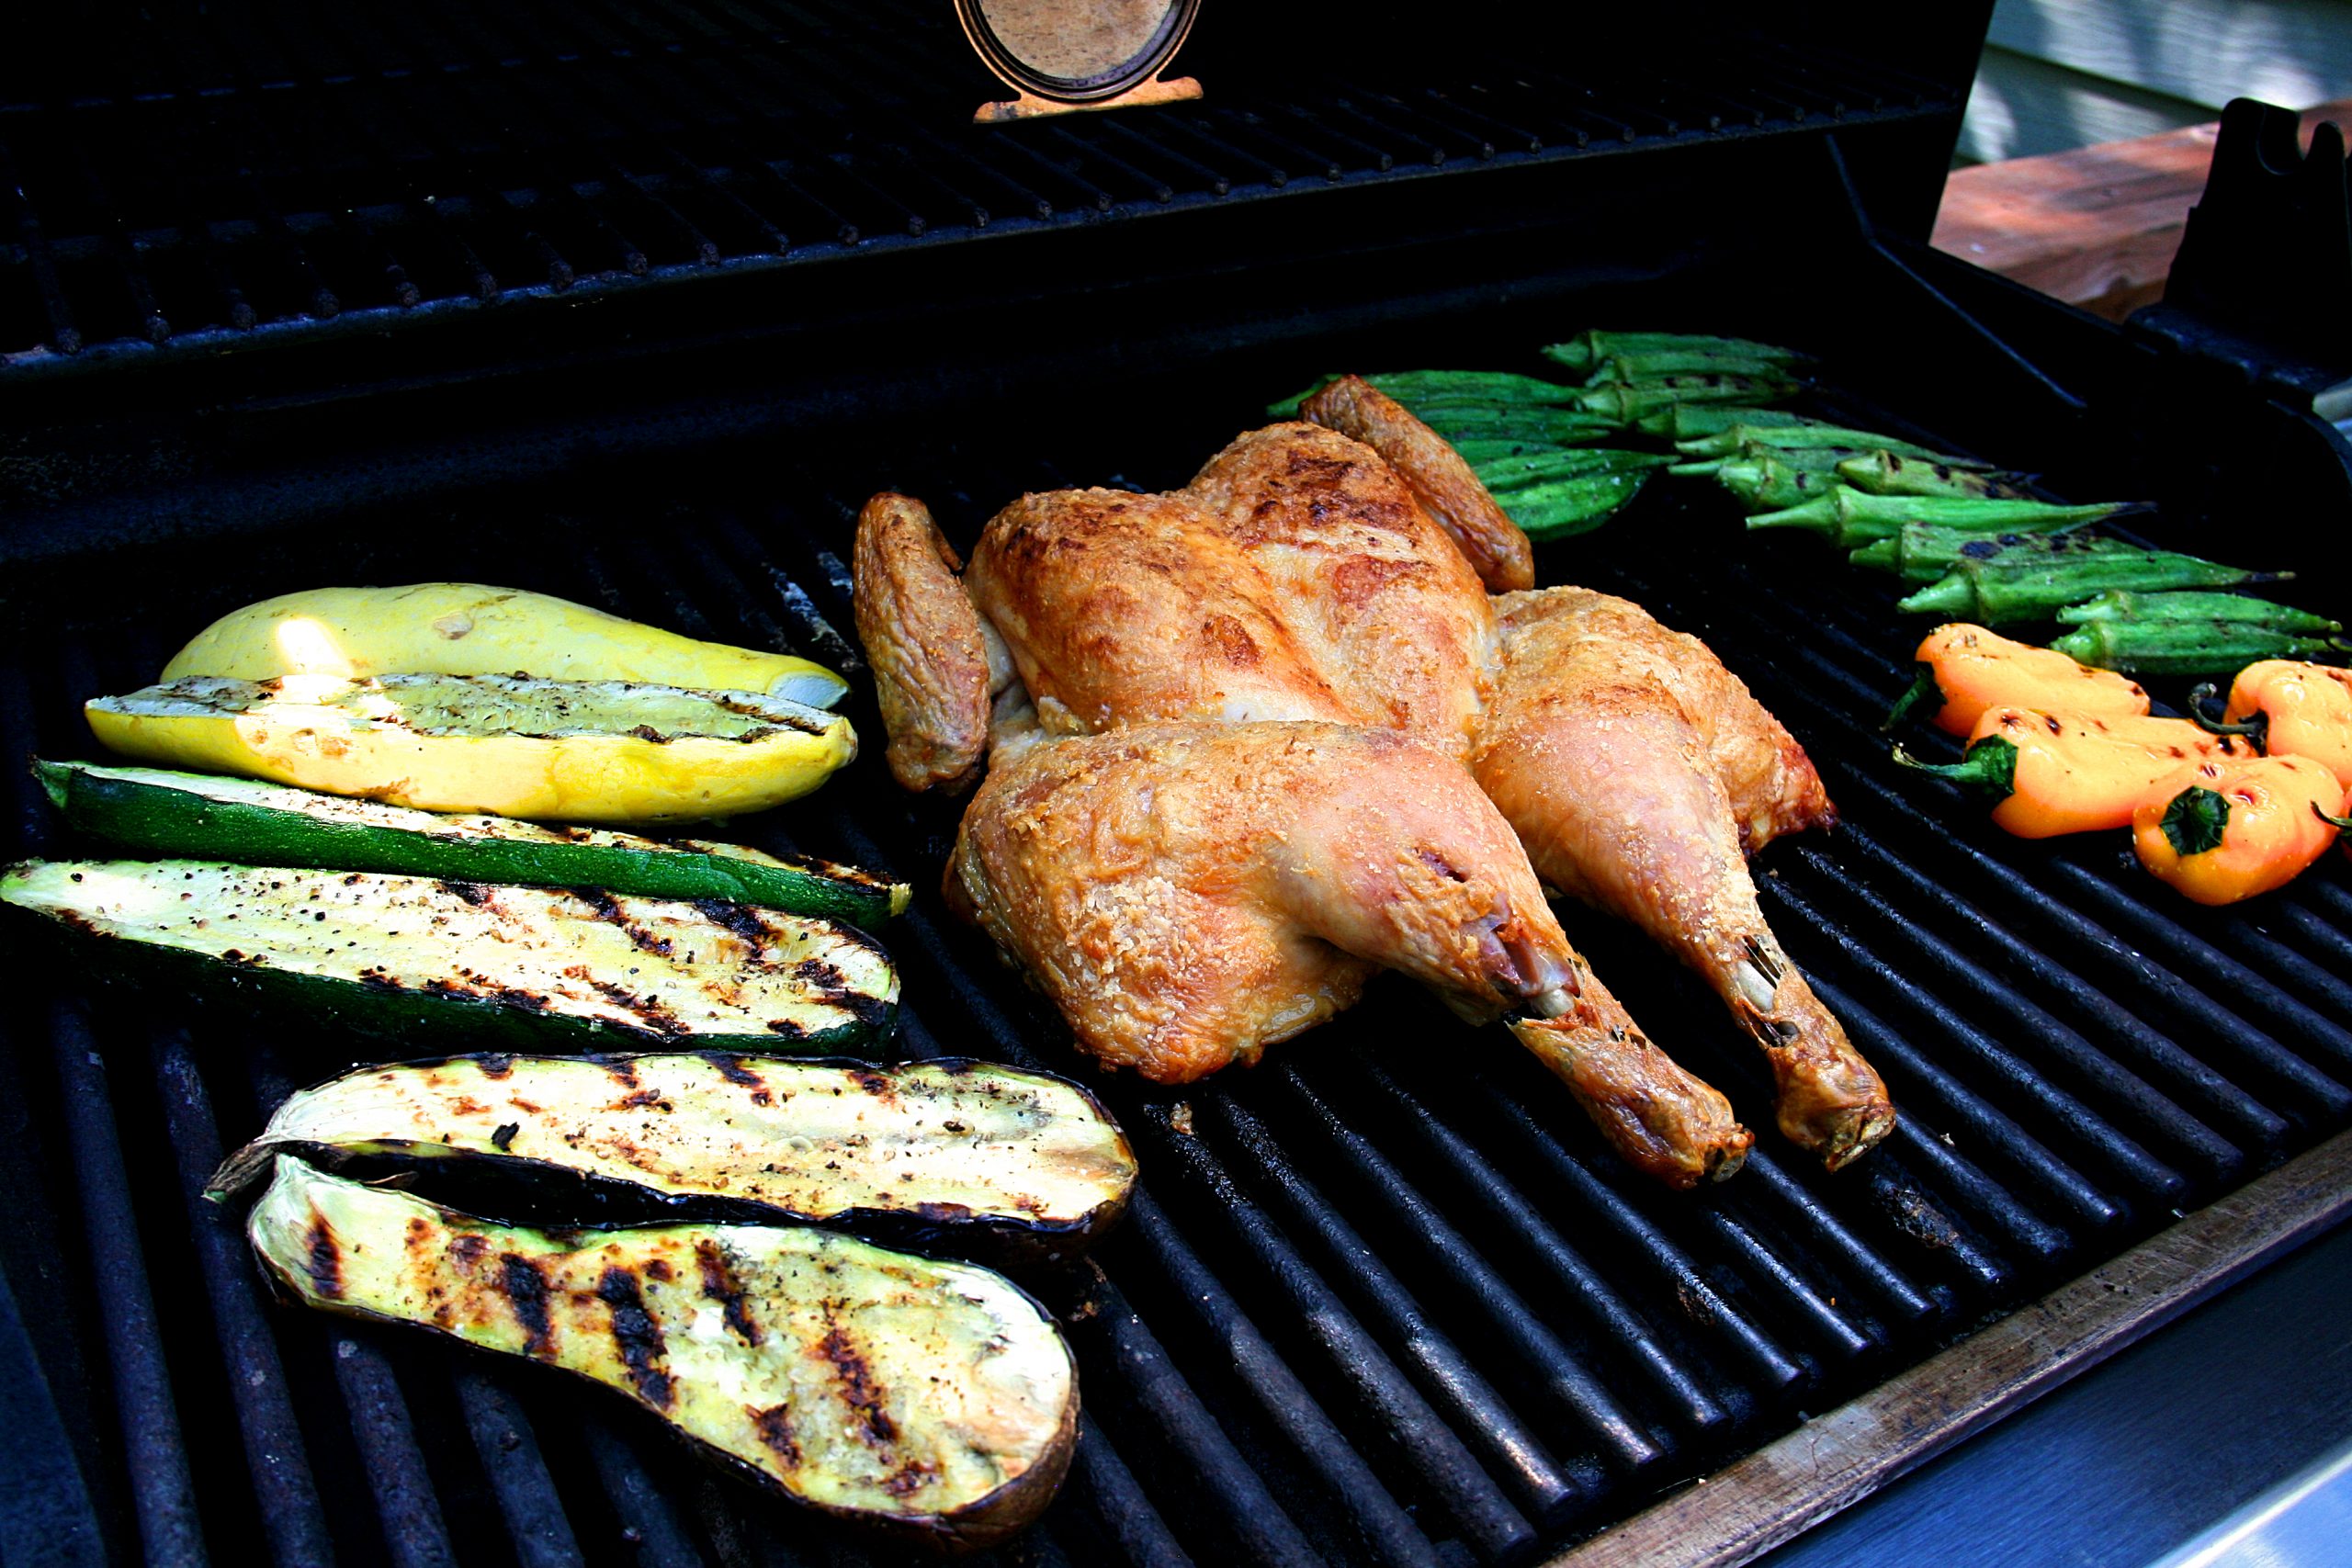
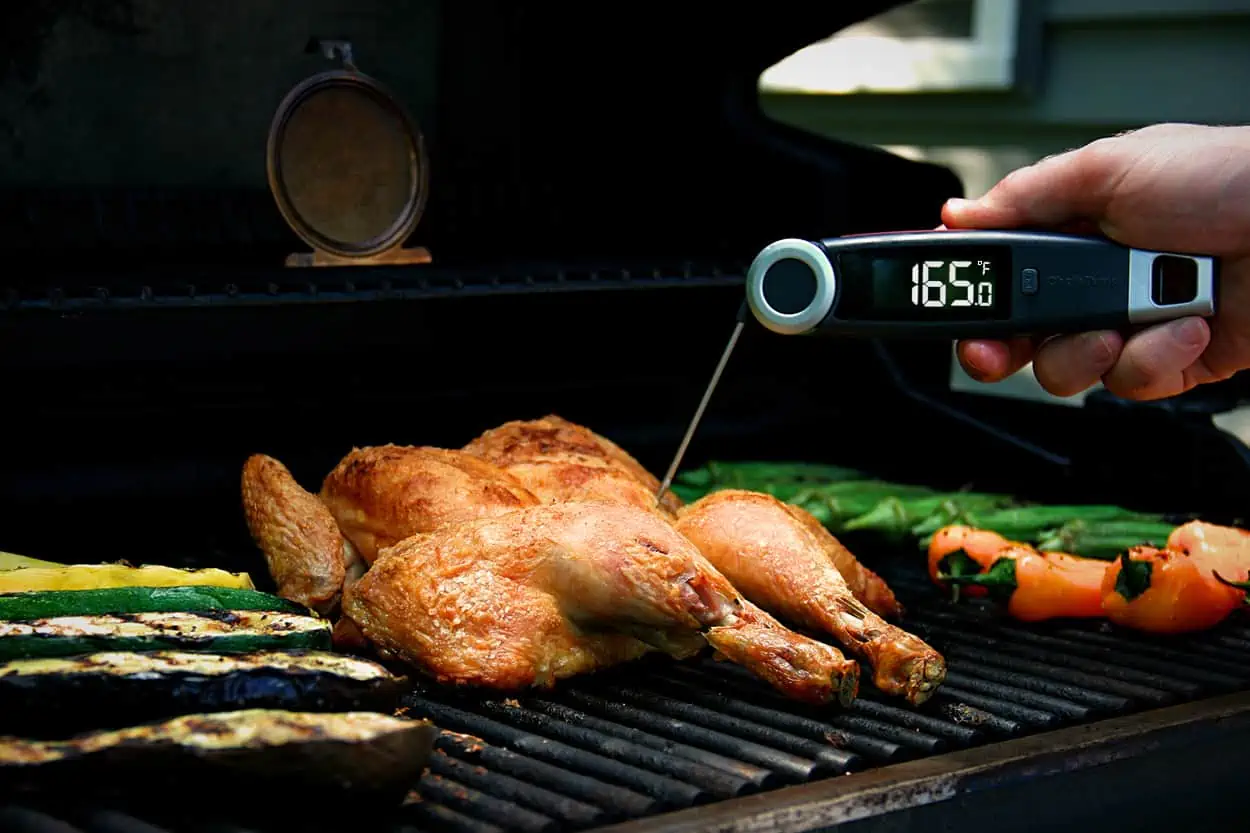
The second method is done on your grill. Preheat the grill to 450 degrees F (232C) then place the chicken on the center of the grill, turning off the burners underneath it. The burner on the sides will produce exceptional indirect heat and create a convection system that will help dry out the skin and make it golden brown and crispy. Rotate your chicken every 20 minutes and remove from the grill when the thermometer inserted into the breast registers 150 degrees F (or 66C) while the thighs register 165 degrees F (or 74C).
HOW DO I USE A THERMOMETER TO ENSURE MY CHICKEN IS COOKED?
When it comes to poultry, food safety is at the upmost importance. You need to make sure that the breast and thighs are cooked to an internal temperature of 165°F (74°C) and the juices run clear from the meat when you remove your thermometer probe. Insert the leave-in probe into the raw chicken breast before cooking, making sure the tip is in the thickest part. Once this probe reaches 155-160°F (68-71°C), inset the probe into the thickest part of the thigh meat, you are looking for an internal temperature of 170-175°F (77-80°C). Do not be surprises if you see a pink hue in the white meat, this could be caused from hemoglobin in the muscles reacting with air during the cooking process.
HOW TO REHEAT BBQ: KEEPING IT JUICY WITH TEMPERATURE CONTROL?
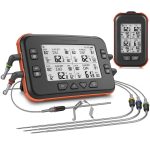
When it comes to reheating BBQ it is important to retain as much moisture as possible during the cooking process. This usually requires reheating in the oven, with making a few adjustments. First thing to consider is does the BBQ have sauce on it or is it grilled or smoked meat? If it is a meat with BBQ sauce, you will want to add additional sauce to your pan, then cover the pan with plastic wrap and then foil, insert an oven thermometer probe, ChesTemp Quad Pro is perfect for this, and then placing it in a 350⁰F oven and monitoring the food until it reaches at least 165℉(73℃) and holds the temperature for at least 15 seconds. If you are reheating grilled or smoked meats without sauce, you will need to add some kind of broth, water, or even beer to the pan and then do the same as with the other, plastic wrap, then foil, with a ChefsTemp Quad Pro probe in the meat to monitor the meat until it reaches 165℉(73℃) for 15 seconds.
TO SERVE
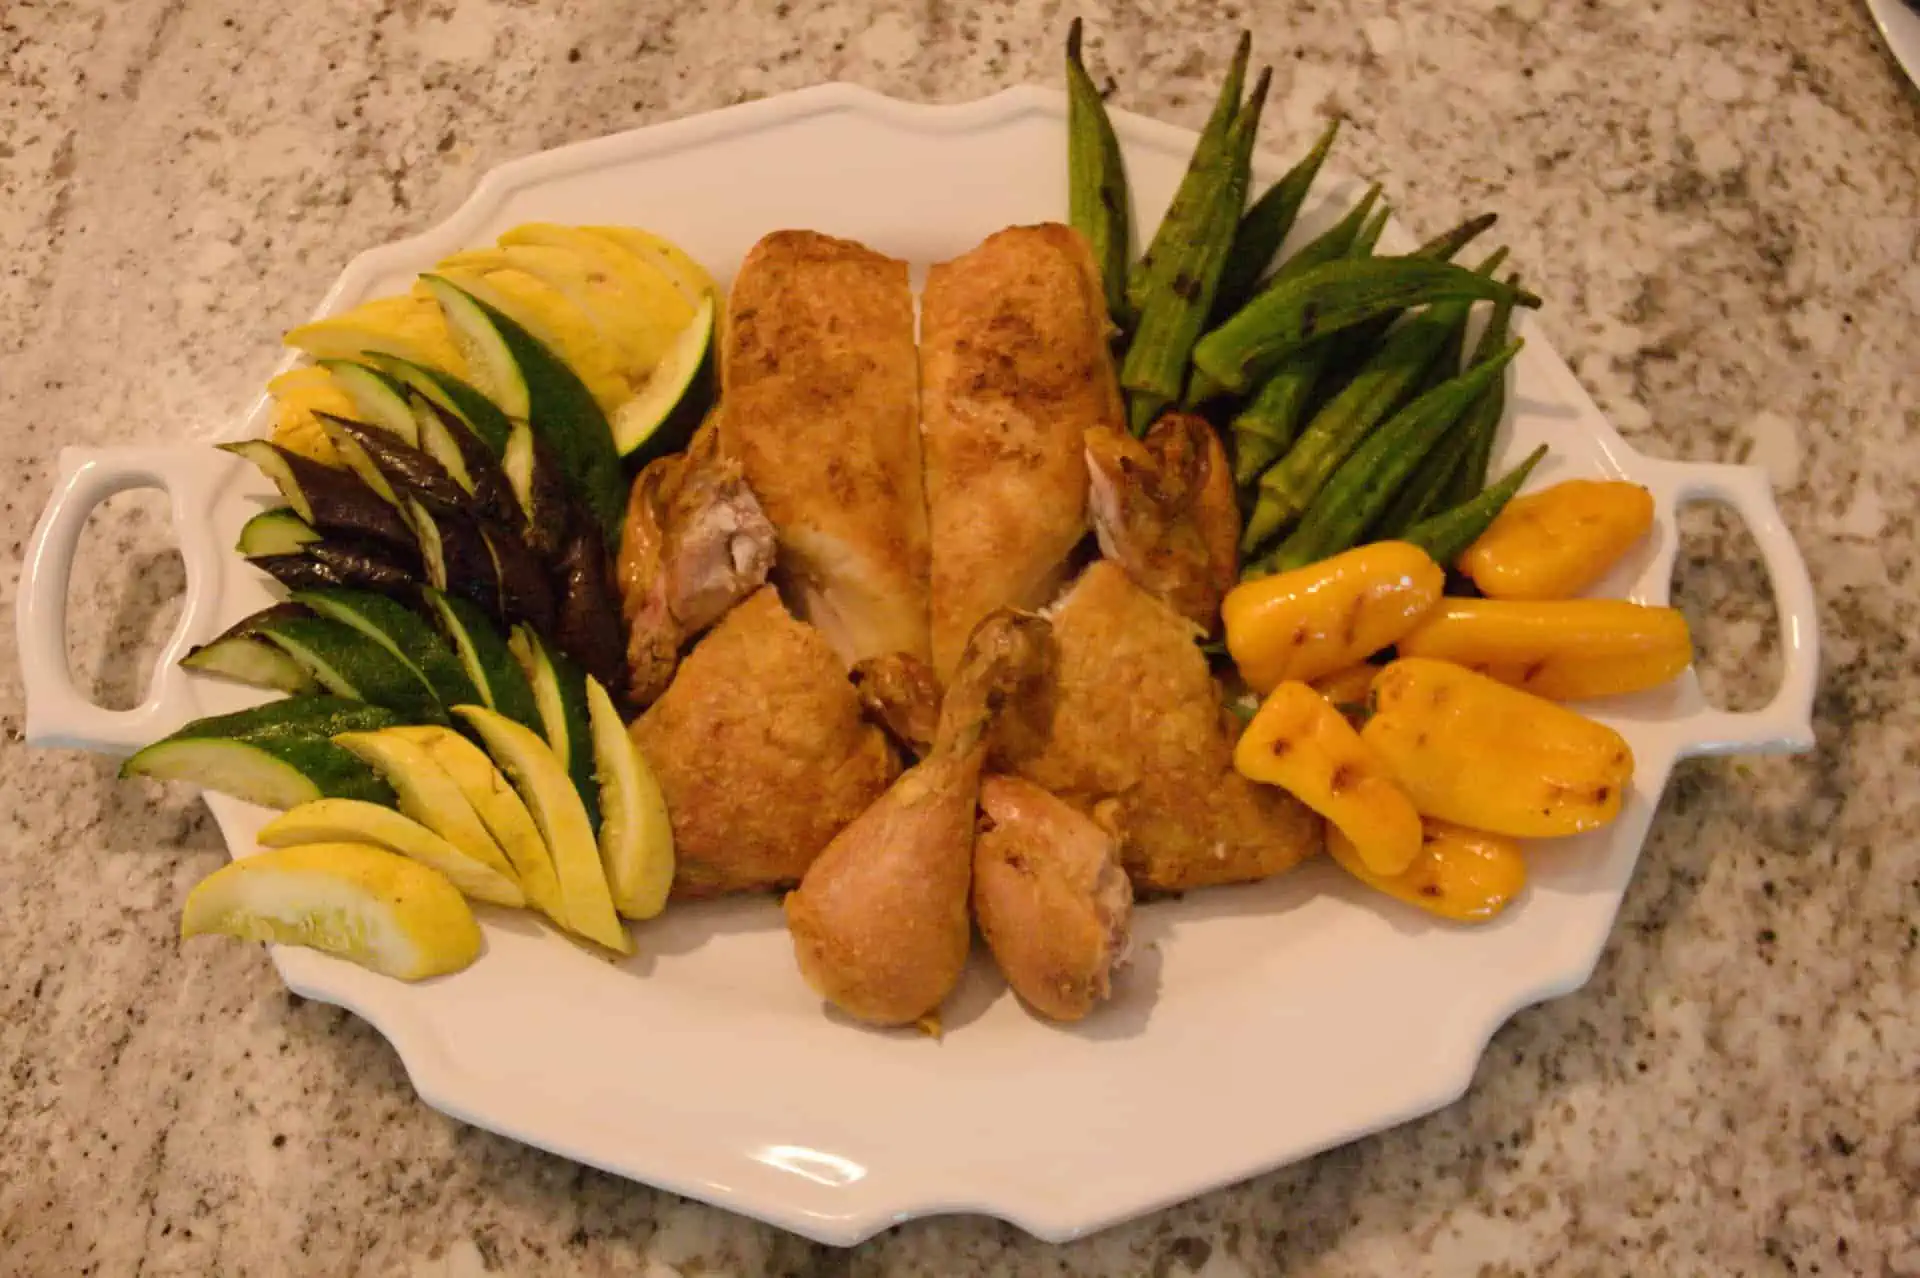
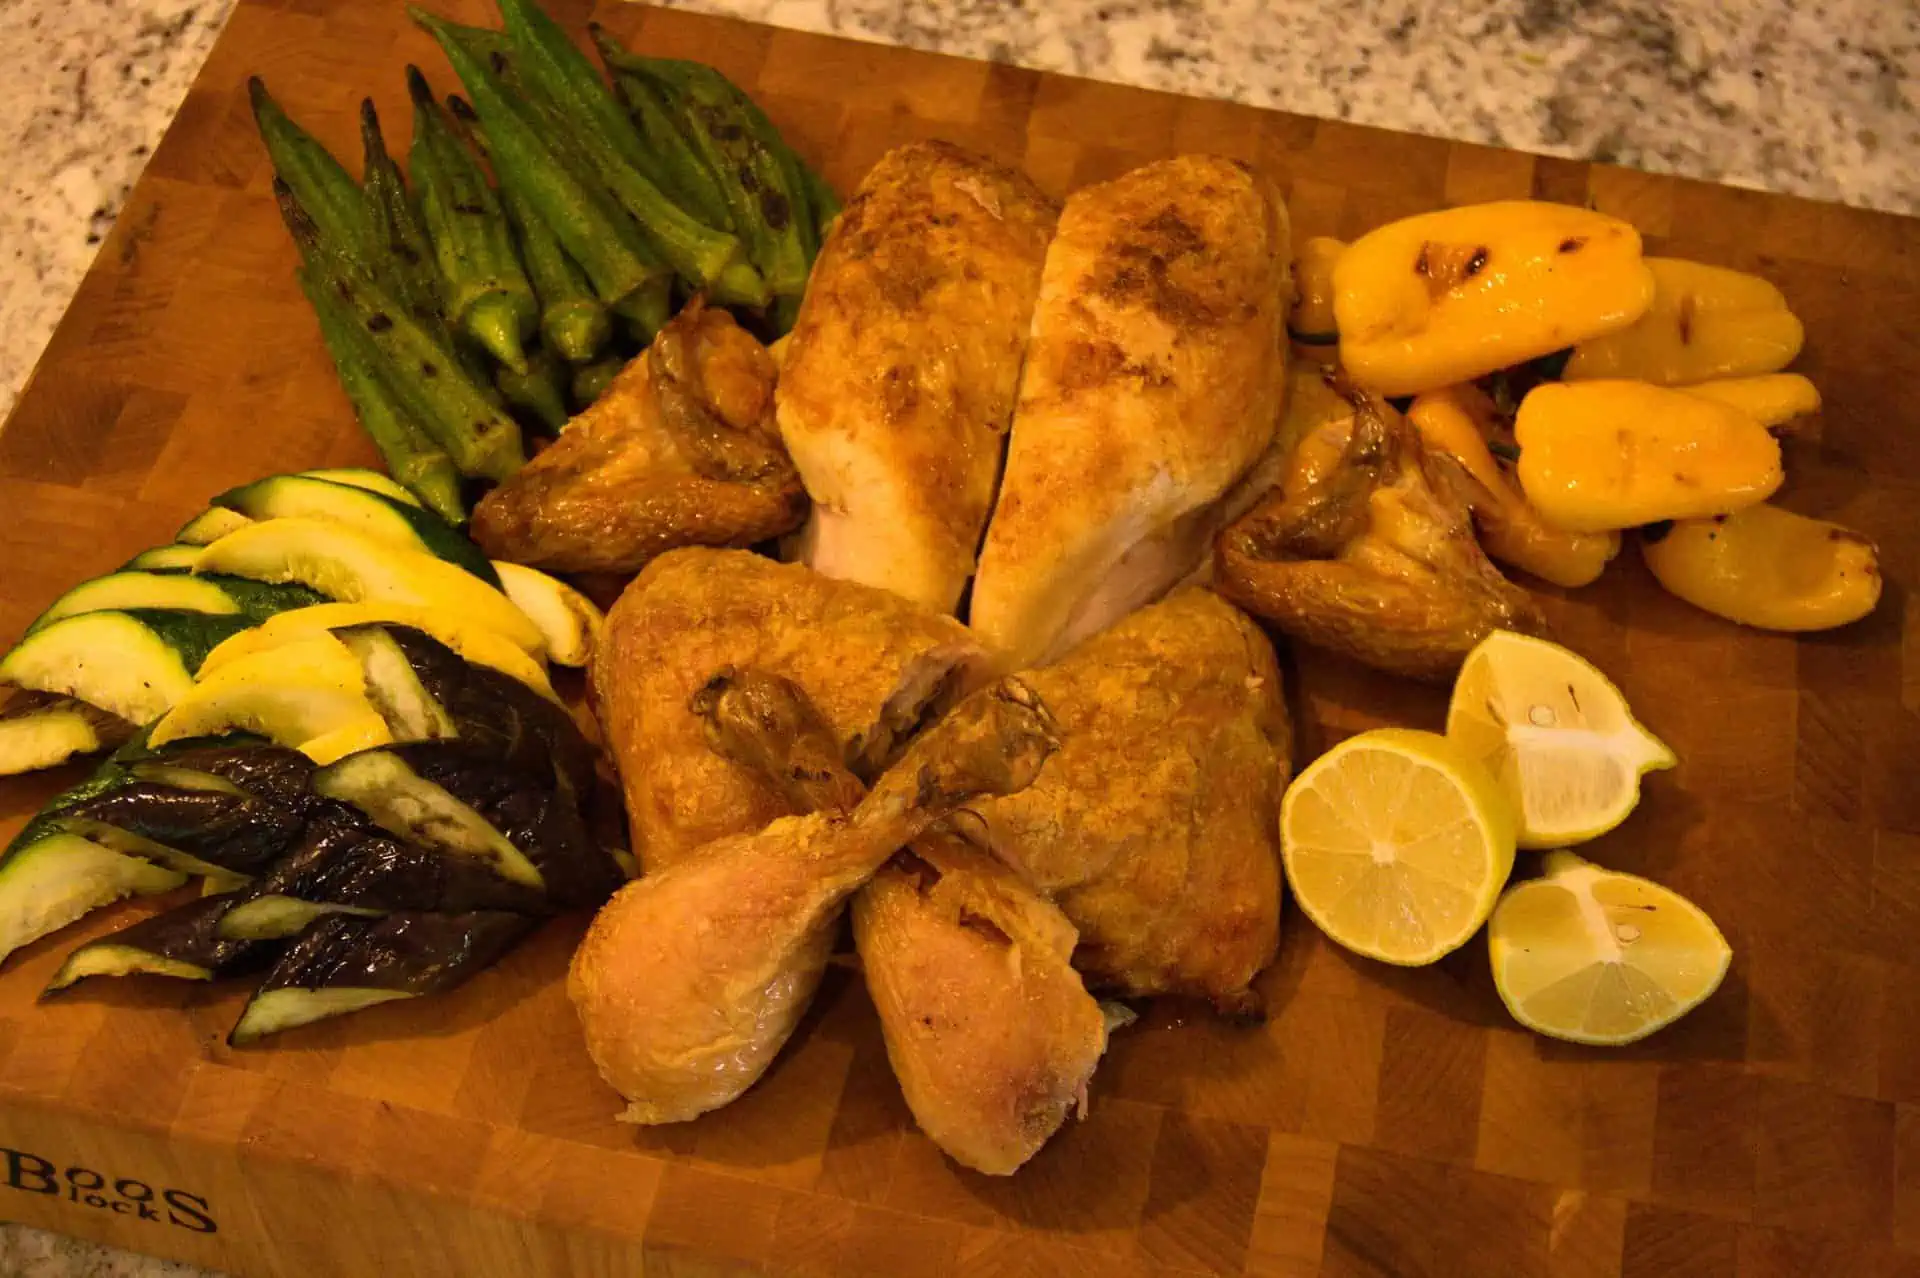
Let the chicken rest for 5-10 minutes, this will allow the tensed muscle fibers to relax and keep the juices from running out of the meat when carved. Our suggestion is to cut the chicken into 8 pieces, separating the joints of the drumstick, thigh, two breasts, and the wings.
A delicious roast chicken is one of the simplest yet most delicious meal any cook can make. Tender and juicy meat with crackling skin, and the extra flavor that comes from cooking bone in meat. Dry brining ensures rich, juicy, and flavorful meat without the worry of storage and the loss of flavor that comes with a traditional brine. Make sure to use an accurate thermometer, to ensure your birds are perfectly cooked every time. Just one bite and you will agree, a perfect roast chicken is a thing of beauty.
DRY BRINED ROAST CHICKEN
DESCRIPTION
A method for perfectly cooked roasted chicken.
INGREDIENTS
- 2 carrots, peeled and chunked
- 1 yellow onion, small wedge cut
- 4 ribs of celery, chunked
- 1 lemon wedged
Brine
- 3T Kosher Salt
- 1T Baking Powder
- Zest of 1 Lemon, Micro planed
- 5 tsp Granulated Garlic
INSTRUCTIONS
24 hours before you cook
Prepare the Bird
- Remove the spine from your chicken with sturdy kitchen shears or a sharp boning knife.
- Mix the dry brine together so there are no lumps.
- Place the chicken on a wire rack that is sitting in a rimmed sheet pan, press the breasts of the bird forcefully to flatten them down a little.
- Liberally sprinkle the salt mixture all over the chicken, you may not need all the brine. The chicken should look like it has snow all over it with no heavy spots.
- Place a piece of plastic wrap over the chicken and place the pan in the refrigerator overnight.
Cook Day
- Remove the chicken from the refrigerator and remove the plastic wrap
- Let the chicken sit for 35-40 minutes to come to room temperature.
- Preheat your oven or grill to 450 degrees F (or 232C)
Oven Method
- Drain the rimmed sheet pan and place the cut vegetables and lemon on the pan then top with the rack and chicken.
- Place the chicken and sheet pan on the middle rack of your oven.
Rotate every 15 minutes till your thermometer register 150 degrees F (66C) in the breast and 165 degrees F (74C) in the thighs. This should take about 40-50 minutes.
- Remove from the oven and let rest for 5-10 minutes.
- Cut the chicken into 8 pieces to serve.
Grill Method
- Place the chicken directly on the center grill grate and turn off the fire in the center.
- When the breasts register 140 degrees place some split vegetables (seasoned with olive oil, kosher salt, cracked black pepper and granulated garlic) on the hot sides of the grill. Close the lid, then rotate after 2 minutes for good grill marks. Flip over then close the lid again. Pull them when they are al dente.
- Rotate the chicken every 15 minutes till your thermometer register 150 degrees F (66C) in the breast and 165 degrees F (74C) in the thighs. This should take about 50-60 minutes.
- Remove from the grill and let rest for 5-10 minutes before serving.
3 Comments
Leave A Comment
Discover more recipes and learn kitchen tricks by joining our cooking family on Facebook.
Shop now for products used in this post:

You may also like:


[…] not produce the same cracker crispy skin that a normal roast or spatchcocked chicken would produce, like this one. But that is not to say this is a bad thing, it only means we need to change our expectations and […]
[…] are a variety of ways to cook chicken, but the more popular options are to roast or fry it. However, if you haven’t tried smoked […]
[…] versatile and can be used with almost any type of cooking and food, such as deep-frying, roasting chicken and turkey, monitoring custard temperature, […]