4 Simple Steps to Cook Tender Baby Back Ribs in the Oven for Beginners
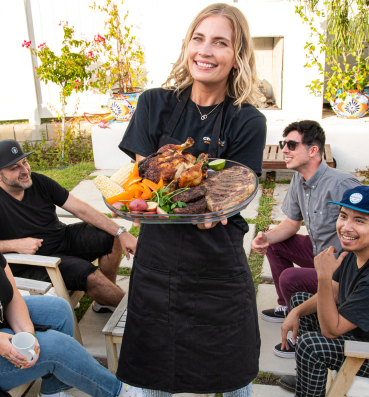
Baby Back Ribs in the Oven
You don’t need to spend an entire Saturday managing a charcoal fire to get melt-in-your-mouth ribs. Today, I am sharing my completely hands-off method for cooking Baby Back Ribs in the oven. By strictly controlling your oven temperature and using a specific spice blend, you can guarantee incredibly tender, flavorful results right in your own kitchen with zero stress.
Inhaltsverzeichnis
Choosing the Right Cut St Louis vs Baby Back Ribs and Spare Ribs
Baby-Back-Ribs
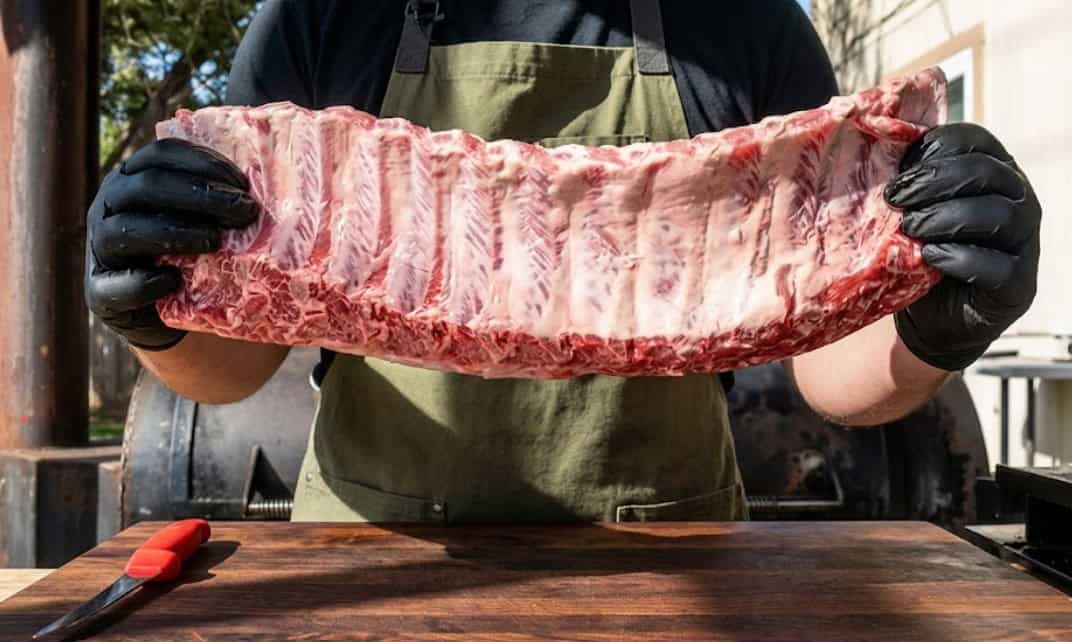
The easiest way to guarantee tender ribs is to start with the right cut: baby back ribs. While my friends often ask about St. Louis vs baby back ribs, your decision ultimately comes down to prep time and fat content.
To simplify your shopping, here is my quick breakdown:
- Baby Back Ribs:These are cut from the upper loin area. They are a bit shorter, more tender, and leaner. They also require virtually no trimming.
- Louis Ribs:These come from the rib cage. They are flatter and cut a bit thicker than baby back ribs, so they need more time to cook to render the fat.
- Spare Ribs: These are long and fully untrimmed, so they are very tough, and they need a lot of braising and a lot of connective tissue. They need some serious work compared to baby back ribs.
For a quick and easy dinner, I always grab baby back ribs. According to the official USDA food safety guideline you can simply take pork ribs out of the package, wipe them if you like, and start seasoning, as washing is not required under modern food safety systems.
My Secret Dry Rub for Baby Back Ribs
My Secret Dry Rub for Baby Back Ribs
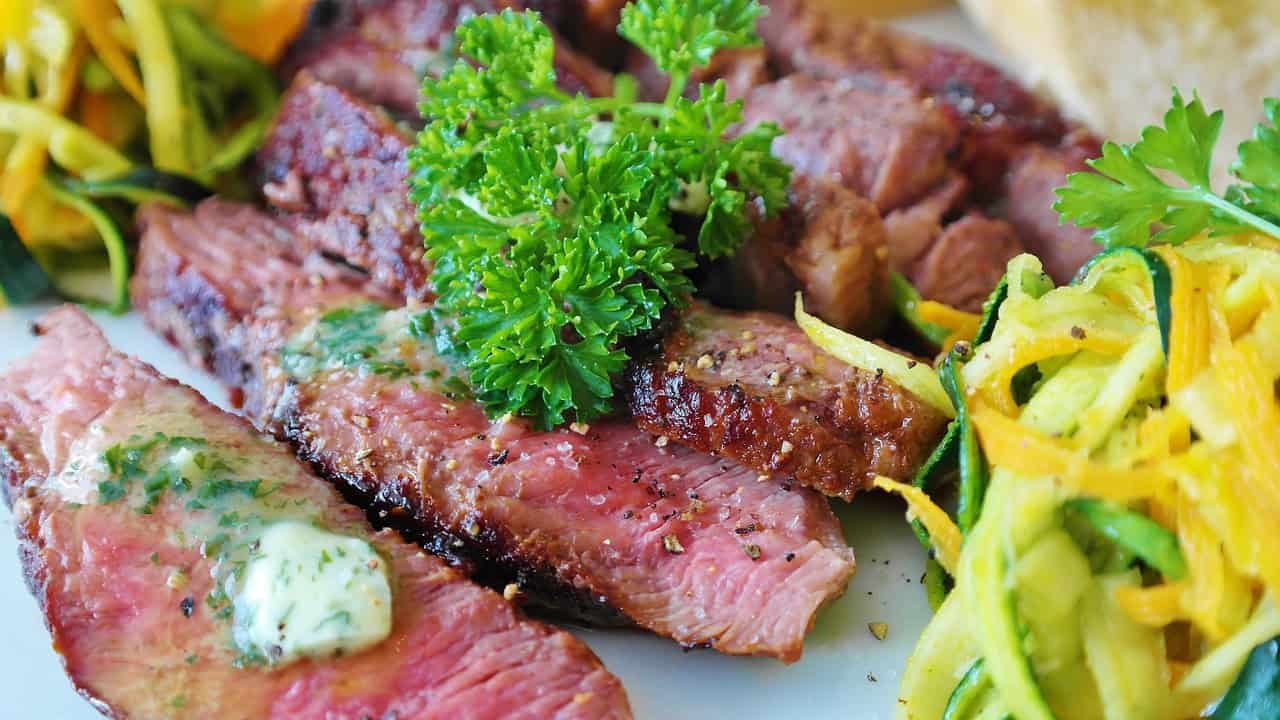
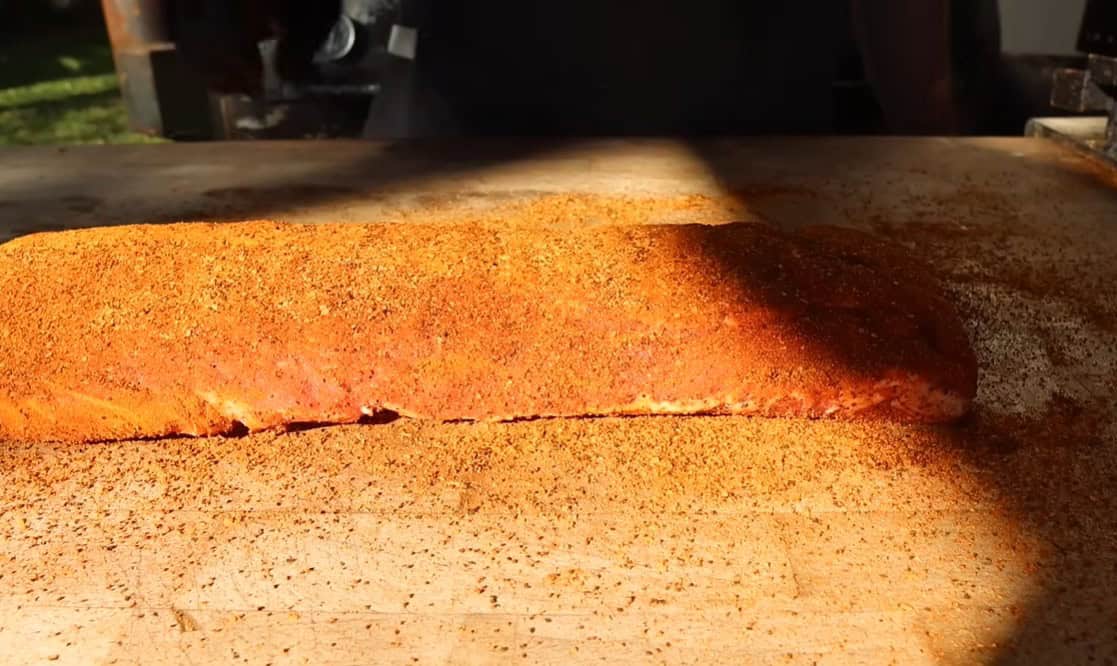
To build a deep, flavorful crust on lean baby back ribs, skip the sugary wet sauces and apply a heavy, spice-forward dry rub. A great dry rub adheres to the meat’s natural surface moisture, creating that wonderfully crusted exterior everyone loves. The following is my favourite ratio for one rack:
- Coarse Sea Salt & Black Pepper: There’s a base of approximately 2 tablespoons each.
- Garlic Powder: Your earthy, savoury depth. 1 tablespoon.
- Paprika: Hand here is heavy. 2 tablespoons to create a nice mahogany colour.
In the application, I see so many people go in with yellow mustard or some oil. I never do a binder. The pork comes with surface moisture straight from the package.
According to Heather Seeley, starting baby back ribs in the oven is a simple way to make them tender and fall off the bone every time. I always begin by placing the ribs with the bone side down, giving them a gentle pat, then flipping them to season the meaty top and edges more thoroughly.
I cannot emphasise enough how much seasoning you should use! When you’ve completely coated it and flipped it, let it rest on the cutting board for 10 to 15 minutes. The salt will draw out a tiny amount of liquid from the pork, creating a natural tackiness. This simple, necessary rest step creates strong adhesion of the dry rub to the pork’s surface, ensuring a great bark even without a classic smoker.
Mastering Baby Back Ribs in the Oven with Smart Tech

Mastering Baby Back Ribs in the Oven with Smart Tech
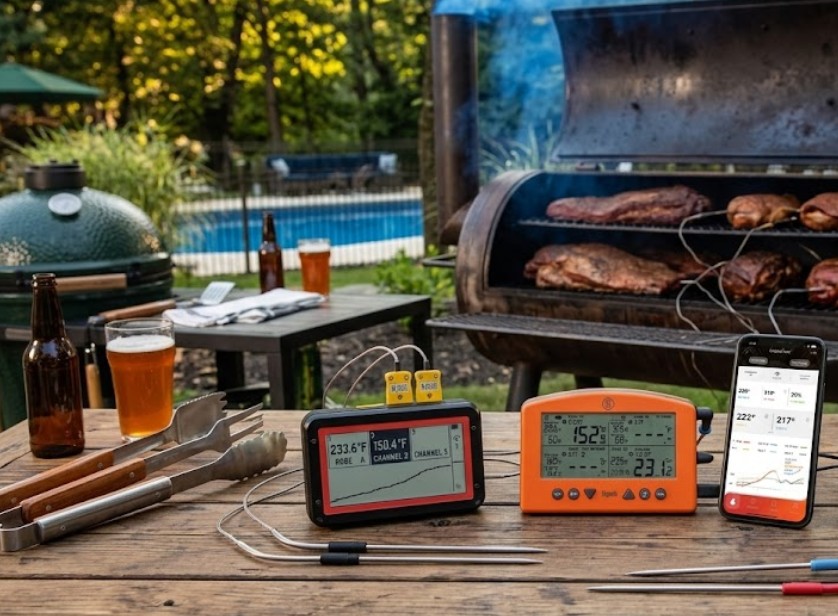
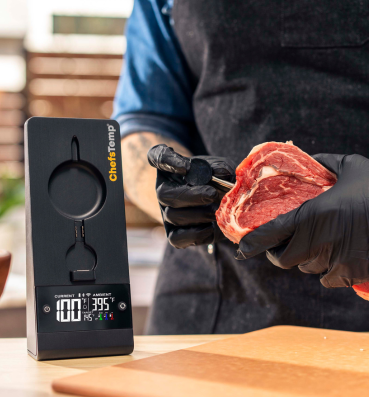
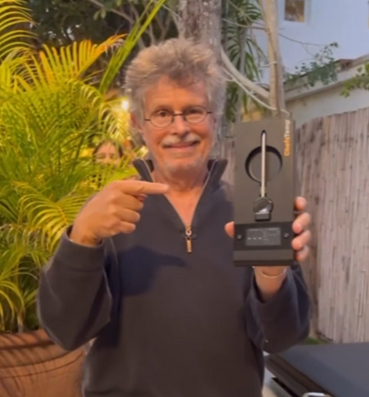
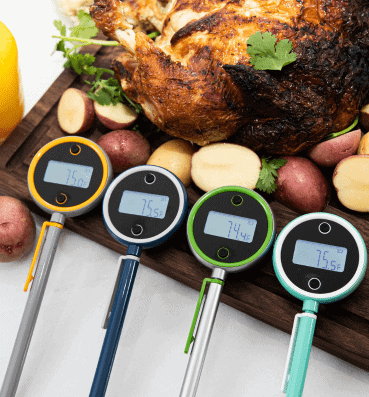
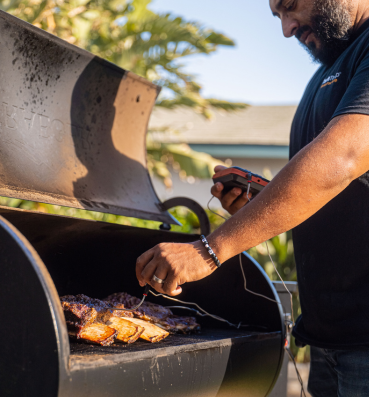
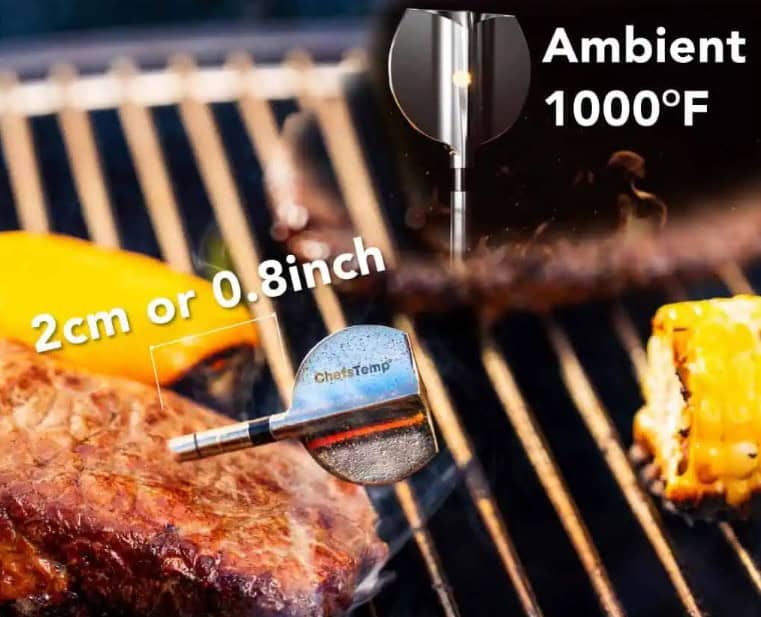
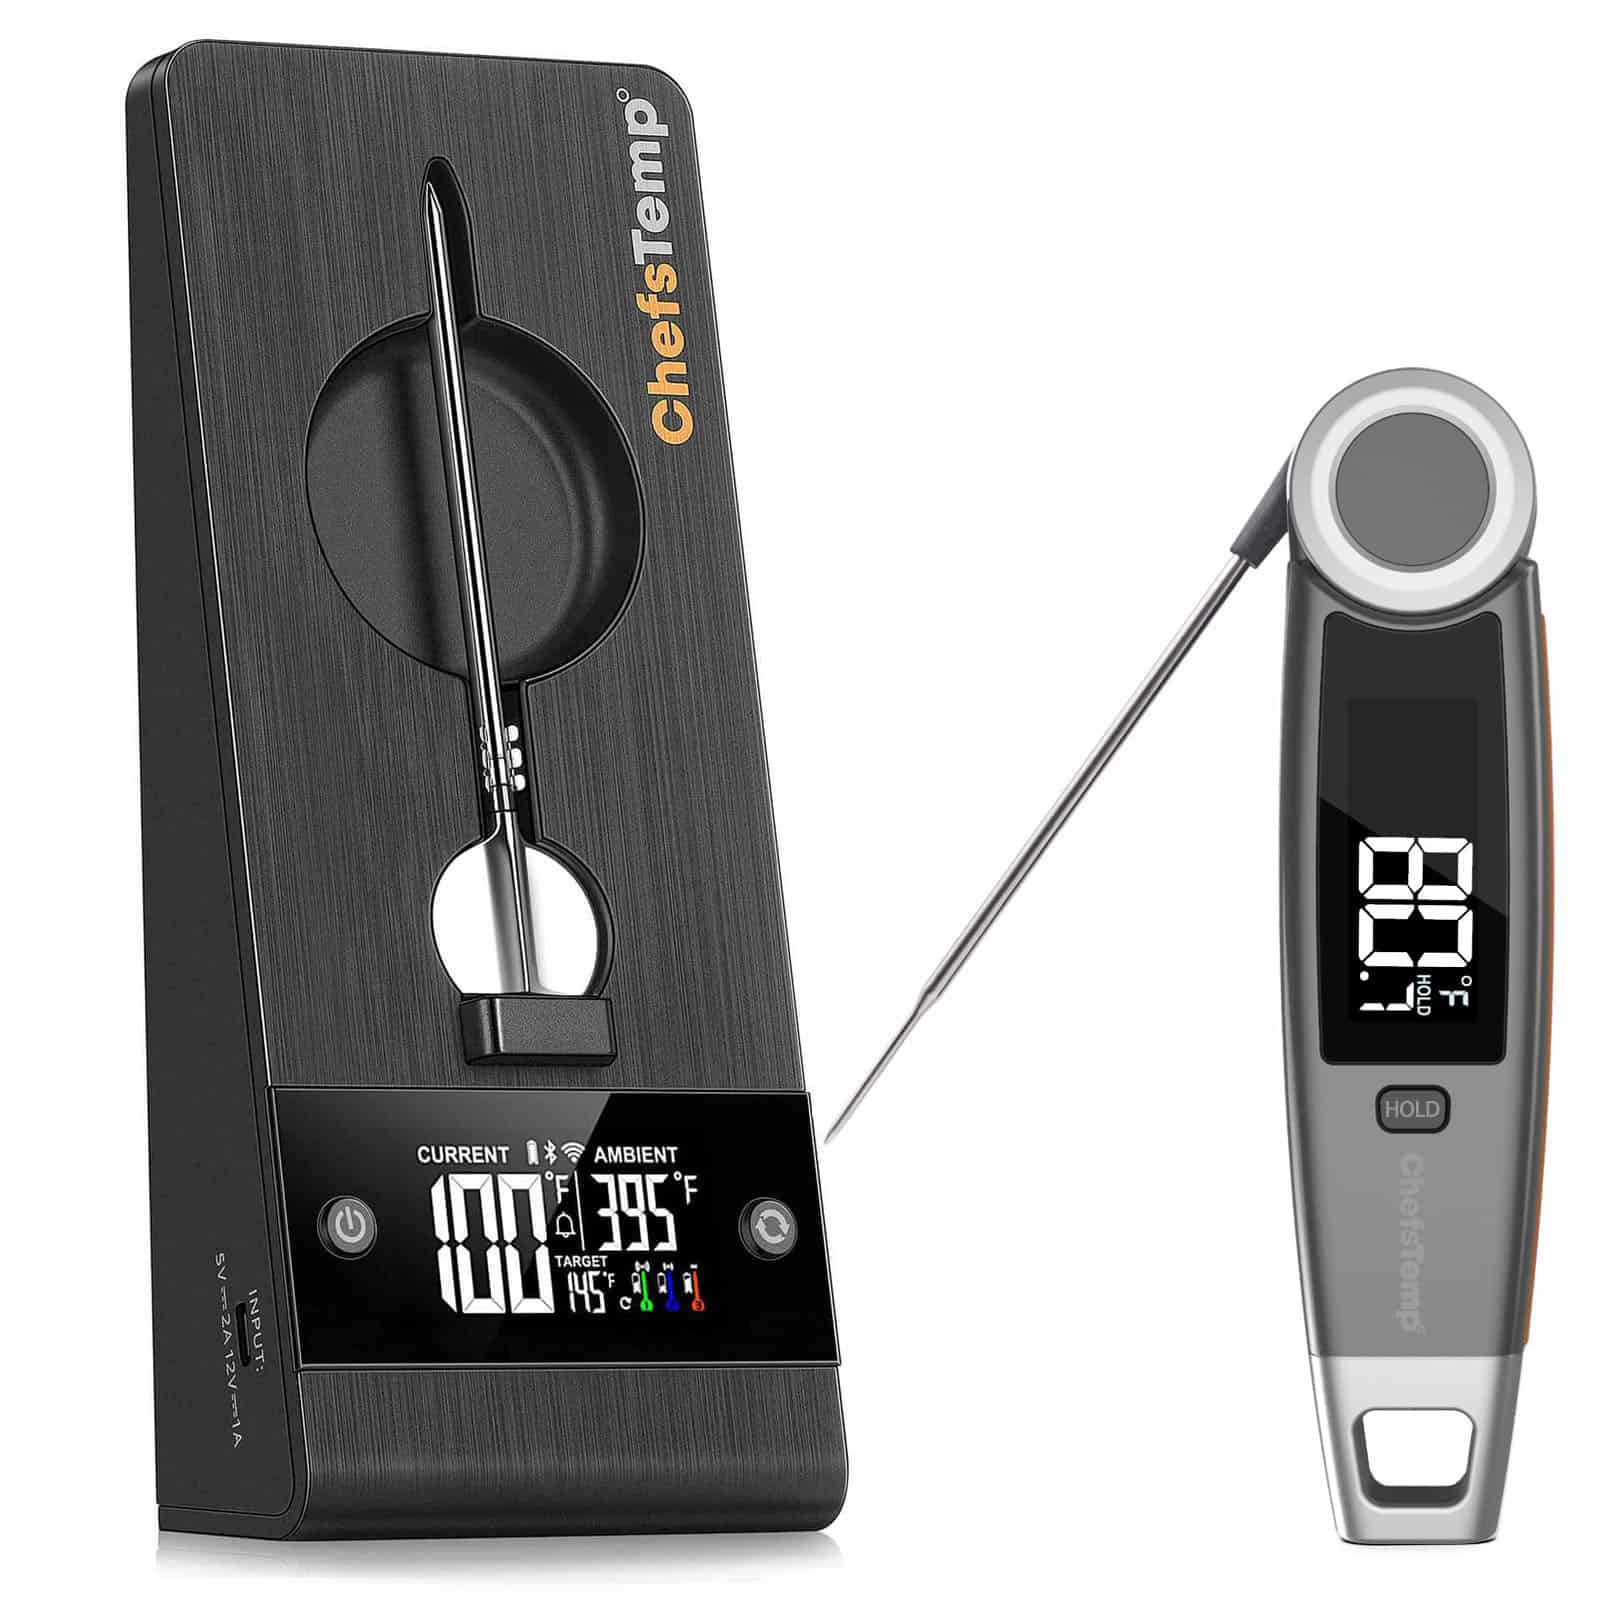
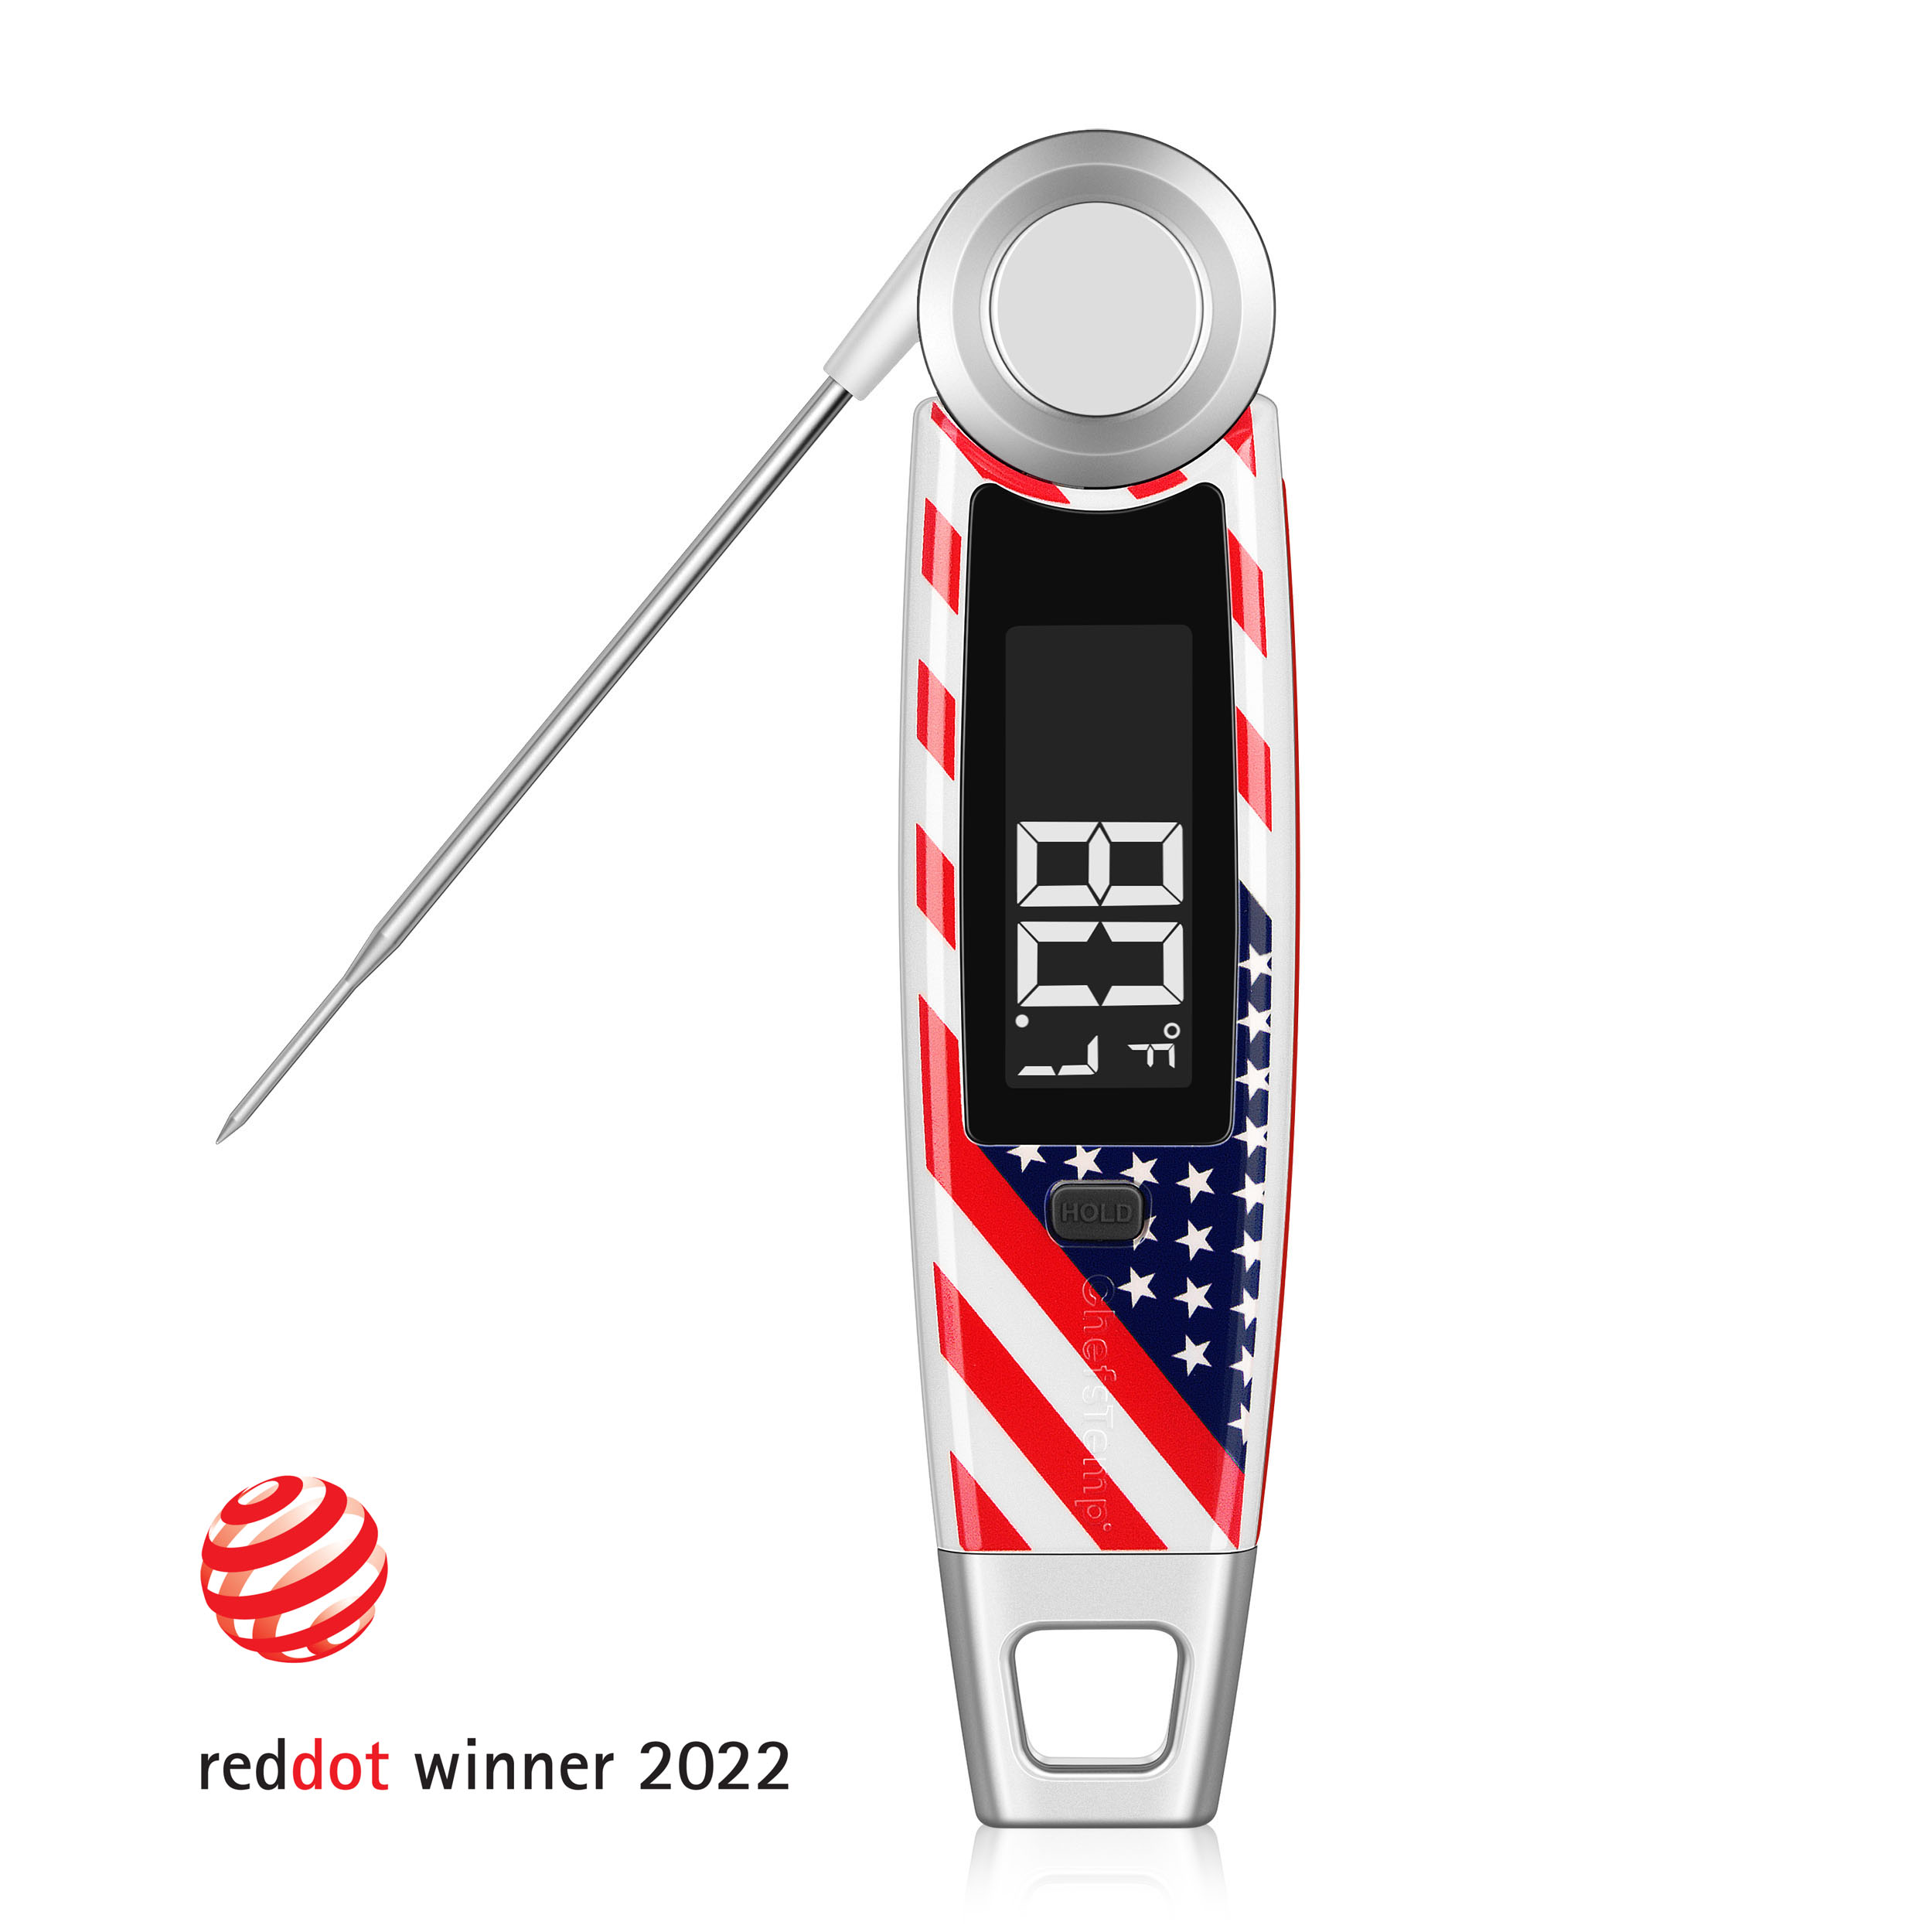
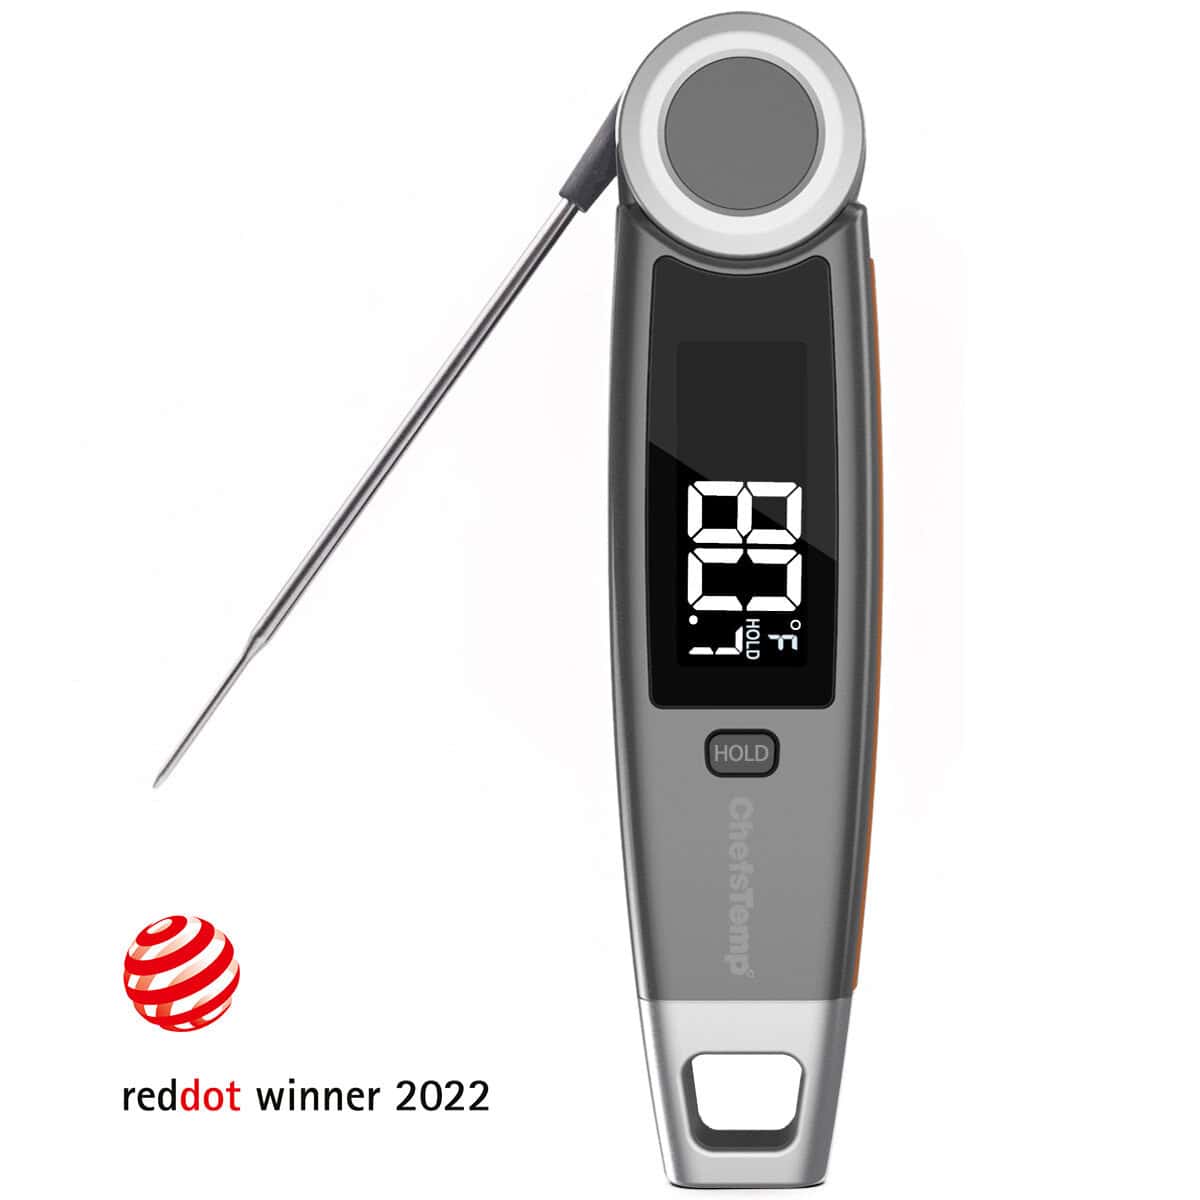
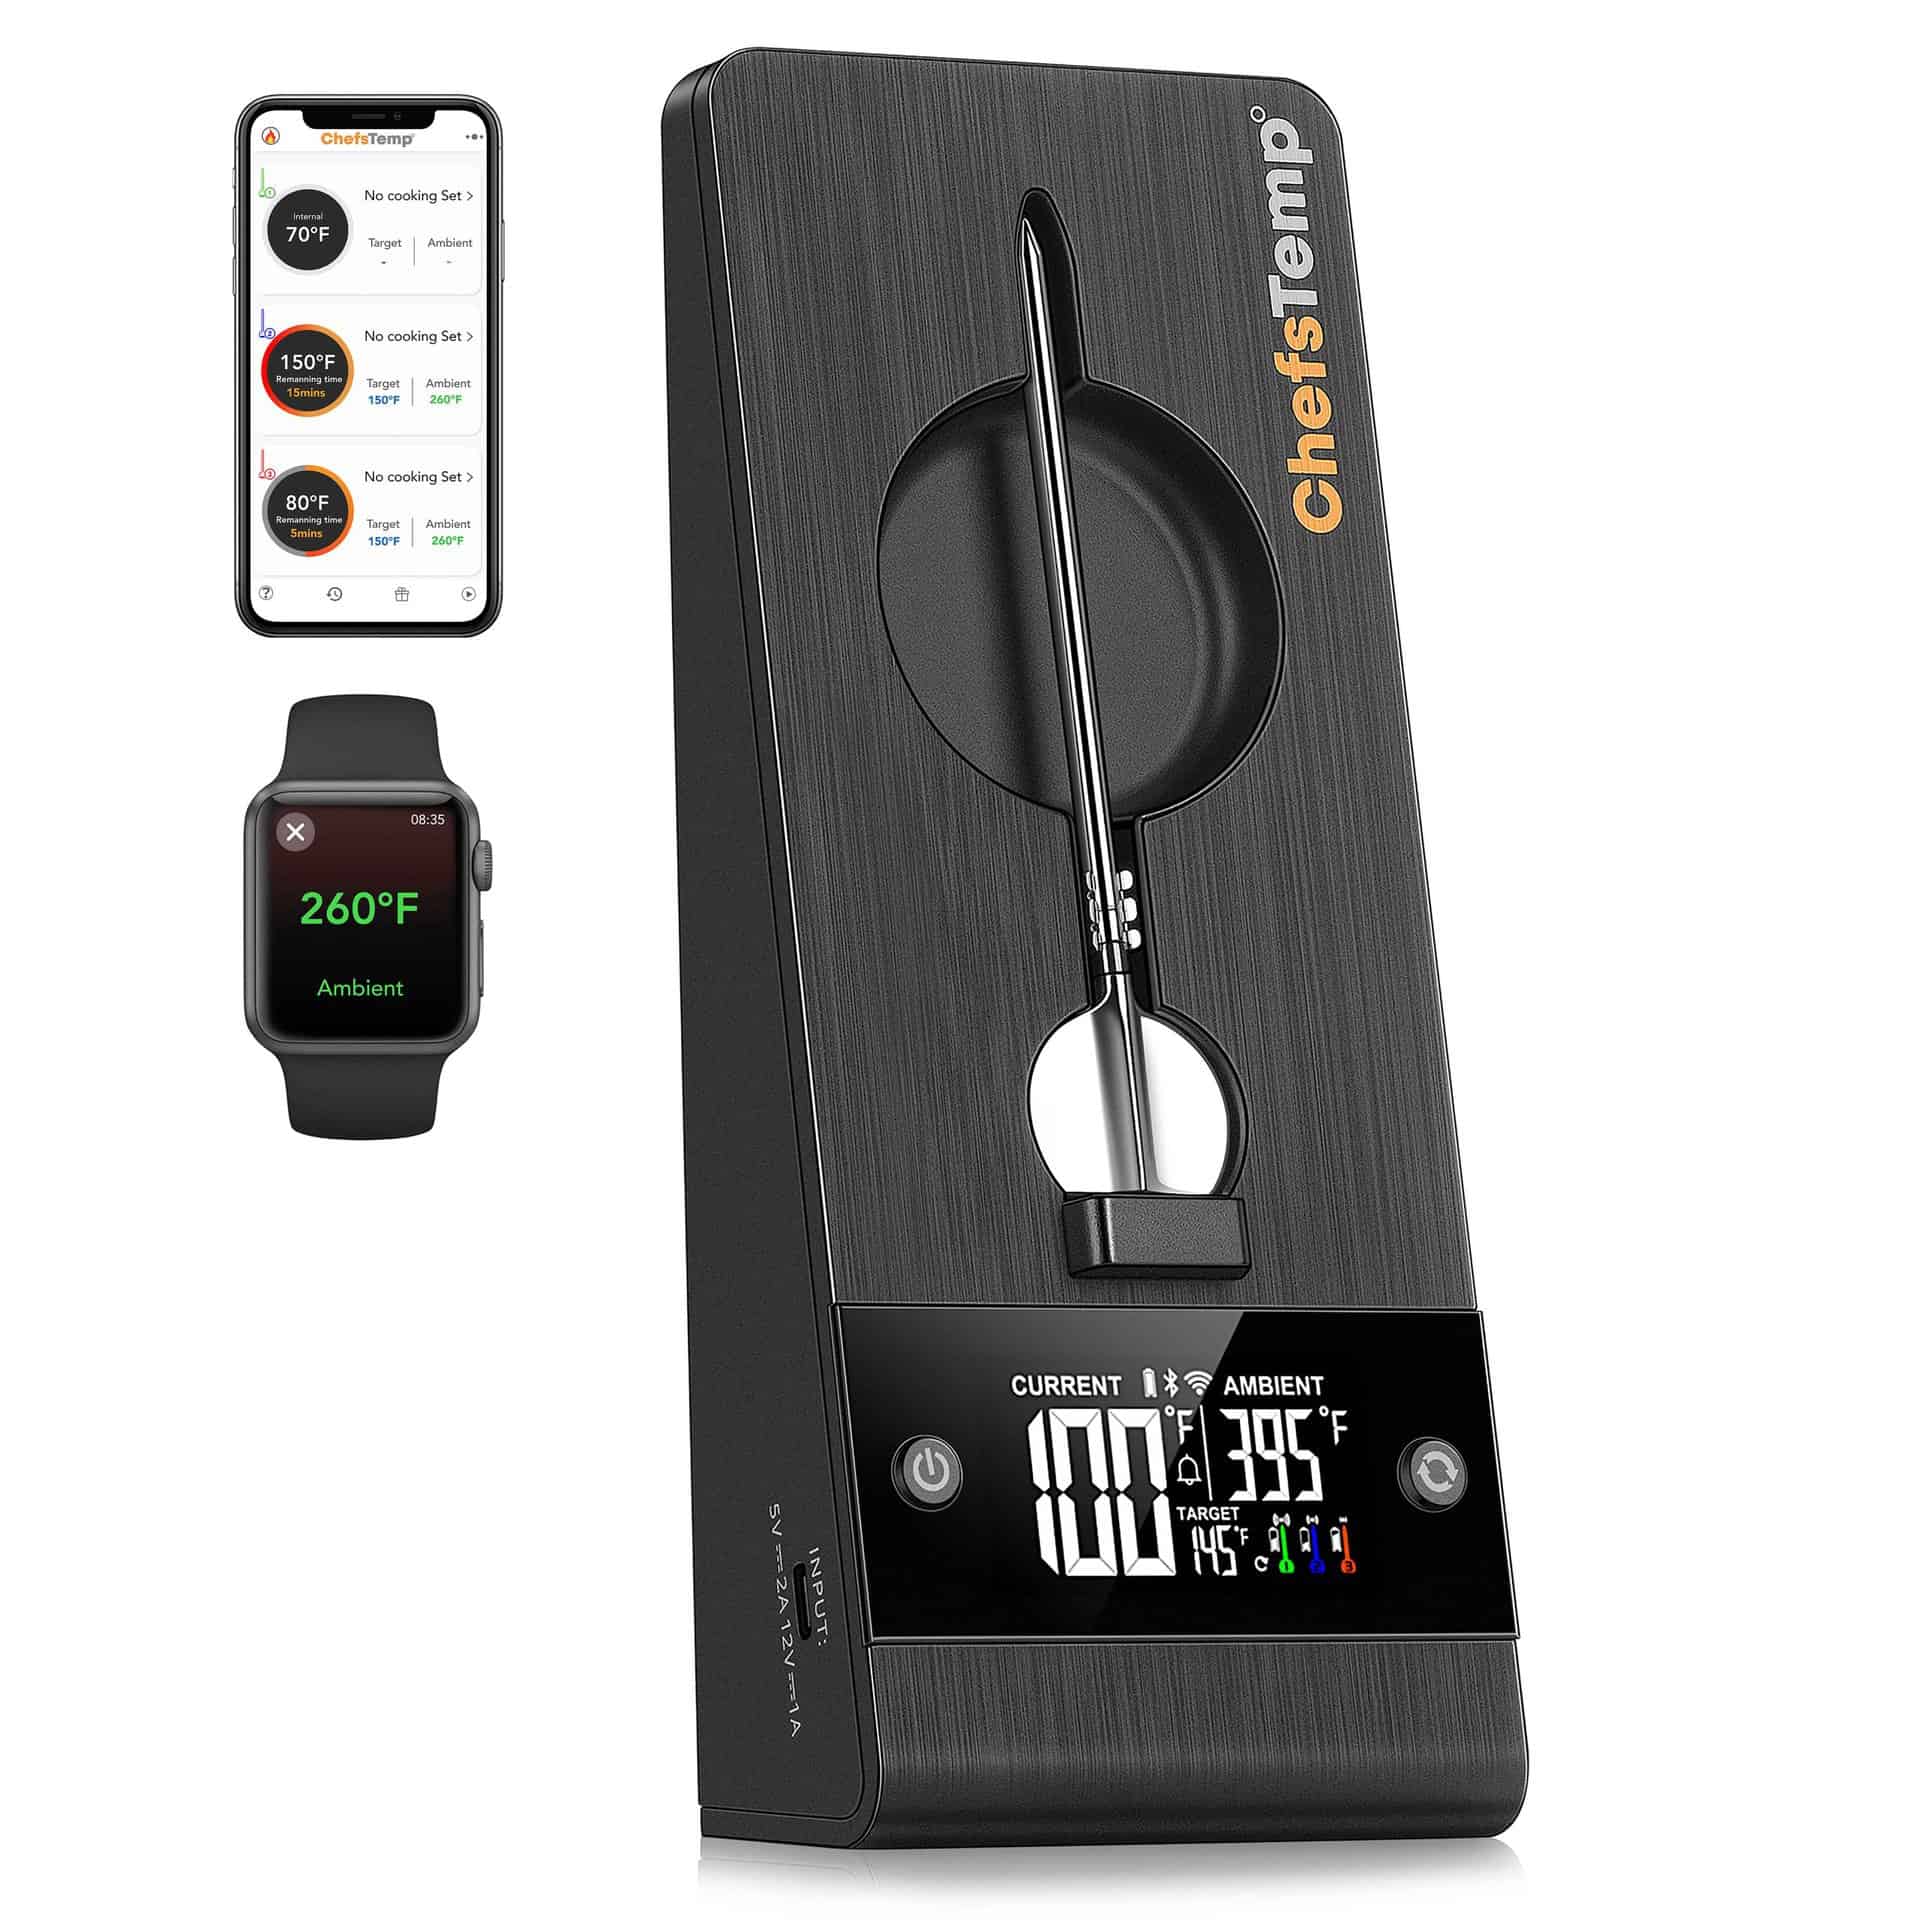
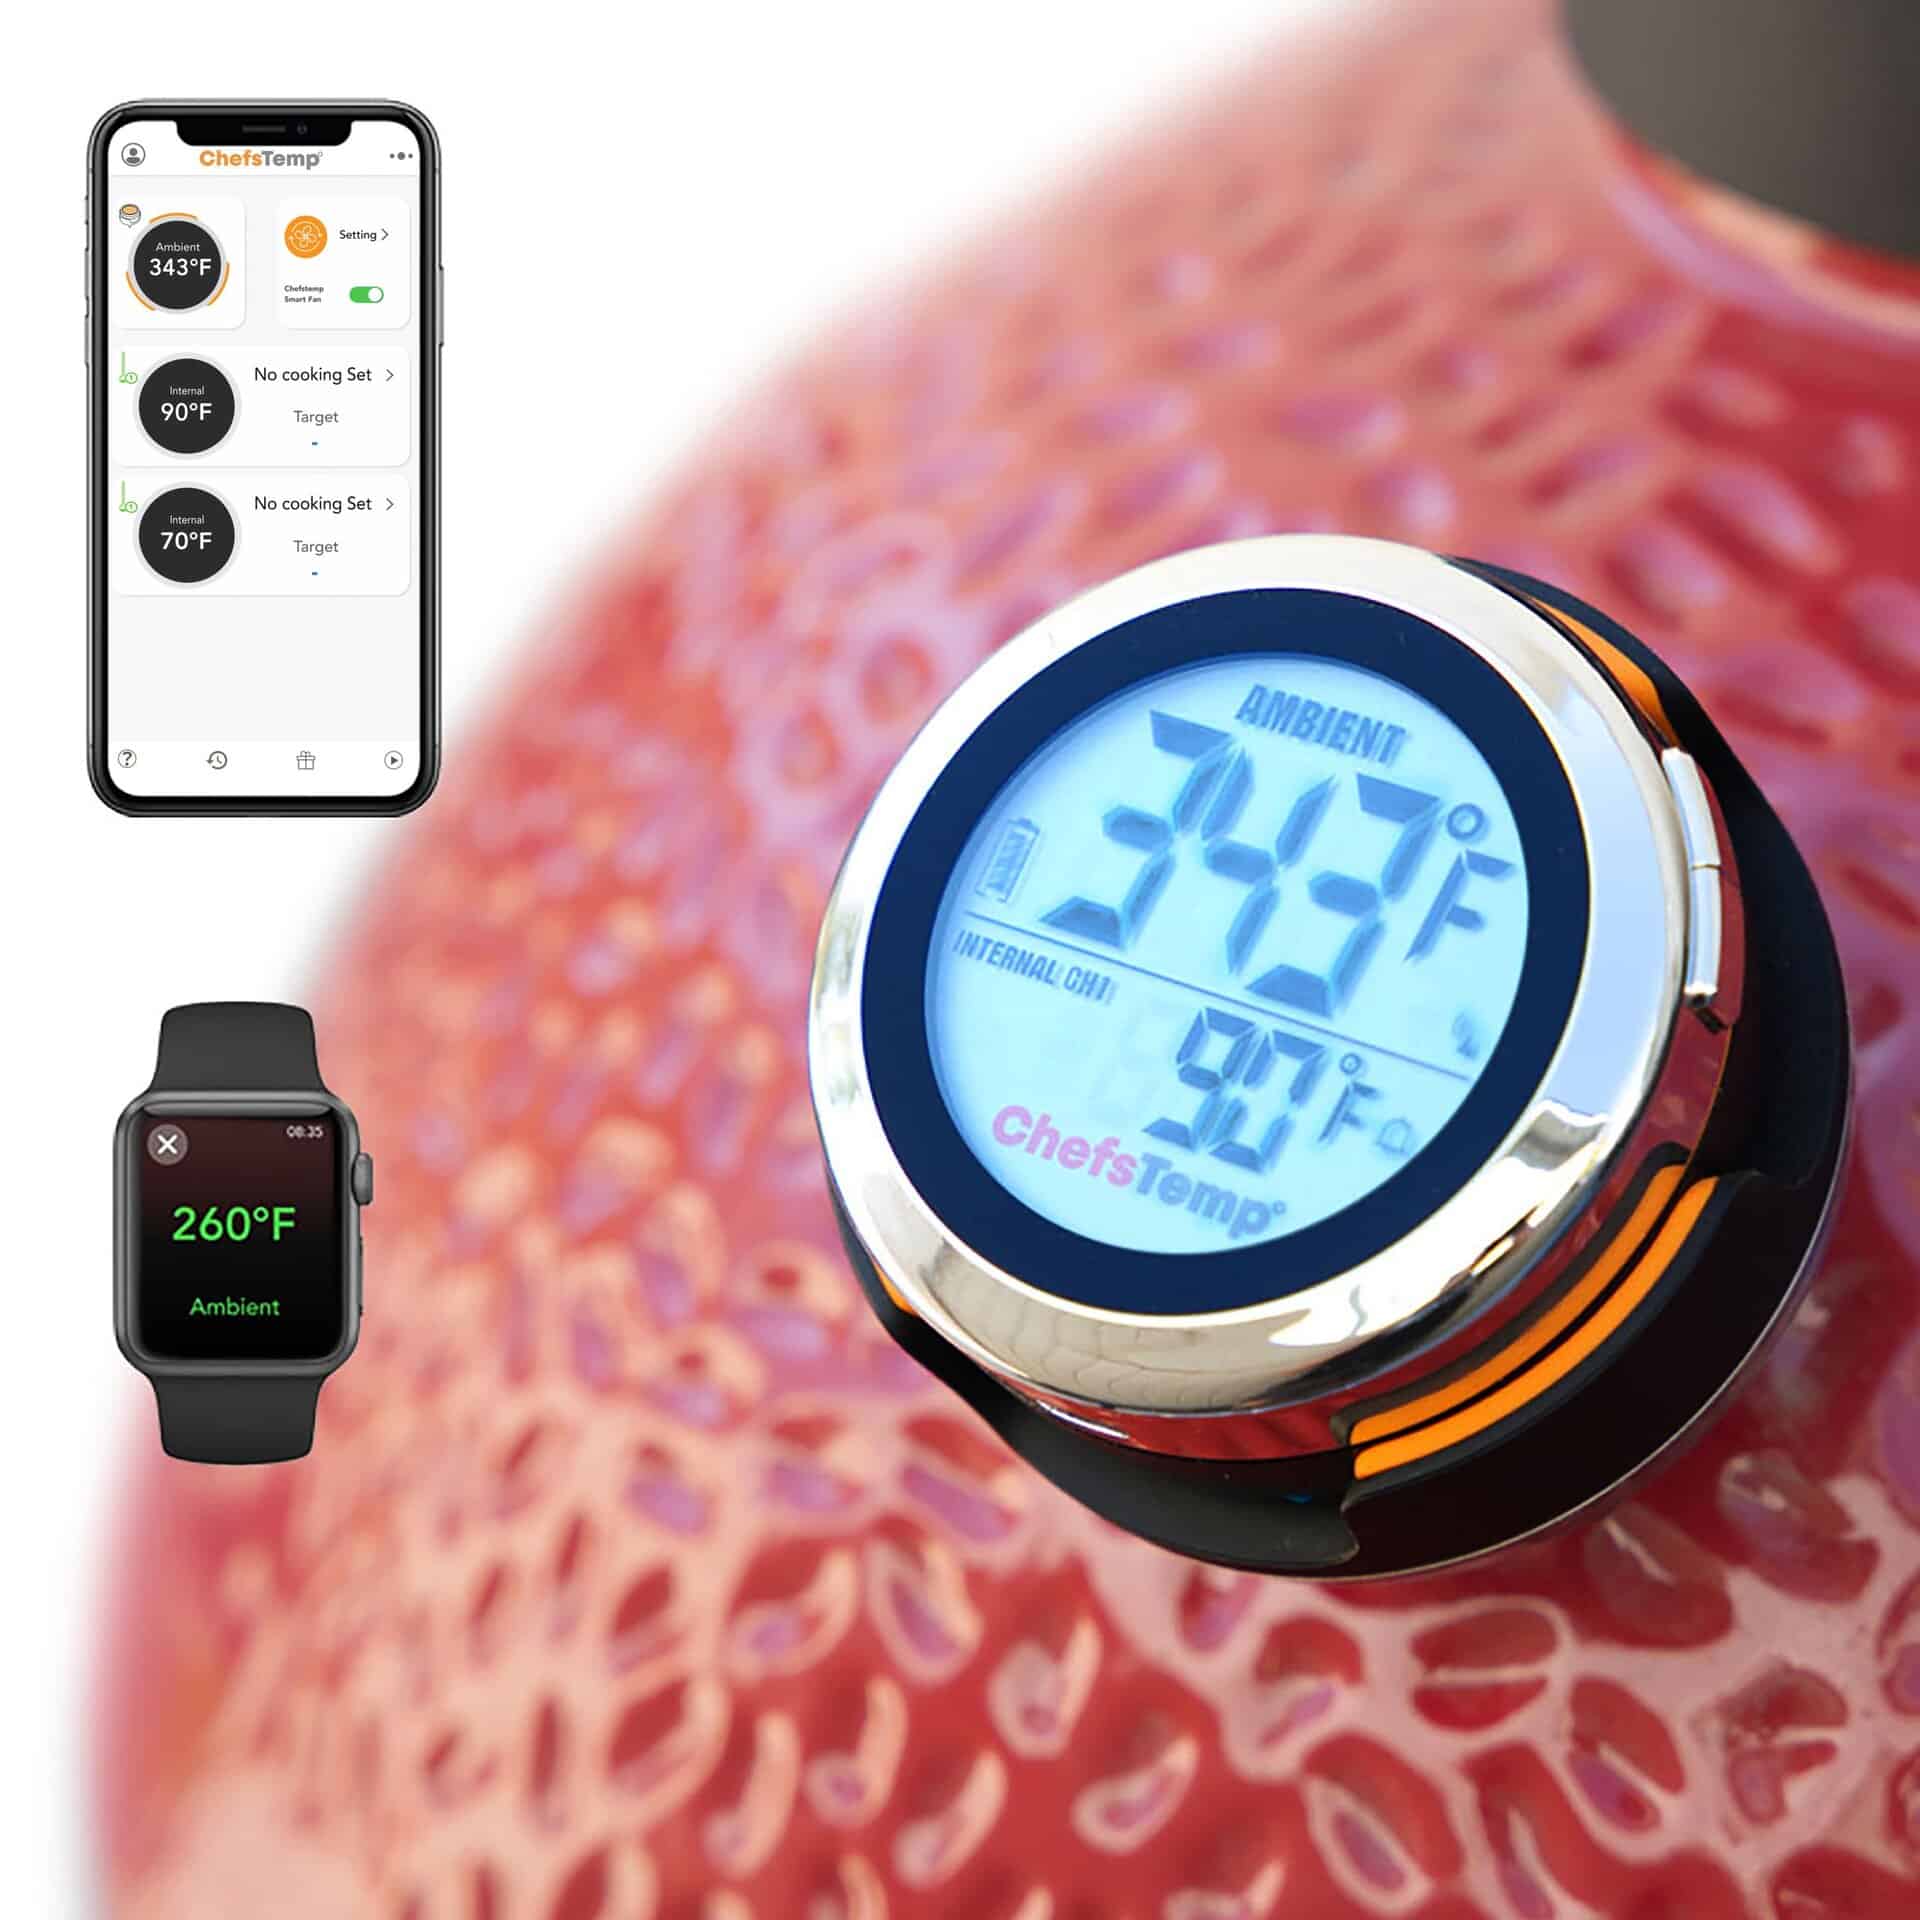
The absolute secret to delicate, fall-off-the-bone meat is strictly maintaining a low-and-slow oven temperature of 250°F to 275°F. Opening the oven door repeatedly to check progress ruins your heat retention and stalls the cooking process. To track the internal temperature without ever opening the door, I rely on a intelligentes drahtloses Fleischthermometer like the ChefsTemp ProTemp 2 Plus.
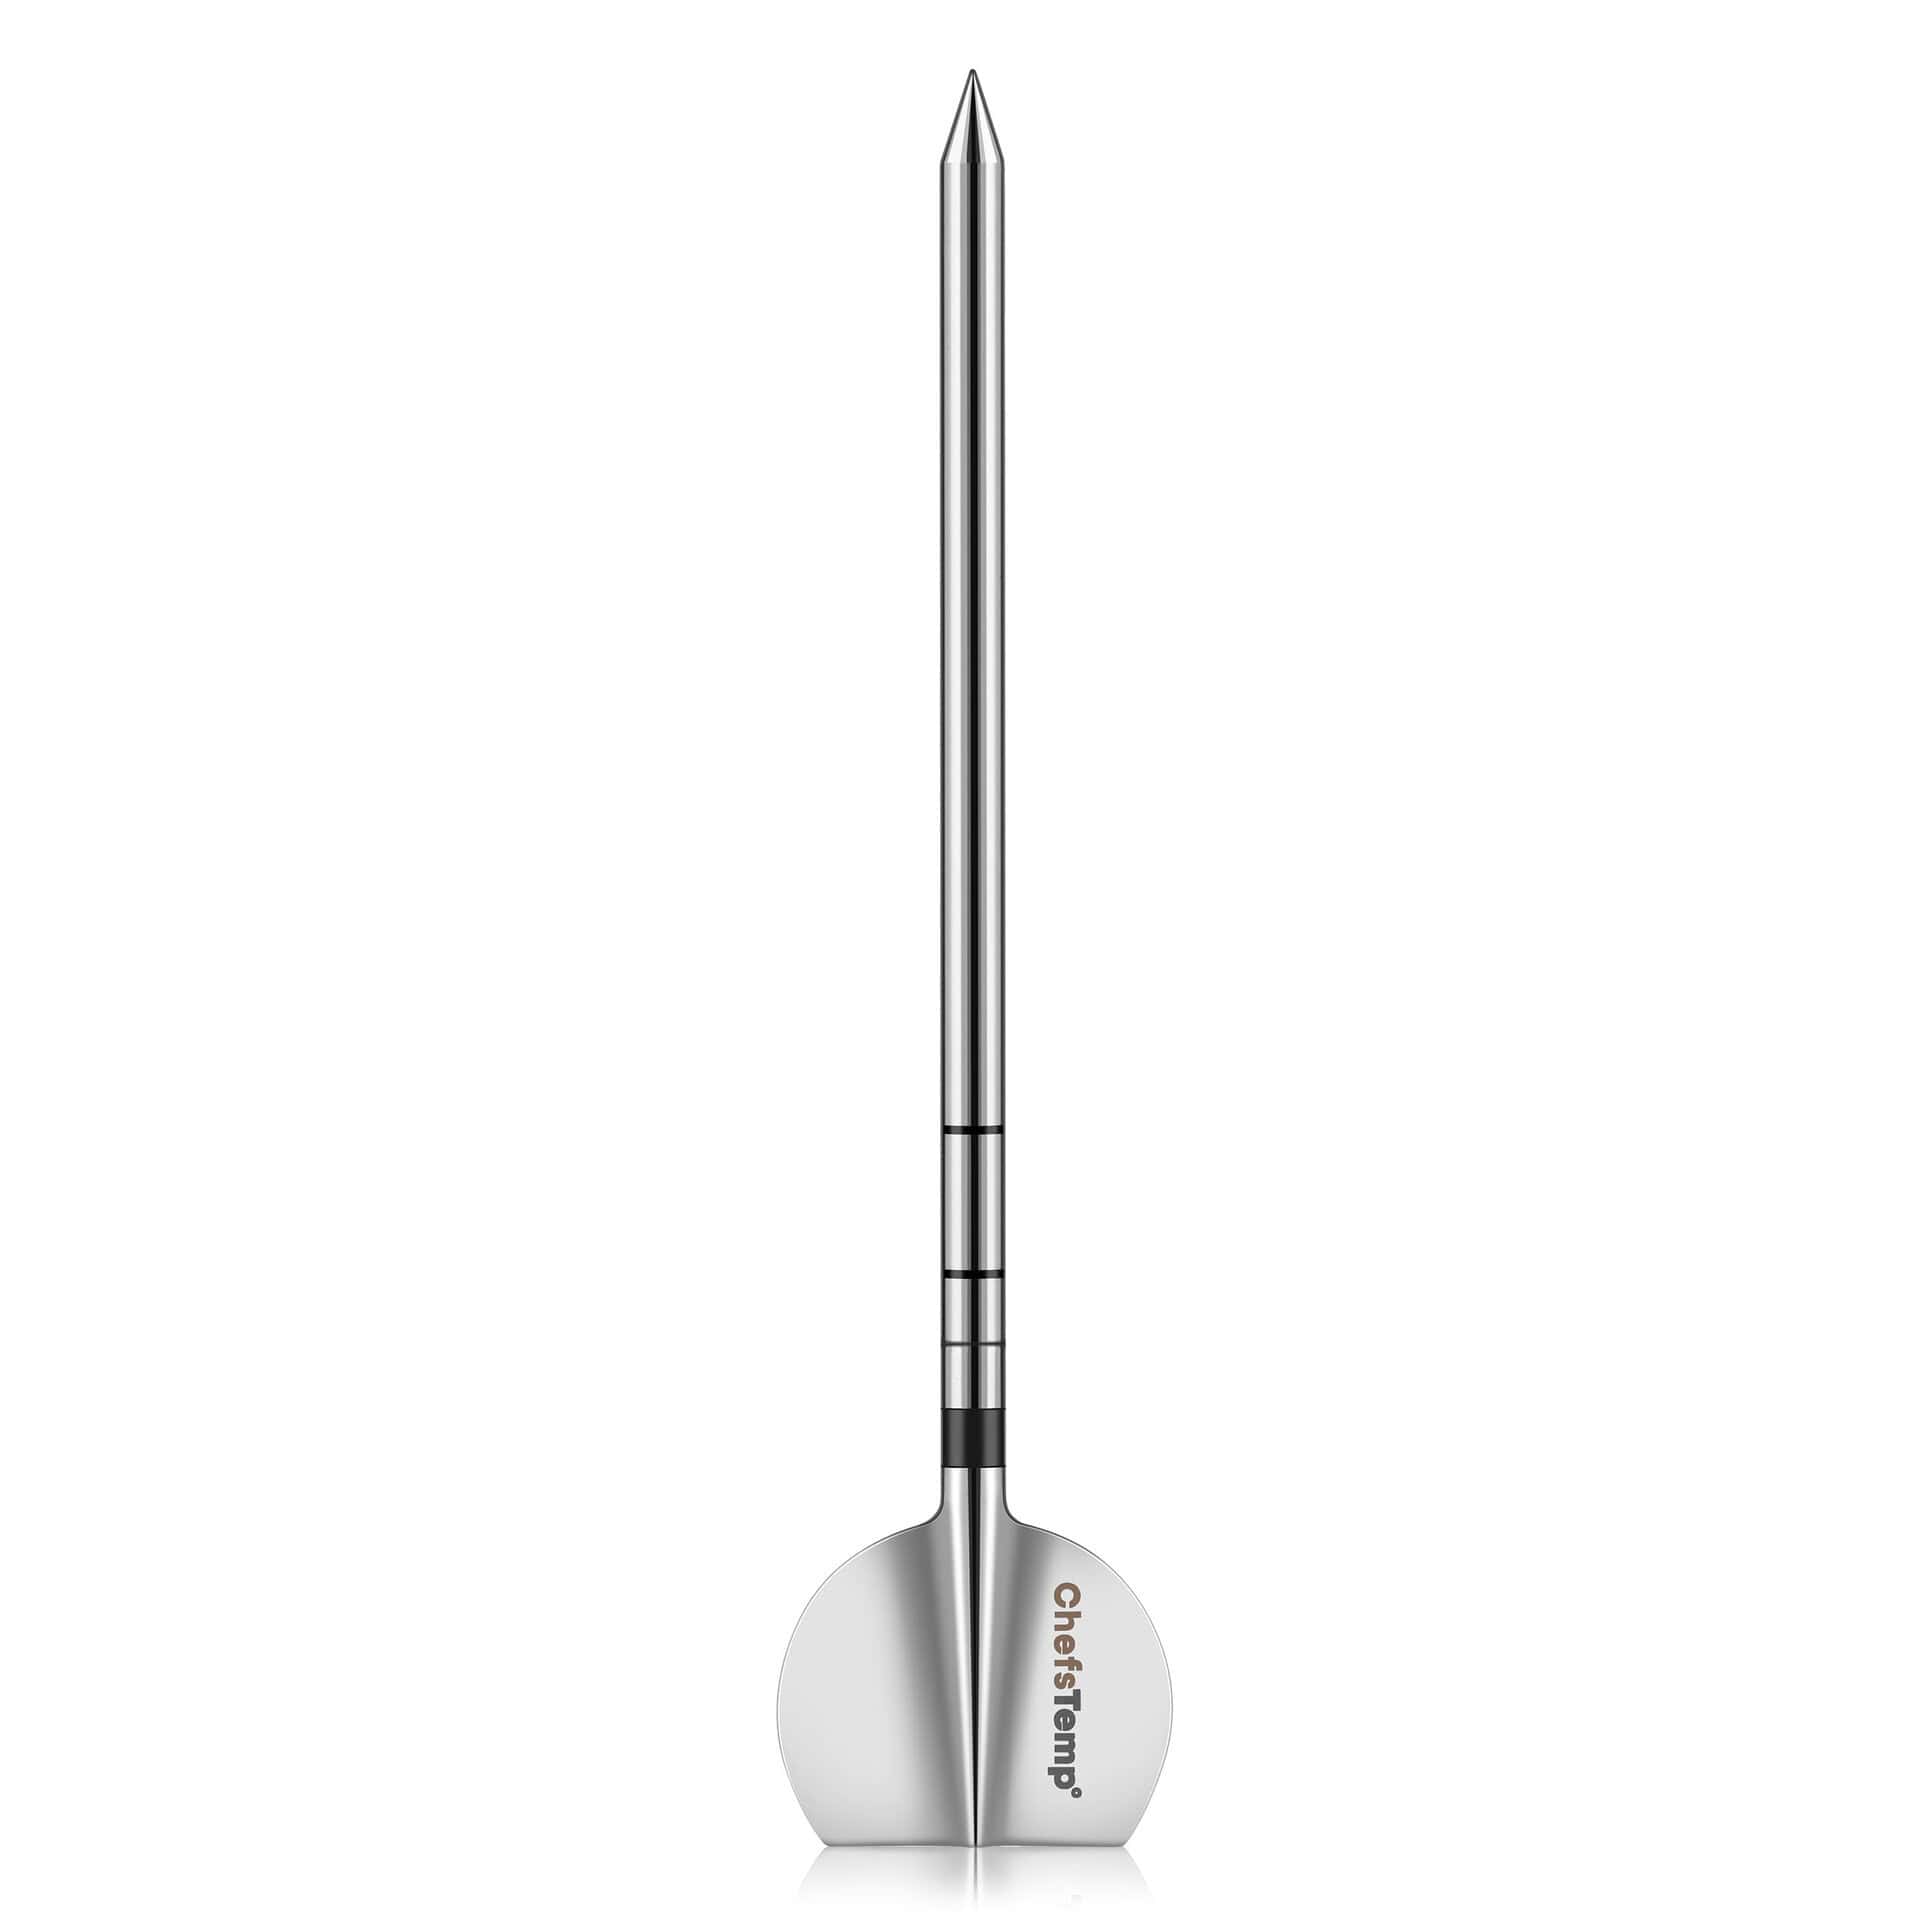
Instead of guessing when the pork is ready, I use this specific tool for long oven cooks because its ultra-thin 4.55mm probe slides into the lean loin without leaving a gaping hole, safely locking the juices inside the meat. Additionally, it features true standalone Wi-Fi where the charging base connects directly to my home network. This means I don’t have to leave a tablet next to a hot oven as a Bluetooth relay; I can simply monitor the hours-long cook from my phone anywhere in the house.
-
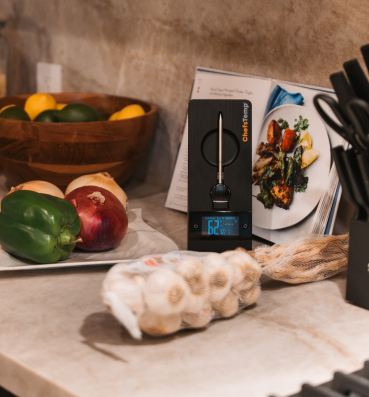
ChefsTemp ProTemp 2 Plus
I recommend checking out our comprehensive analysis on alternatives to the Thermapen meat thermometer if you are looking to refine your kitchen arsenal with more high-end precision instruments.
Once your probe is securely installed and your app is recording data, just close the oven door and leave it for the next 3 to 4 hours. This will ease your mind as you take the most hands-off approach possible. This is exactly why I have made cooking baby back ribs in the oven my most prized weekend pastime.
Unlocking Authentic Smoked Baby Back Ribs Flavour Indoors
Unlocking Authentic Smoked Baby Back Ribs Flavour Indoors
You can perfectly replicate an authentic smoked backyard flavor indoors by managing surface moisture and finishing the ribs under high heat to caramelize the sugars. Here is the exact step-by-step process I use:
- Schritt 1: The Moisture Spritz: For cookingbaby back ribs in the oven, dry heat is very harmful. They need 25 minutes per 1 pound. After 3 hours, when they reach an internal temperature of 165°F to 175°F, check the leaner spots to see if the meat is dry. If so, use a generous spritz of apple cider vinegar to keep the surface moist and to add a bright, tangy taste.
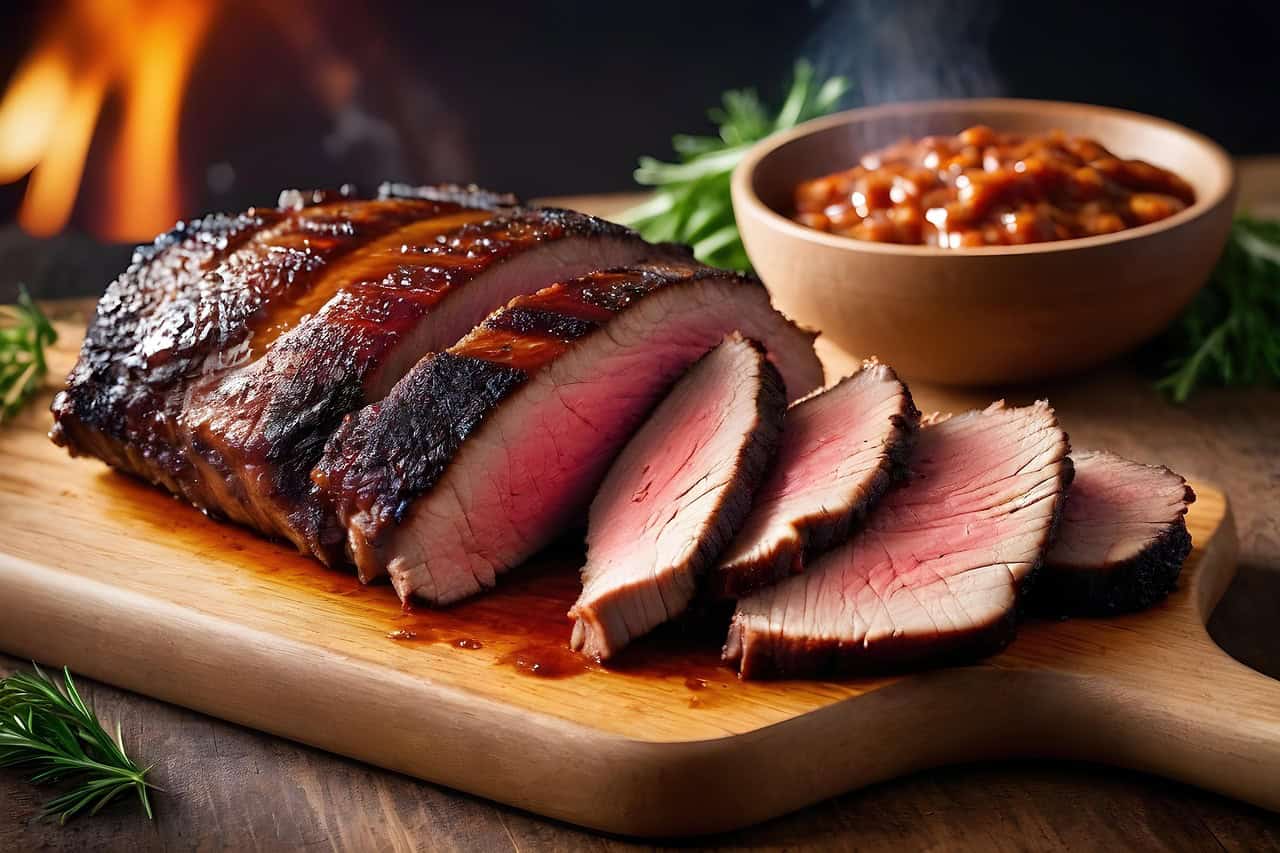
- Schritt 2: Building the Bark: When the temperature reaches 185°F, your meat will pull back from the bones. If you want to compete in the baby back ribs competitions, you need to build a strong and crispy bark. So pull the pan out and evenly distribute a thin layer of brown sugar on the ribs.
- Schritt 3:The Caramelisation Finish: If you want the sugar to melt and bind to the ribs, you need to increase the temperature of the oven or use the broiler for a few minutes. When the sugar binds to the paprika in the dry rub, it creates a caramelised crust that resembles what a real fire would look like.
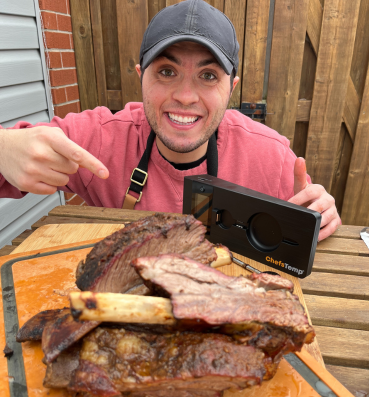
- Schritt 4:Rest and Slice: When the meat reaches 195°F to 205°F, and the probe slides in effortlessly, pull the rack out. Rest the meat for 15 minutes so the juices can regenerate. Finally, when the rack is upside down on your cutting board, you can see the bones. So chop and eat your delicious gig-smoked baby back ribs!!
FAQ about Baby Back Ribs in the Oven
Q1: Can I use foil when cooking baby back ribs in the oven?
Sure, the ‘Texas Crutch’ (wrapping the meat in foil halfway through) traps steam, increases cooking time, and gives the meat a more tender texture. Personally, I leave them unwrapped the whole time. I think the dry heat creates a much better, crusty bark.
Q2: Do other proteins need to reach 195°F like pork ribs do?
While pork ribs do require high heat in order to break down connective tissue, other meats are much more varied. For example, to avoid dry, overcooked fish, always consult a quality guide for internal temperature recommendations.
Q3: How do I prevent my meat from drying out while achieving that smoked baby back ribs texture?
Always keep the oven under 275°F. Check it frequently to reduce the risk of moisture loss from evaporation. To achieve a juicy finish, lightly spritz the surface with apple cider vinegar every time it looks dry.
Abschluss
You don’t need an outdoor smoker to create incredible baby back ribs in the oven. By strictly keeping your oven at 250°F, applying a heavy paprika-based dry rub, and finishing with a brown sugar crust under the broiler, you can effortlessly replicate authentic backyard BBQ flavor indoors. Grab a rack of ribs this weekend, follow these temperature milestones, and enjoy perfectly tender, fall-off-the-bone meat without the stress.
Entdecken Sie weitere ChefsTemp-Produkte
Entdecke weitere Rezepte und lerne Küchentricks, indem du unserer Kochfamilie auf Facebook beitrittst.
Das könnte Ihnen auch gefallen: