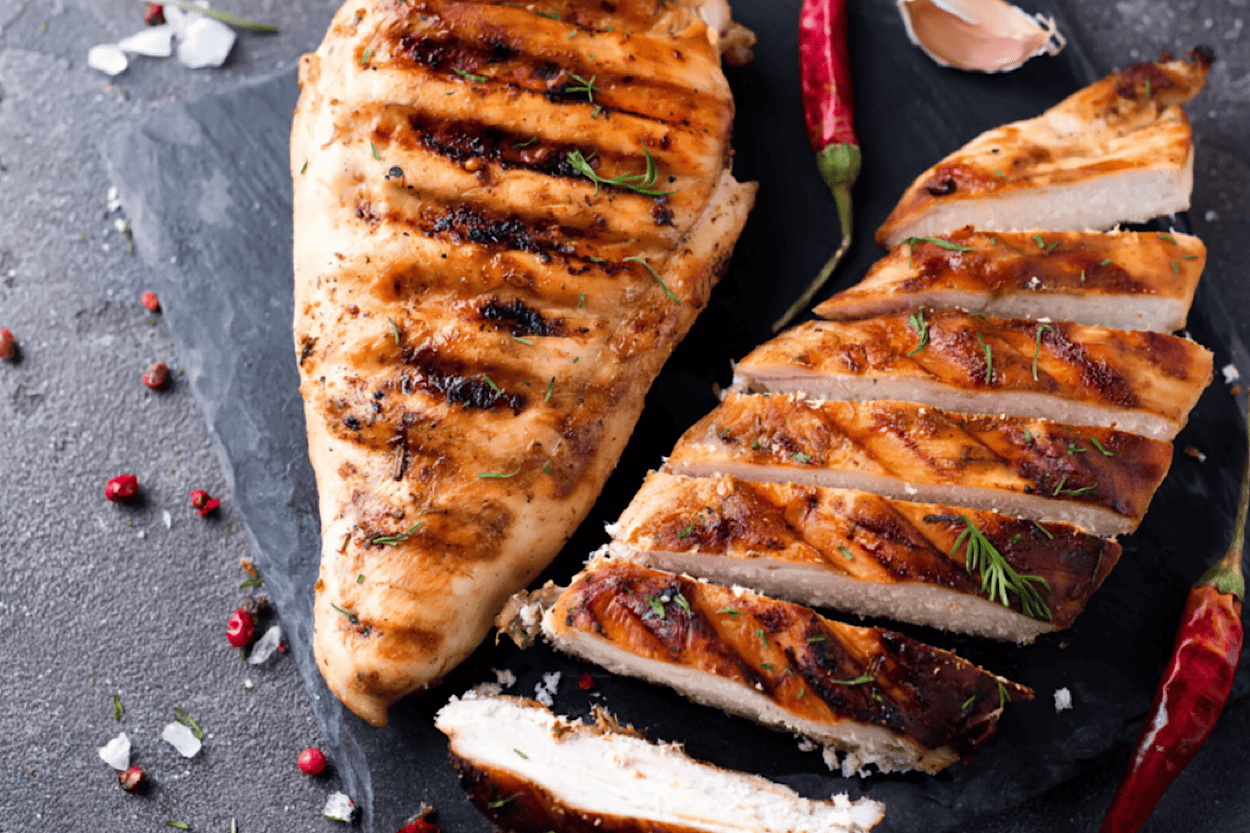
Perfectly Grilled Chicken Breasts: Thermal Perfection Plus Tandori-Style Recipe
A perfectly grilled chicken is a delicacy most Americans adore.
Who wouldn’t?
From the moment you cut through the tender meat up until you relish the juicy and flavorful taste, it’s a delightful experience. Oh, and of course, the burst of tastiness on your pallet!
But there’s a catch.
Trying to hit such accurate taste consistency is a toss-up for most people. But, if you fall within this category, you are familiar with the pinkish undercooked chicken or dry and overcooked cuisine.
So, if you’re trying to discover the secret to a perfectly grilled chicken breast, you are in luck!
We’ve uncovered a grilling mystery that informs grilling a chicken to perfection. And as a bonus, you’ll get a world-class Tandor-Style Recipe!
Teaser: temperature and time are vital to achieving your dream grilled chicken.
Now, let’s drill into the grilling tips already!
Table of Contents
What Is the Indefectible Doneness Temperature for Chicken?
You are probably used to the usual medium rare preparation for grilled meat. Chicken is quite different.
Chicken always has Salmonella bacteria present on it. The best way to get rid of these bacteria is pasteurization. 165°F (73°C) is the standard temperature for pasteurization; this temperature immediately kills Salmonella bacteria.
Unfortunately, that is the fast way to achieve an overcooked chicken.
This situation is a catch 29. How do you eliminate the bacteria and grill a perfect chicken simultaneously?
Remember we said time is critical while grilling chicken?
Now you need to introduce the time factor.
Well-executed pasteurization is a fine blend of temperature and time. For example, although 165°F (73°C) kills Salmonella bacteria, you can achieve the same result at 155°F (68°C).
Hence, you can still cook your chicken flawlessly at a slightly lower temperature. A flawless grilling means retaining the juiciness, accurate doneness, and preserving the flavor. Although it might take more time, it’s worth the extra time.
However, the fear of undercooking chicken often leads to overcooking it. Hence, you may have more instances of overcooked chicken than undercooked ones. We have a couple of tips to help you grill your chicken to perfection.
Tips to Help Grill Your Chicken Breast Like a Pro
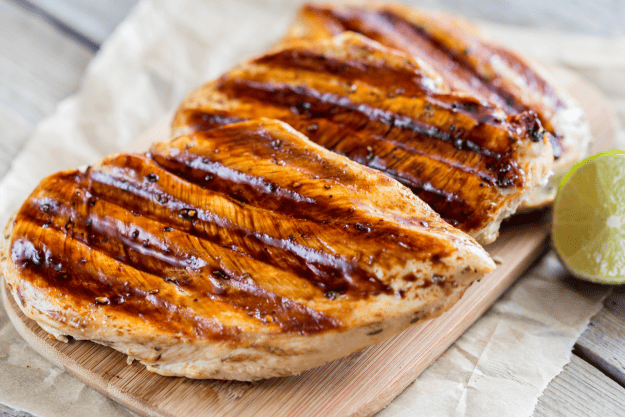
Pound Your Chicken
A moisty, juicy and tasty chicken breast requires optimum attention and extra effort. So one of the things you need to do is pound the chicken breast before grilling.
The general assumption is that a boneless and skinless chicken breast should go straight to the grill. But this assumption couldn’t have been more wrong. Contrarily, chicken breast creates a thermal gradient mess.
Managing the thermal gradients in an un-pounded chicken breast is arduous. It would have a thick middle coupled with thin edges. The edges would be dry and overcooked when the center reaches the prescribed doneness temp.
Research shows that the temperature swings in an un-pounded chicken are wide. For example, the swing between center and edge could be as vast as 53°F (11°C). But you can flatten out the gradients by pounding or flattening the chicken.
Pounding the chicken to even out its thickness can reduce the gradient immensely. And if you flatten it evenly, the heat would transfer uniformly and cook the chicken perfectly.
You will have a homogeneous final temp to show for the extra effort in the long run.
Worth it, right?
This tip has an incredible impact on your grilling quality.
There are more benefits attached to pounding your chicken. Let’s check out these benefits below:
Faster Cooking
Getting rid of excess bulky meat reduces your cooking time considerably. That’s because the heat has a lesser mass of flesh to travel through and before the center’s temperature reaches the required temperature.
Flattened meat cooks 4 times faster than the un-pounded one. Lesser time and better quality sound like a great deal!
Even Cooking
Uniform cooking remains an essential benefit. Uneven grilling is a common issue with avid grillers. So, you can achieve even cooking when your chicken’s thickness is uniform. It will come up to the right temp almost simultaneously. This way, you don’t have to deal with overcooked edges.
Preserved Moisture
Even cooking and less temperature gradient equate to moister meat. The excess meat mass and extended cooking time almost squeeze out moisture. As a result, you are more likely to have a moist, uniformly cooked chicken with healthy protein fibers. Undoubtedly, the chicken’s juiciness is one of its lovable features.
Tenderizing
Pounding your chicken tenderizes it by loosening protein fiber bundles. That way, you can dig into a rich and tender chicken breast.
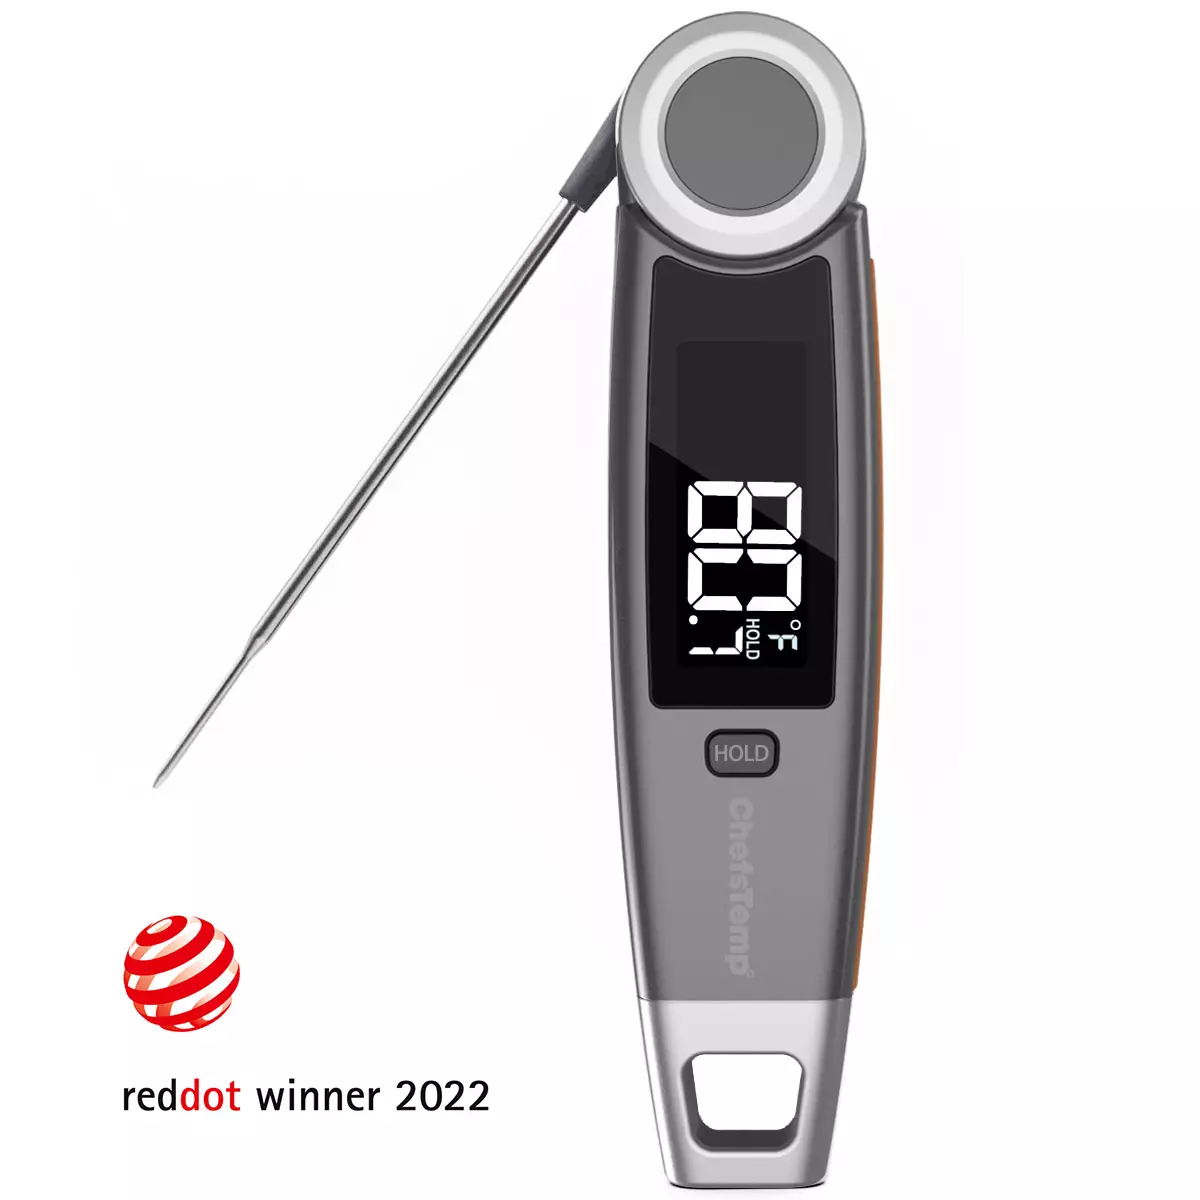
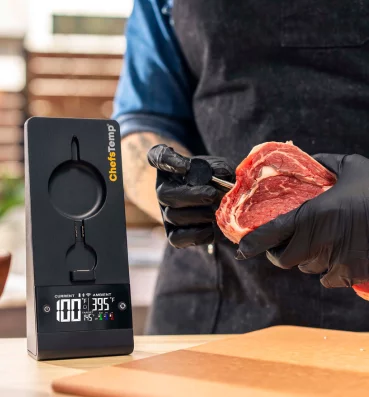
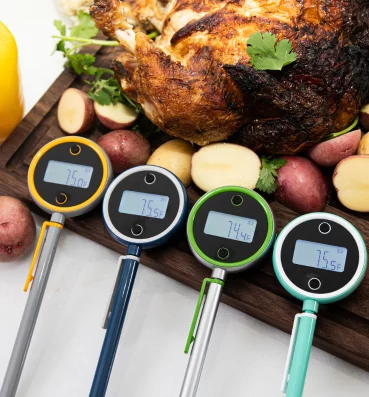
Use a ThermalPen
The general rule for cooking meat is that: a meat’s doneness is judged by the lowest temperature. Simply put, meat is only as cooked as its lowest temperature.
How can you determine the meat’s lowest temperature?
Gauging the thickest part of the meat isn’t a heady way of getting to the lowest point, which is in the center. Instead, check the temperature in several places to help you know when the chicken is well cooked.
If you prefer a slower grilling process, you can use a leave-in probe thermometer to track the temperature. However, Finaltouch X10 is essential to ensure the thermal center is safe to pull out.
Perfect Pull-Out Temperature for Grilled Chicken
No one wants to deal with food poisoning caused by undercooked chicken. Hence, you must cook your chicken thoroughly so you can relish the taste and be assured it’s safe to eat.
Your pull-out temperature is crucial since time and temperature affect a perfectly grilled chicken. We recommend you work with 155°F (68°C) pull-out temp. You should also foil the chicken for a few minutes to aid carryover cooking by maintaining that temperature for a while.
Chicken becomes safe to eat at 155°F (68°C), but this takes 55 seconds after it has reached that temperature. So, tenting it with foil will keep that temperature for about 1 minute. But, cooking it for extra 50 seconds might exceed your desired temperature.
Besides, the thermal gradients will equalize over the chicken breast, aiding carryover cooking. Hence, you will end up with about 165°F (73°C), which is a safe temp for chicken.
The best way to achieve a 5-7°F (3-4°C) rise in temperature for carryover cooking is by preserving the current temperature for a while. That’s why we recommend tenting it with foil.
How to Setup Your Grill for Chicken Breast?
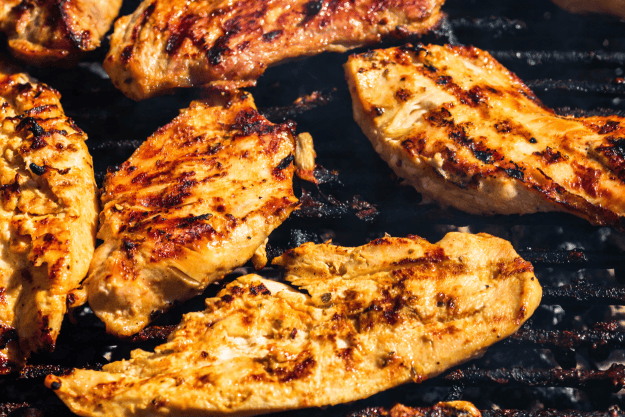
Defined grilling marks on the chicken depict a level of professionalism and attractiveness. So how do you achieve these gorgeous marks when you grill your chicken breast?
You need to heat the surface with high heat. But you don’t want to overcook it as well. So, preheat the grill on high heat and lower the temp to medium-high before placing the chicken breast on it.
Ensure you turn the chicken frequently to prevent an overcooked side, while the grill gradually pushes the chicken to your target temperature.
Tandori-Style Recipe
Ingredients
- 1 teaspoon cumin
- 3 tablespoon vegetable oil
- 1 teaspoon of ground turmeric
- 1 teaspoon ground coriander
- 1 tablespoon paprika (not hot)
- 1 teaspoon cayenne
- 1 tablespoon garam masala
- 2 tablespoon lemon juice
- 1 cup plain yogurt or buttermilk
- 4 minced garlic cloves
- 1 teaspoon salt
- 2 tablespoon minced ginger
- 4 skinless, boneless chicken breasts
Preparation
- Wrap a plastic wrap around your chicken and pound it until you have an even thickness, about half of the previous one.
- Heat the oil over medium-high heat.
- Put the dried spices in the oil and cook for a while. Or until it sizzles and becomes fragrant. Turn off the heat.
- Let the spiced oil cool for a while before mixing it with yogurt, salt, garlic, ginger, and lemon juice.
- Coat the chicken with marinade. You can do this with a bowl or place the chicken in a large zipper bag.
- Refrigerate the chicken for about 1 hour to 8 hours with the marinade.
- Heat your grill, preferably on high heat, for a start.
- Lower the heat to slightly medium-high before placing the chicken on it.
- Ensure you oil the grill grates generously.
- Take out your chicken from the marinade and shake off excess.
- Place the chicken on the direct heat.
- Turn the chicken after a while and grill the other side.
- Track the temp with a thermometer.
- Turn the chicken often for grill marks.
- Remove the chicken when the lowest temp is 155°F (68°C) and maintain the heat using a foil for 1 min.
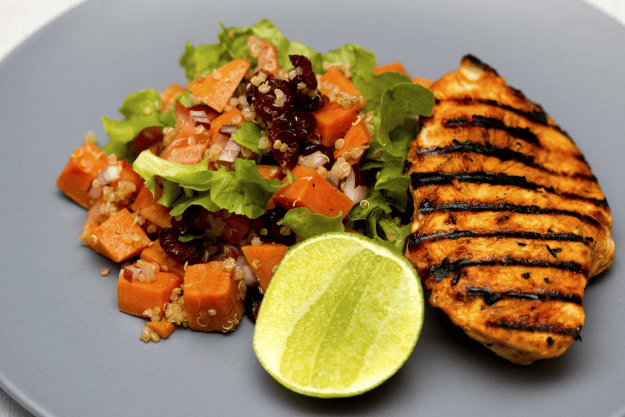
- Be creative with the chicken. Serve with salad or as an entree.
Grill the Best Chicken Breast!
Grilling a chicken breast could be a hard nut to crack. But you can practice it to perfection bearing these tested tips in mind. We hope you learned something new. We would grab some chicken and create some grilling magic if we were you. So what are you waiting for?
Discover Other ChefsTemp Products
Discover more recipes and learn kitchen tricks by joining our cooking family on Facebook.
You may also like:
