

With Kitchen Thermometers, How Cooking Is Made Easy and Yummy?
Have you ever been in a situation where you felt embarrassed because people didn’t like your cooked food? That can be hard, especially when cooking is your passion. While you can’t change people’s minds, you can improve the taste of your food.
Generally, people don’t like eating food when it’s undercooked or overcooked, as it can affect the taste. The best way to check whether your cooked food is fully cooked is to use a kitchen thermometer.
If you have never heard of it, this article will help you understand what a kitchen thermometer is and how it can make your cooking easy and yummy. Let’s dive right into it.
Table of Contents
What Is a Kitchen Thermometer?
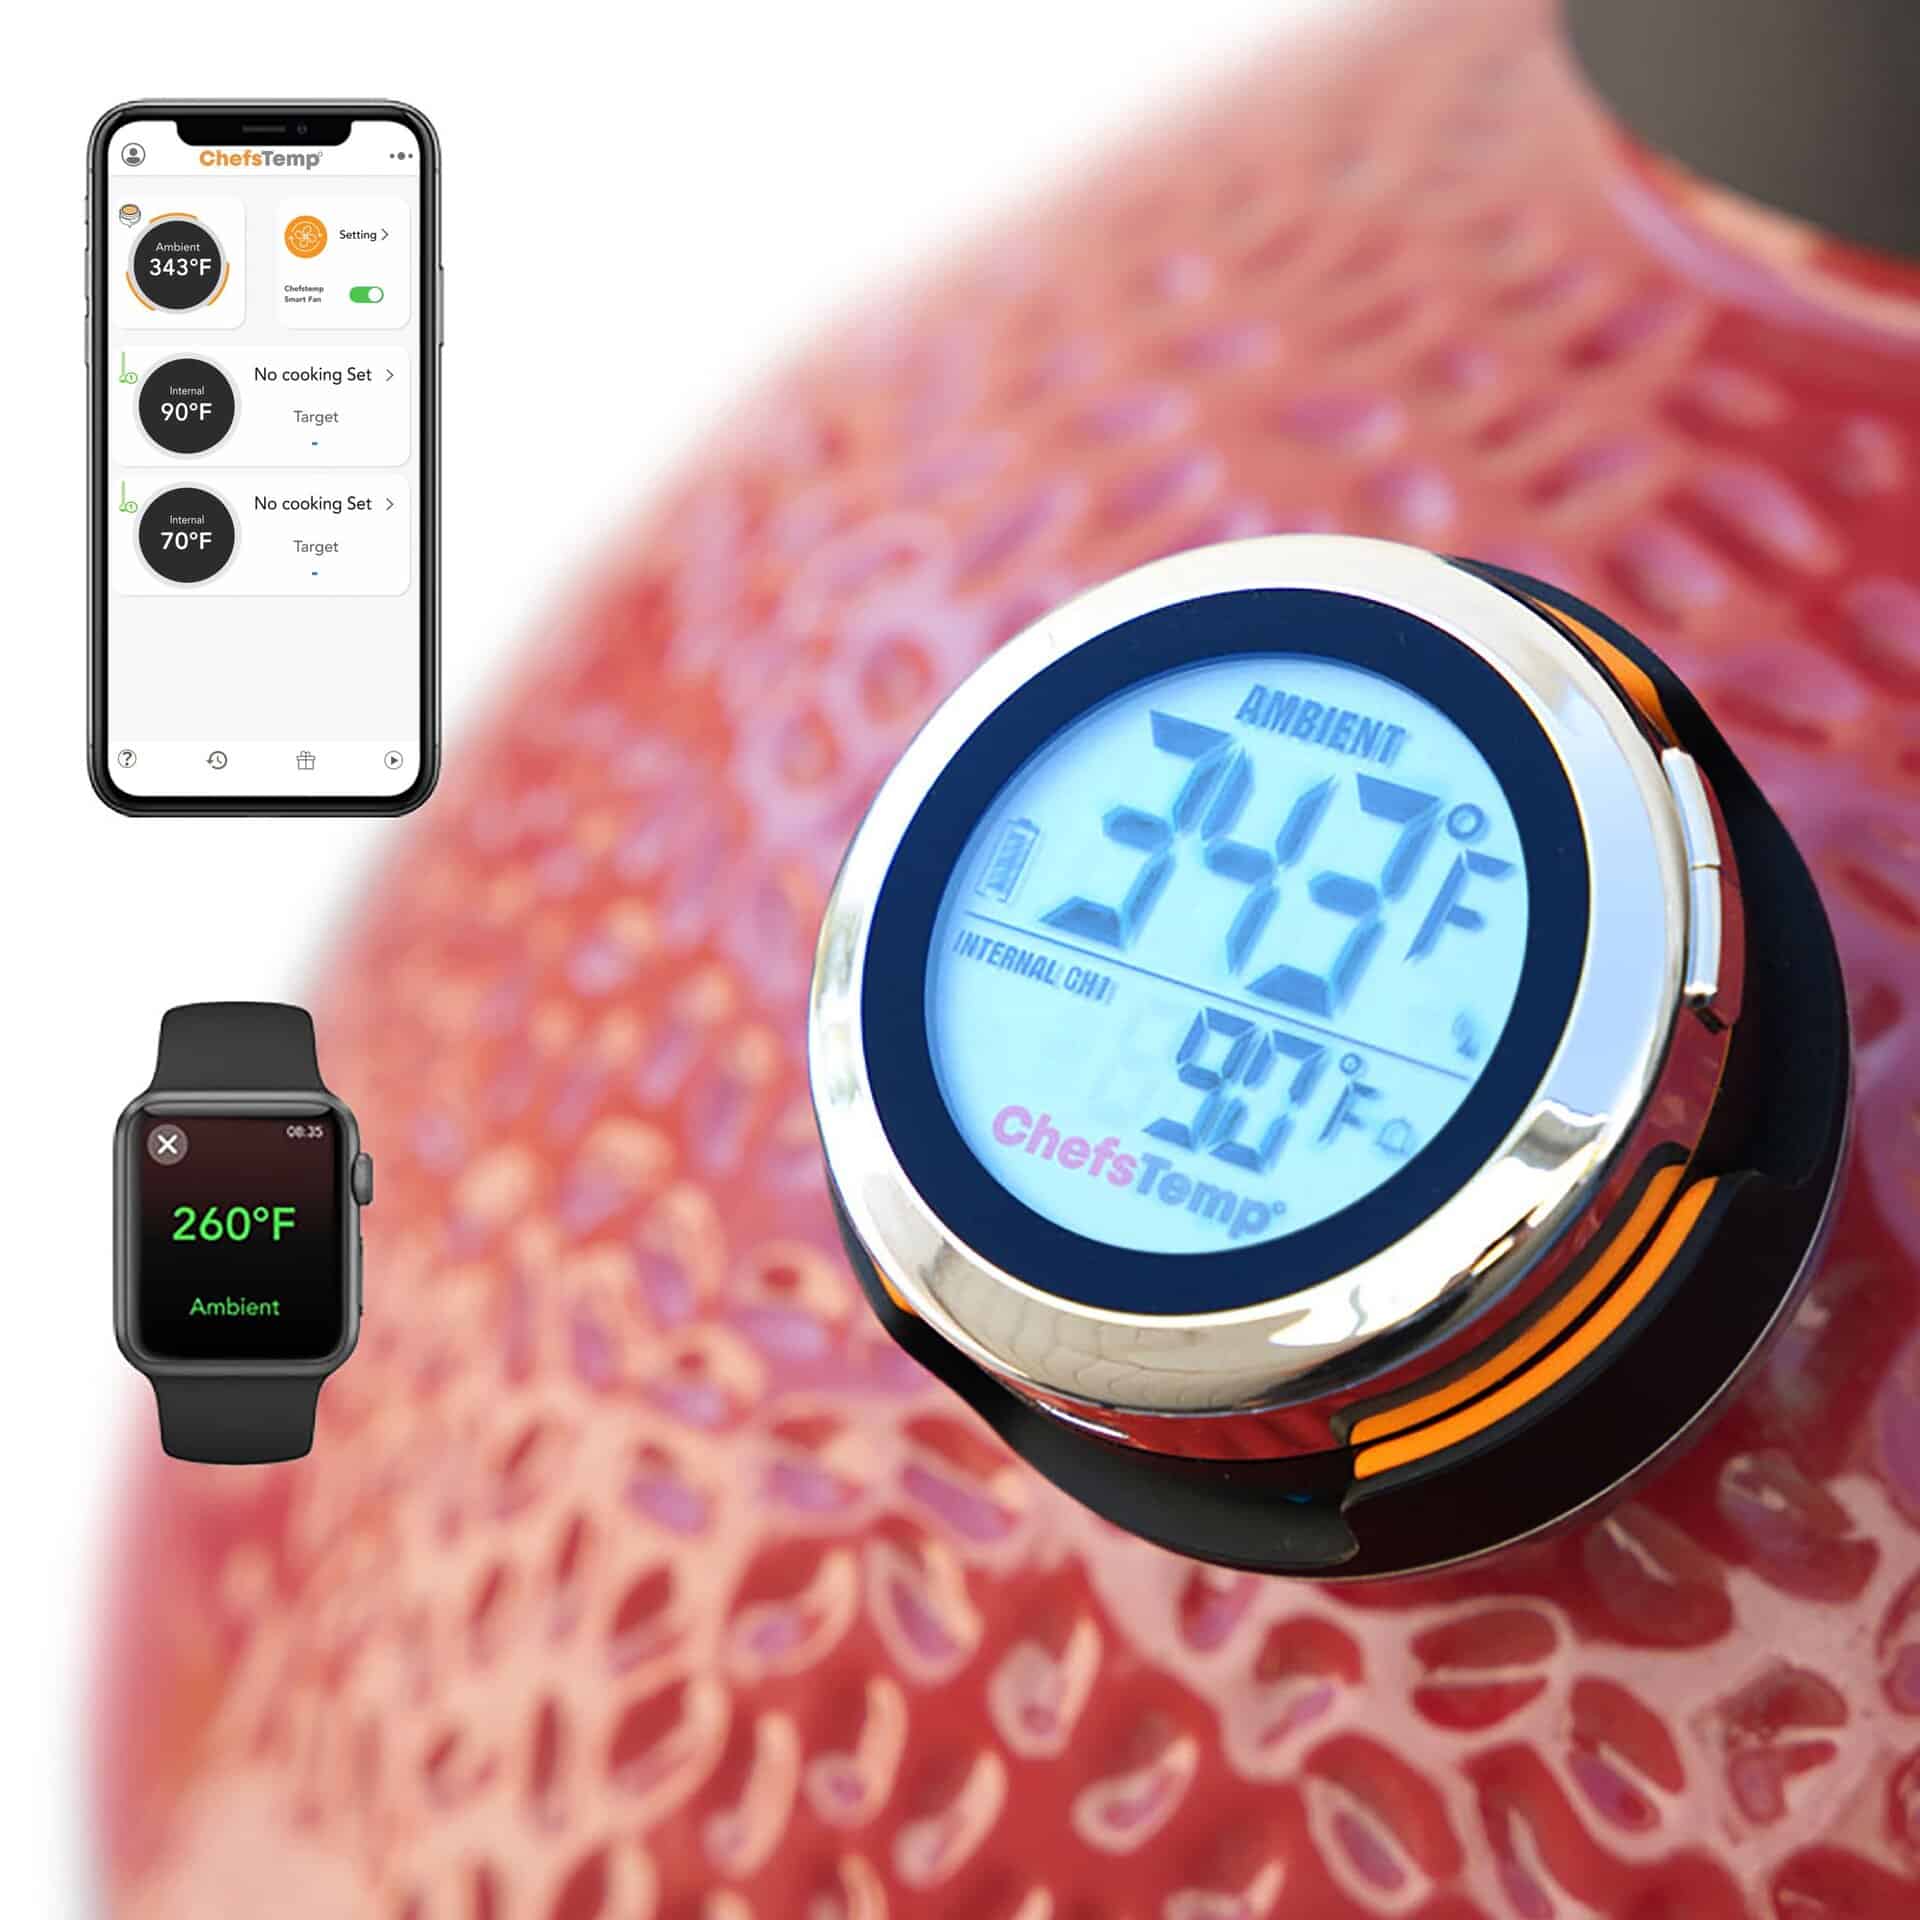
A kitchen thermometer is a device that allows you to check the internal temperature of your cooked food. While a kitchen thermometer is commonly used to check the core temperature of cooked meat, it is also used to check the temperature of poultry and fish.
Every meat or steak has a different minimum temperature required at which it should be cooked to ensure safety. According to the Food Safety and Inspection Service, beef, pork, or roast should be cooked to at least 145°F (63°C). Eggs should be cooked to 160°F (71°C), and fish to 145°F (63°C). You can check the safe temperature chart for more information on the minimum temperature requirements.
")
Types of Kitchen Thermometers
Kitchen thermometers can be categorised into the following types:
- Digital Thermometers: These are the best food thermometers used today. They provide accurate temperature readings. Some professional chefs and cooks use instant-read thermometers, which are known to provide faster, more precise readings. Since they are digital, they can be reused.
- Dial Oven-Safe Thermometers: These thermometers can provide readings in 1-2 minutes, depending on the food. They can be used in meat, roasts, casseroles, and soups but are not suitable for thin foods. The best part is you don’t have to wait to insert the thermometer. You can do it right there while it’s cooking.
- Disposable Thermometers: They are intended for single-use and must be disposed of after each use. And that’s why they are inexpensive. But using them can be risky as they are made of glass and can contaminate your food if broken.
Let’s find out how kitchen thermometers can make your cooking tasty and yummy. Let’s see the benefits of using it.
Prevents food from overcooking: One of the main reasons people don’t like eating food is overcooking. Overcooked meat ruins a backyard barbecue by serving dry, rough, and tough meat that nobody likes. Don’t let this happen to you. You can easily avoid this by using a kitchen thermometer and cooking the meat at its proper temperature, which will make it juicy and tender.
Keeps you healthy: According to the Food Safety and Inspection Service, an estimated 48 million people in the US suffer from foodborne illness each year. The major cause of illness is cited as eating contaminated food resulting from improper cooking.
While we think, by judging the colour of the meat, that the pathogens have been killed, certainly they are not. Some pathogens don’t die unless the meat is cooked at its proper temperature. So, it’s better to stop guessing and start following the rules.
")
Regulates safe temperature: Leftover food is always a breeding ground for harmful bacteria. Consuming it can lead to serious consequences like falling ill and experiencing symptoms such as nausea, vomiting, diarrhoea, or fever. To determine whether the leftover meat is safe to eat, use a kitchen thermometer to measure its temperature.
Keeps up with every demand: It’s very common for people to have different preferences when it comes to having a steak. Some prefer it fully cooked, while others prefer it medium. In that case, you can use the kitchen thermometer to make sure your guest doesn’t disappoint. By checking the temperature with the kitchen thermometer, you can cook everything to perfection.
How to Use a Kitchen Thermometer?
Now that we have learned about kitchen thermometers, it’s time to learn how to use them properly.
Step 1: Test the accuracy of your thermometer
Before you start using it, check whether your meat thermometer provides accurate results. Two methods can be used to test accuracy: the ice-water method and the boiling-water method.
First, let’s test using the ice water method:
- Take a large glass and fill it with ice.
- At the top of the ice, add water and stir well. Hold for three minutes.
- Locate the thermometer stem 2 inches into the mixture.
- Note whether the thermometer reads 32°F (0°C) after 30 seconds.
")
Now, let’s test using the boiling water method:
- Fill a deep pan with water and bring it to a boil.
- Place the thermometer 2 inches into the boiling water.
- Note whether the thermometer reads 212°F (0°C) after 30 seconds.
If the above-mentioned steps work successfully, it means your thermometer can provide accurate readings.
Step 2: Calibrate your thermometer
Calibrating a thermometer is easy, and manufacturers always provide instructions for adjusting it as needed. Calibration, however, is not required for some digital thermometers. Most of them are equipped with a self-calibrate function. But to ensure your readings don’t deceive you, recalibrate it each time for the most precise readings.
")
Step 3: Proper placement of the thermometer is important
To get the most accurate readings, proper placement of the digital read thermometer is important. Placing it in the wrong position will give you false readings. Always try to place the thermometer in the thickest part of the meat while avoiding fat and bone. Since bones are good conductors of heat, placing the thermometer too close to the bone will give you a higher reading.
For eggs and fish, place the thermometer in the centre or thickest part of the dish.
Step 4: Measure readings at the right time
Take time before you start placing the thermostat in the meat. The appropriate time to check the temperature of your cooked meat depends on the size. For example, if you are cooking a large roast, don’t insert the thermometer at the start. Start checking the temperature 30 minutes before the completion time.
If you are cooking fine or thin parts of the meat, start checking five to ten minutes before you expect it to be done. After you finish cooking, wait 3 to 5 minutes before consuming the meat.
Step 5: Keep your thermometer clean
After each use, clean your thermometer to prevent contamination and the spread of harmful pathogens. Use clean, soapy water to wash the thermometer.
Conclusion
If you are a passionate cook who loves to keep everyone happy with tasty food, a kitchen thermometer is a must-have. It’s important to understand its basic functions and achieve juicy results. But to get the most accurate results, make sure you are using it as instructed. Any kind of error will give you false readings that you would never wish for.
Discover Other ChefsTemp Products


Discover more recipes and learn kitchen tricks by joining our cooking family on Facebook.
You may also like:


