Tech Support Questions
If you encounter any product issues or have technical questions not covered here, you can start a chat using the message icon in the lower‑left corner for faster assistance. You’re also welcome to contact our Customer Support Team at [email protected].
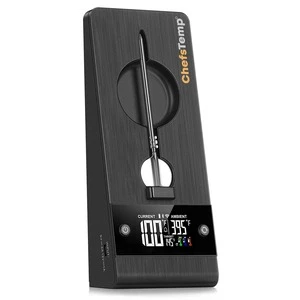
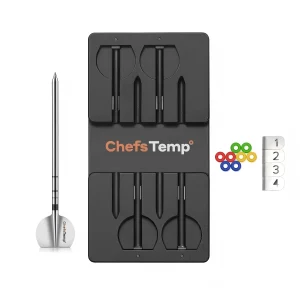
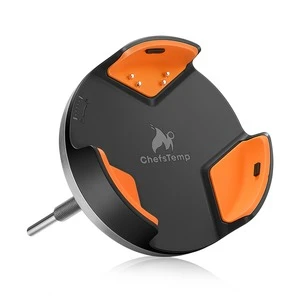
Probe: It cannot be charged on Plus Series Stand.
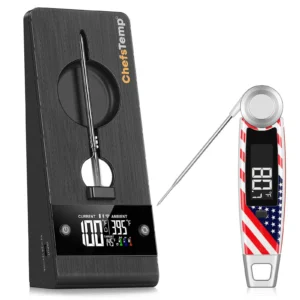
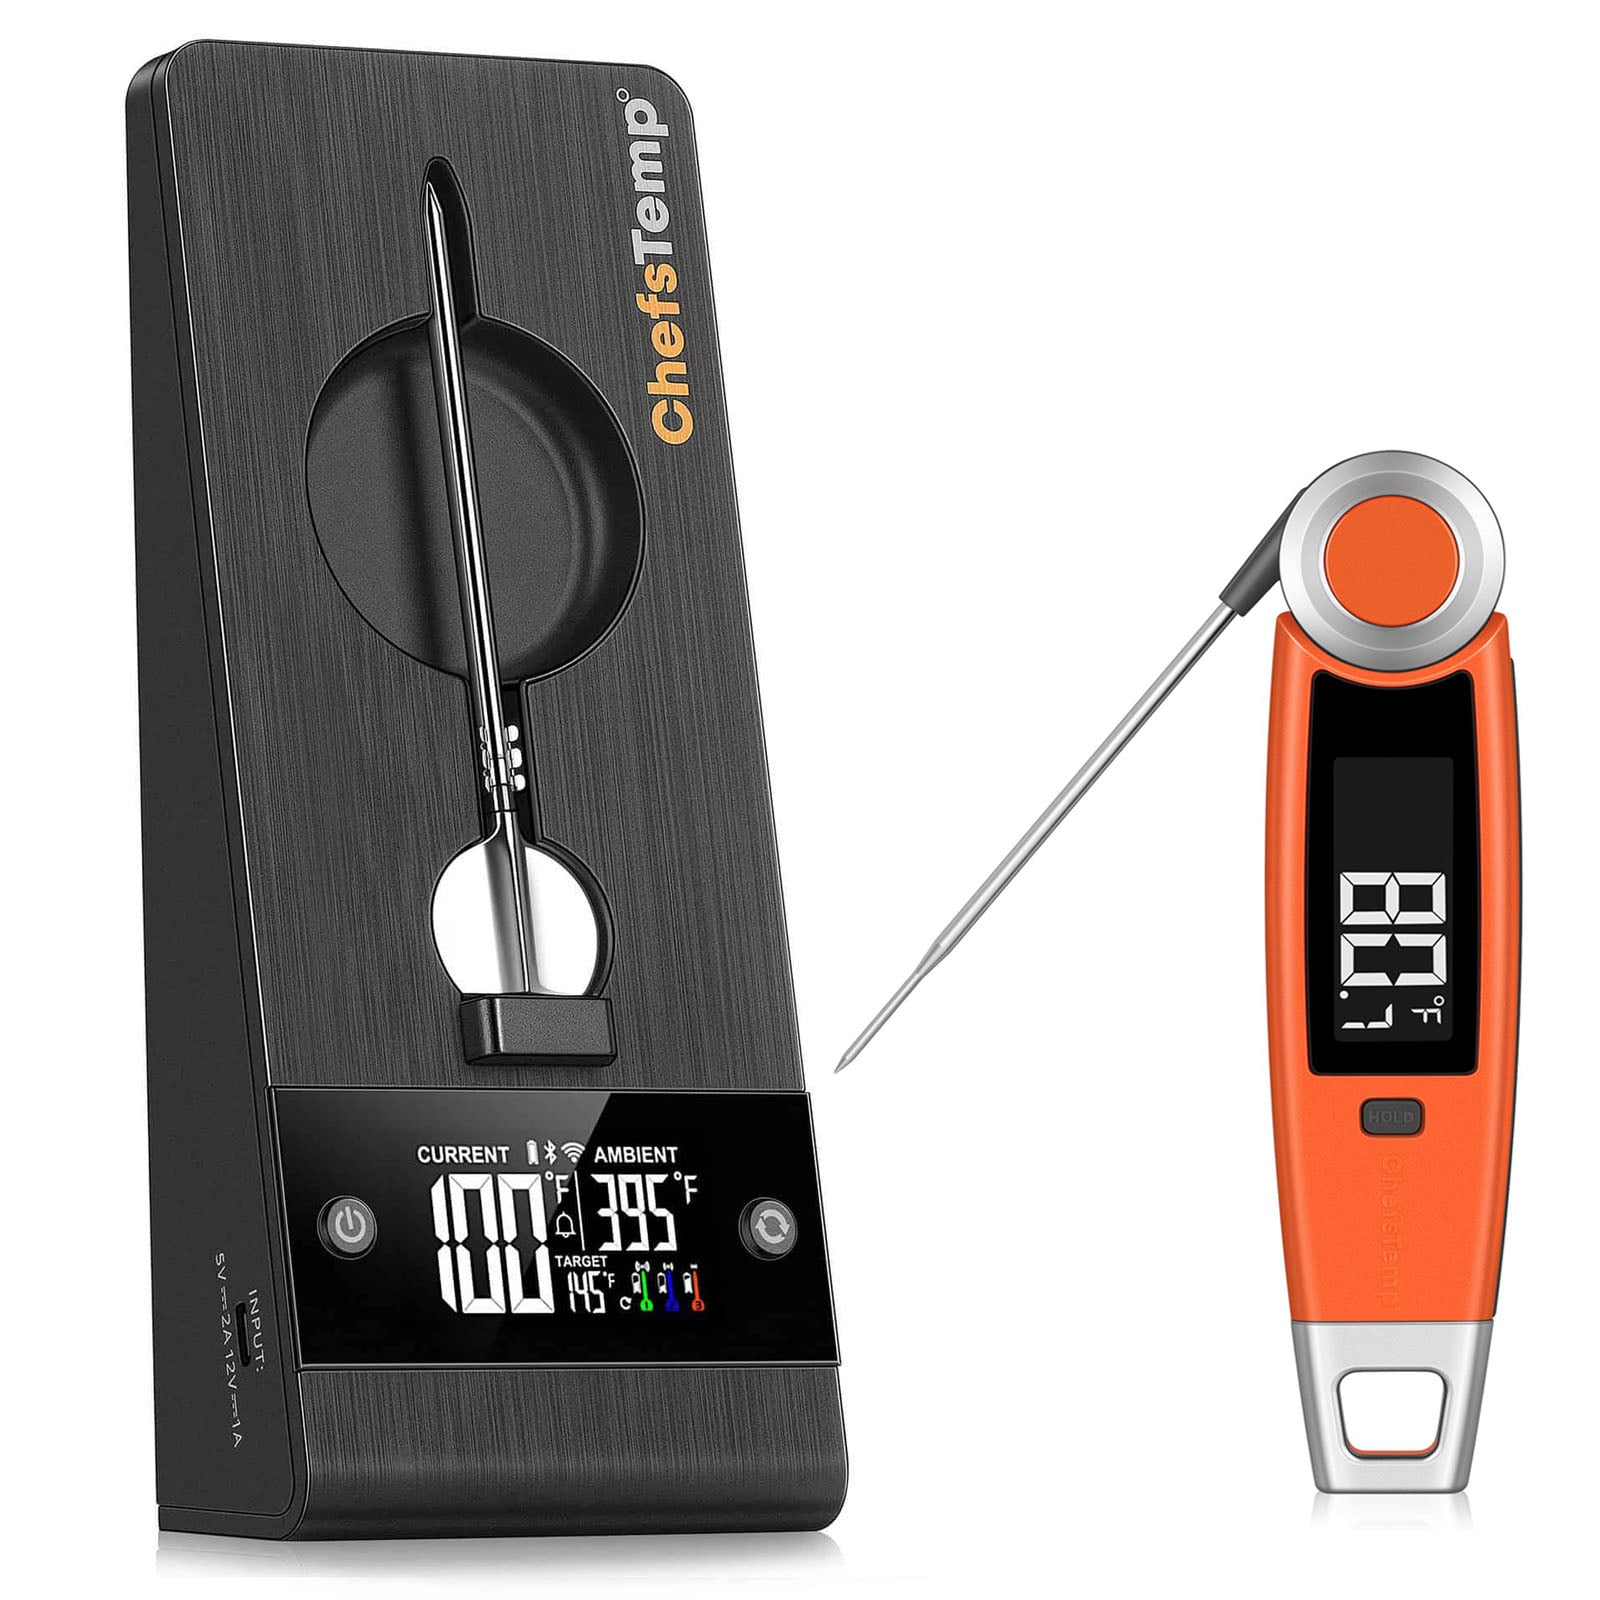
When charging your probe on the ProTemp Plus Stand, the colored battery icon on the screen will display an animation. Once fully charged, the icon will show as full and flash, indicating the probe is ready for at least 30 hours of use. If you are not sure if the probe has been fully charged or if it is unable to be charged, please go to My Connections>>My Paired Probes>>Tap it to check its battery.
If the probe isn’t charging properly, please try the following:
- Clean the remaining grease on the probe before charging.
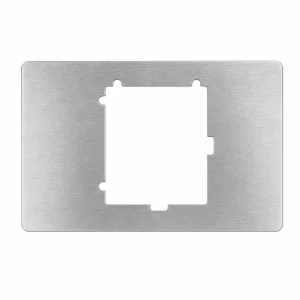
- Adjust the metal plate in the Stand’s charging slot to ensure proper contact with the probe: Fix Your Plus Charging Stand: Solve Loose Contact Issues Fast!
- Restart the stand, then place the probe in another slot to charge it. (Both the front and back slots can be used to charge the probe.)
- Download the LightBlue app and check if “Probe” appears in the device list. Each charged probe should display as a separate entry.
- Record a short video showing the probe charging and send it to [email protected]. We’ll review it promptly and resolve the issue.
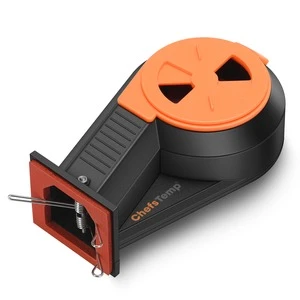
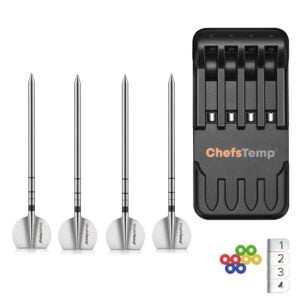
Probe: It cannot be charged on the 4-in-1 Charger.
To verify if your probe is charging correctly on the 4-in-1 Charger, please check the following:
- Charging Indicator: A blue light will appear at the corresponding charger slot when the probe is charging. The light will turn off once the probe is fully charged, indicating it’s ready for at least 30 hours of use.
- Probe Orientation: Ensure the probe is inserted correctly, with its tail making full contact with the metal plate in the charger’s slot. Place the probe in another slot to charge it.
- Download the LightBlue app and check if “Probe” appears in the device list. Each charged probe should display as a separate entry.
- Record a short video showing the probe charging and send it to [email protected]. We’ll review it promptly and resolve the issue.
Probe: It cannot added to ProTemp Plus Series, or ProTemp S1.
Please note that the 4‑in‑1 Probe Charger is designed solely for charging multiple wireless probes at the same time—up to four. The wireless probes cannot connect directly to the app; they must be paired with our smart thermometers, such as the ProTemp S1 or the ProTemp Plus Series. You can watch the probe tutorial here: How to Add a Wireless Probe to ProTemp S1 & Charge It with the 4-in-1 Charger.
If your probe cannot be added via the app, please check the following steps:
- Ensure your thermometer is turned on, and place it close to the probe so it can receive and transmit the signal properly.
- Before adding a probe, also ensure your thermometer is connected to Wi‑Fi through the app. The Wi‑Fi icon on the display should be solid (not flashing).
- Confirm that your probe is fully charged. When connecting, remove it from the ProTemp Plus Stand or 4‑in‑1 Charger, as Bluetooth cannot be detected while the probe is charging in the slot.
- Please note that each probe can only be connected to one thermometer at a time (either ProTemp S1 or ProTemp 2 Plus).
Probe: It is not working, just received.
Please remove the fully-charged probe from the Charger or Plus Stand, and insert it into the slot again to activate it.
Probe: Its temperature data is inaccurate, or displays LLL.
To ensure optimal performance, please kindly check the following:
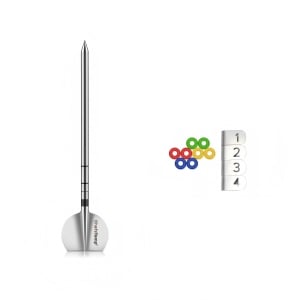
- When inserting the probe, make sure the tip goes past the safety line, but avoid placing the meat too close to the tail end.
- The tail end of the probe should not come into contact with the grill or any other surfaces.
- We recommend disconnecting all connections in the app and then reconnecting the probe to check.
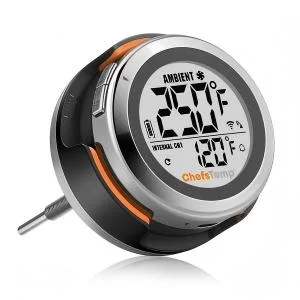
S1: The ambient temperature data displays LLL or “- – -“.
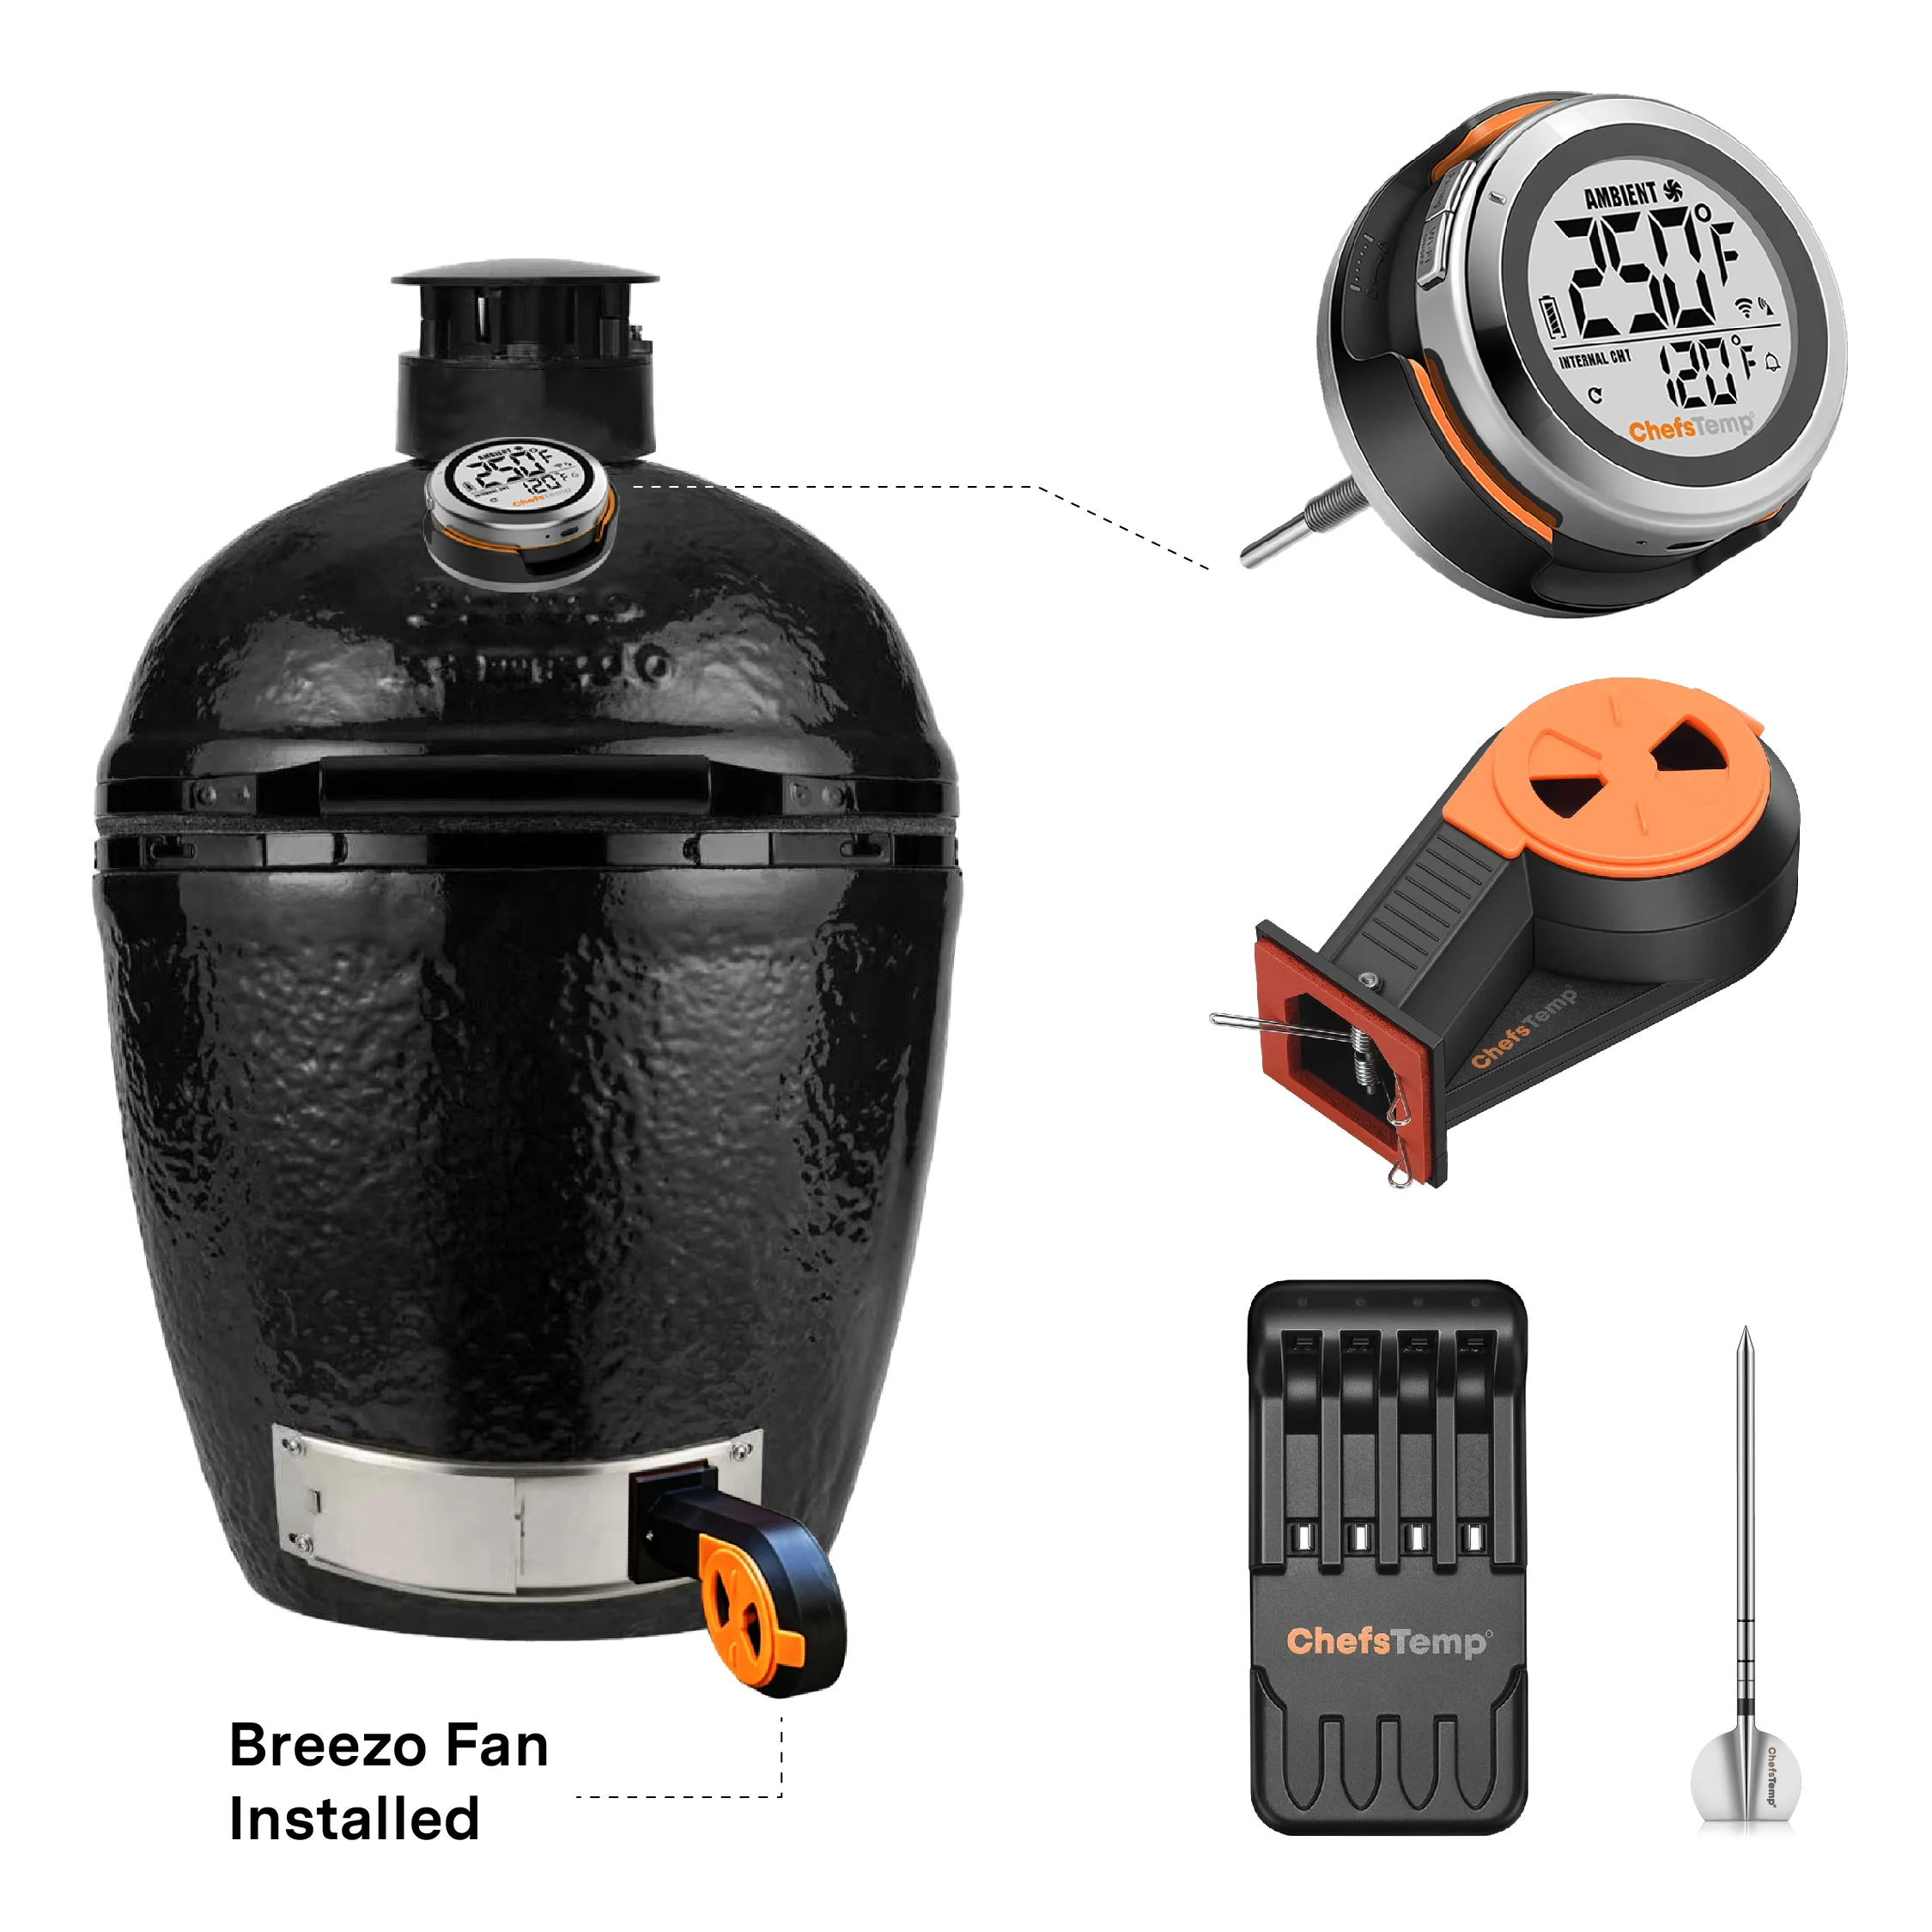
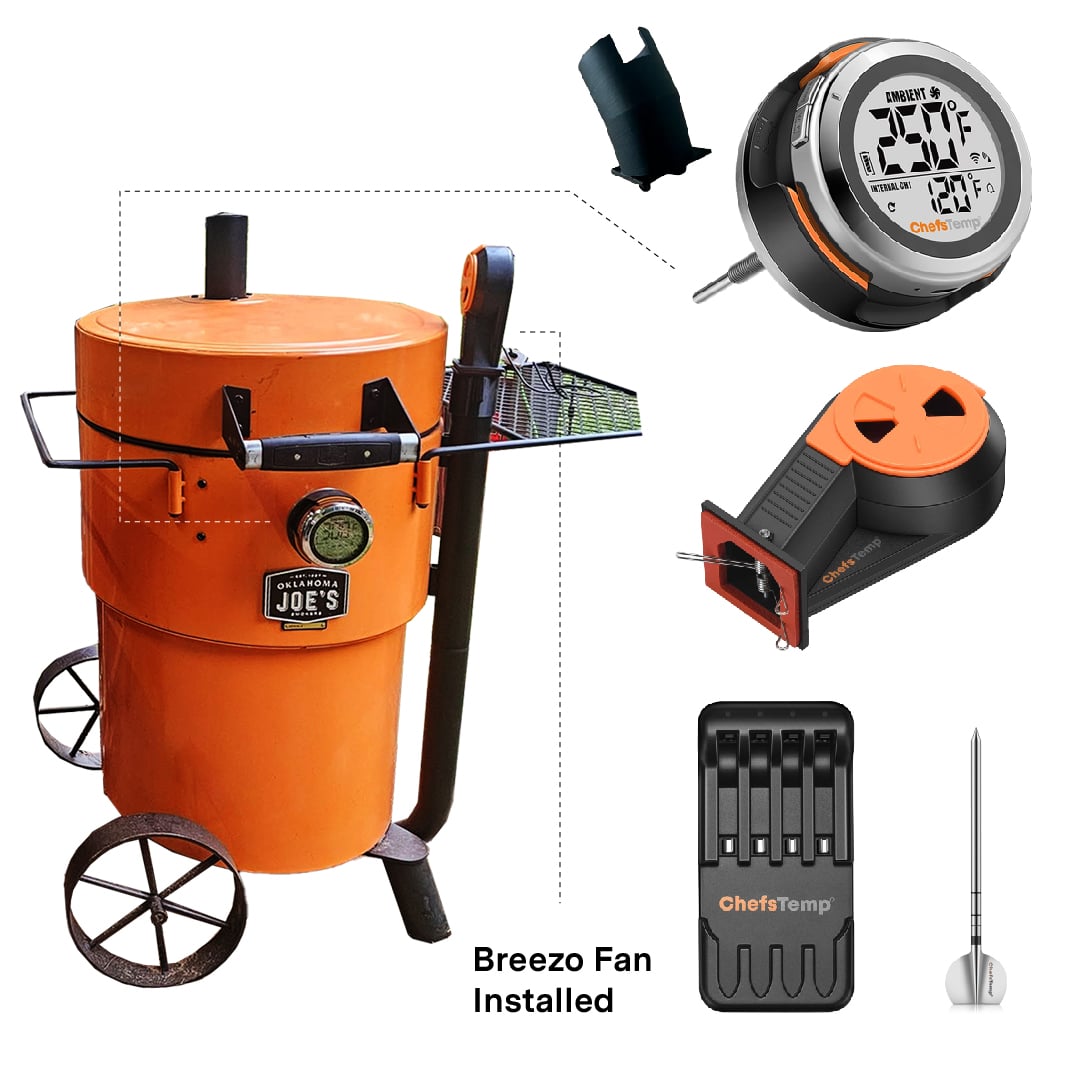
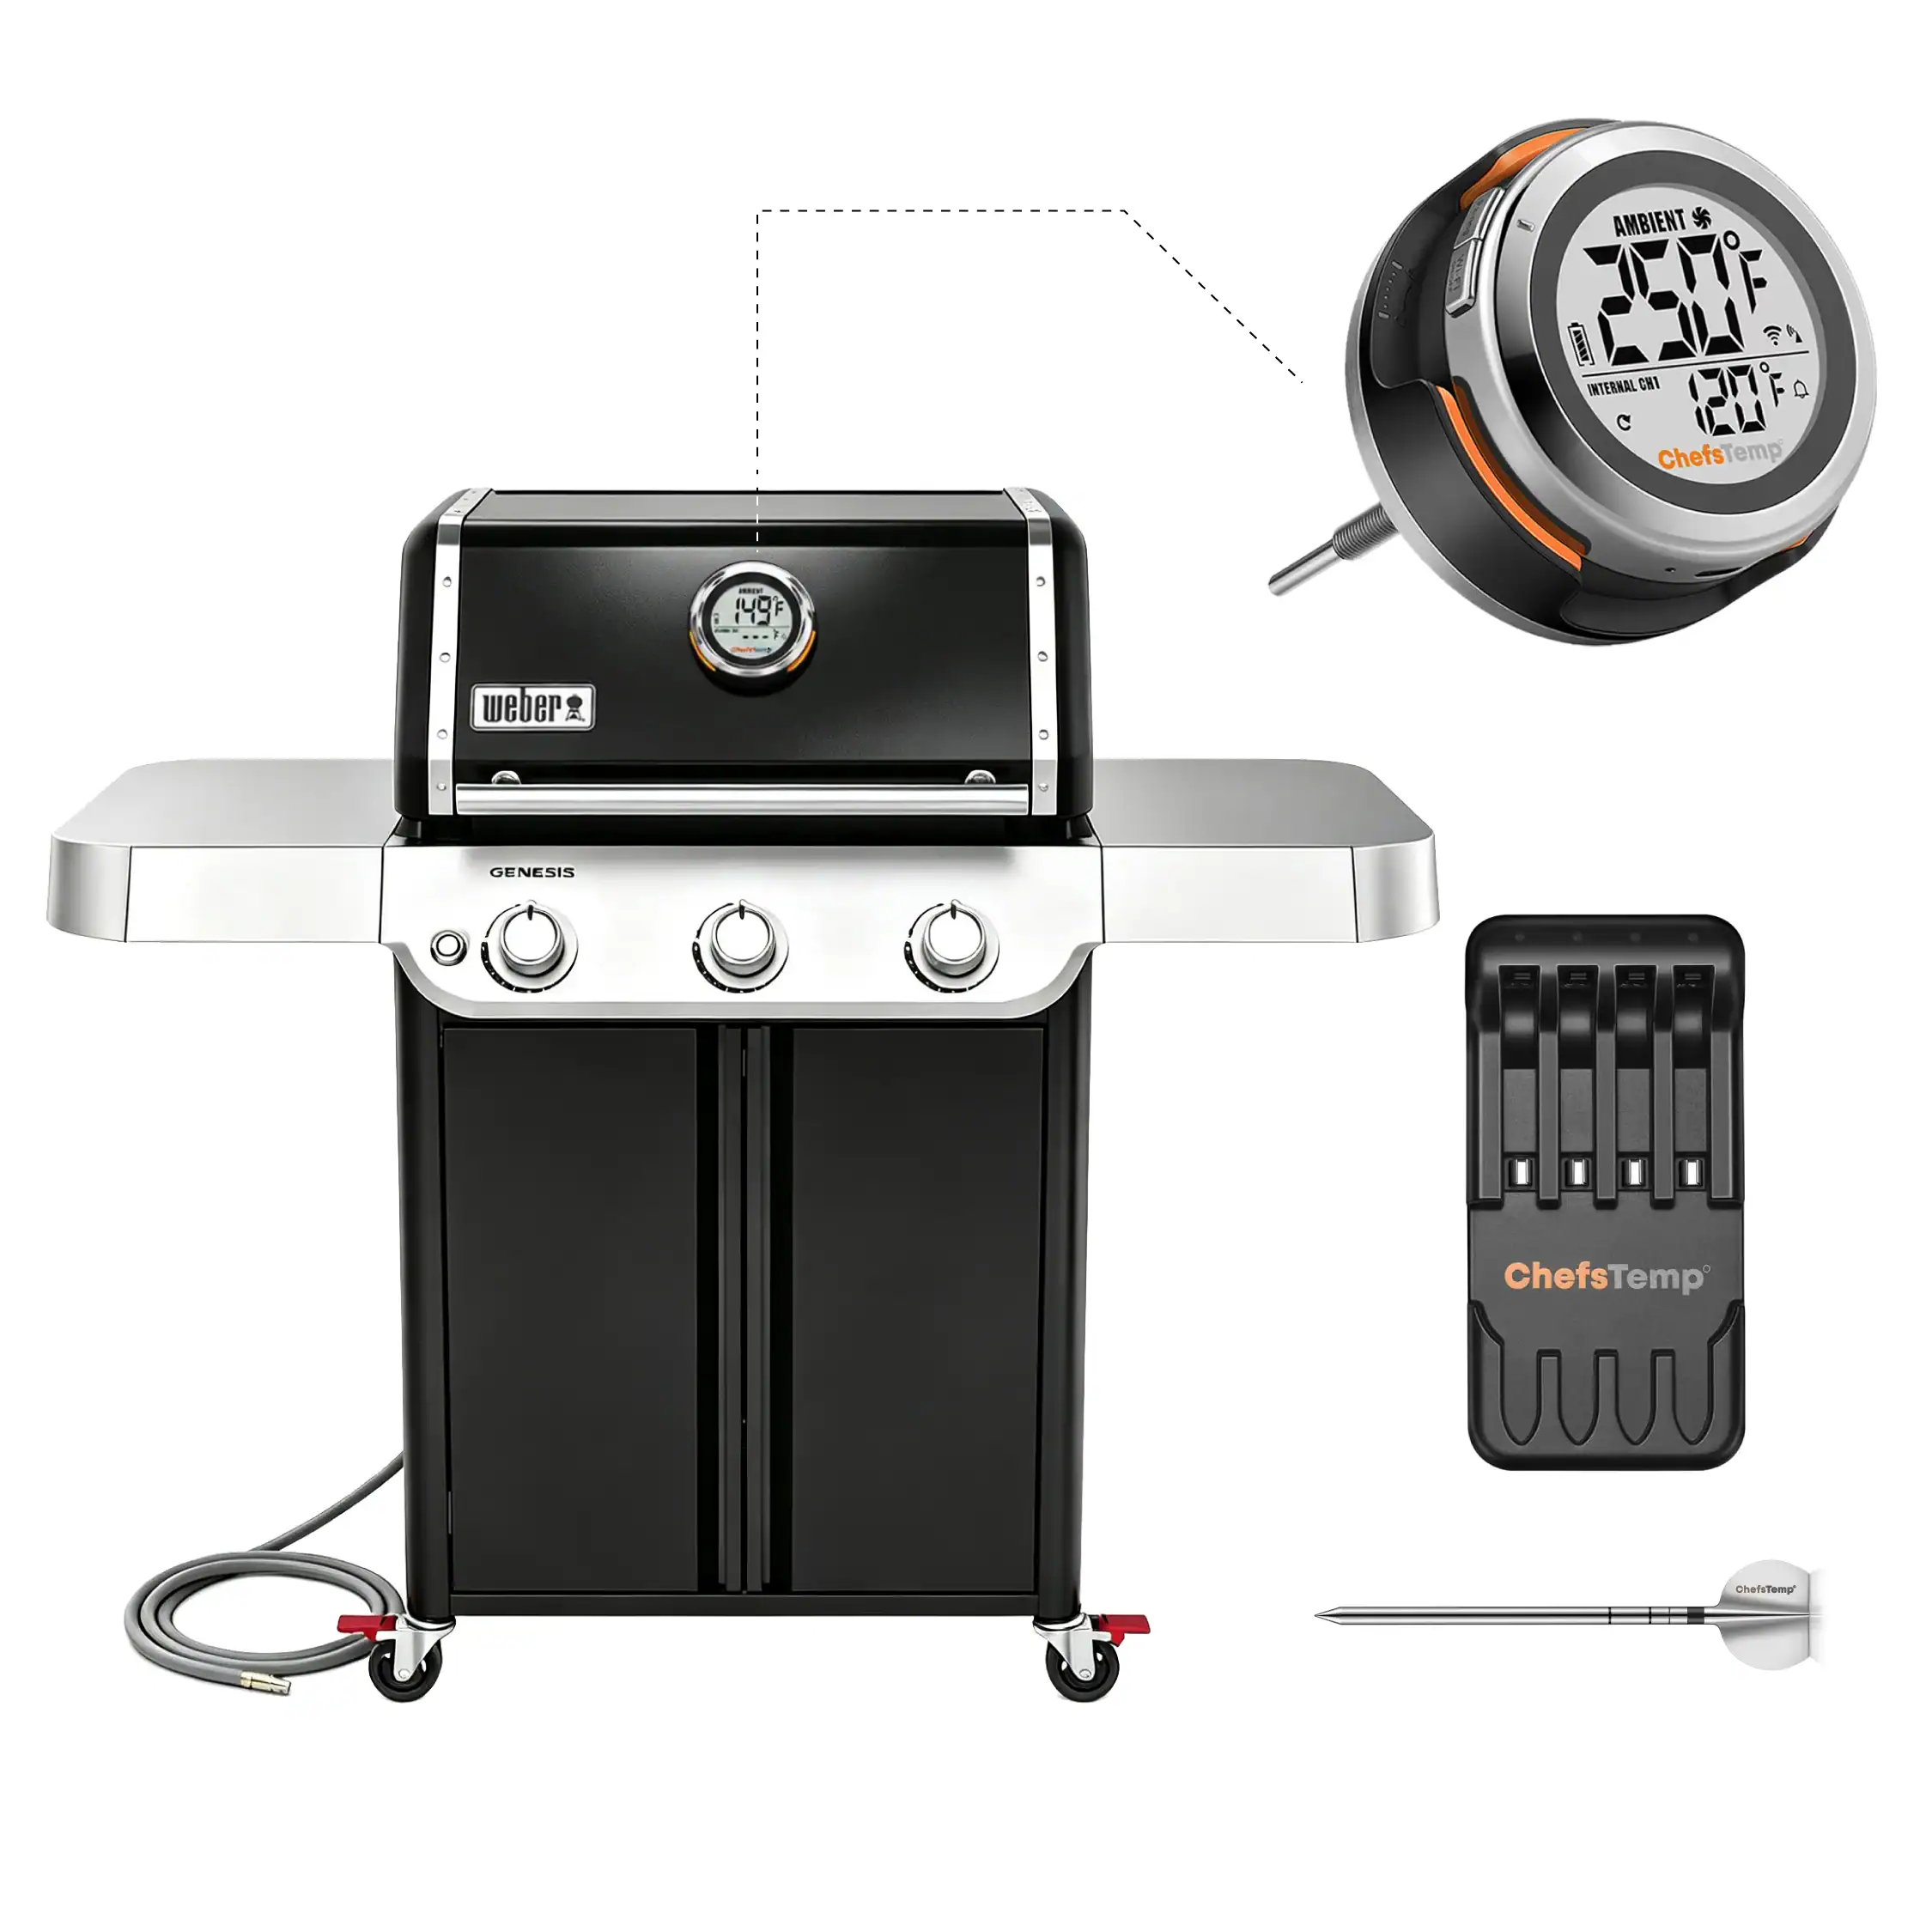
If your S1 does not display temperature data or display LLL, we recommend that you confirm whether the S1 Main Unit is correctly installed on the Base Unit and ensure that all contact points between the Main Unit and the Base Unit are in normal contact. You can watch our tutorial video to install it: ProTemp S1 Installation.
You can also reset S1 by pressing the RESET button next to the charging port to see if it can fix the issue. If it still fails, please take a video of the installation progress and send it to [email protected], and we will check and provide you with a solution.
S1: I fails to update firmware.
Please follow the steps below to ensure a successful upgrade: How to Update Firmware on ProTemp S1 | Step-by-Step Guide
- Make sure your S1 device is properly connected to the mobile app.
- You can click on “…” in the upper right corner of the main page, click on “My Connections”, then click on your S1 device, and then click on “Firmware Update” to check the firmware version. When a new firmware version is available, you can update the firmware here.
- Once the update is complete, the S1 will automatically restart. Return to the firmware page to confirm the update was successful.
ChefsTemp Warranty Policy – Hassle-Free, Guaranteed!
At ChefsTemp, every product is backed by a standard one‑year warranty and lifetime support—so you can cook with confidence from day one. If your device ever runs into an issue, simply reach out to us. Our team will quickly troubleshoot the problem or arrange a replacement.
There’s no need to ship anything back or wait through lengthy repair processes. Once your replacement is confirmed, just relax—your new unit will be on its way. After it arrives, you may dispose of the defective device according to your local regulations.
We’re here to support you through every cook, every season, and every kitchen adventure. Join our Facebook community to connect with other users, share tips, and see how everyone is enjoying their ChefsTemp gear. https://www.facebook.com/groups/chefstempofficial
S1: How to charge my S1 safely?
To ensure safe and effective charging for your S1, please kindly note the following:
- Keep ports dry: Before charging, make sure both the S1’s charging port and the charging cable are completely dry and free from moisture or oil.
- Avoid heat exposure: Do not charge the S1 on surfaces that have not fully cooled down, such as recently used stoves. Prolonged exposure to residual heat may compromise device safety.
- Charge before use: Ensure the S1 is fully charged prior to operation. Do not charge the device while it is actively being used on a grill.
- Use the original power sources: Always use the original charging block. Additionally, you can use a 5V⎓2A DC adapter and a Type-C charging cable.