What is a Crown Roast?
The holiday season is a unique culinary time, especially in America. We have Thanksgiving at the end of November, and then a month later we have Christmas! Most of us are turkey’d out after November, and the family gatherings and holiday parties in December can bring about the same consistent fare. Shake things up at your holiday table with a stunning centrepiece that will be the crown jewel of your dinner table!The crown roast is both impressive to behold and easy to make. You need the pork racks, some basic techniques, and patience to go low and slow. Our team worked to create the perfect recipe for the juiciest pork and a show-stopping display.How to Prepare Your Pork Racks
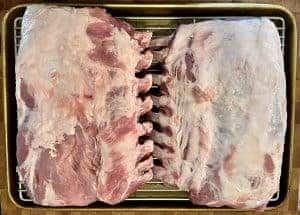 We have covered how to clean a bone-in rack in our pistachio-encrusted rack of lamb article, and the procedure is the same regardless of the animal’s size. As a quick refresher, start by removing the muscle covering the bones. Then, with the cap removed, focus on the bones.Use a sharp boning knife and make a U-shaped cut running down one bone and back up the side of the next one. Repeat this process down the entire rack. Next comes the tedious, but required, part of the presentation process: cleaning each bone.
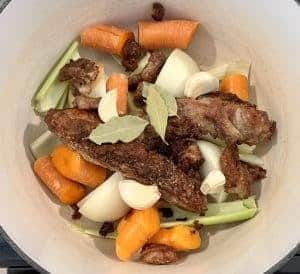 My preferred method is to take a knife I don’t care about, then hold the blade perpendicular to the bone, and scrape from the muscle to the tip of the bone to remove all the meat. Use the tip of the knife to get into the valleys and remove any meat, as this will turn black in the oven and discolour the bones. Once you have scraped the bones clean, use a paper towel to squeeze out any additional loosened meat. When the bones are clean, it’s time to season.We suggest, but it’s not required, taking the trimmings and roasting them in a 400°F (205°C) oven till dark roasted brown. Drain the fat, then add the meat, some carrots, celery, bay leaves, and garlic to a pot with enough water to cover everything. Let this simmer for an hour, partially covered, then strain out the solids, saving the pork broth for the sauce at the end.
Wet Brine, Dry Brine, or No Brine
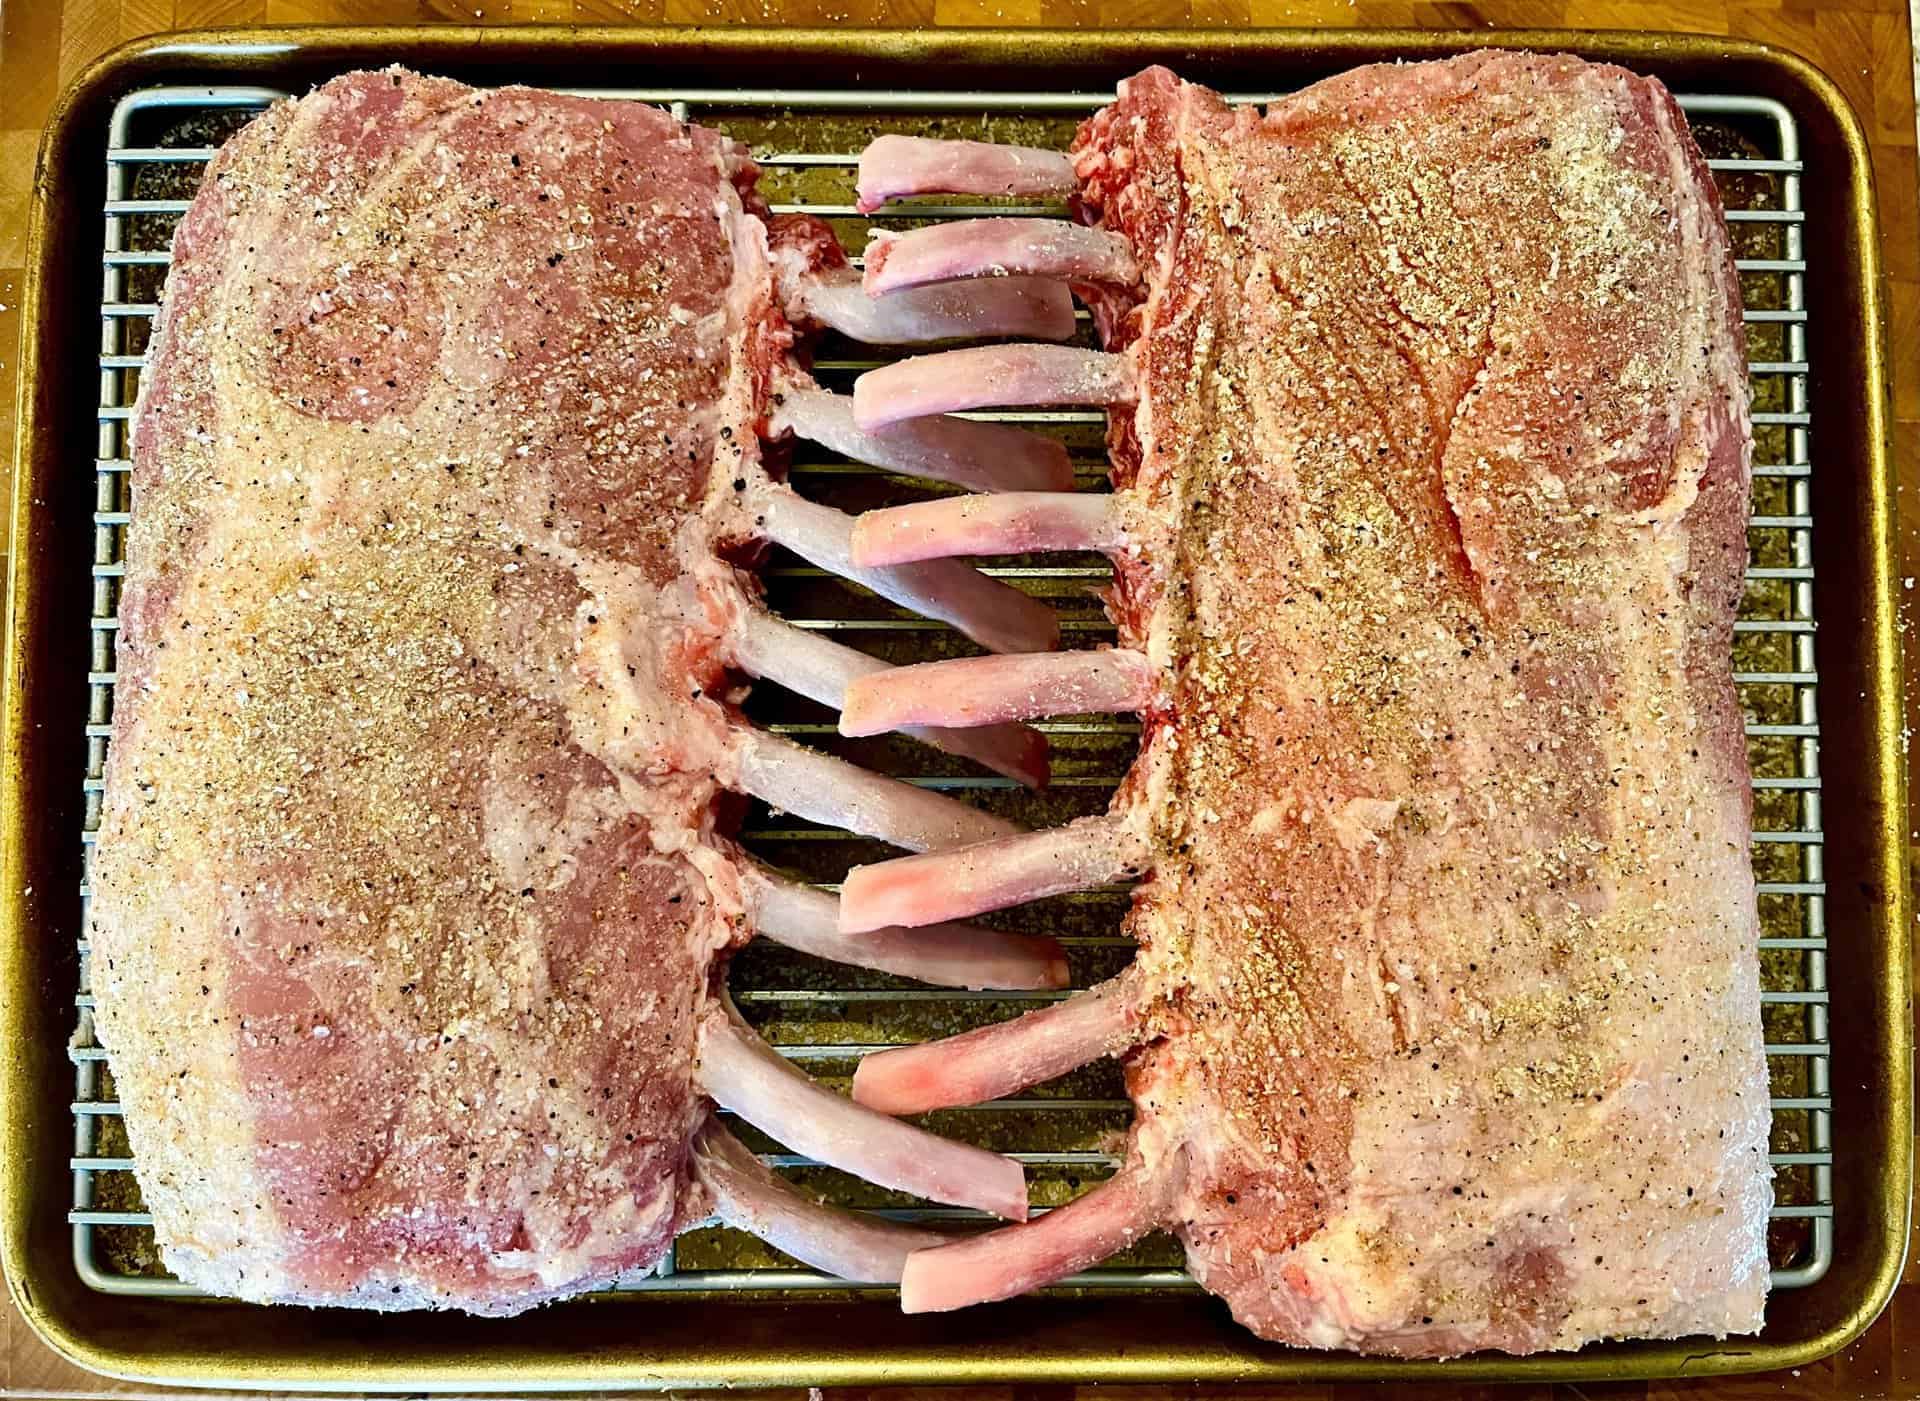
Pork chops are made from a long, continuous muscle of fast-twitch fibres, creating a very learn and easy-to-dry-out cut of meat. A wet brine can provide both added protection and flavour for cut chops, but our team preferred a dry brine for the pork roast. We keep it simple with just salt, pepper, and granulated garlic, but you can adjust to your tastes. We let this sit on our pork, on a wire rack in the refrigerator for 24 hours. The dry brine adds flavour and deeply seasons the pork without adding extra liquid. You can choose to wet brine; make sure to dry the meat thoroughly before cooking.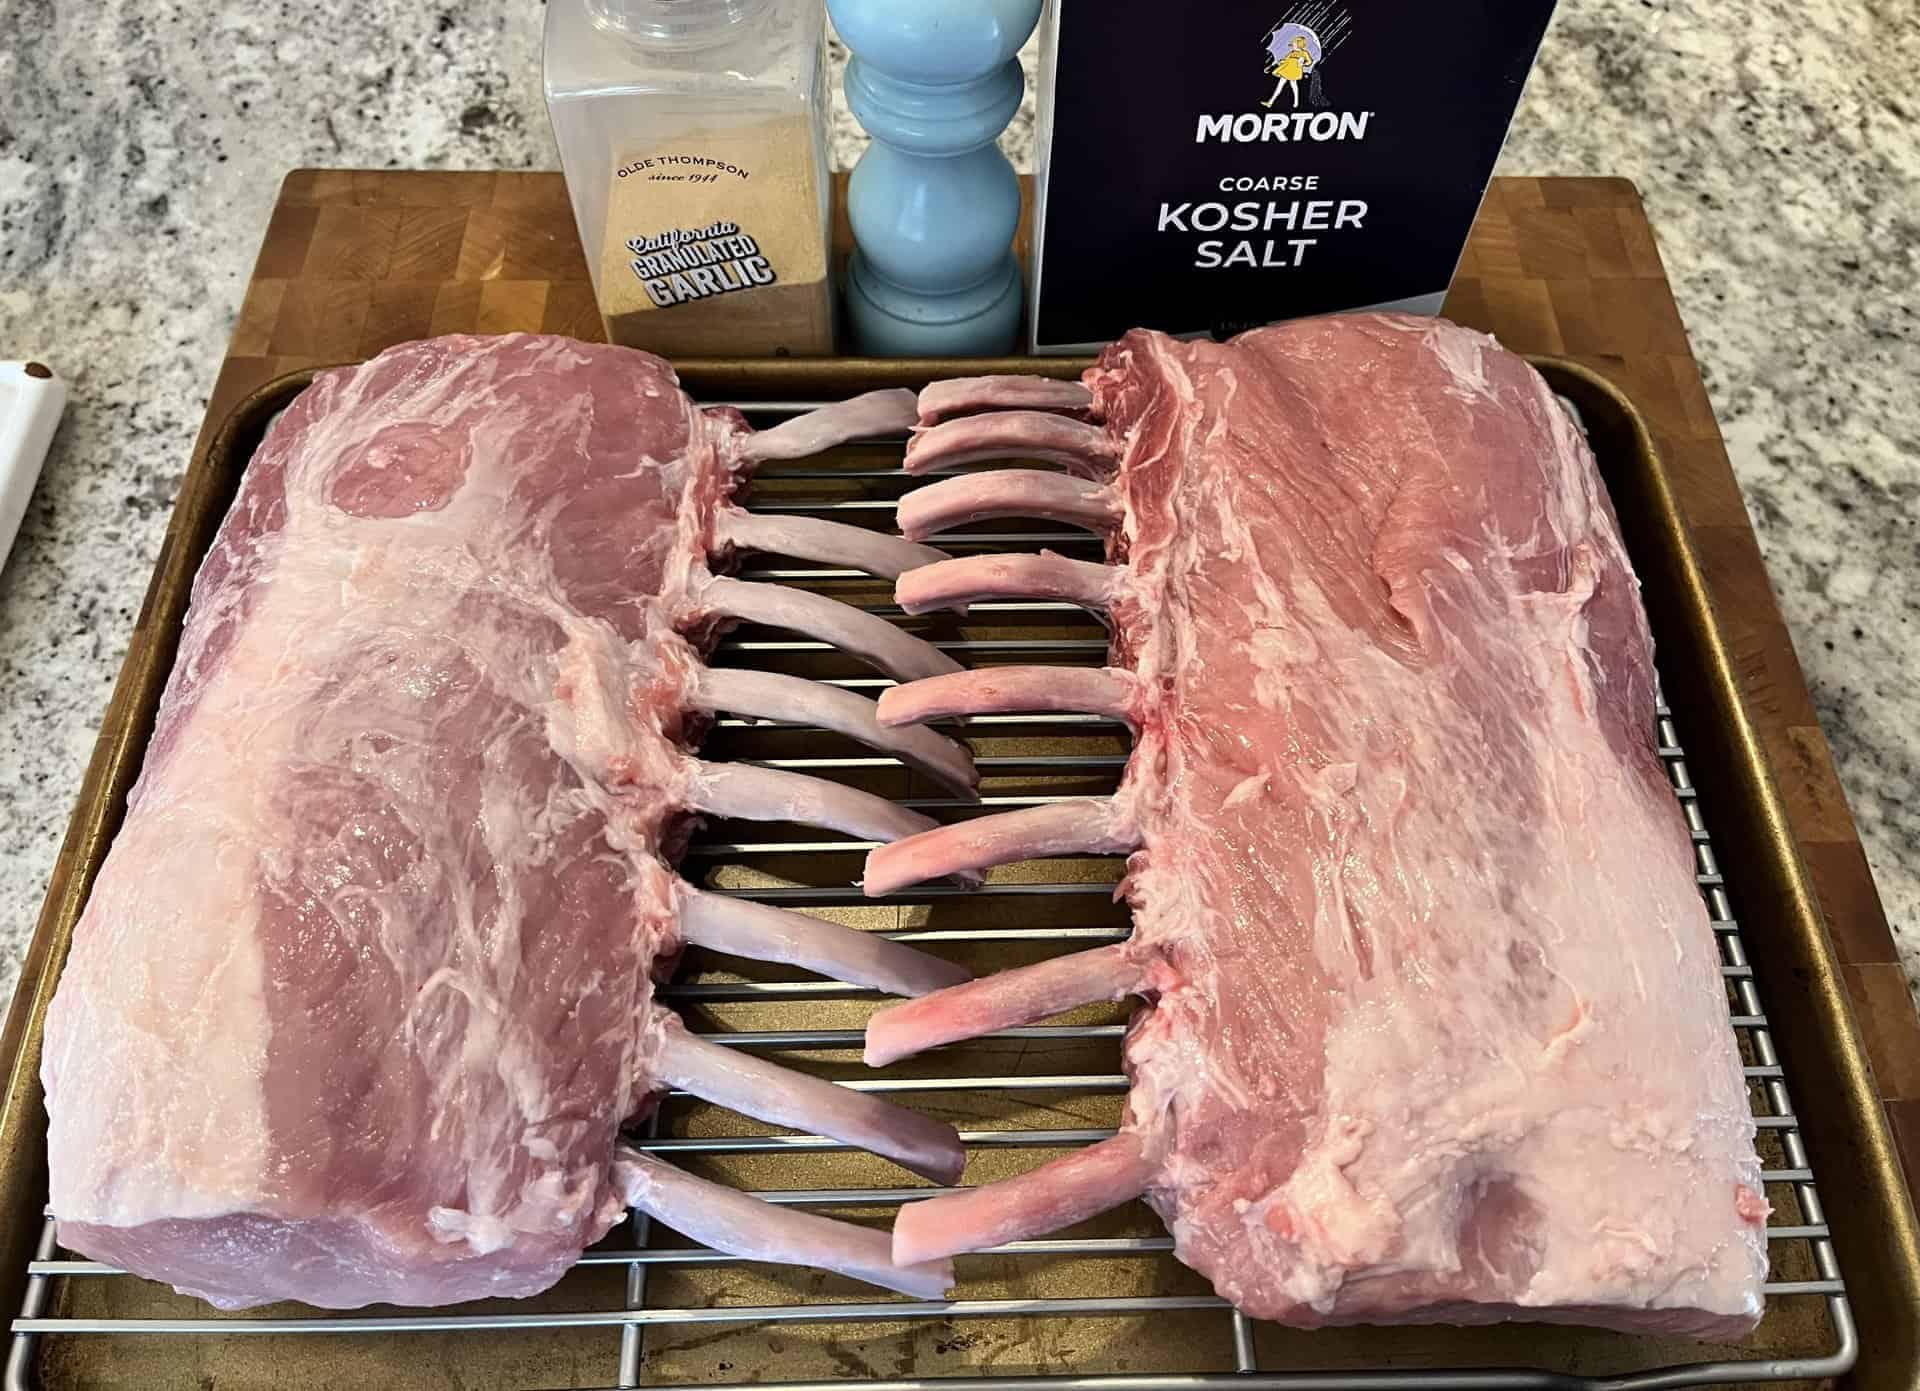
Roasting the Pork
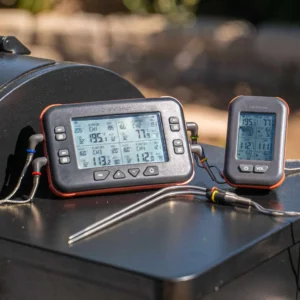
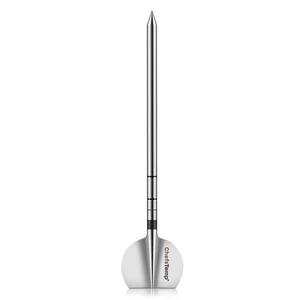
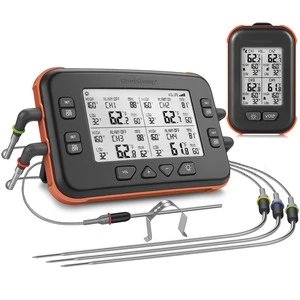
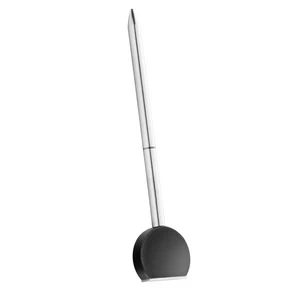
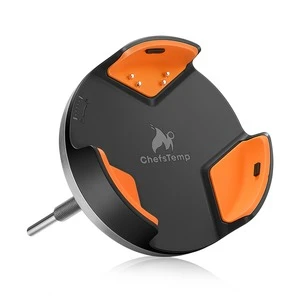
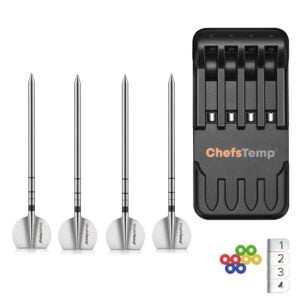
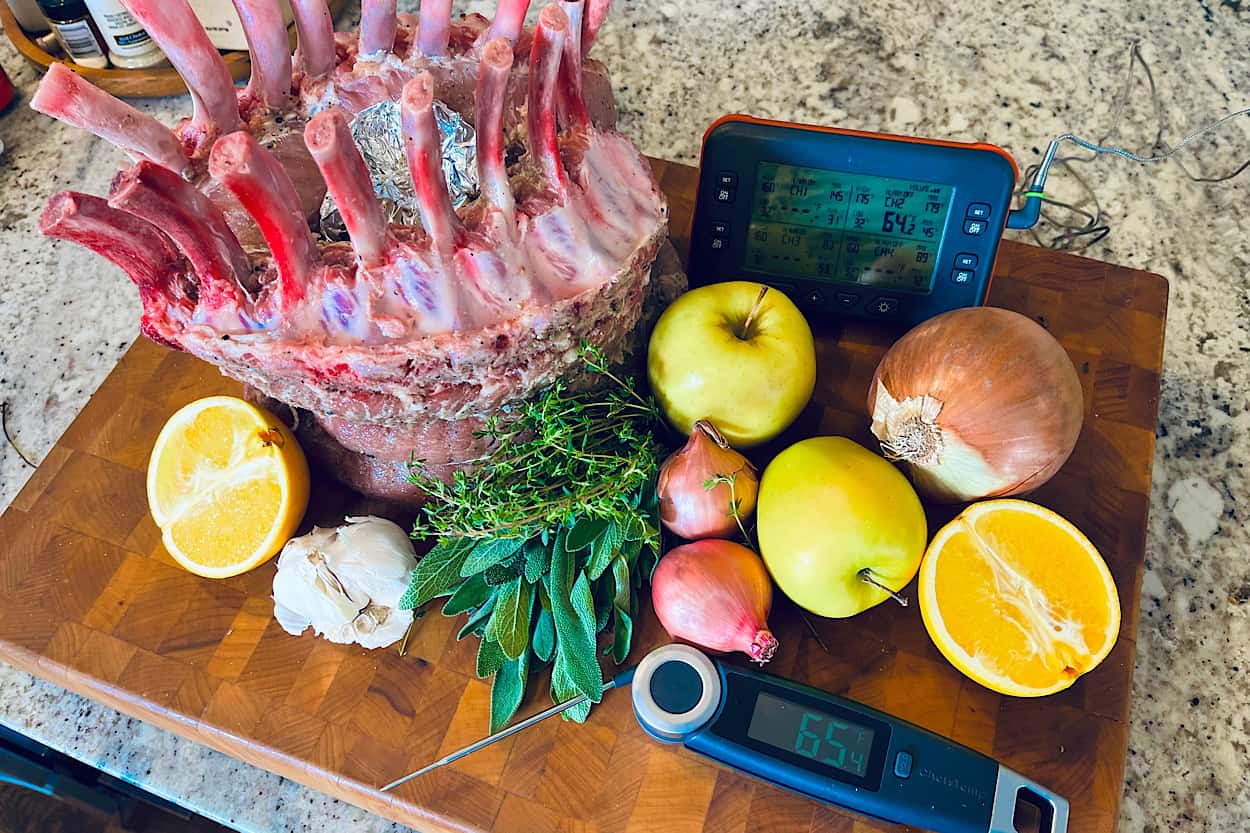
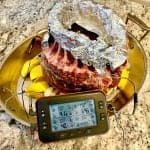
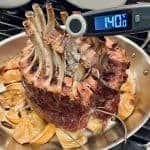
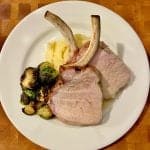
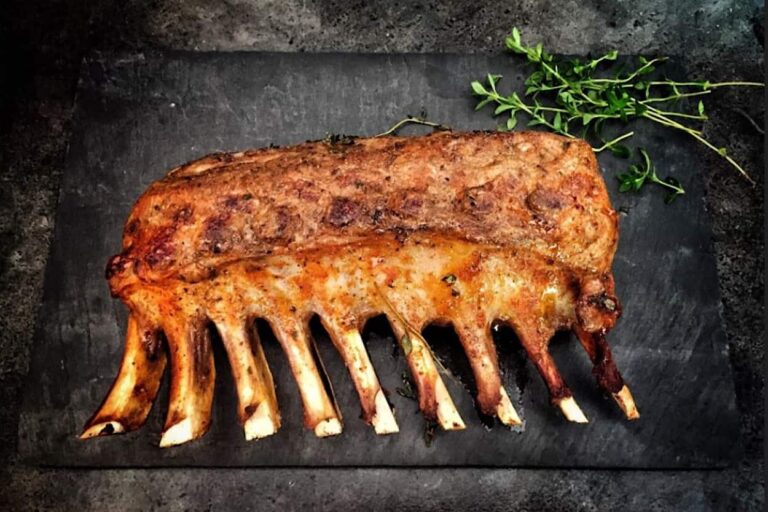
Preheat your oven to 250°F (121°C) and remove the pork from the refrigerator. Make two slits in the ends of each loin and run some butcher’s twine between them to tie the meat together. Make a foil ball, then wrap the two loins around it. Tie a long line of butcher’s twine around the loins and pull semi-tight. Once you have this tied, rotate the racks 90 degrees and tie them again; this will put pressure on the ends, pulling them together. You can wrap the bones with foil to prevent them from getting dark in the oven if you want, purely presentational. Now you are ready to roast!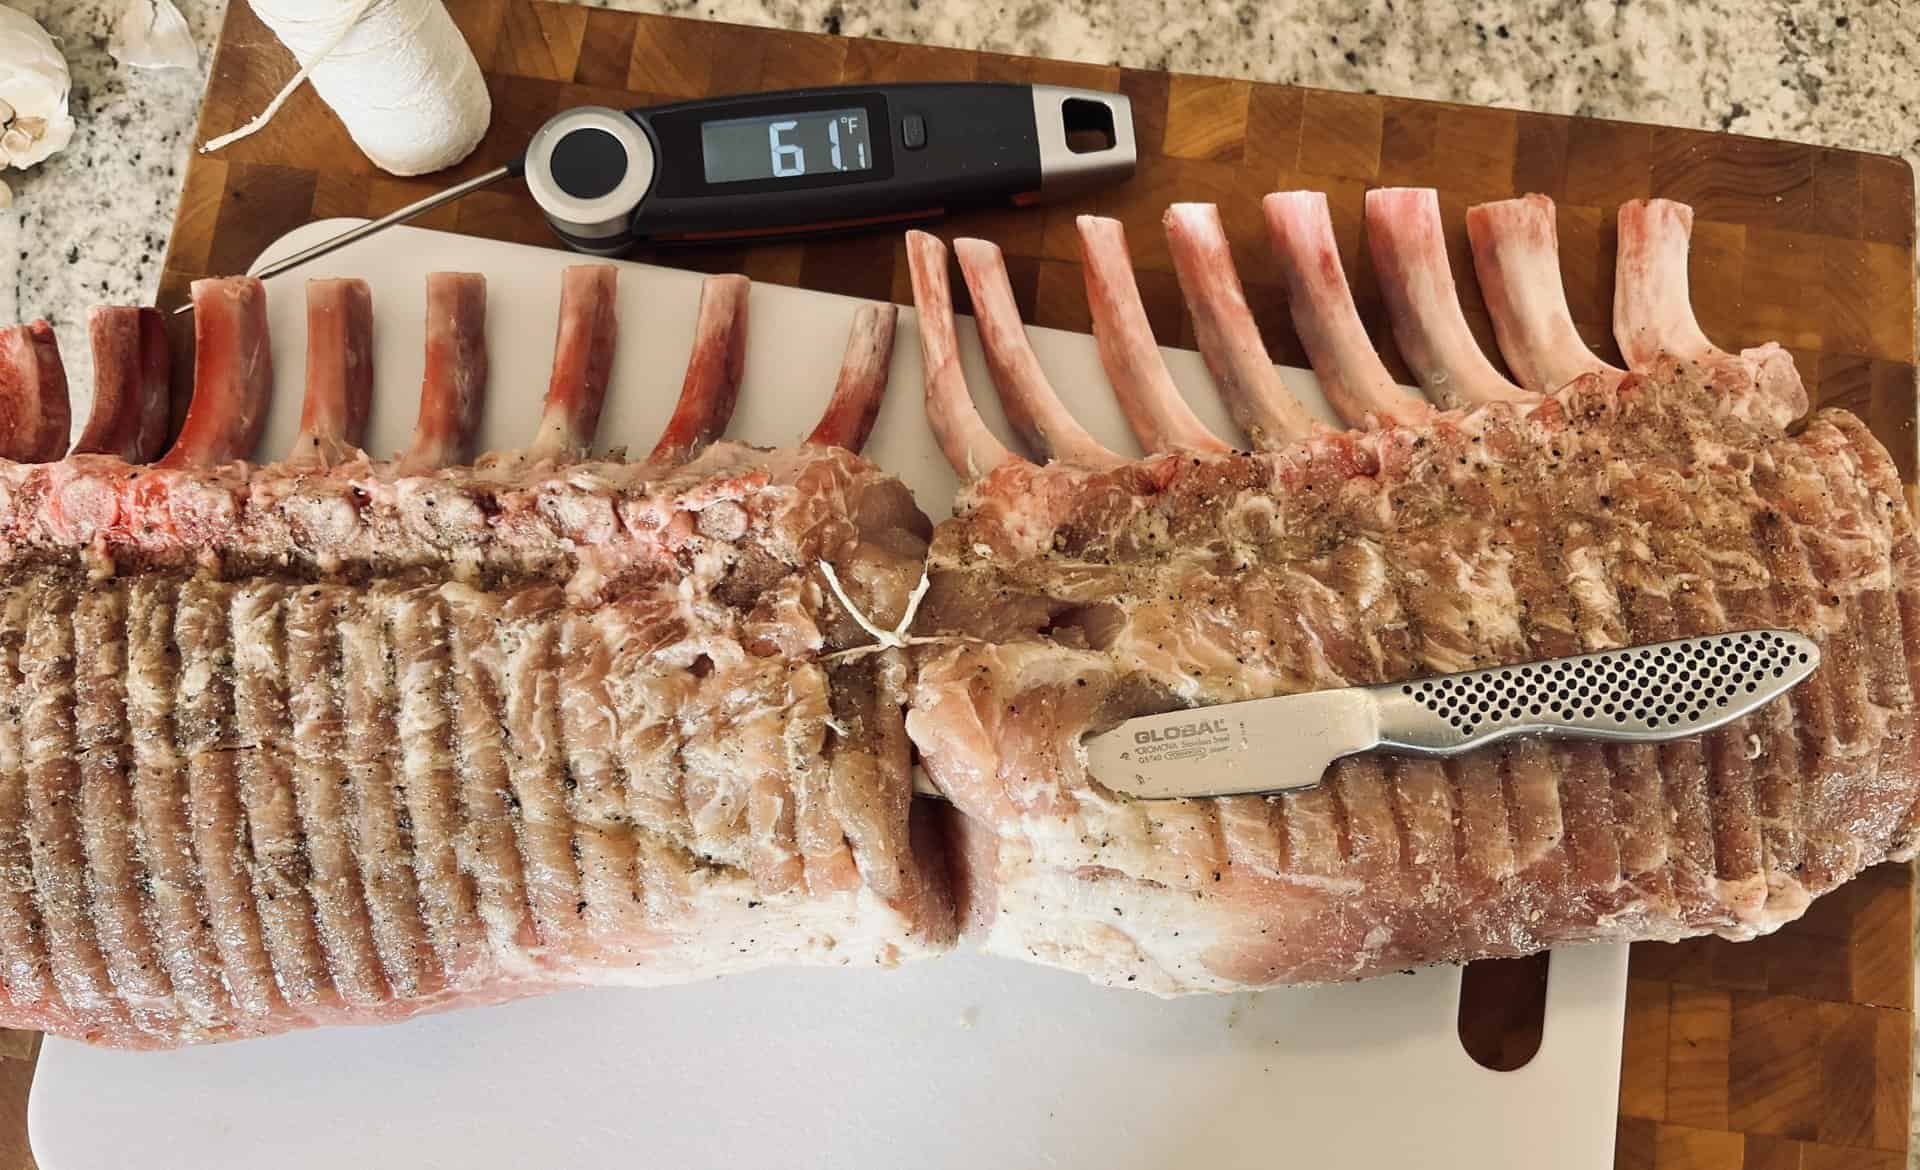 Put your aromatics, apples, and herbs on the bottom of your roasting pan, and add a little seasoning of salt and pepper. Place the rack on top and drizzle the meat with a little bit of oil. Insert the probes from the Chefstemp Quad XPro into the thickest part of the meat. We recommend using at least two probes to monitor both sides of the roast. Set your alarms to 135°F (57°C); it should take about 2-2.5 hours.When the roast hits the desired temperature, remove the pan from the oven, then increase the temperature to 500°F (260°C). When the oven reaches temperature, put the roast back in and continue cooking for an additional 10-15 minutes. You are doing this to achieve that beautiful, deep roasted colour and flavour. The final internal temperature should be around 140-145°F (60-63°C).Remove the roast from the pan to a plate, place the roasting pan on the stove and add the shallots, thyme sprigs, and butter. Sauté over medium-high heat until the shallots are just tender, then add some brandy, scraping up any bits stuck to the pan, and then add the pork broth. Let this simmer, smashing the apples and oranges into the sauce, till the sauce thickens. Taste and adjust seasoning with salt and pepper. Strain the sauce, pressing down on the solids to extract all the liquid.You can now arrange the roast on a platter with greens, fruit, little paper hats on the bones, and herbs, however you want to create an exceptional centrepiece. When the oooos and ahhhs have passed, slice the strings, then carve the roast tableside.
Ingredients
- 2 racks of pork
- Salt, pepper, granulated garlic
- 3 golden delicious apples
- 6 cloves of garlic
- 1 orange
- ½ yellow onion
- 1 bunch sage
- 1 bunch thyme
Apple Brandy Pan Sauce
- 1 large shallot, diced
- 6 sprigs thyme
- 1/3 C Brandy
- 2 C pork Broth
Instructions
Clean the rack- Remove the muscle that lies on top of the bones first. Then, with the cap removed, please focus on the bones, making sure to remove the meat and sinew to keep them clean during cooking.
- Use a sharp boning knife and make a U-shaped cut running down one bone and back up the side of the next one.
- Repeat this process down the entire rack.
- Hold your blade perpendicular to the bone and scrape from meat to tip to remove all the material.
- Use the point to get into the valleys and remove any meat
- Once you have scraped the bones clean, use a paper towel to remove any additional loosened material.
- Preheat your oven to 250°F (121°C)
- Make two slits at the end of each loin and run some butcher’s twine between them to tie the meat together.
- Make a foil ball, then wrap the two loins around it. Wrap a long line of butcher’s twine around the loins and pull semi-tight.
- Rotate the racks 90 degrees and tie them again; this will put pressure on the ends, pulling them together.
- *Optional* wrap the bones with foil to prevent them from getting dark in the oven if you want, purely presentational.
- Put your aromatics, apples, and herbs on the bottom of your roasting pan, and add a little seasoning of salt and pepper.
- Place the rack on top and drizzle the meat with a little bit of oil. Insert the probes from the Chefstemp Quad XPro into the thickest part of the meat.
- Set your alarms to 135°F (57°C); it should take about 2-2.5 hours.
- When the roast hits the desired temperature, remove the pan from the oven, then increase the temperature to 500°F (260°C).
- Put the roast back in and continue to cook for an additional 10-15 minutes.
- The final internal temperature should be slightly higher than 140-145°F (60-63°C).
- Remove the roast from the pan to a plate, place the roasting pan on the stove and add the shallots, thyme sprigs, and butter.
- Sauté over medium-high heat until the shallots are just tender, then add some brandy, scraping up any bits stuck to the pan, and then add the pork broth.
- Let this simmer, smashing the apples and oranges into the sauce, till the sauce thickens.
- Taste and adjust seasoning with salt and pepper. Strain the sauce, pressing down on the solids to extract all the liquid.
Related Posts
Reasons Why You Should Upgrade to the Best Instant Read Thermometer
A kitchen without an instant-read thermometer is incomplete. When it comes to creating a succulent pot roast o...
Letting Meat Rest Myth Debunked: Find Out the Truth
Whether it's your first time cooking meat or not, you might have heard one common piece of advice: always rest...
Are Infrared Thermometers Accurate in Cooking?
Temperature control is an integral part of the cooking process. If the temperature is incorrect, some types of...
Are Infrared Thermometers Safe?
The pandemic saw a surge in the popularity of infrared thermometers. It is quick, contactless, and convenient,...

Best Infrared Thermometer for Kitchen Use
Cooking is both an art and a science. It requires knowledge of food preparation, different cooking methods, un...
Infrared Thermometer for Grilling
Some cooking methods require accurate and precise temperature readings. A slight temperature difference can si...
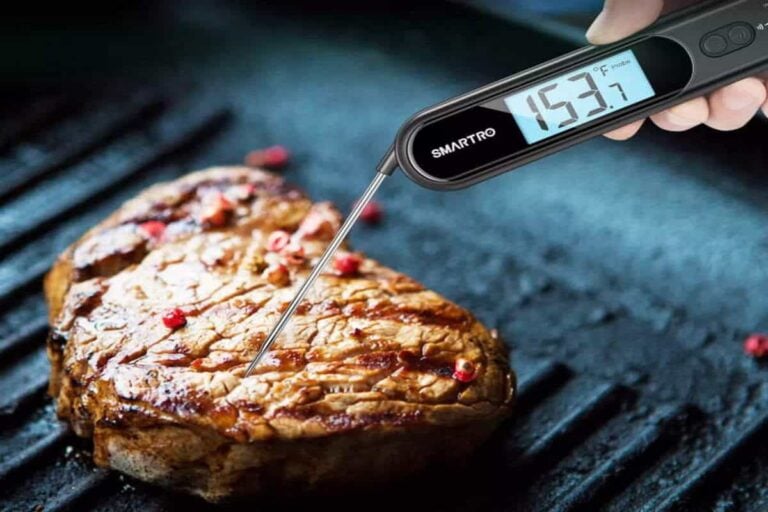
Best Uses for Infrared Thermometers
Infrared technology has been around for ages and used in different industries. There is a wide range of infrar...
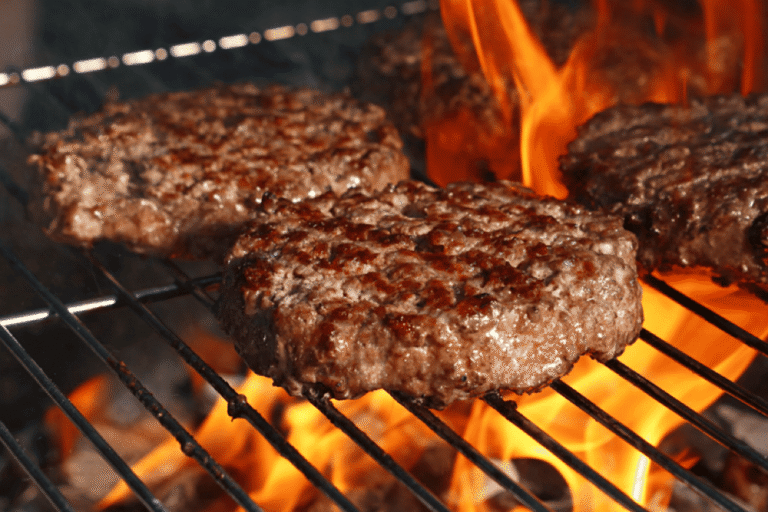
Grilling Hamburgers: A Temperature Guide
You drown in the sight of your kids hopping cheerily in your yard while you try to contain the excitement! Fin...
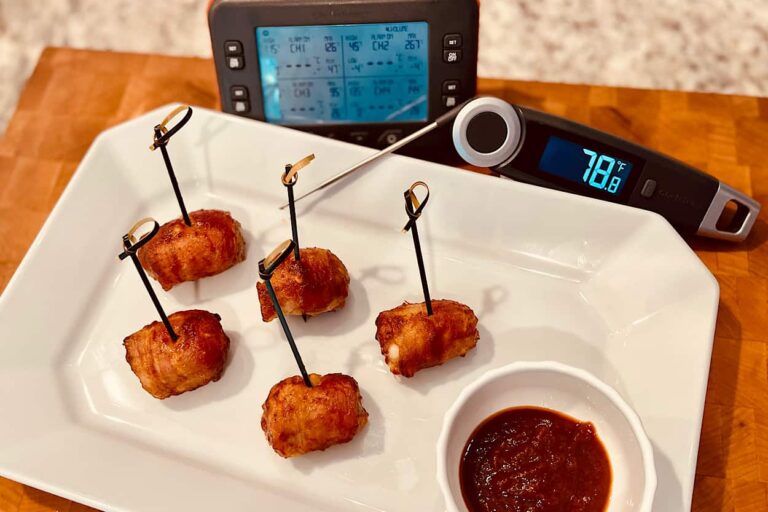
Safe Temperatures for The Best Halloween Party Snacks
Halloween Party SnacksHalloween comes but once a year, and what a fun holiday season it is! Decorating the y...
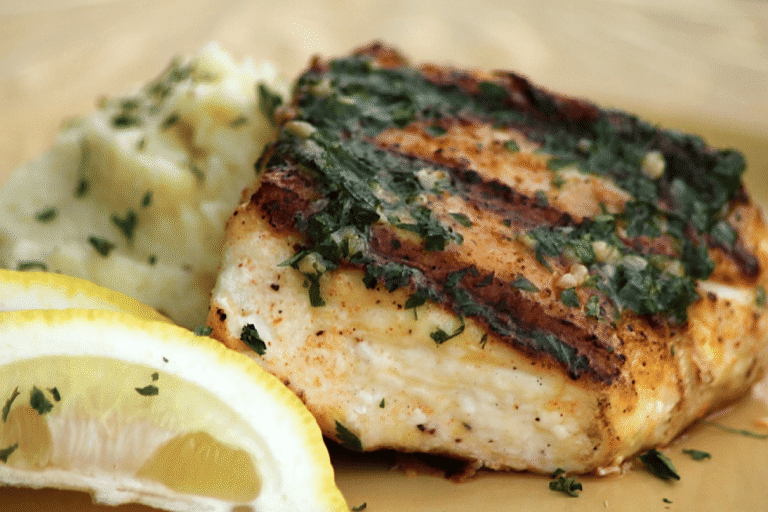
Thermal Secrets: How to Grill Halibut
Another member of the aquatic family has found its way to our cookout parties and is often used as an alternat...
How to Grill Like a Professional – 24 Essential Grilling Tips
Tip 1 - Preheat the GrillPreheating the grill is essential for a great grilling experience. Whether yo...
How to Grill Chicken Drumsticks
The flavour of these grilled BBQ chicken drumsticks is incredible! They're simple to make, bursting with barbe...