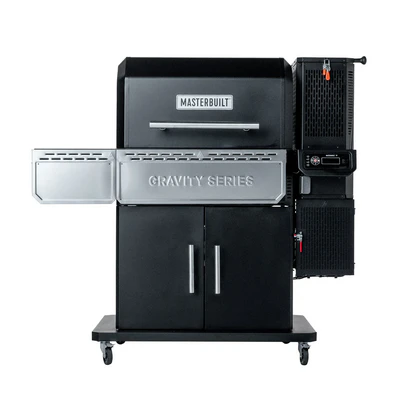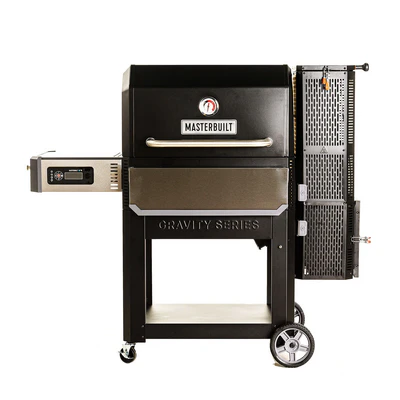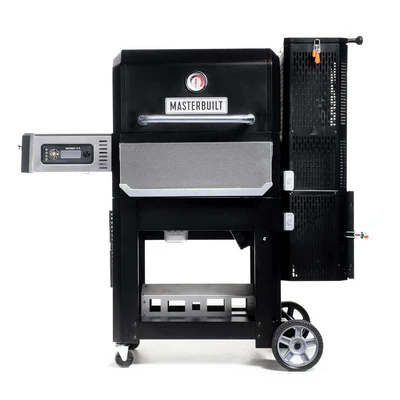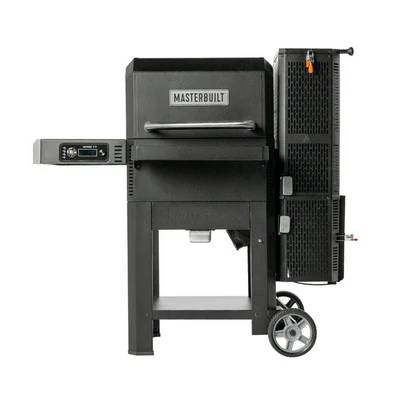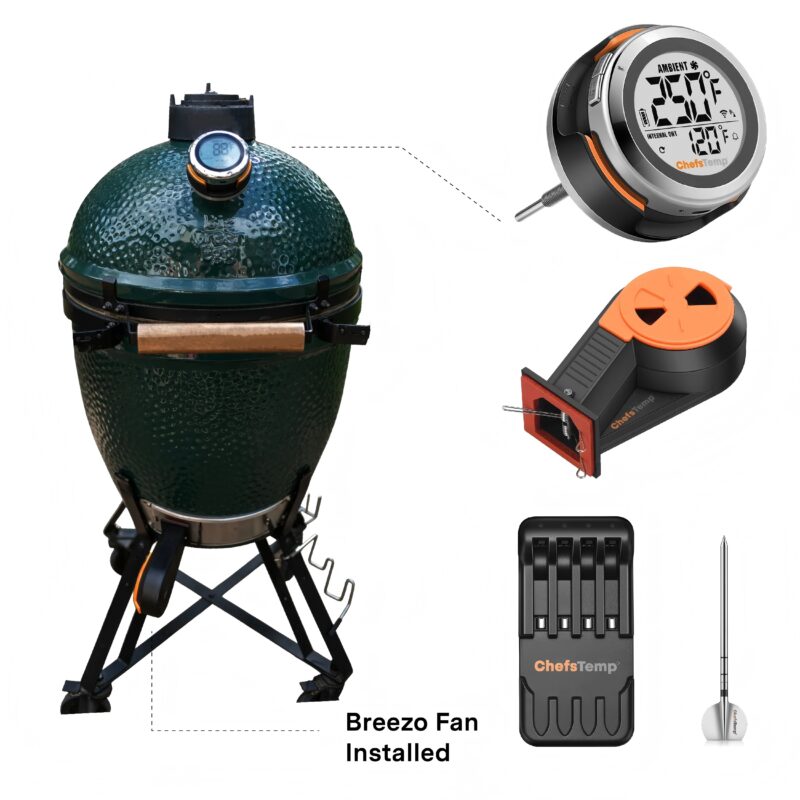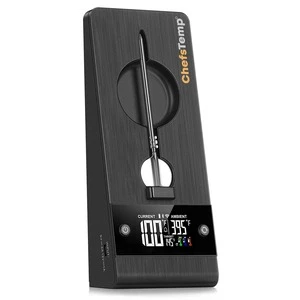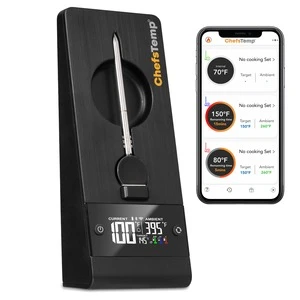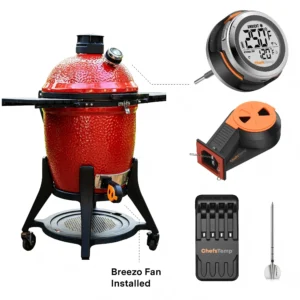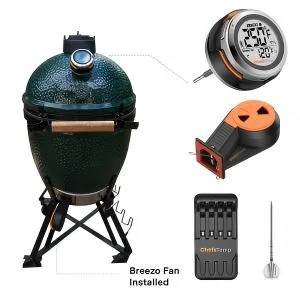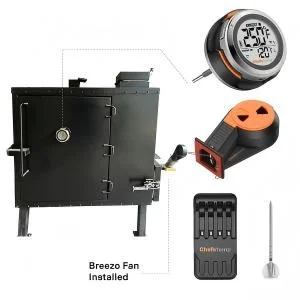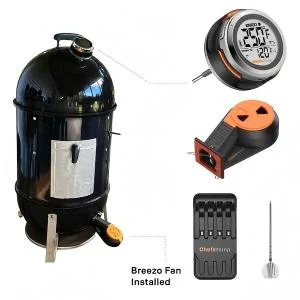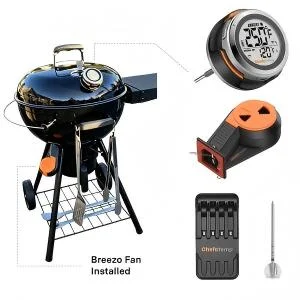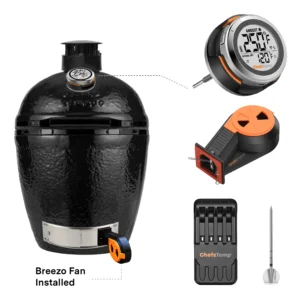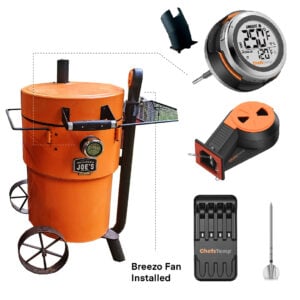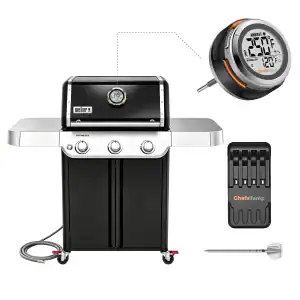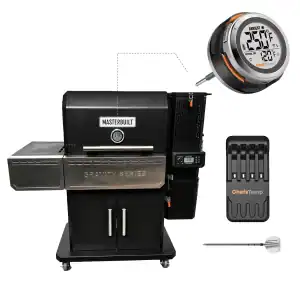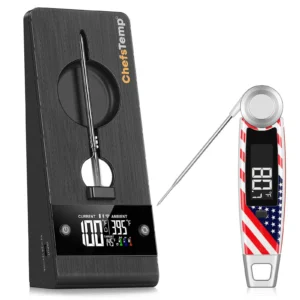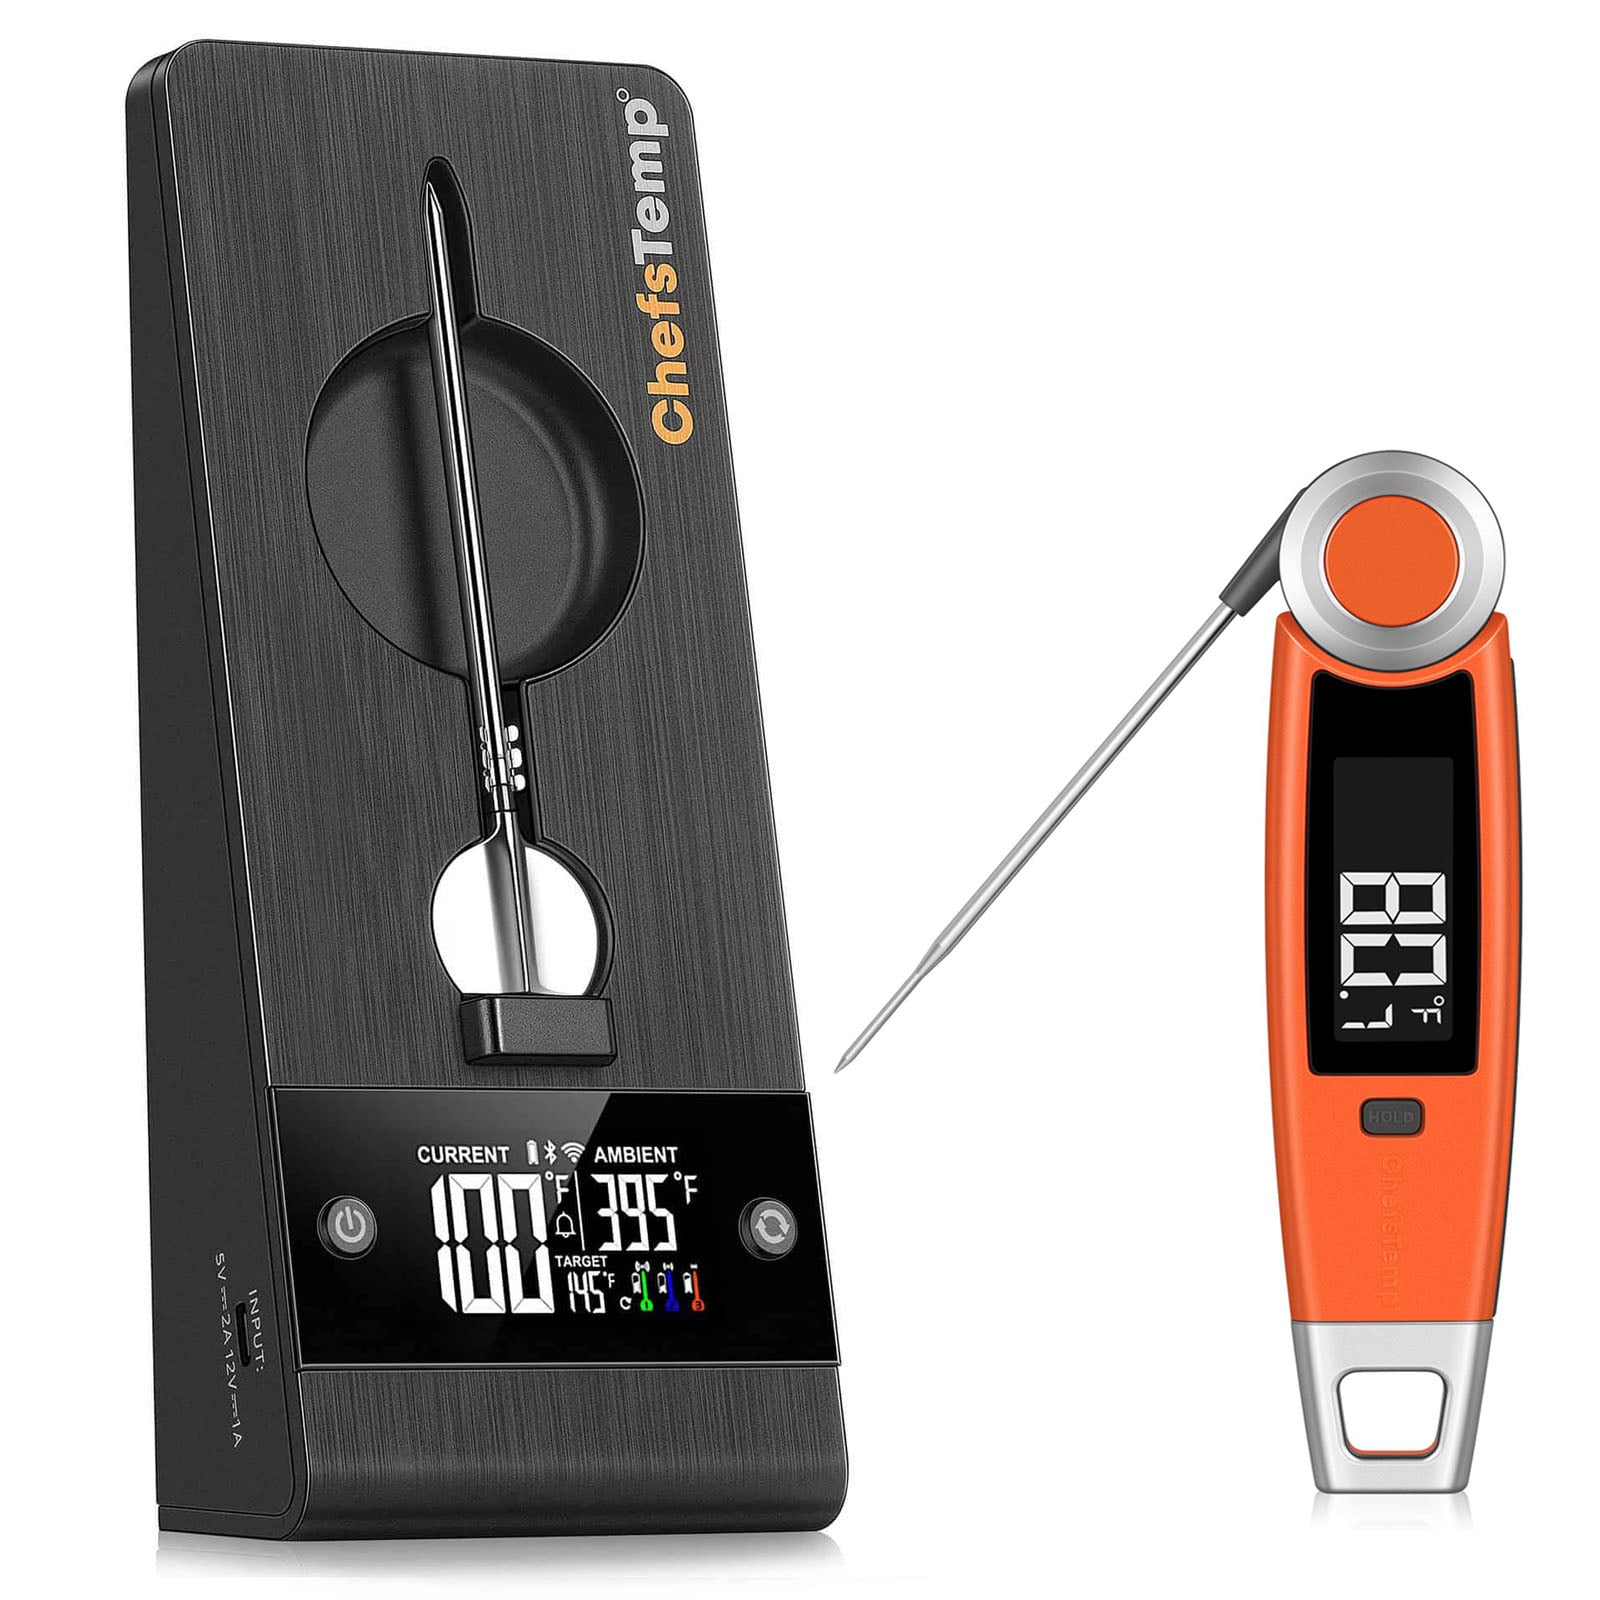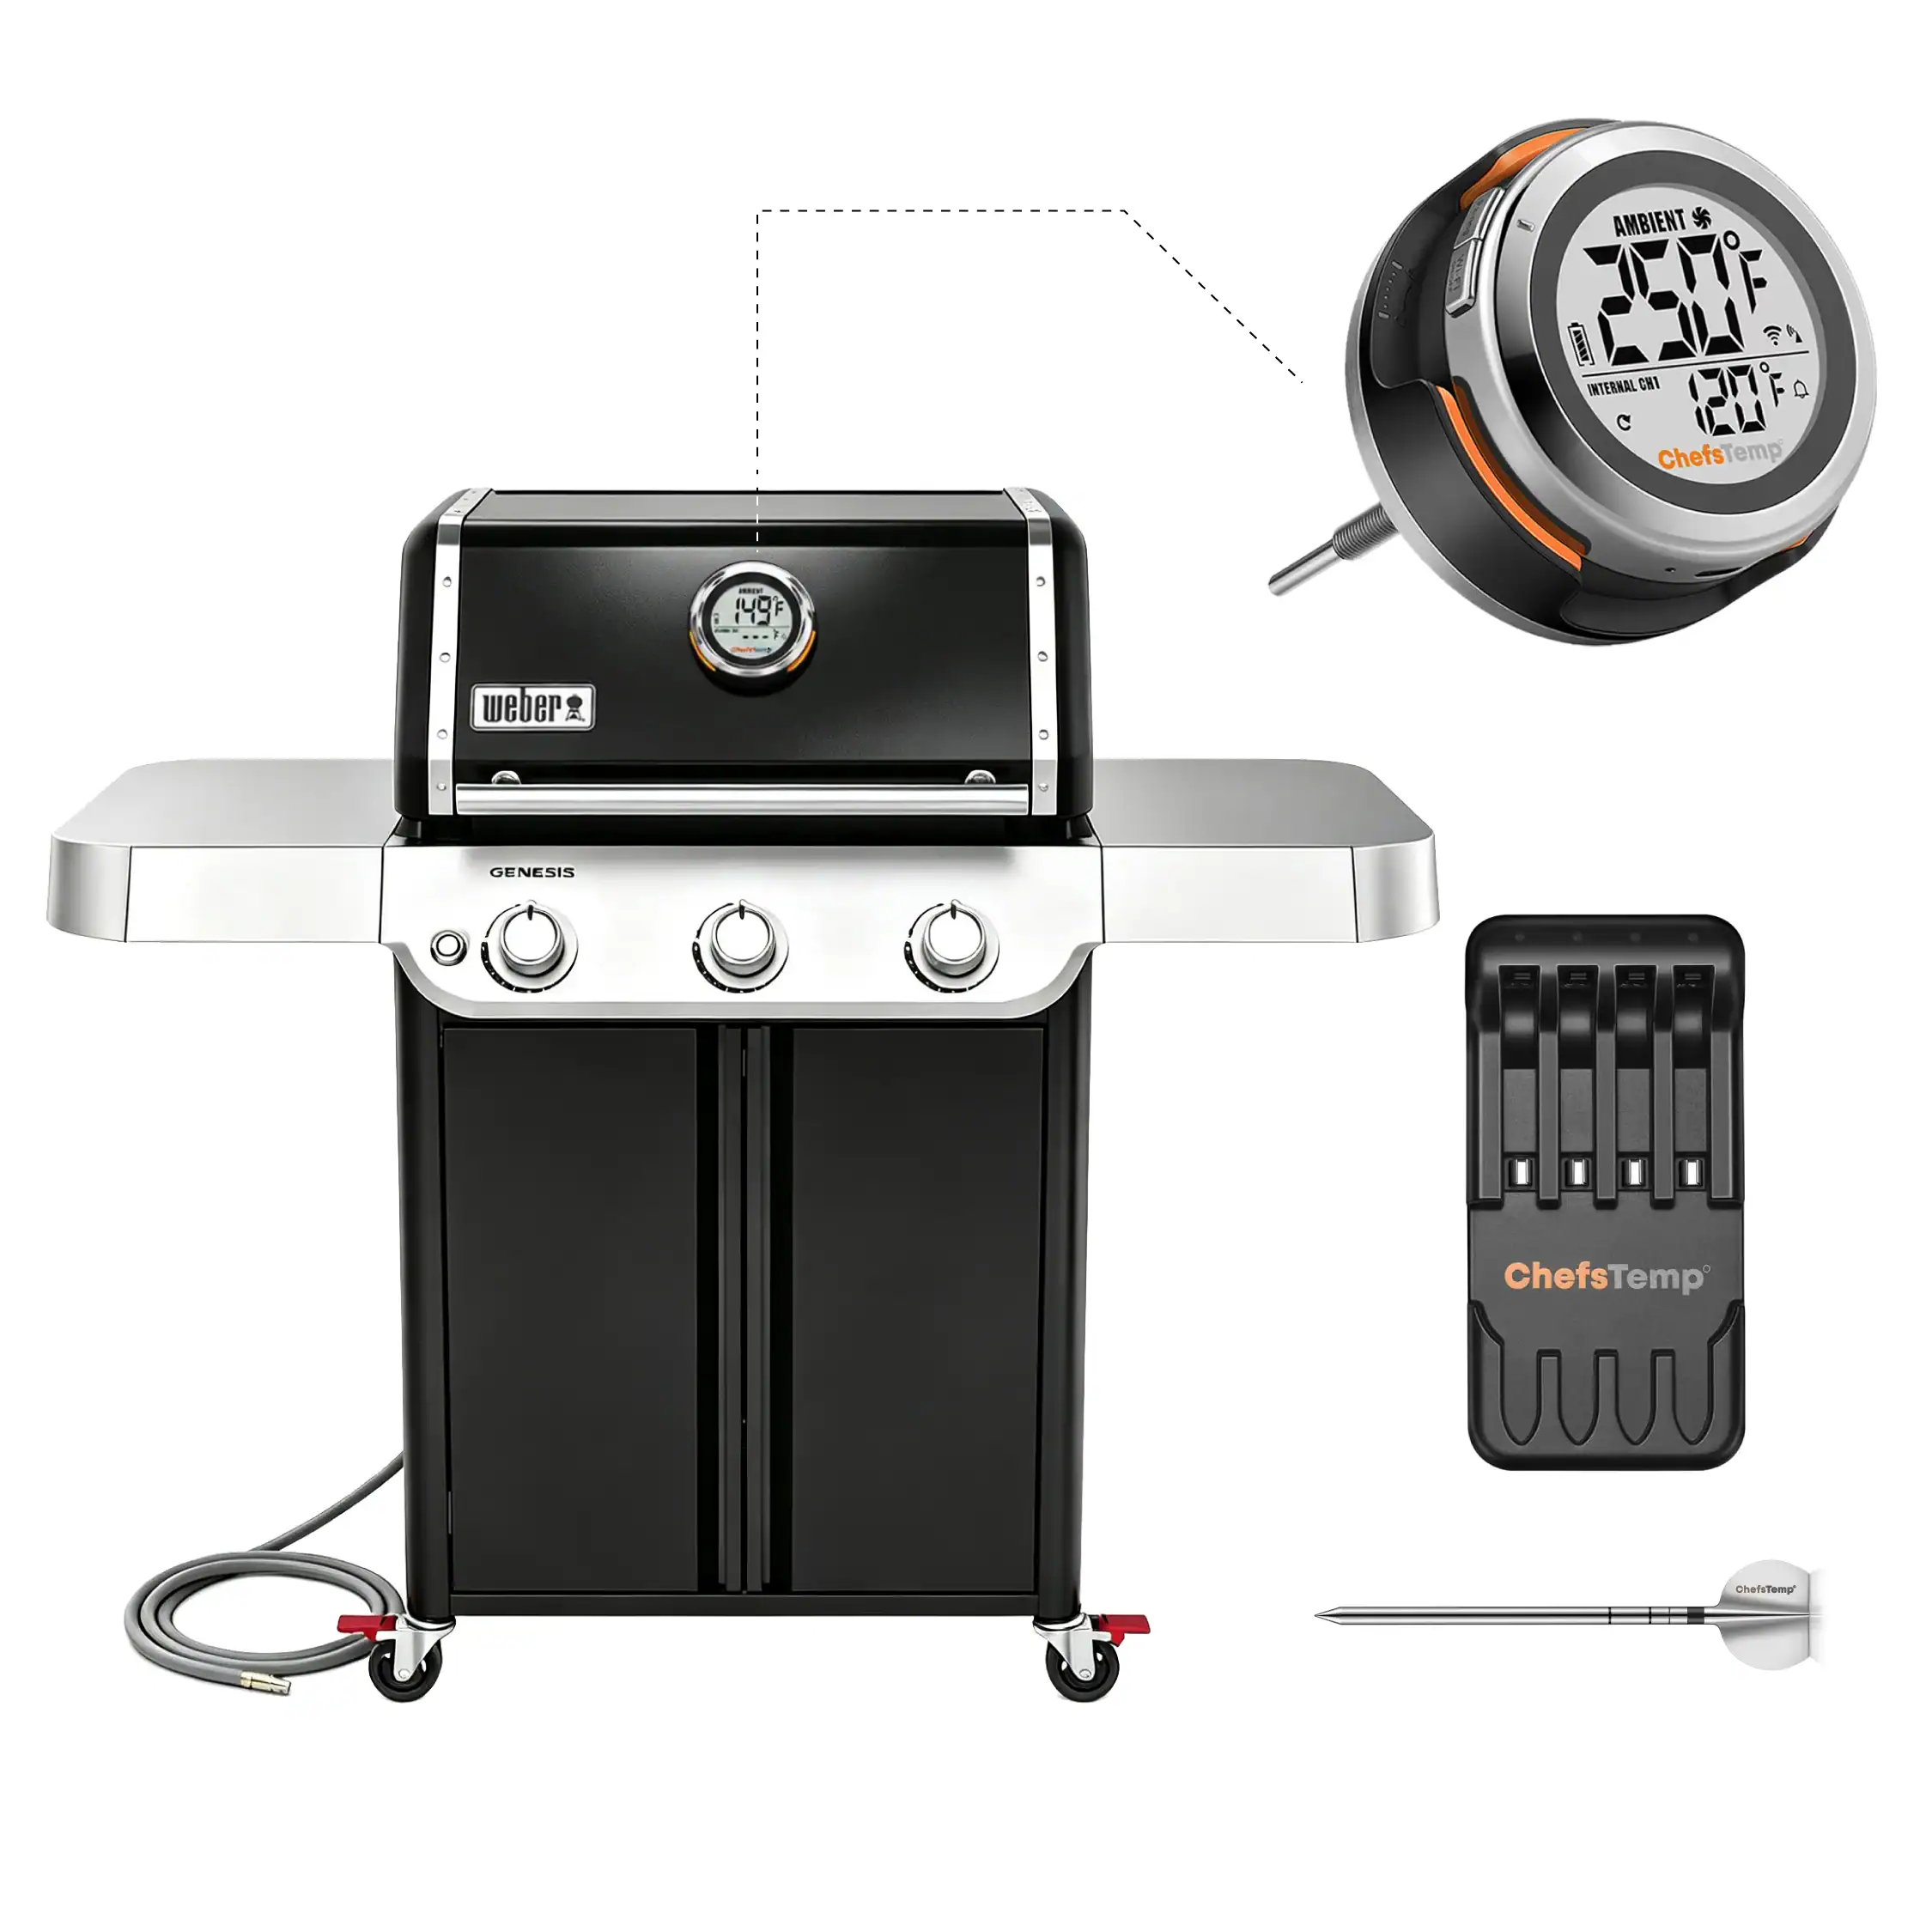
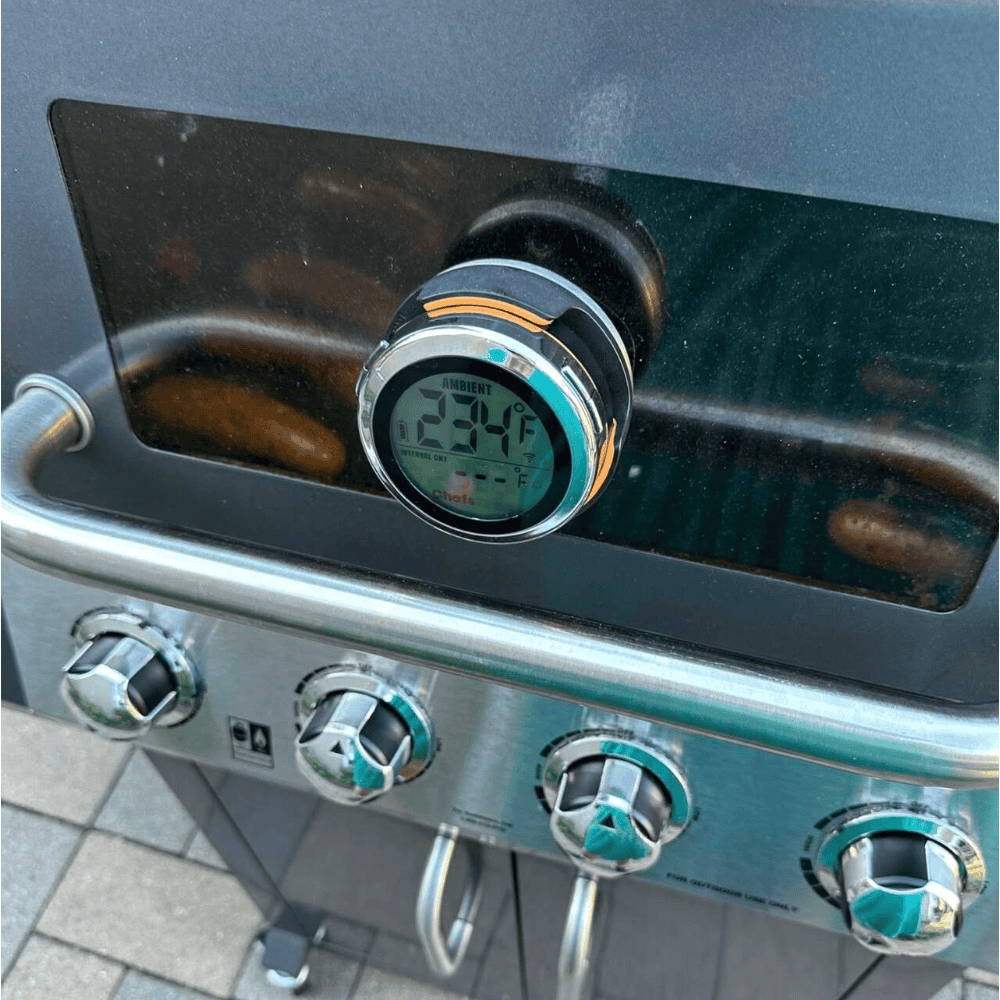
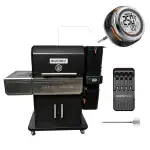

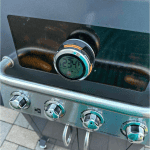


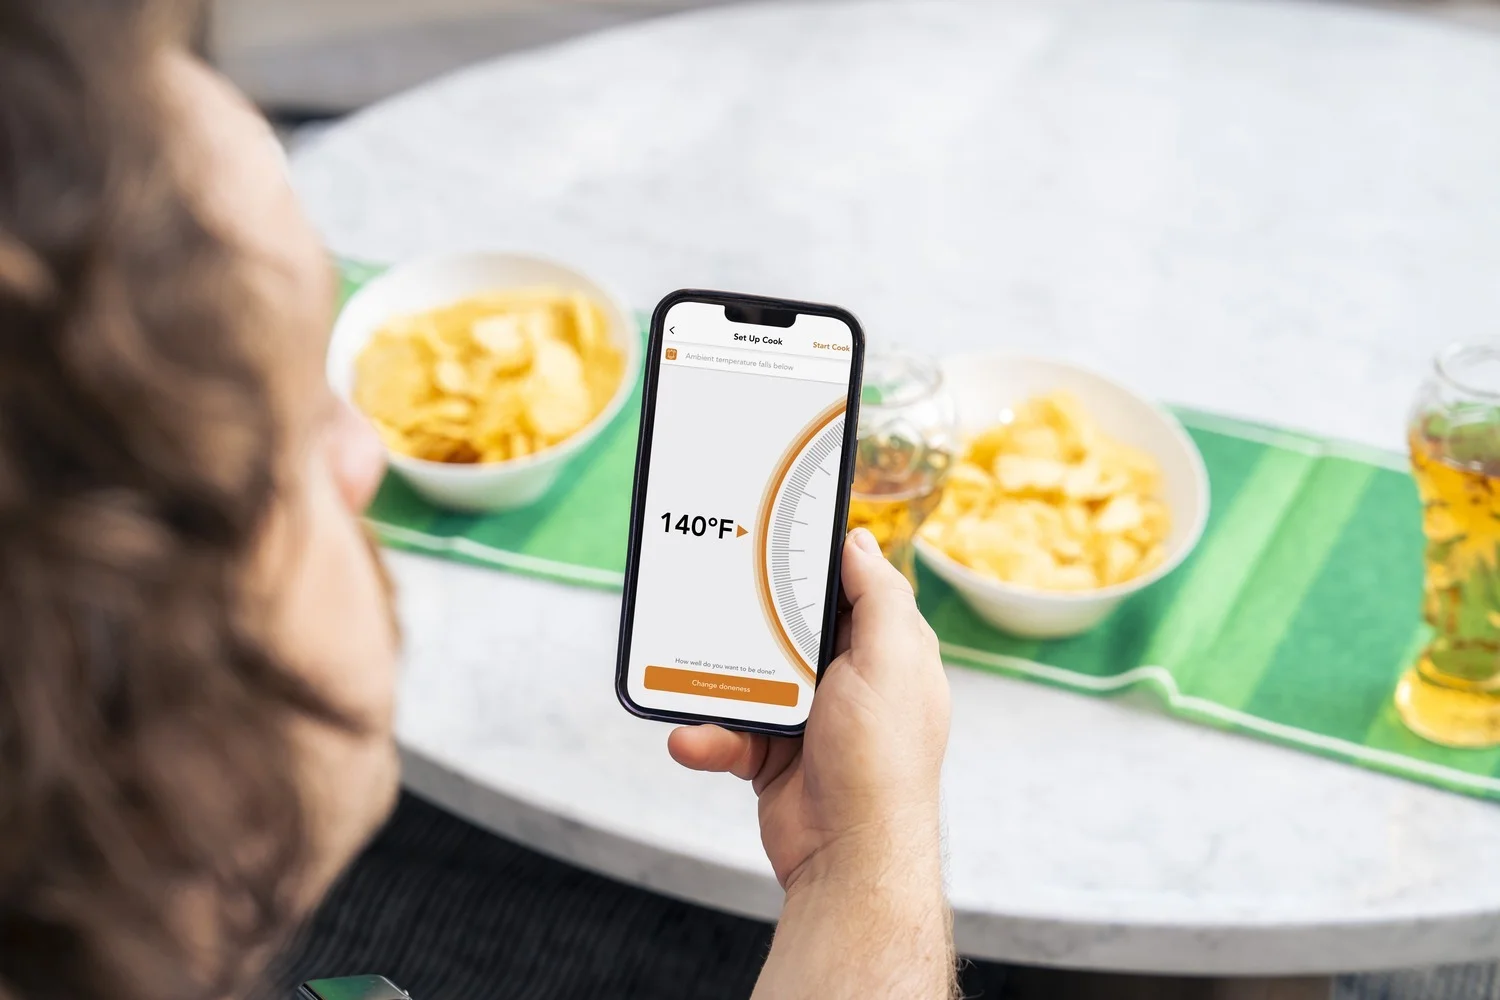
Why Upgrade Your Gas Grill with S1 Bundle?

Wi-Fi & Bluetooth Monitoring
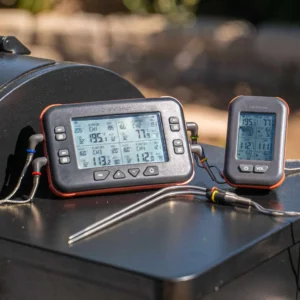
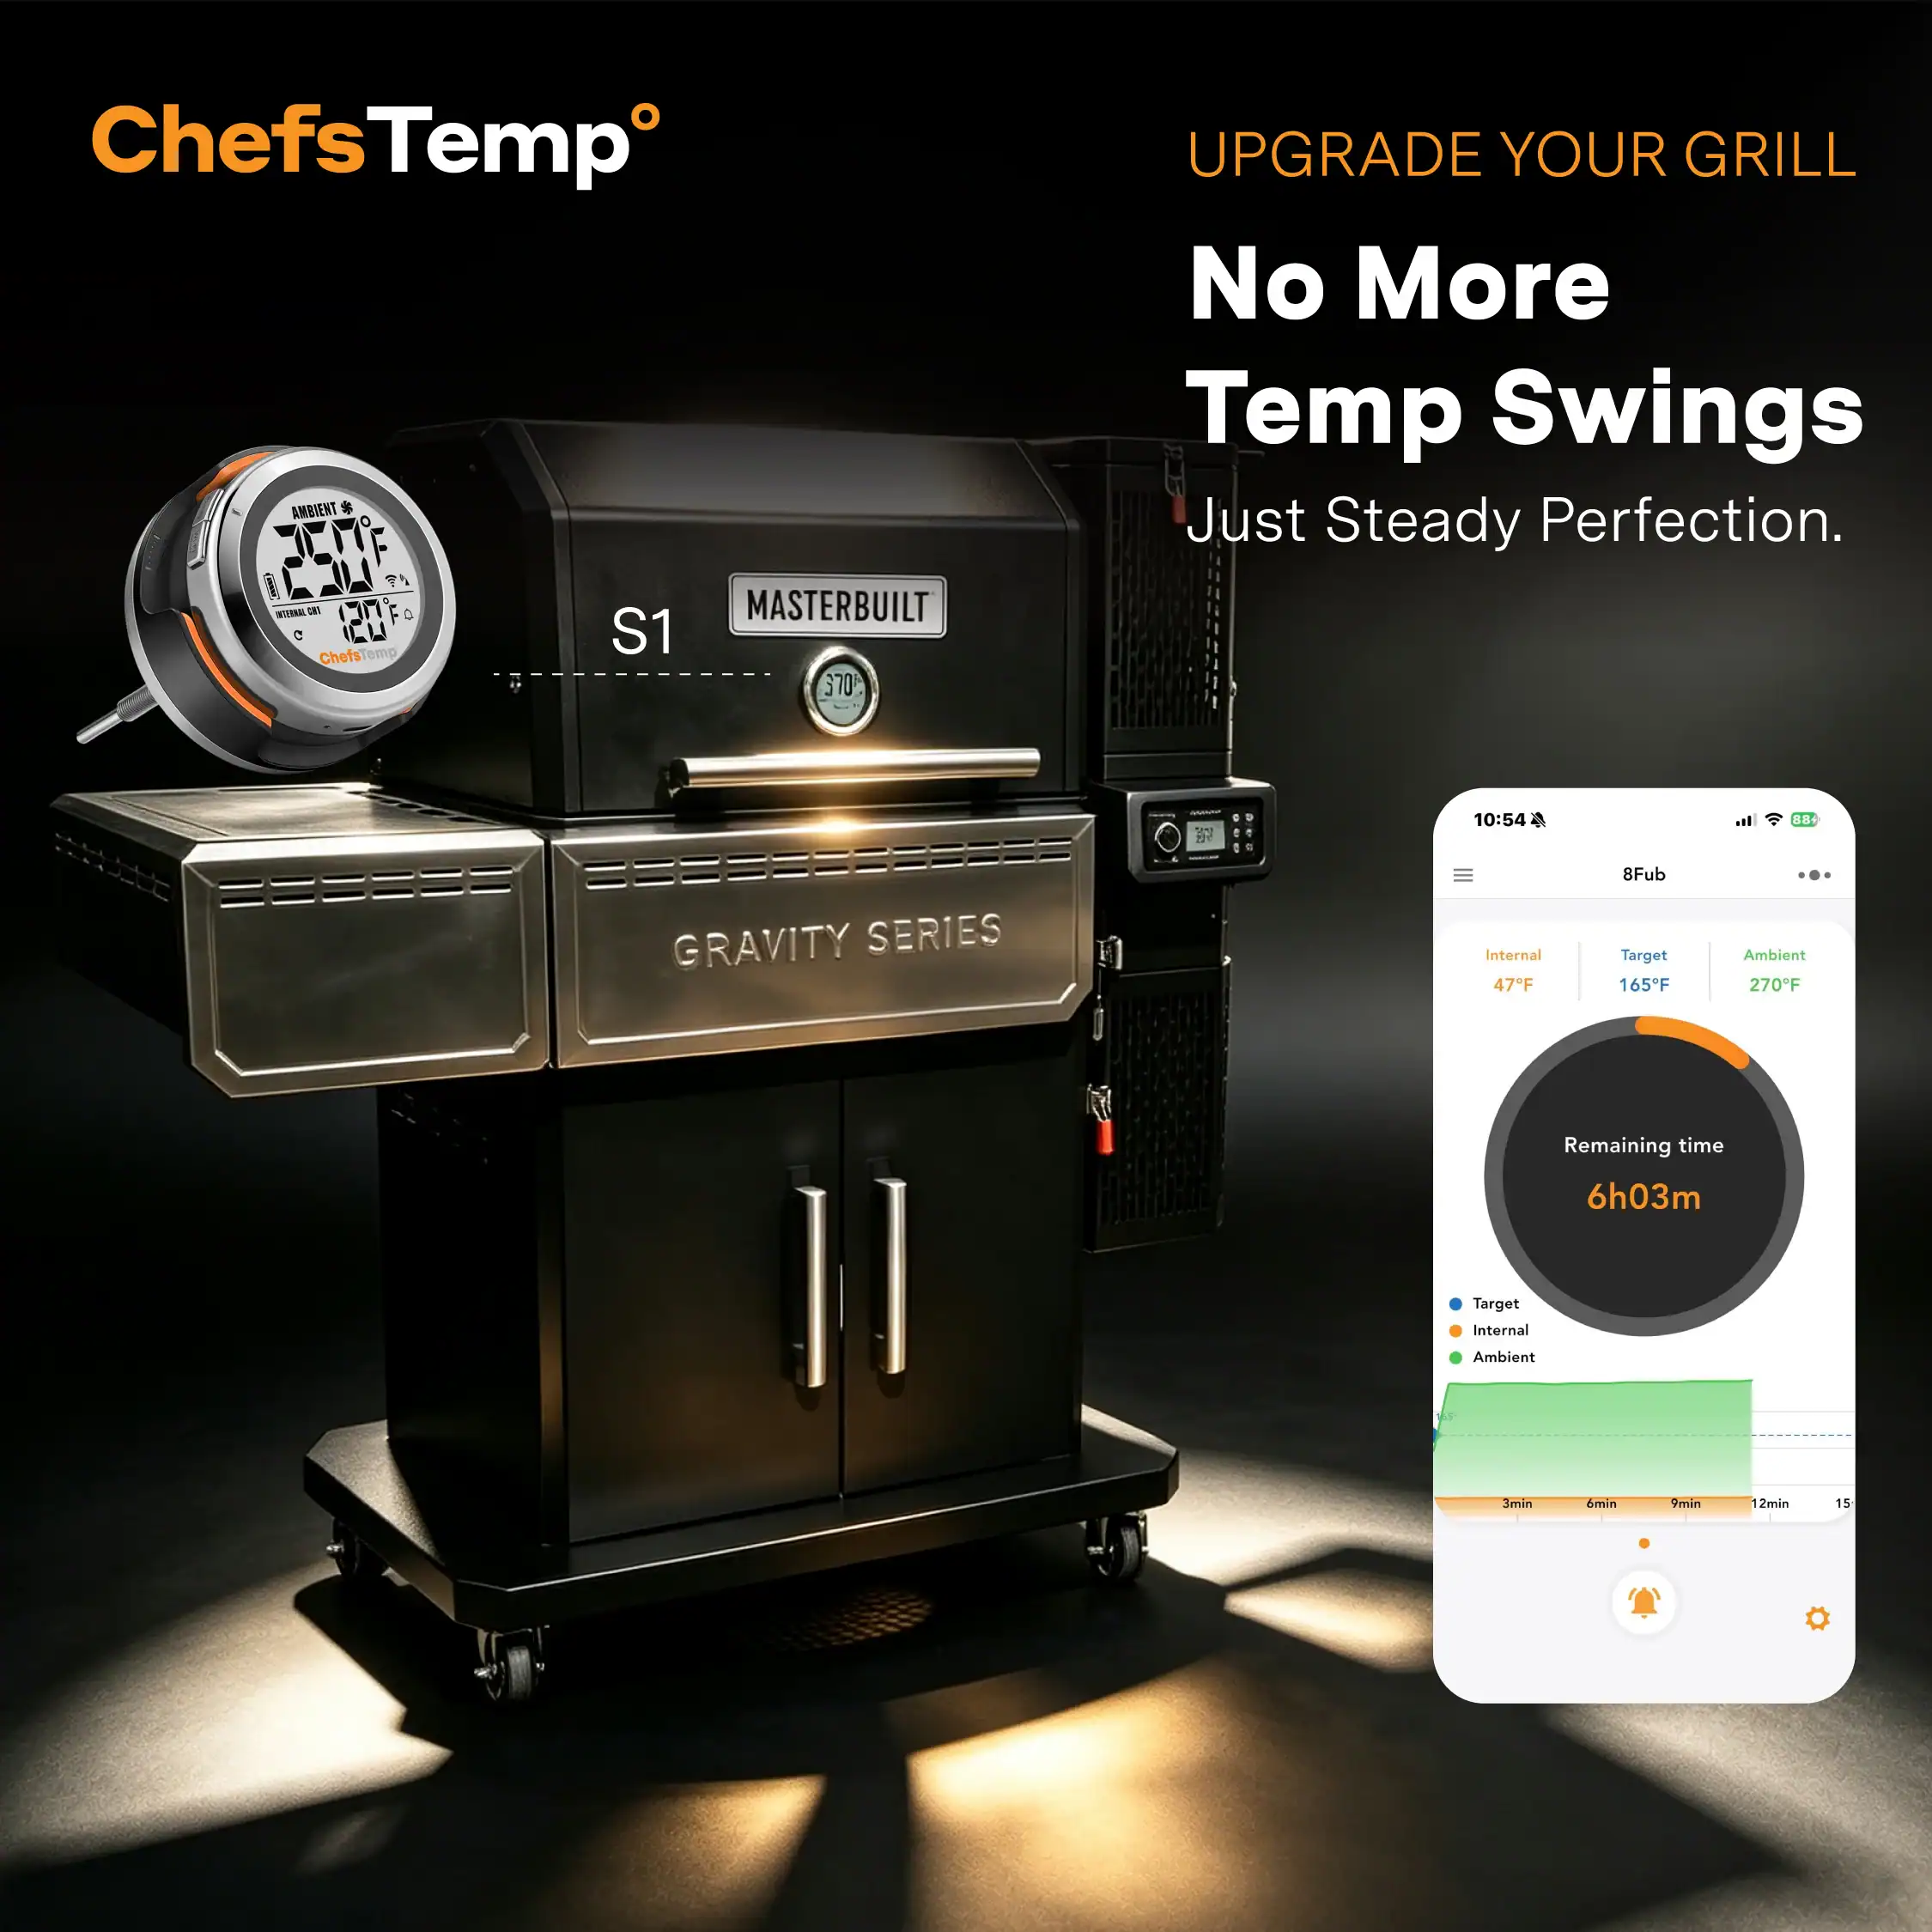
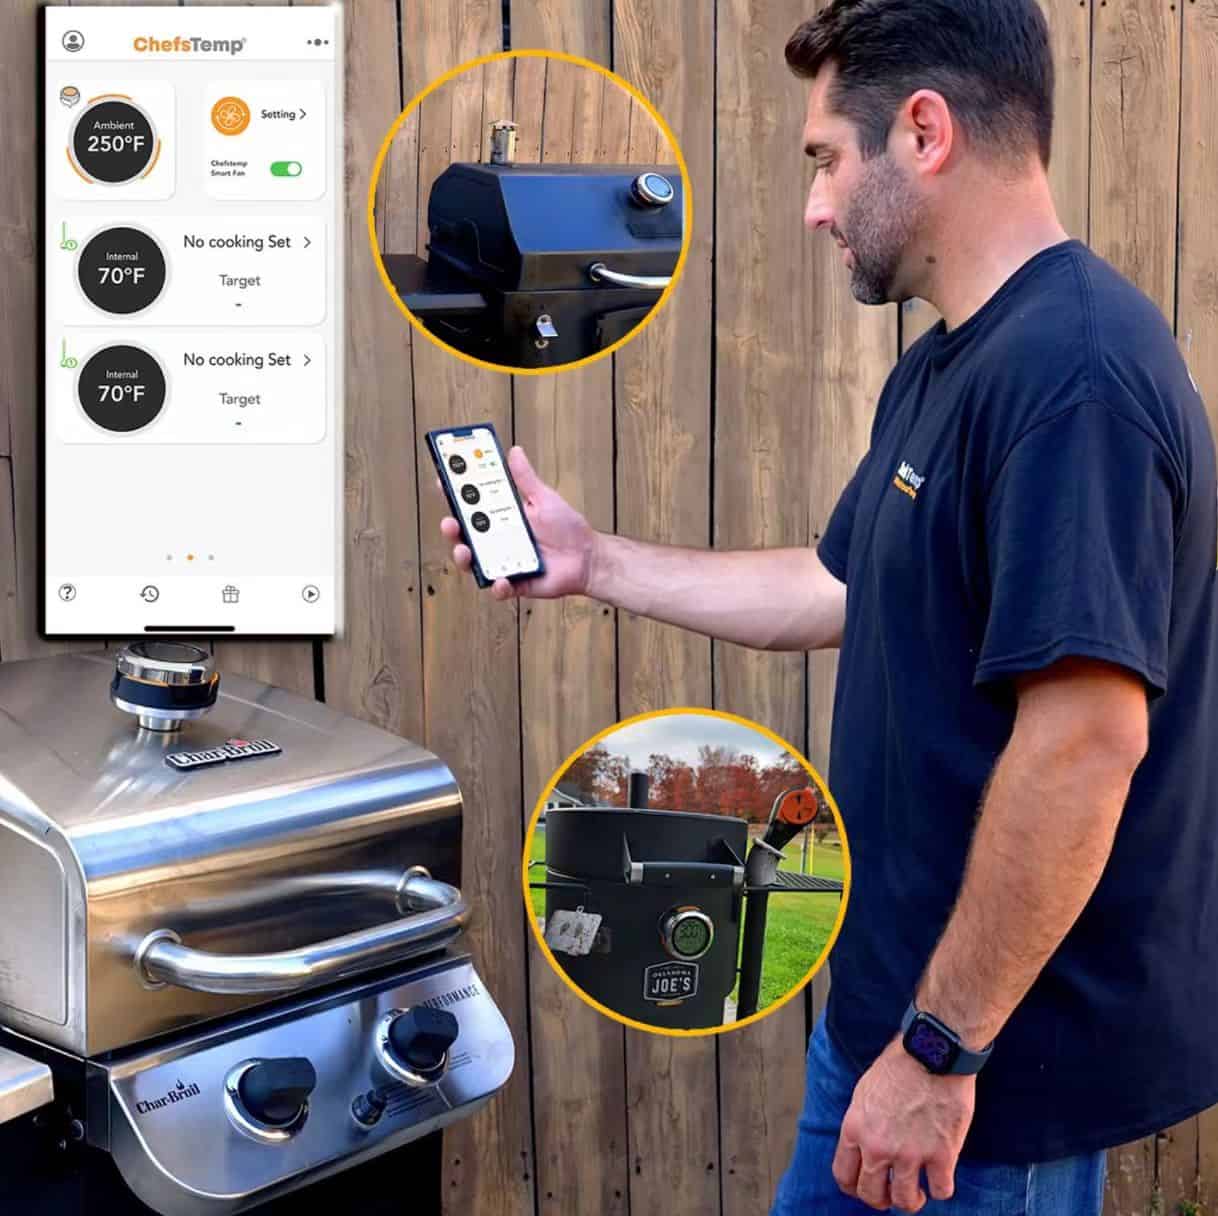
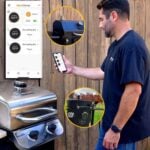
Track grill and meat temperatures remotely on your phone or Apple Watch via Wi-Fi & Bluetooth. Monitor your cook from anywhere—day, night, heat, cold, rain, or while sleeping.
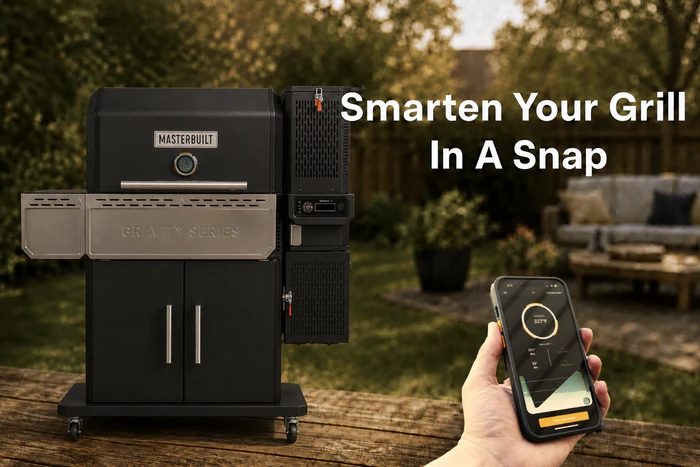
No Wires, No Dead Batteries
Say goodbye to messy wires cluttering your cook station. With 40 hours of battery life on a single charge, you can handle overnight smokes without battery anxiety and manage everything right from your phone or Apple Watch.
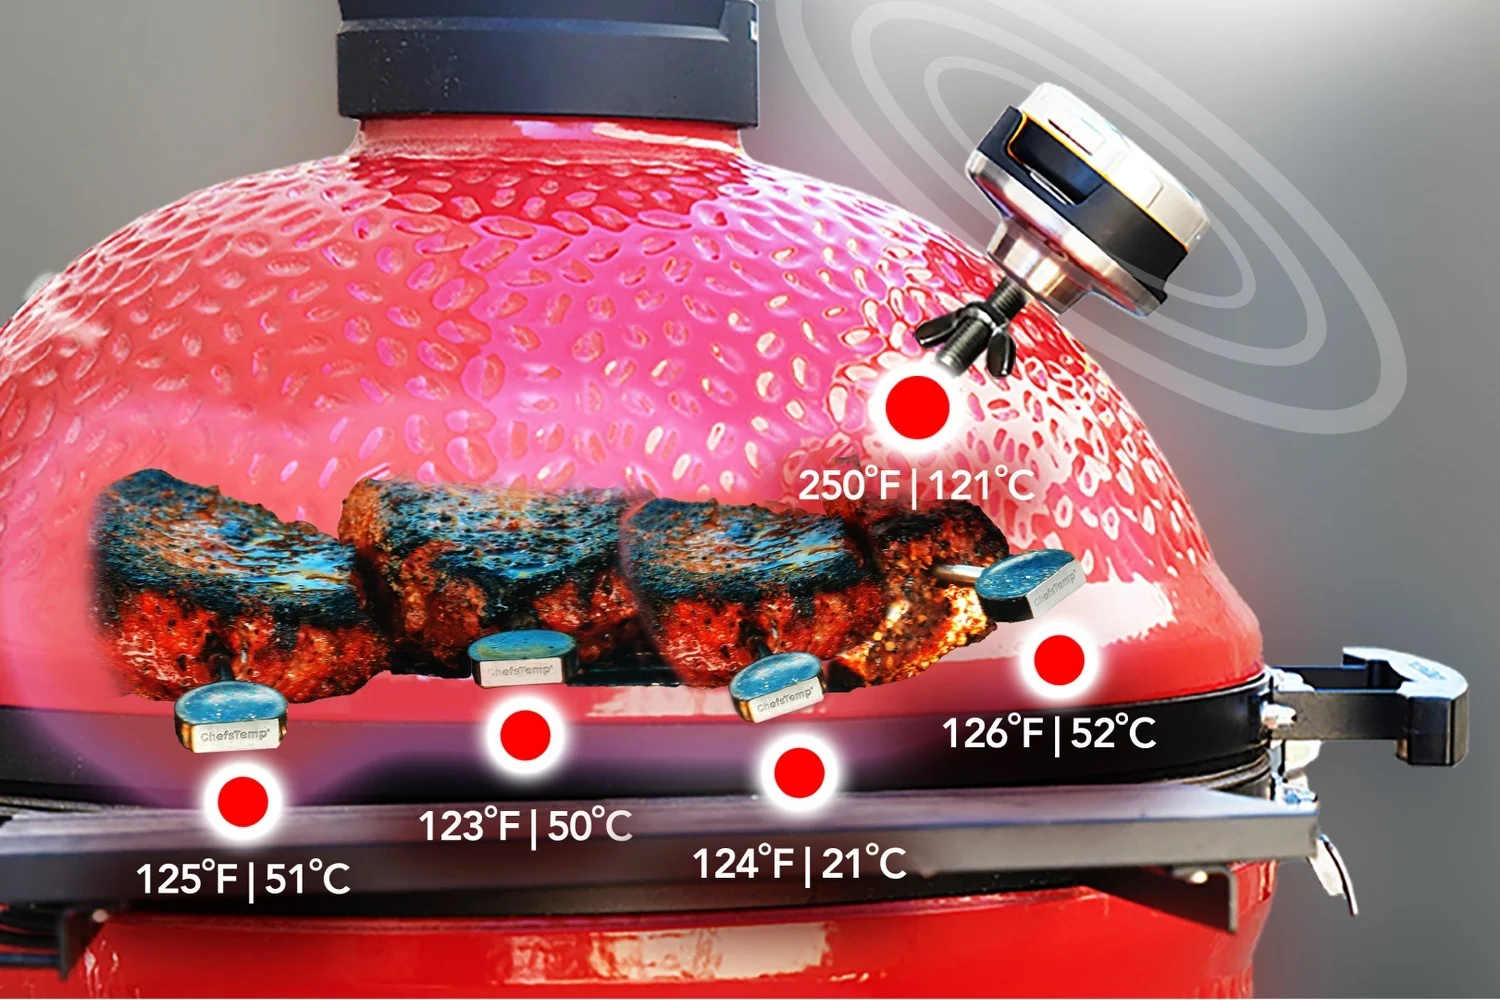
Stop Guessing Your Pit Temps
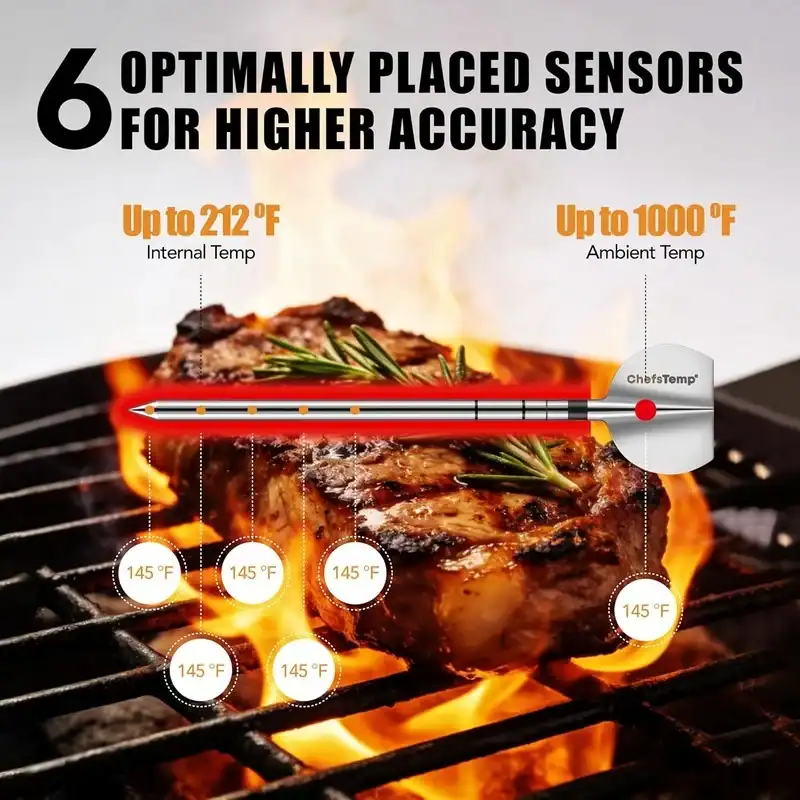
Original dome gauges are rarely accurate. Upgrade to a pro-grade Platinum sensor rated up to 1000°F and track up to 4 probes (each equipped with 5 sensors) at once for real-time accuracy across every cut of meat.
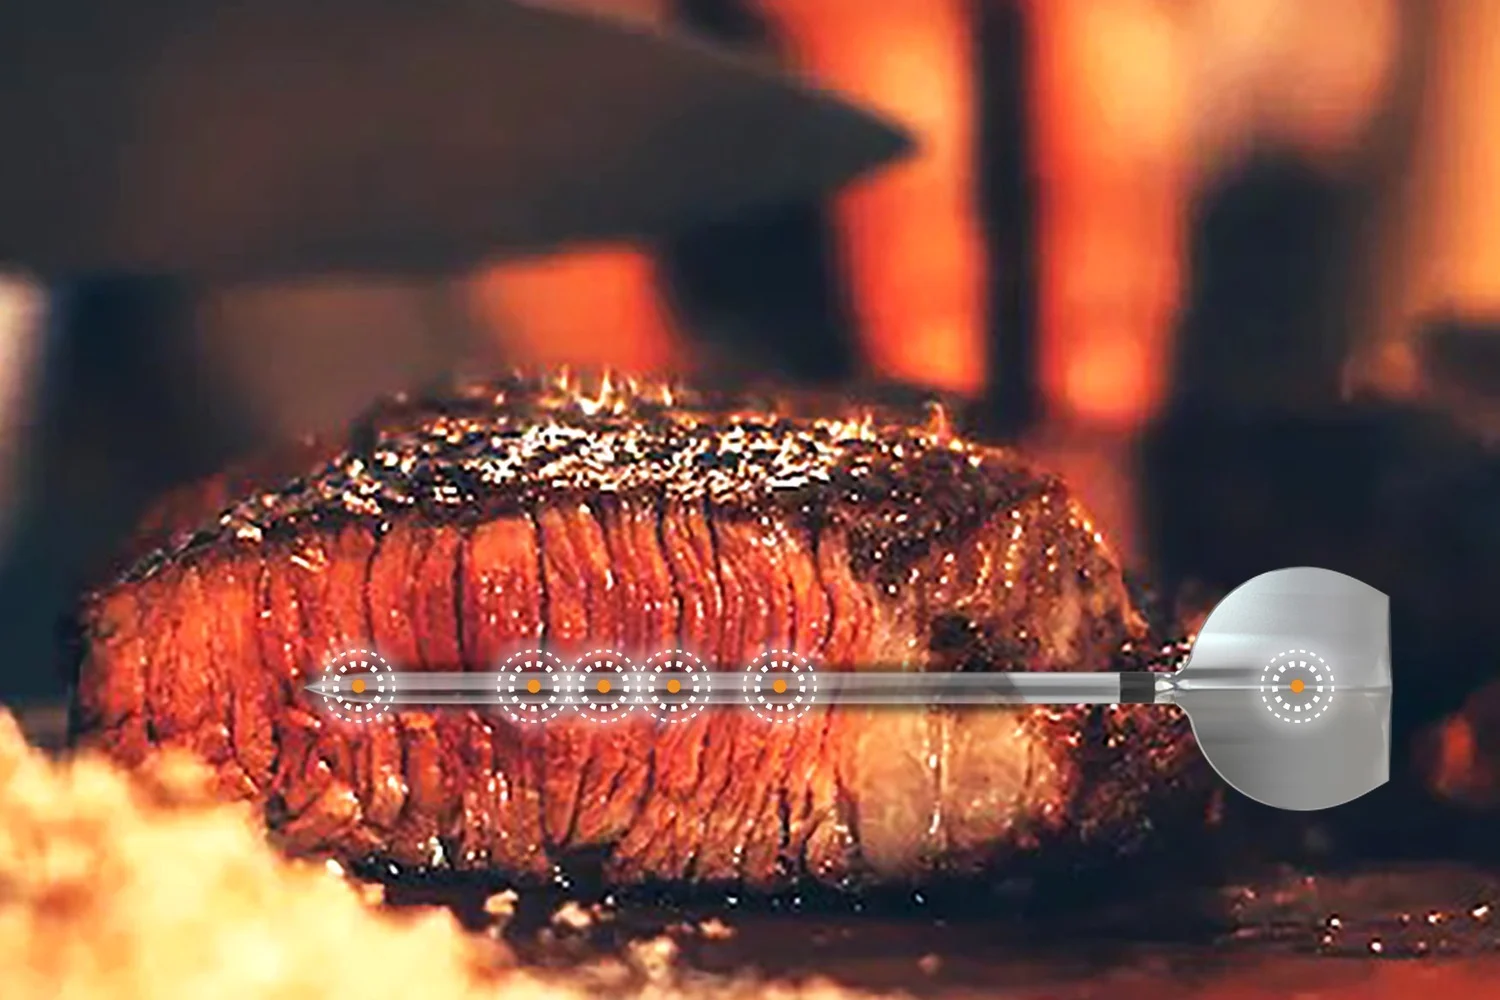
High-Precision Sensor
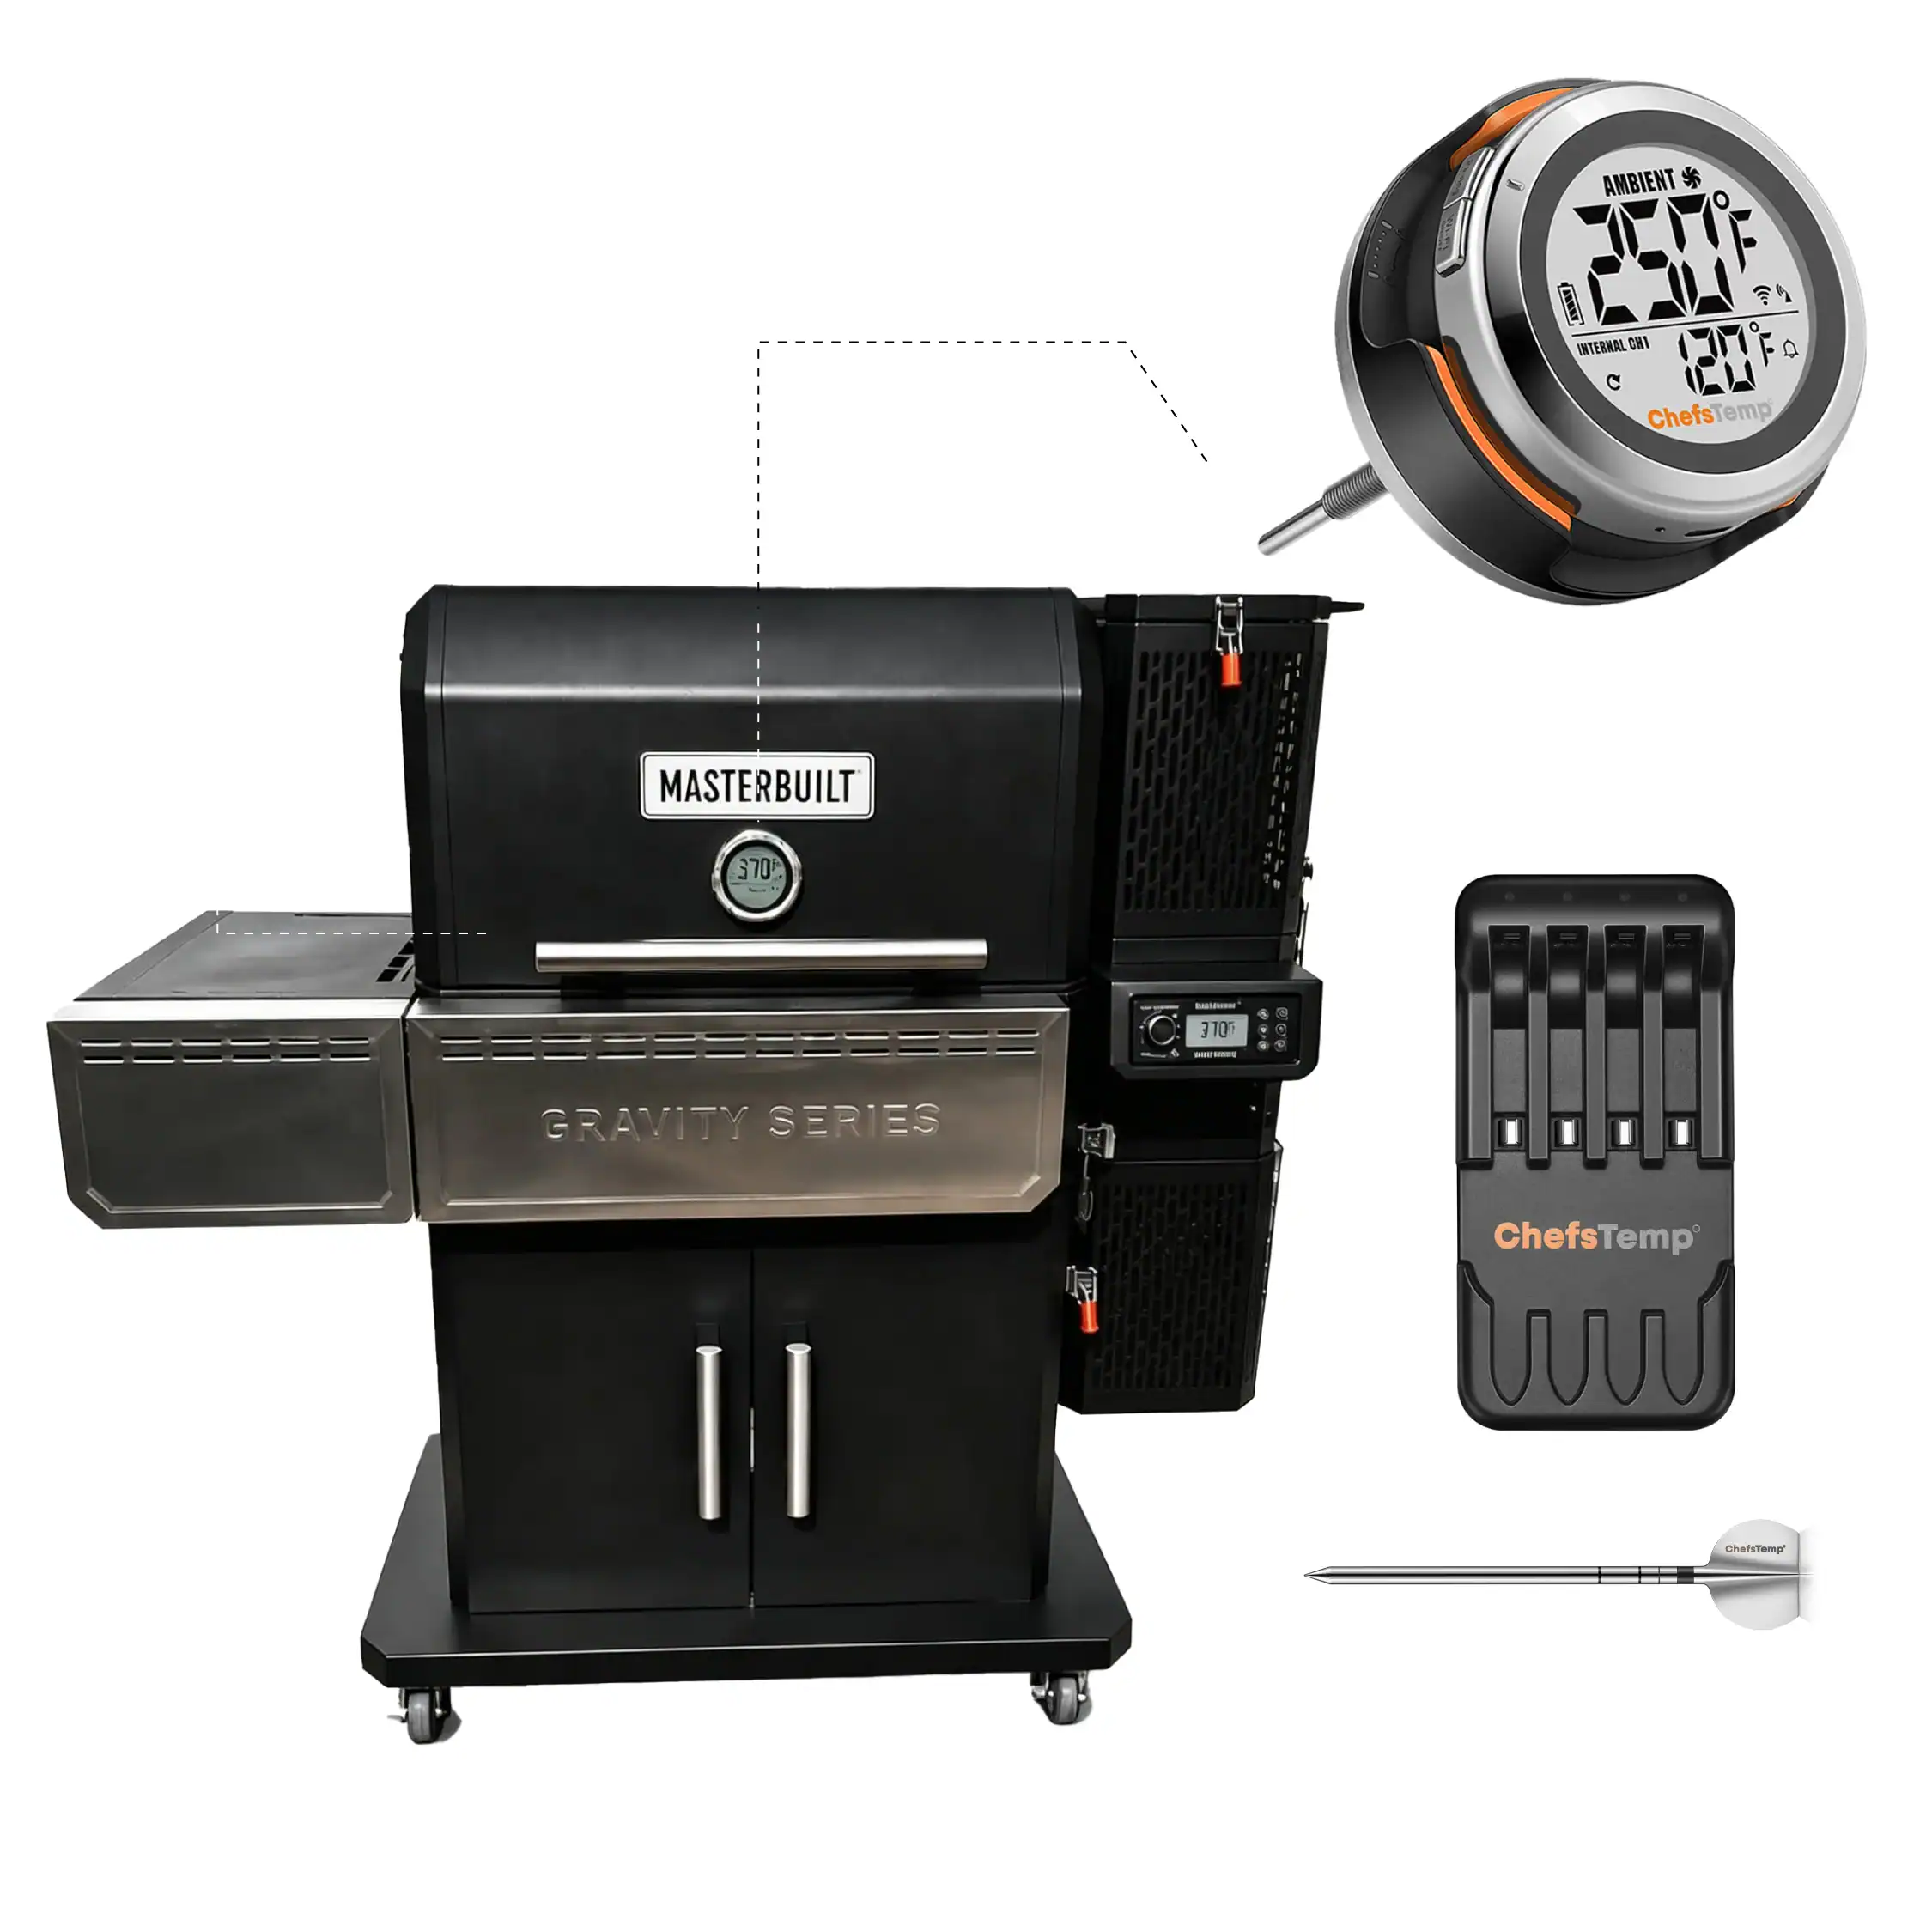
Engineered for extreme performance, ProTemp S1 features a 1000°F(530°C) range with 10x the accuracy of traditional gauge thermometers.
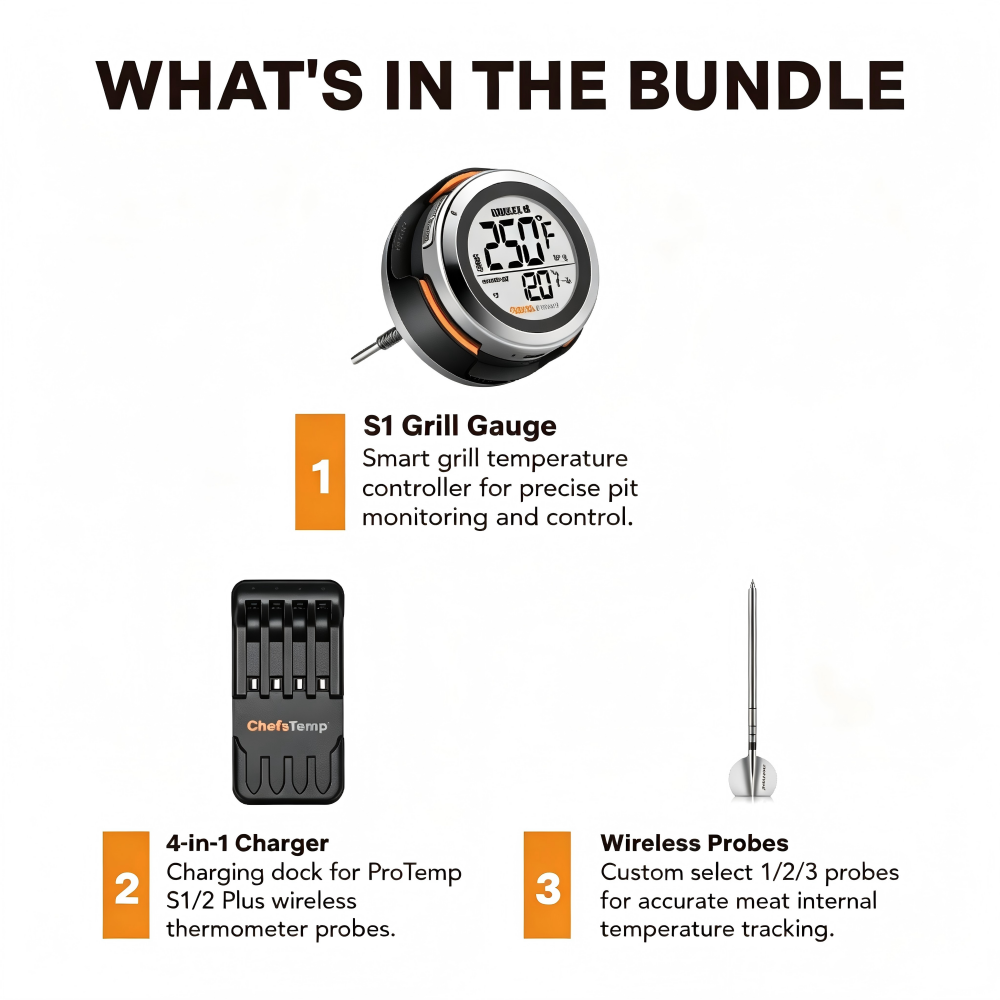
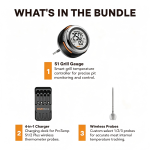
What’s Included in the Bundle

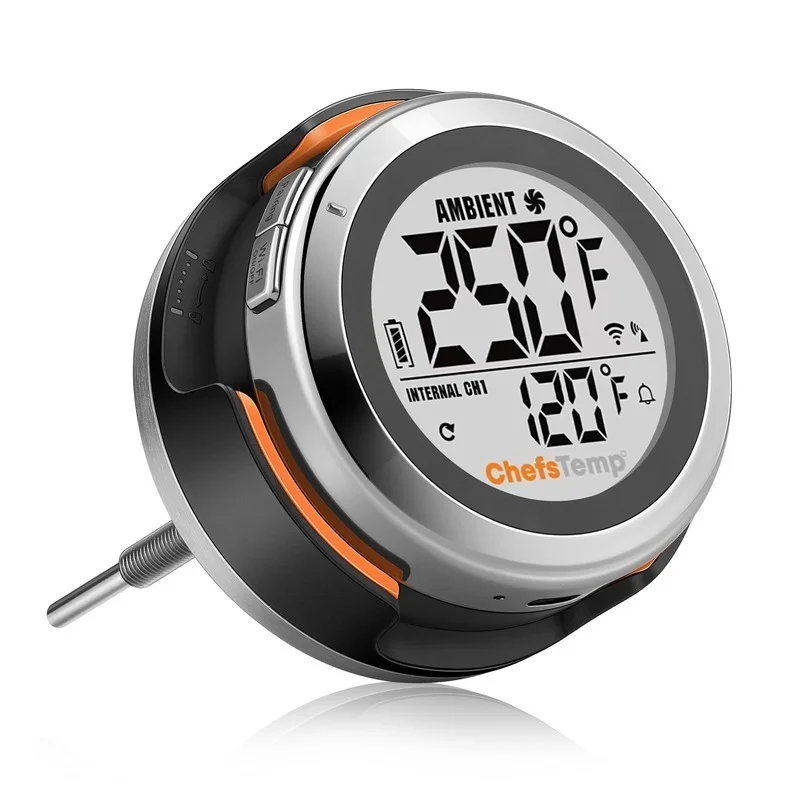
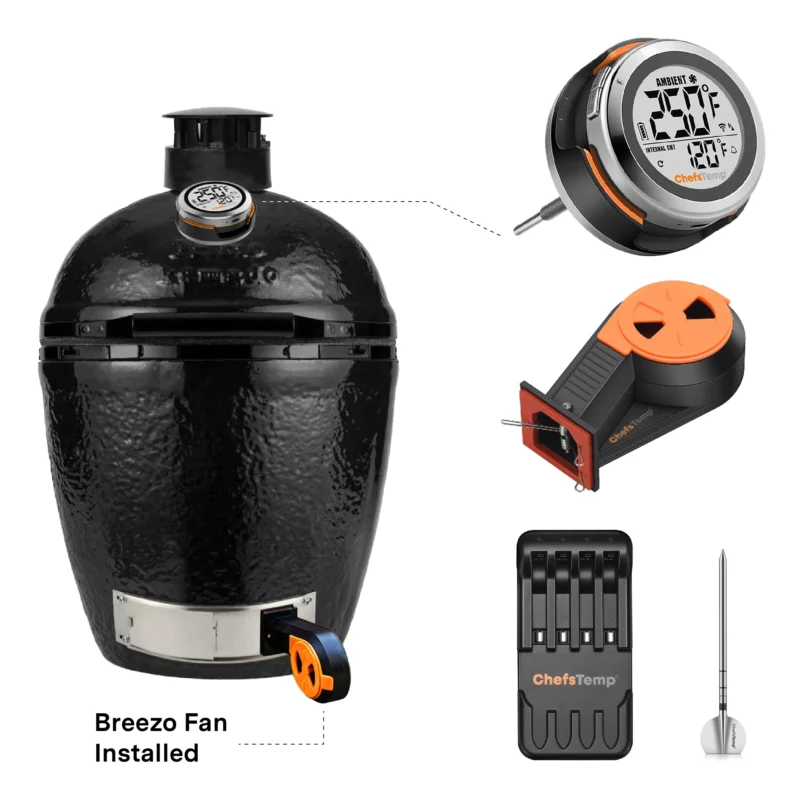
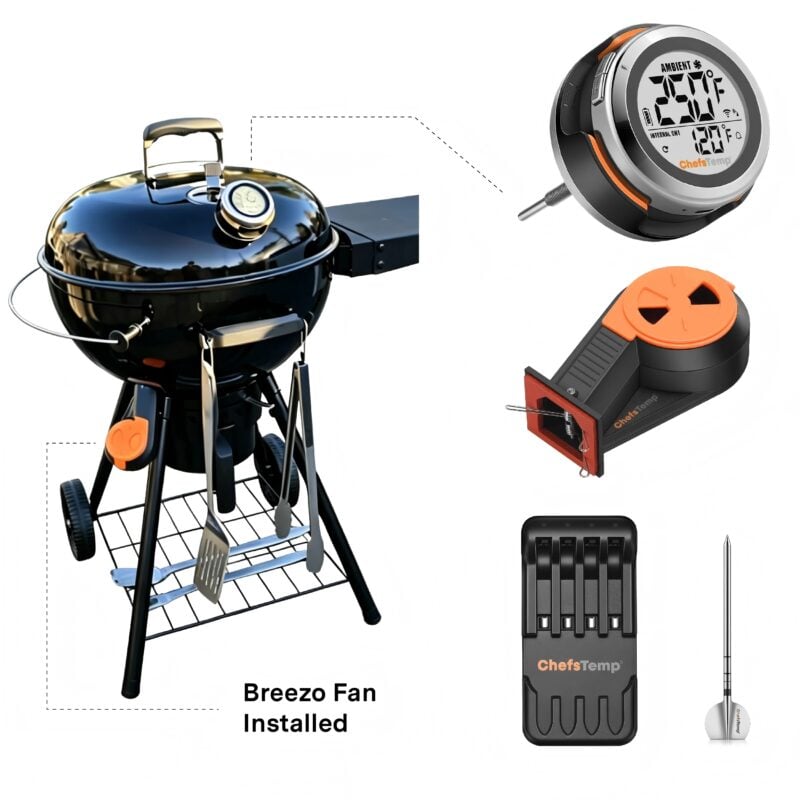
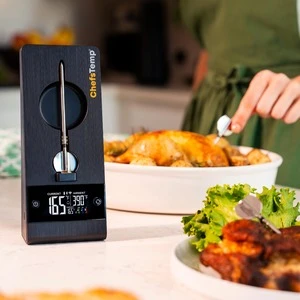
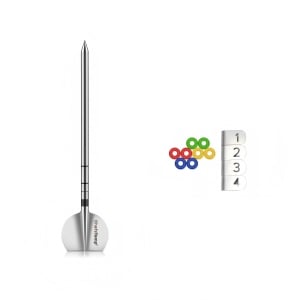
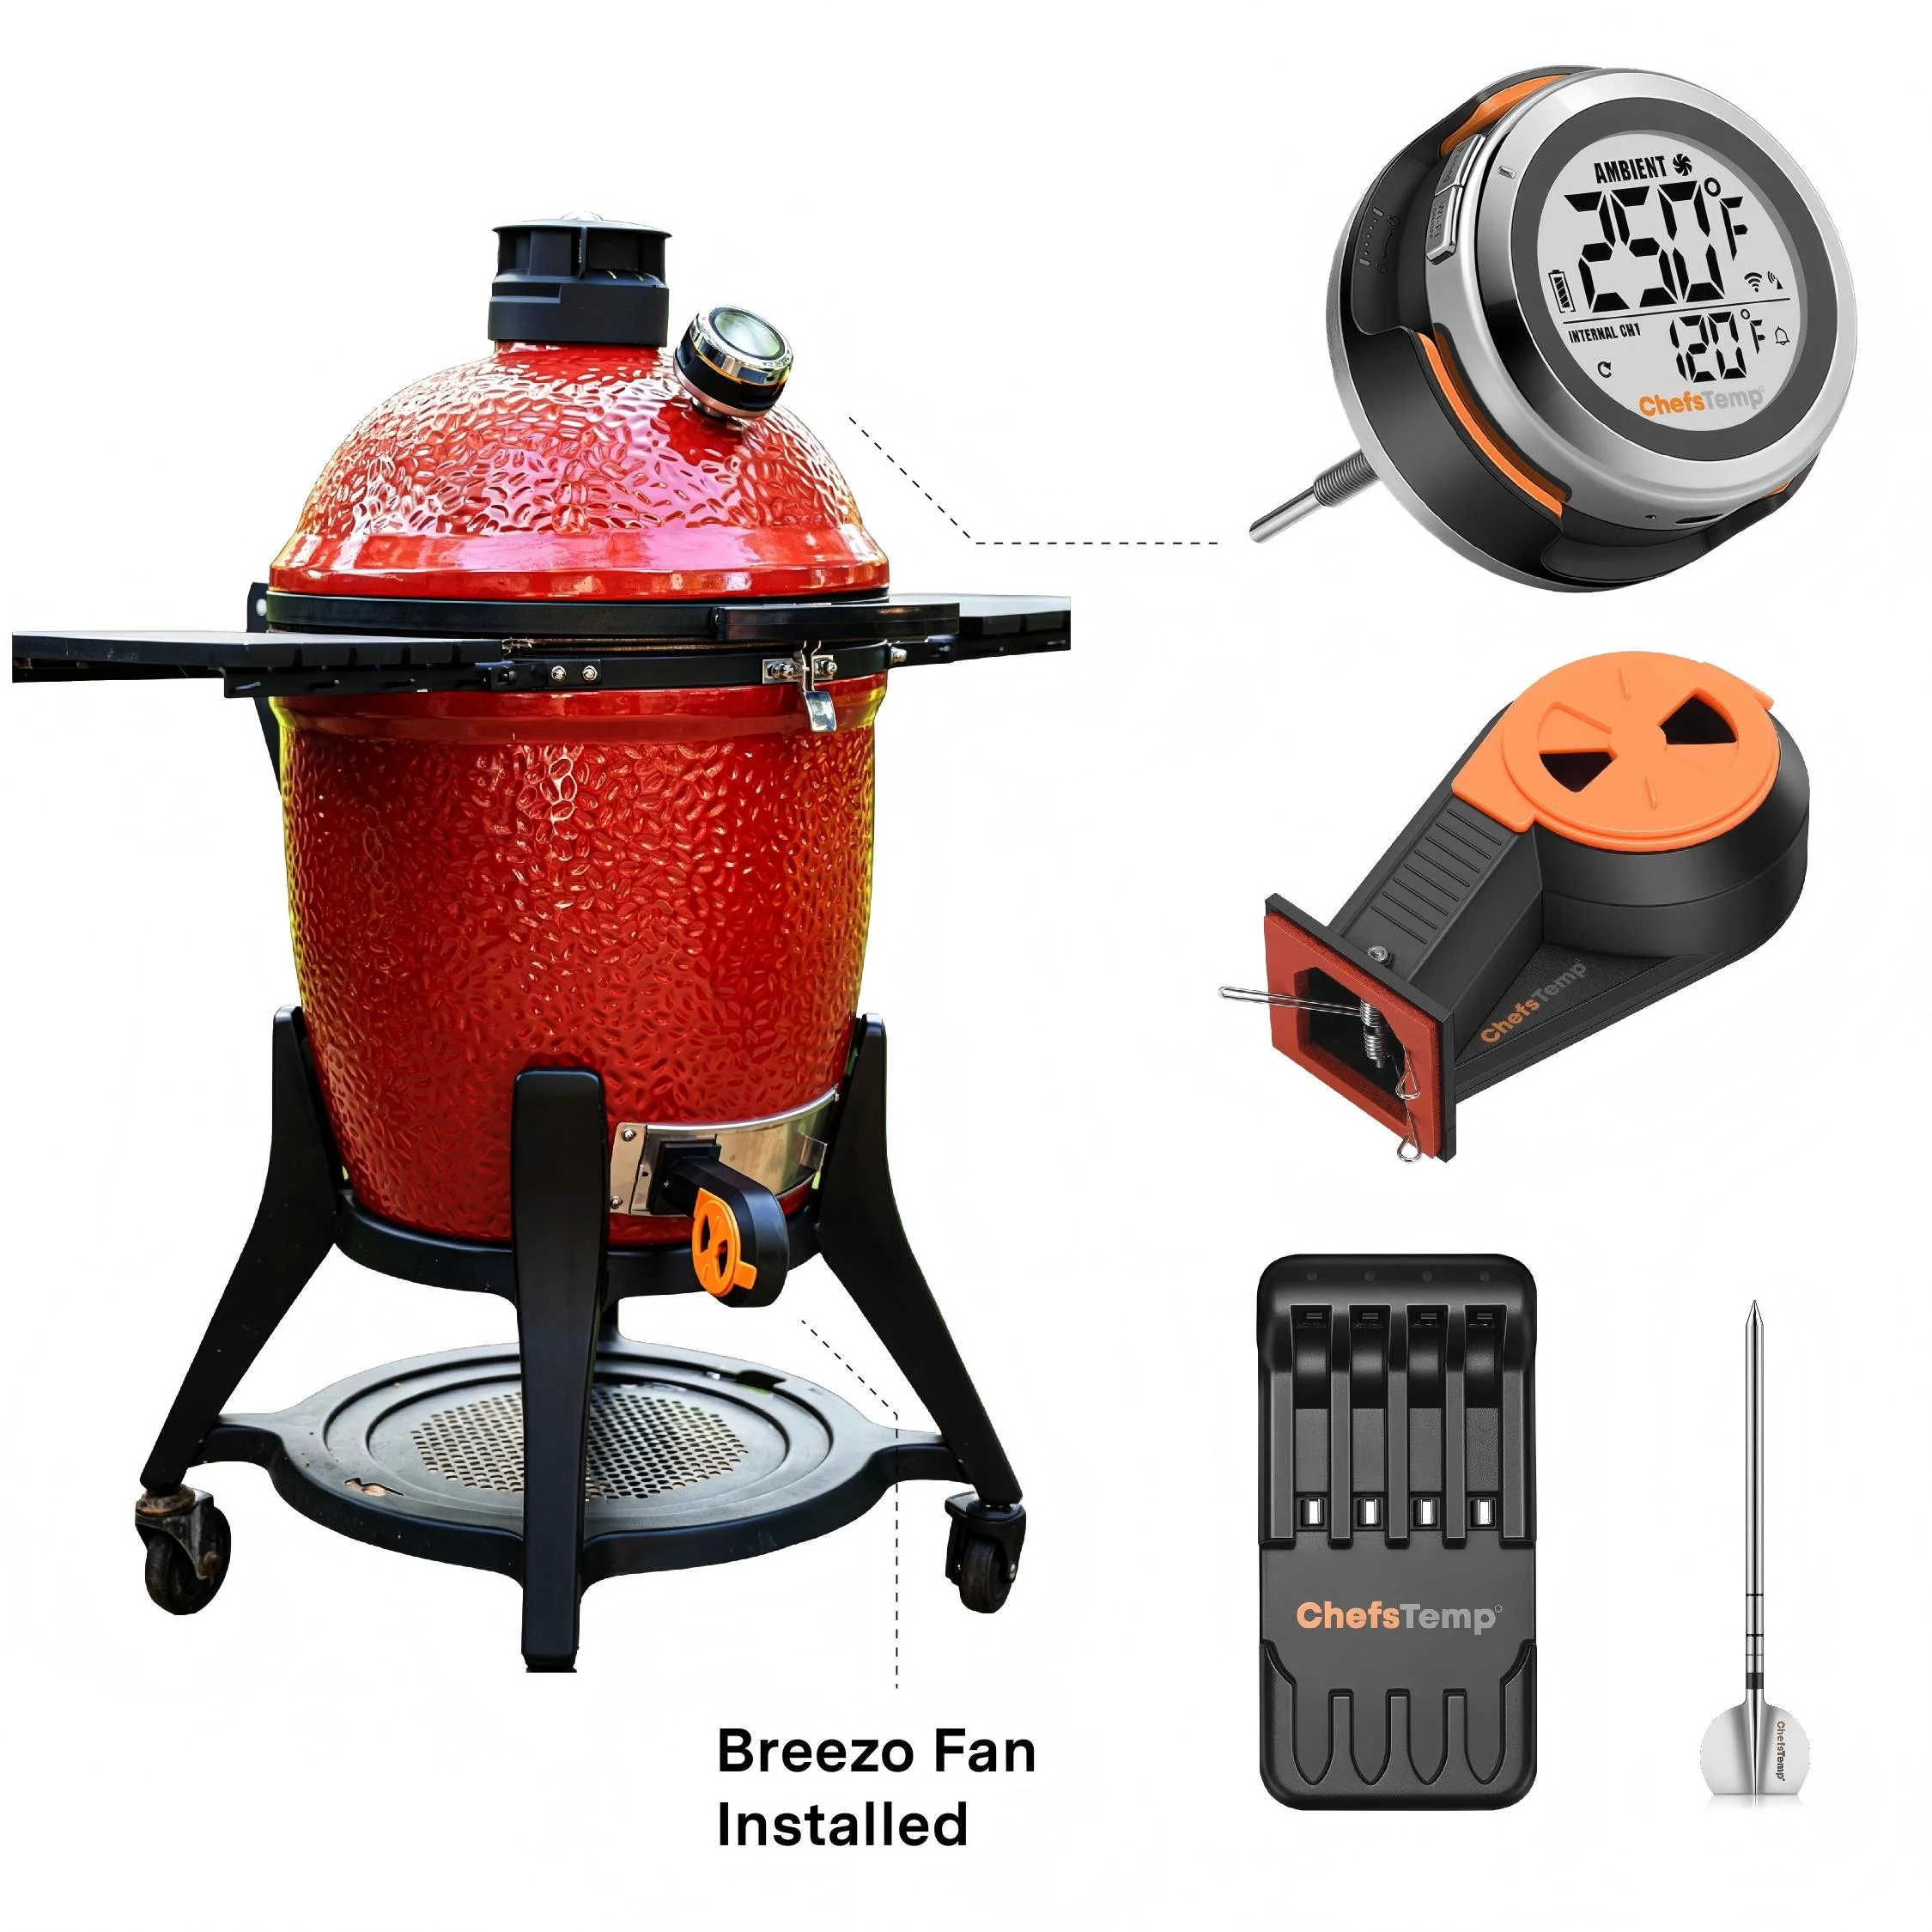
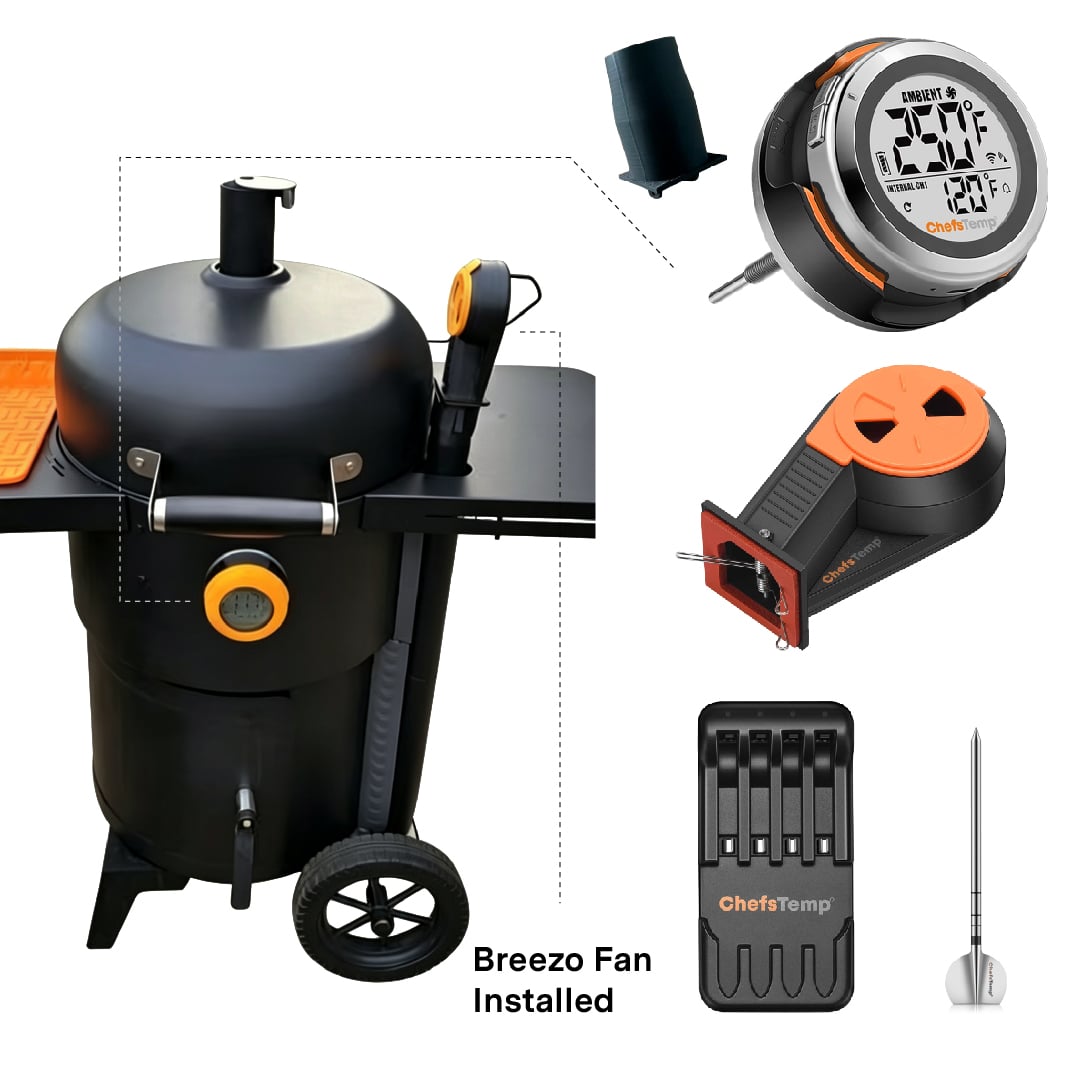
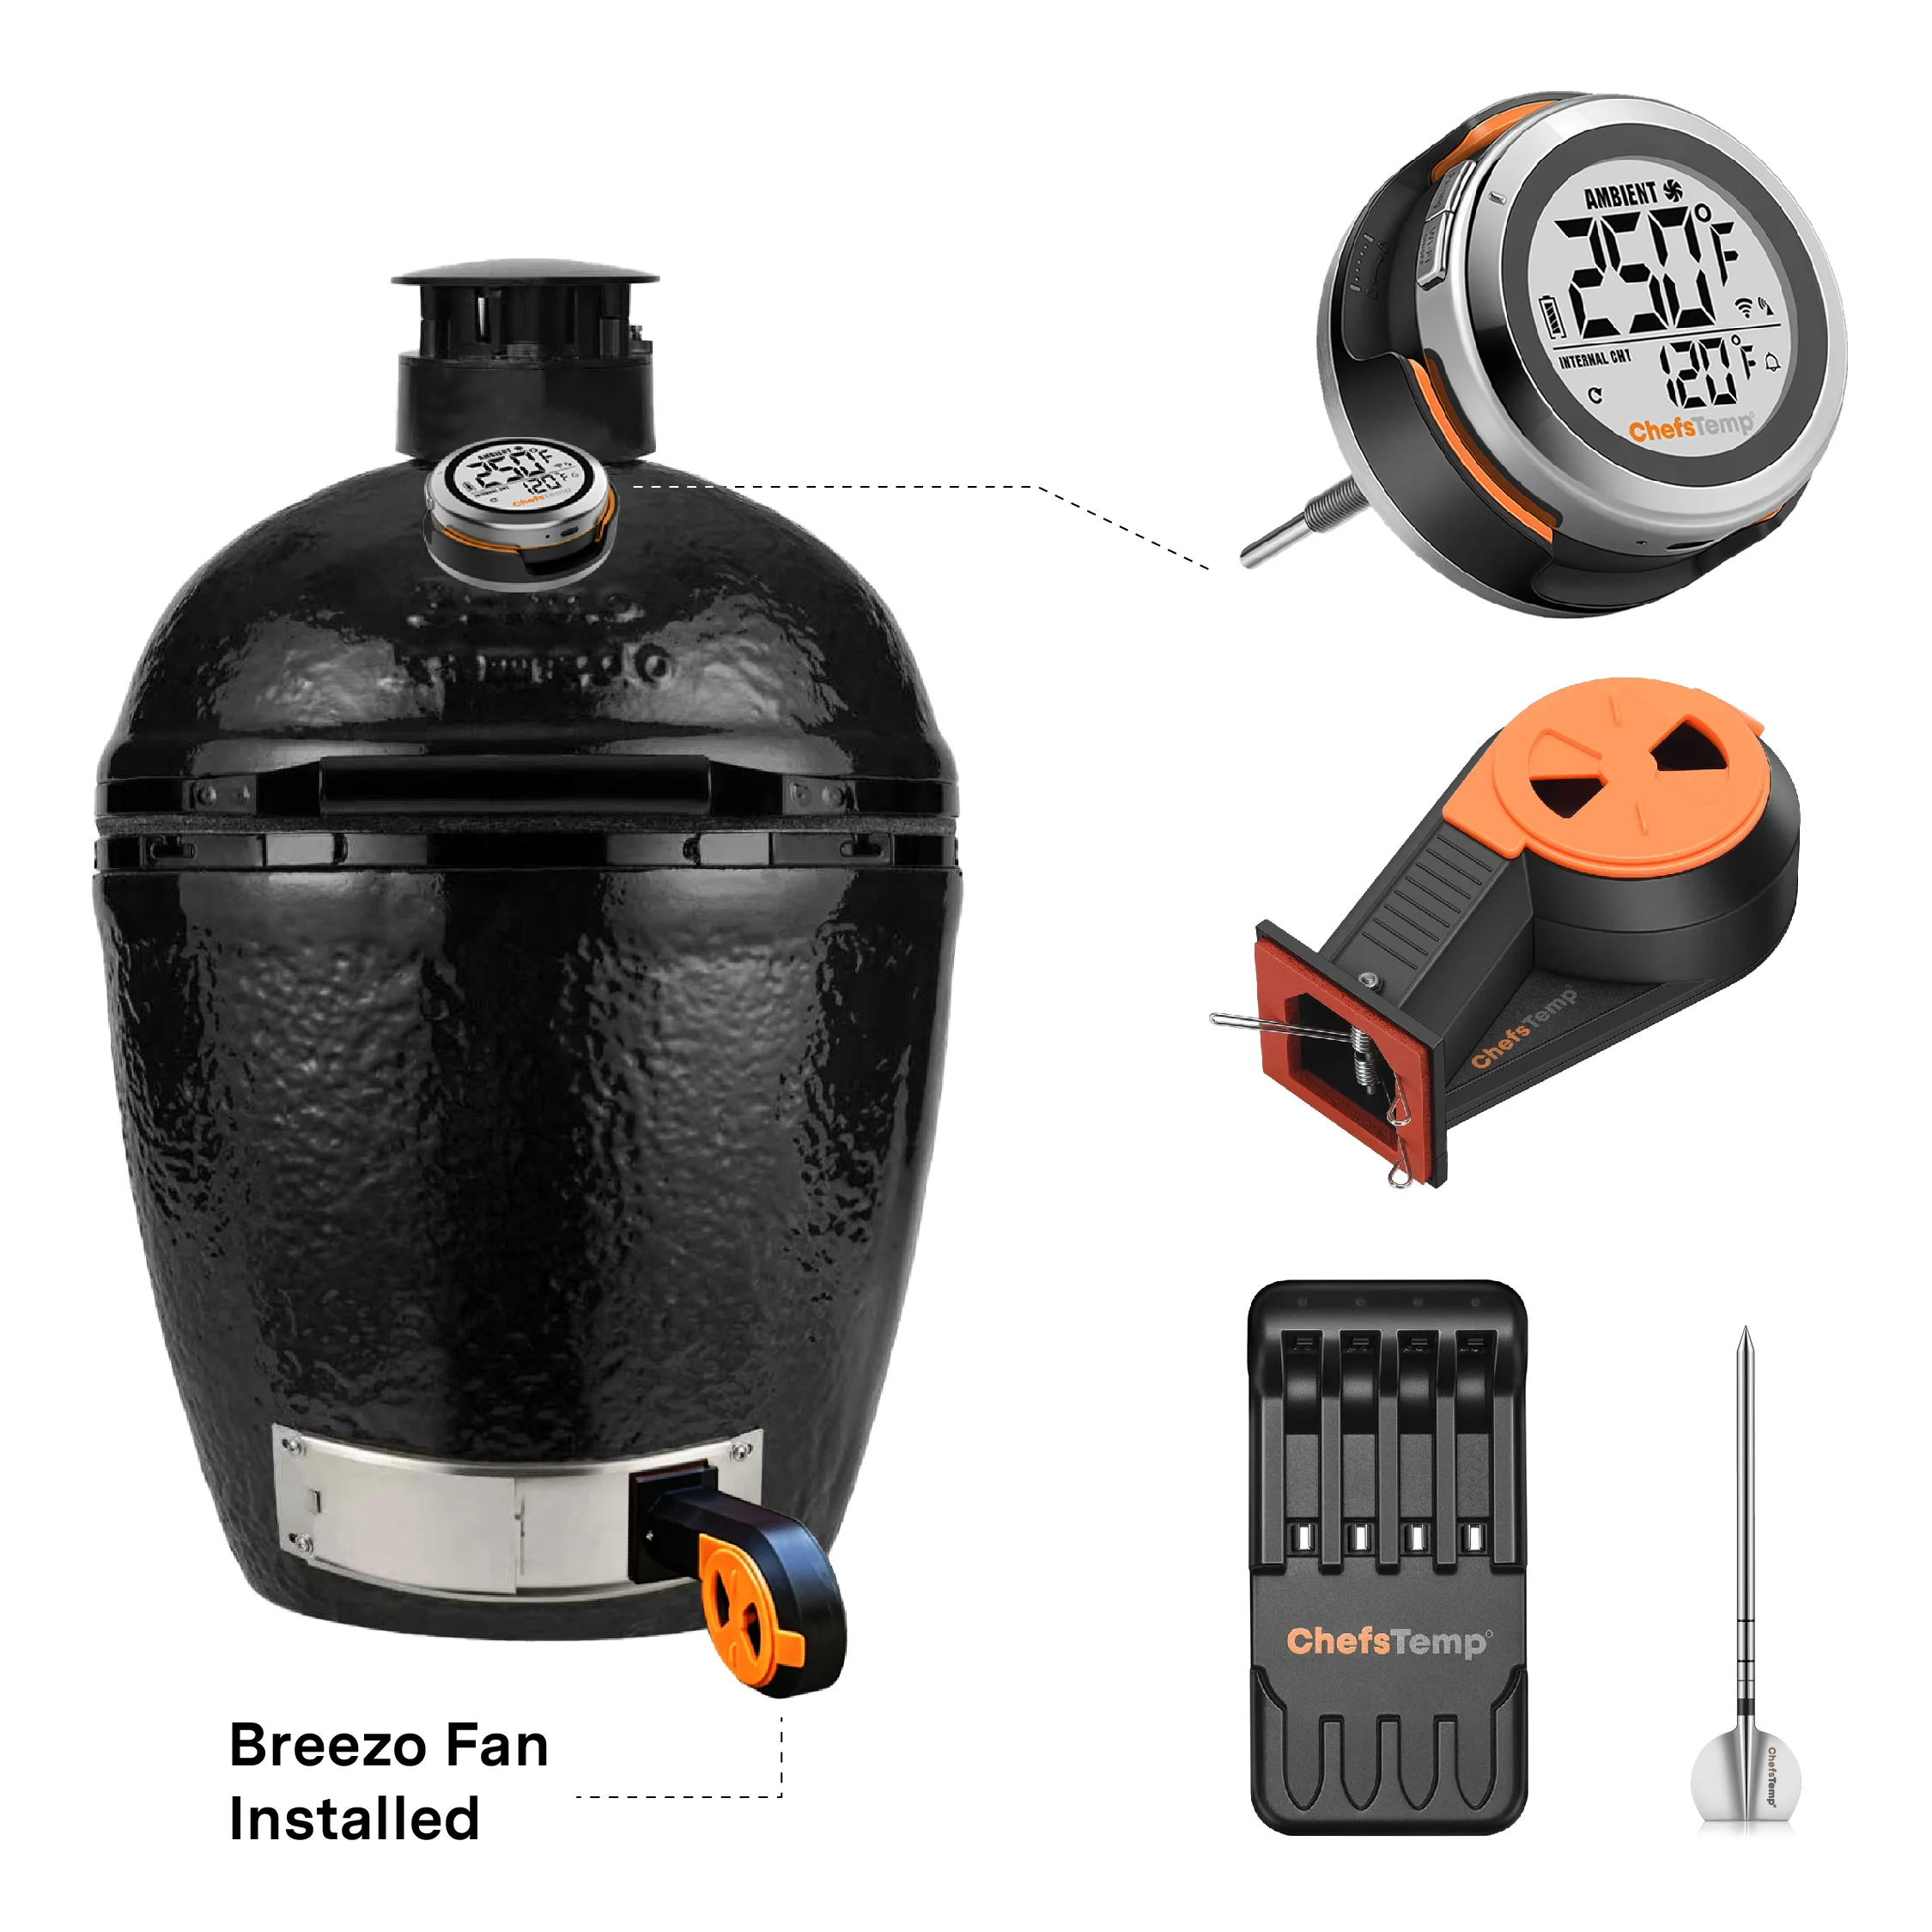
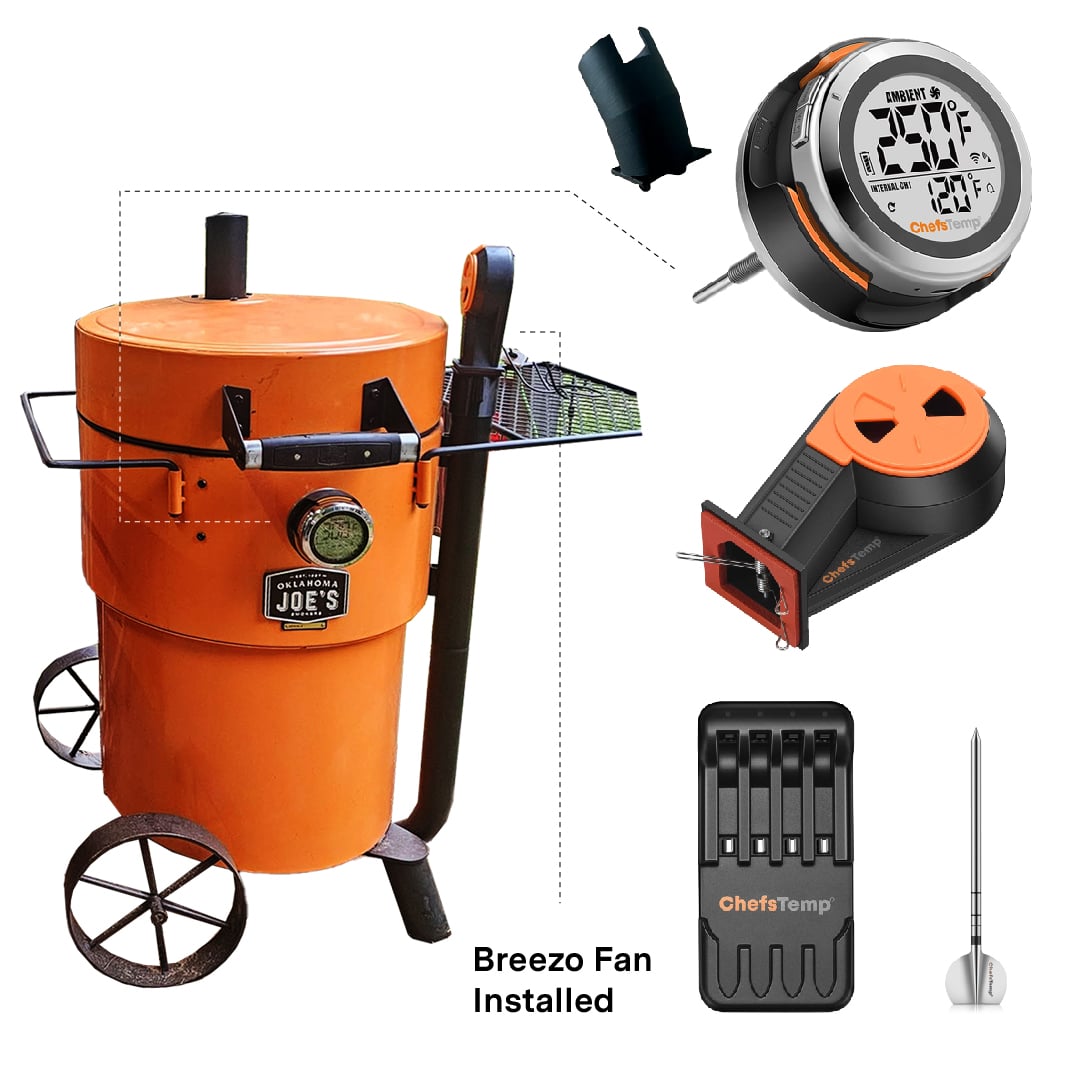
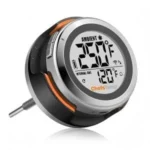
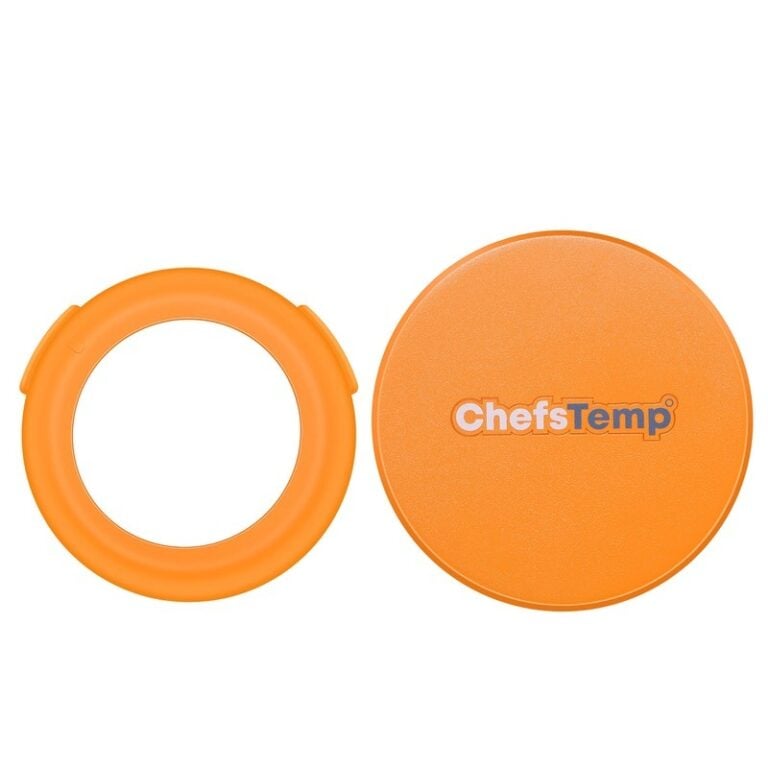
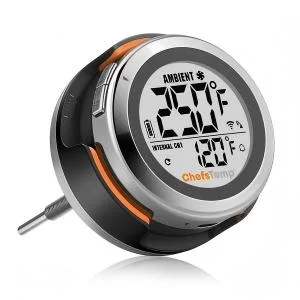
S1 Grill Gauge
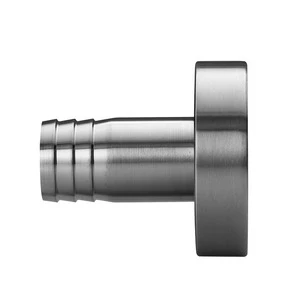
1.5 in short Smart grill temperature controller for precise pit monitoring and control.
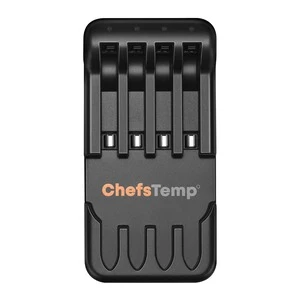
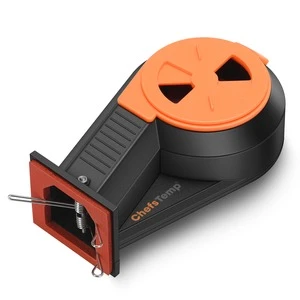
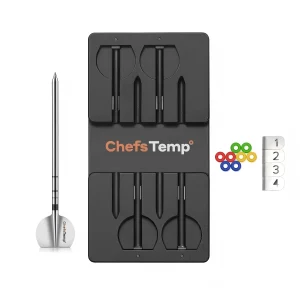
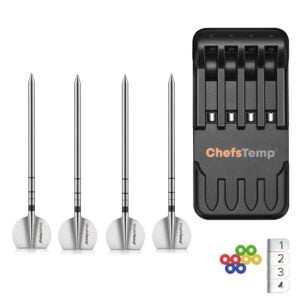
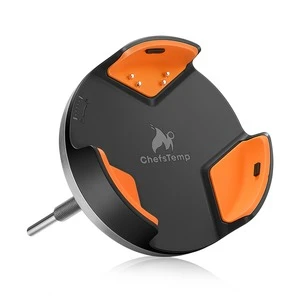
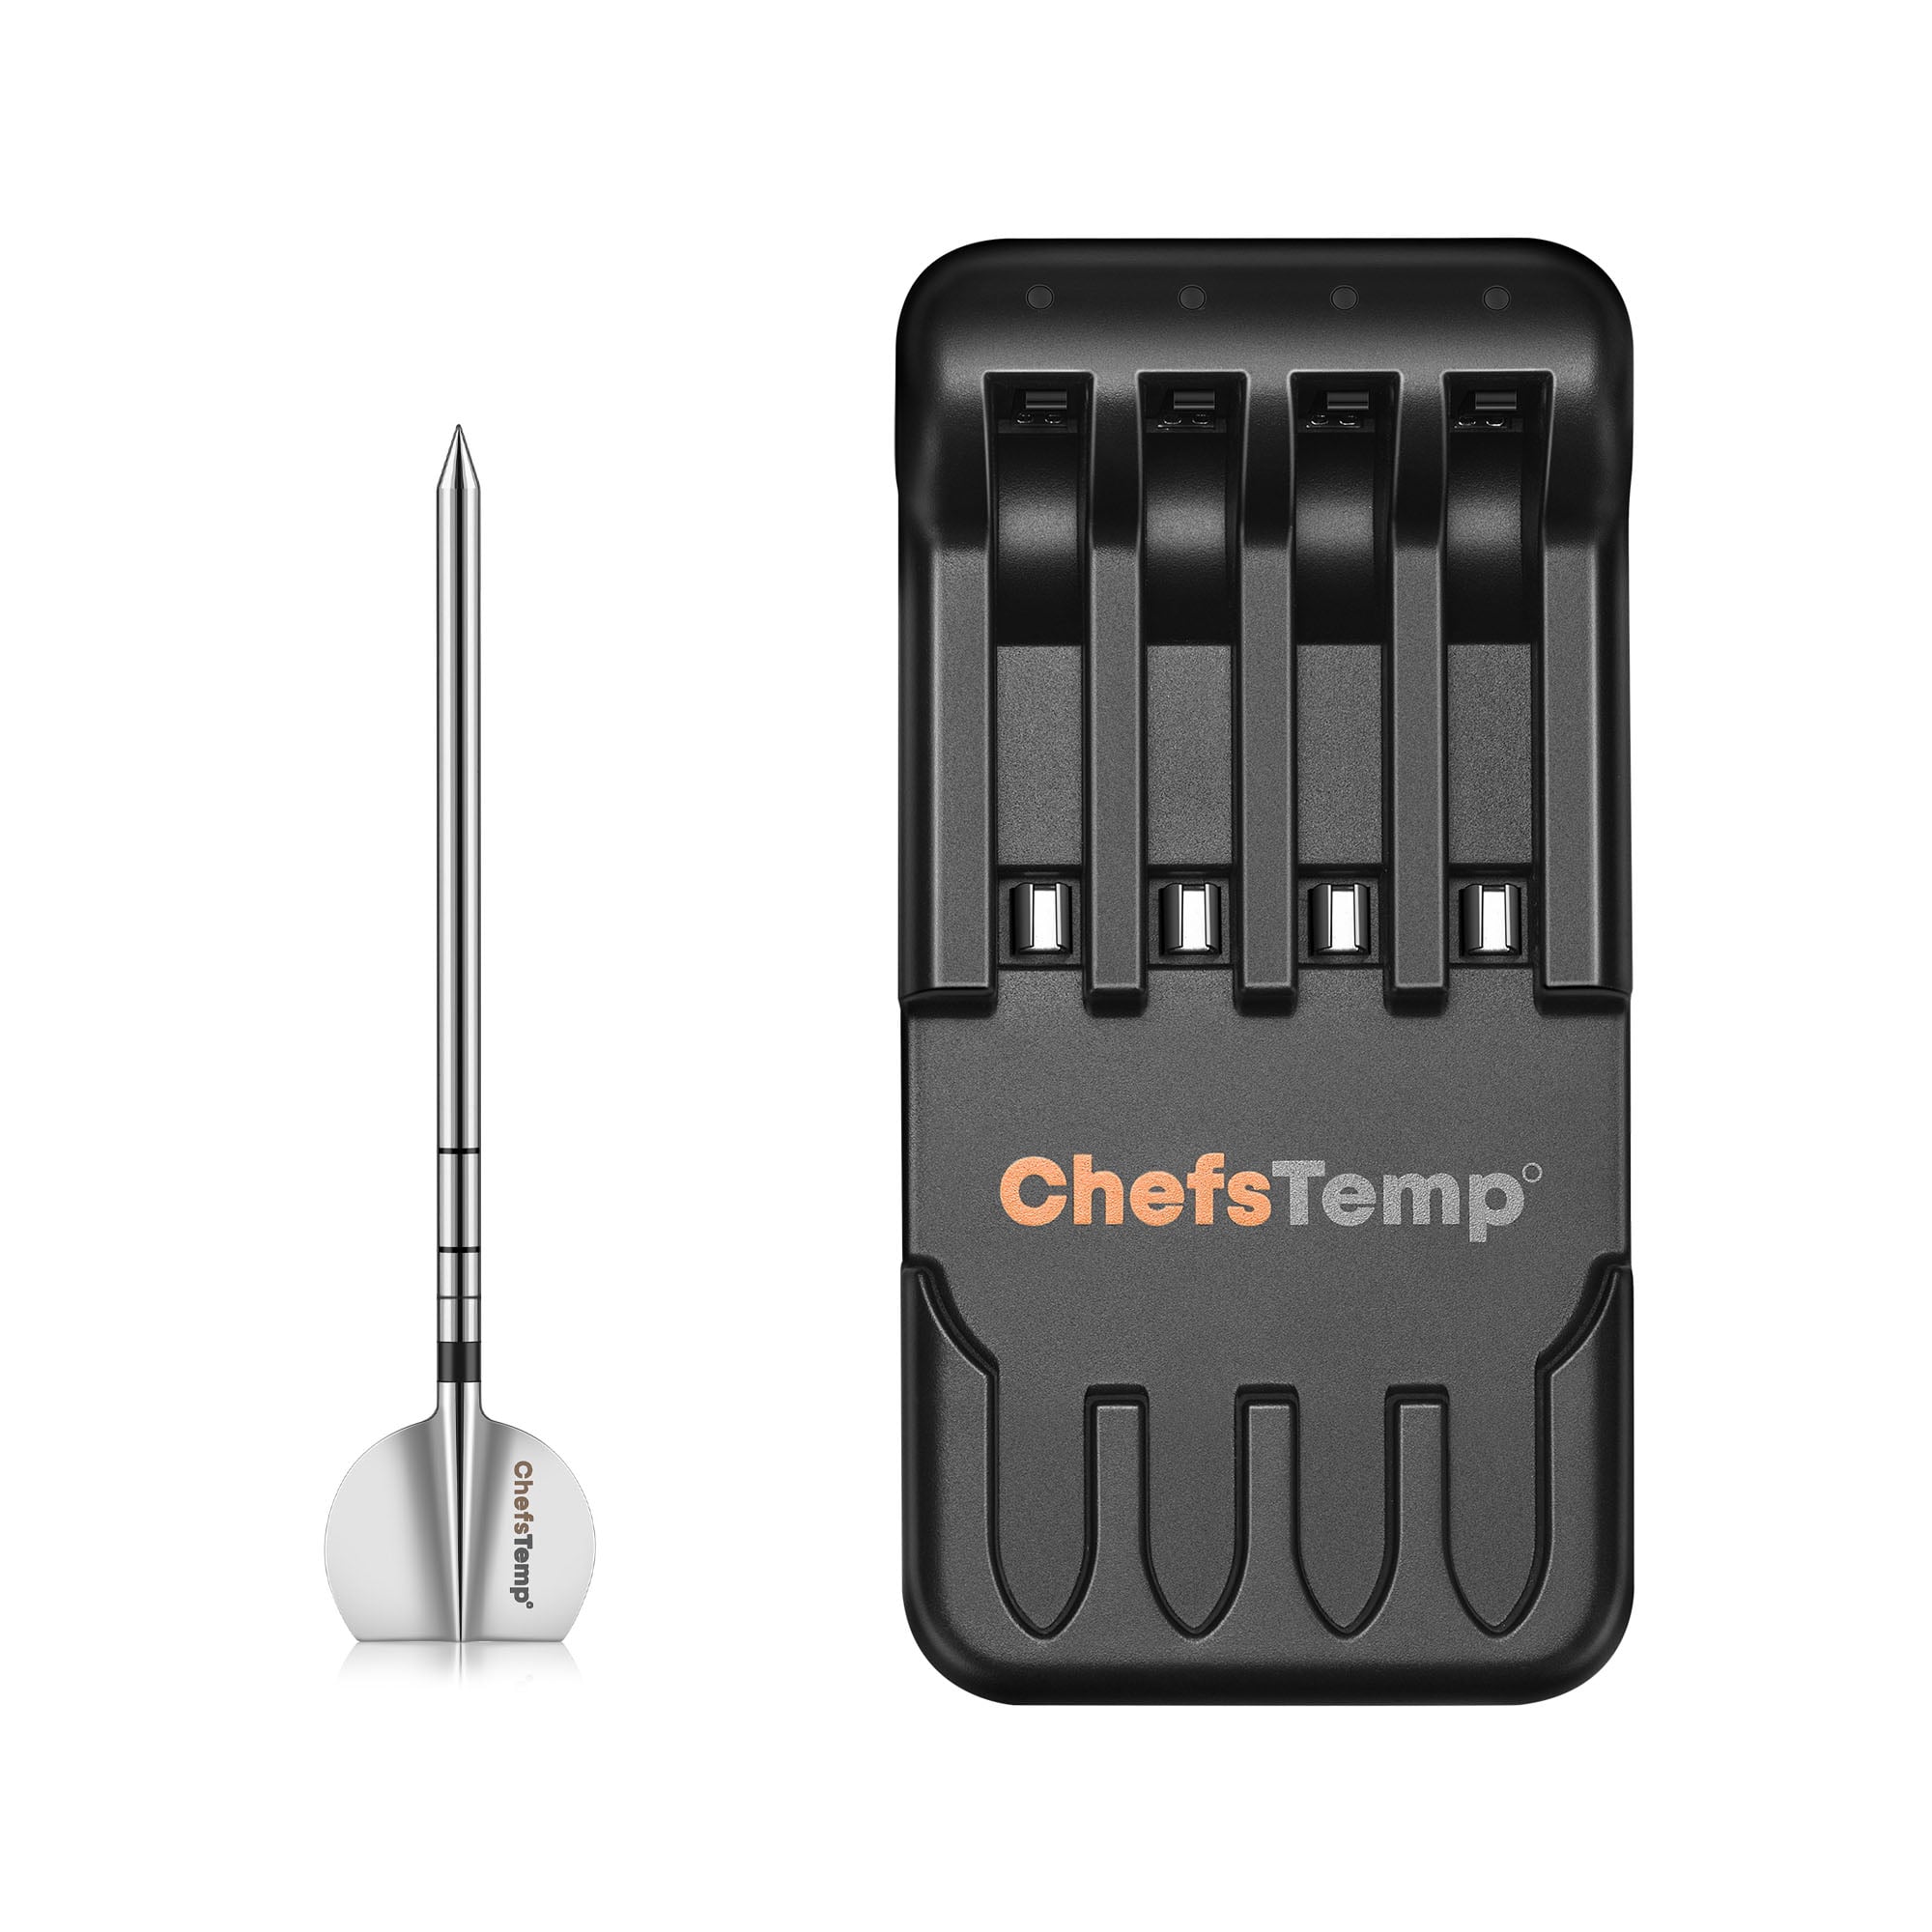
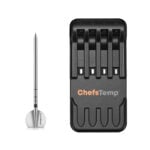
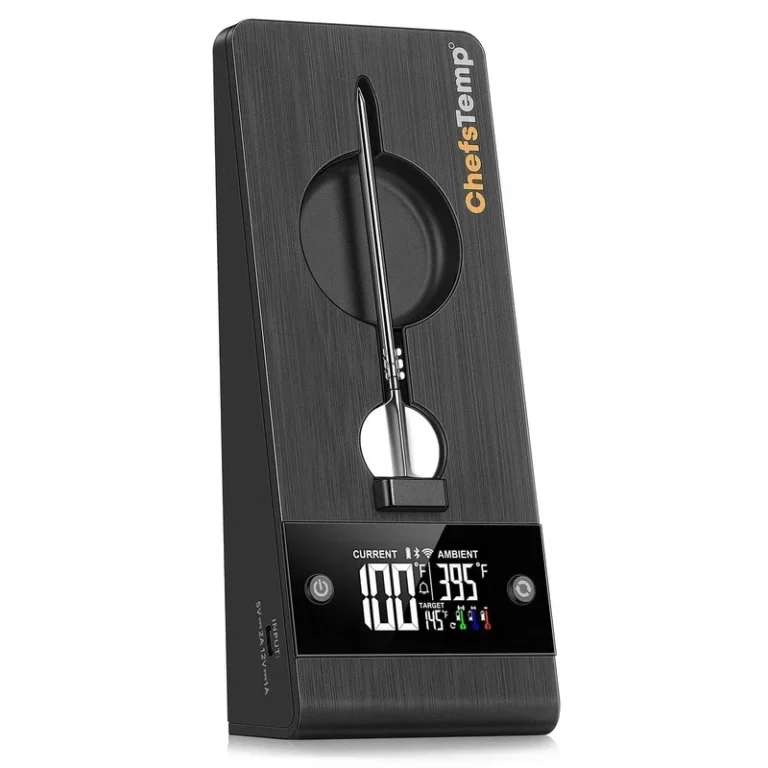
4-in-1 Charger
Charging dock for ProTemp S1/2 Plus wireless thermometer probes.
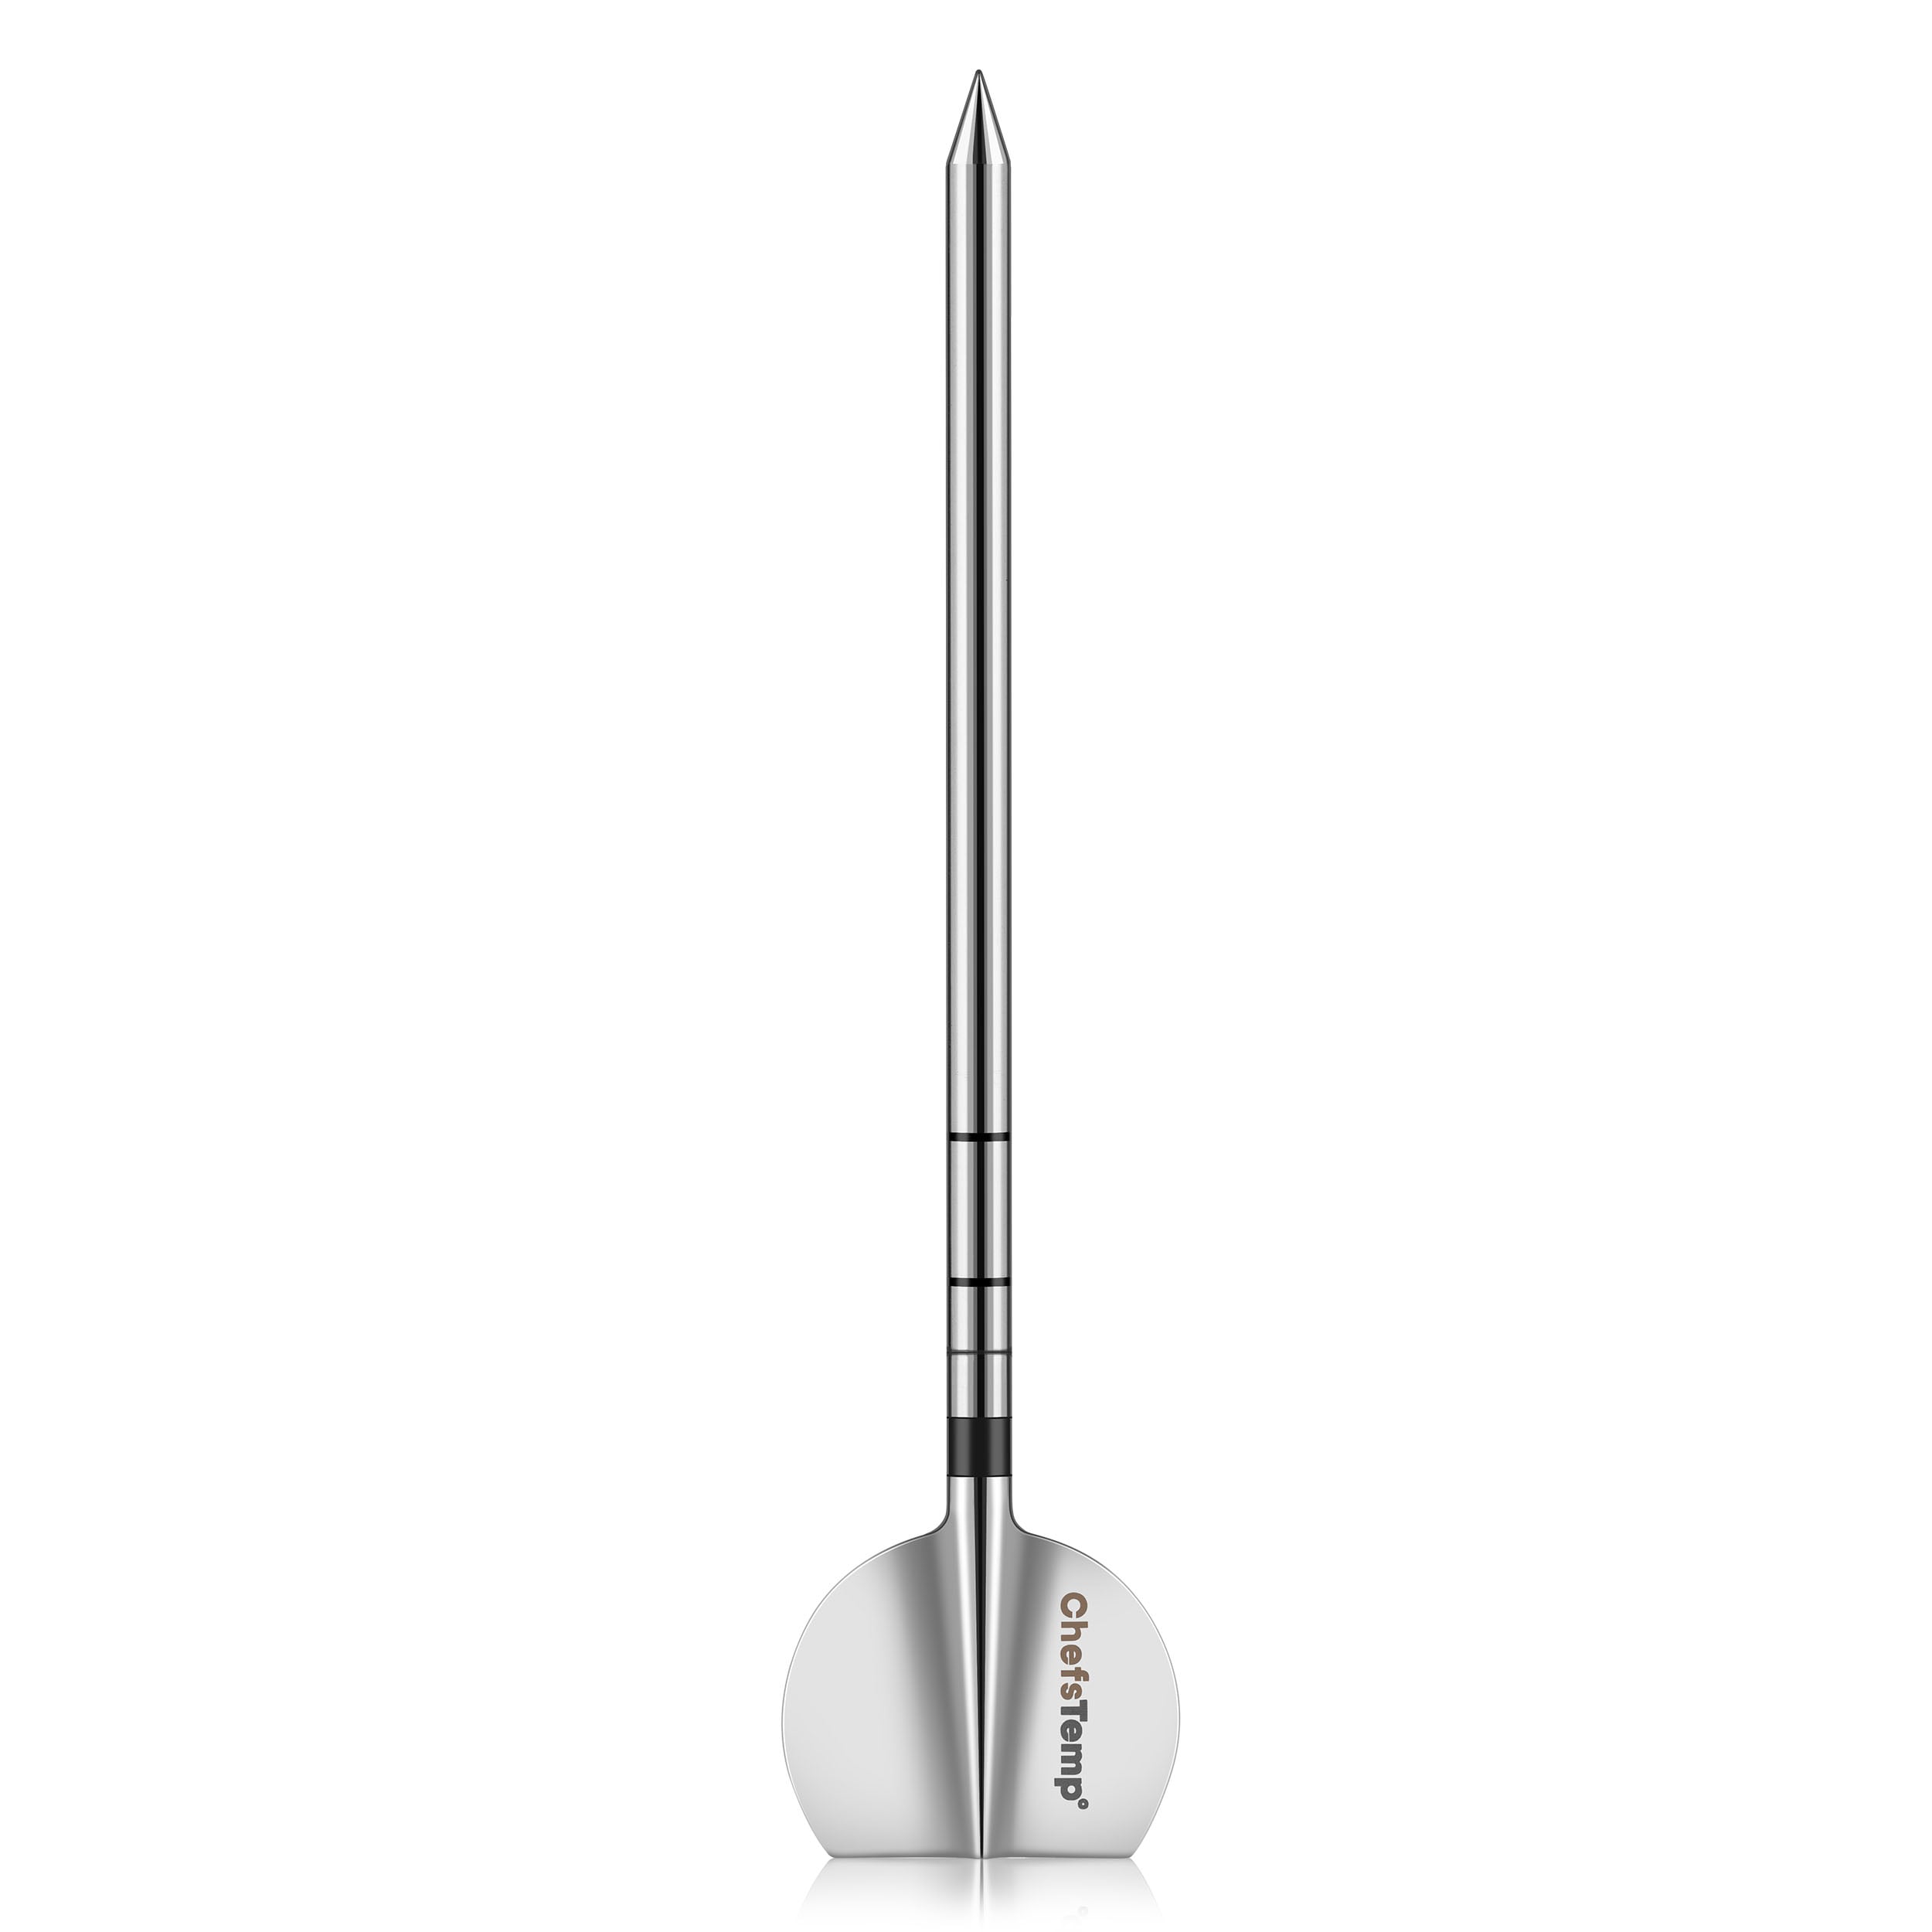
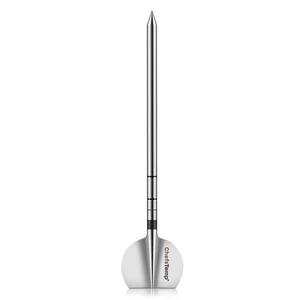
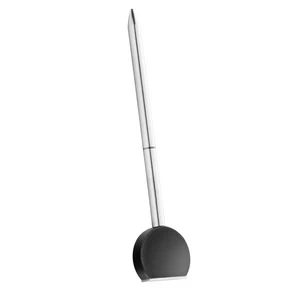
Wireless Probes
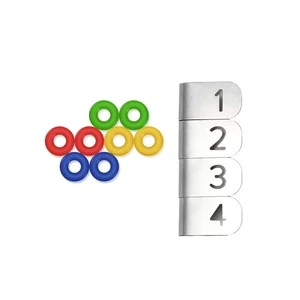
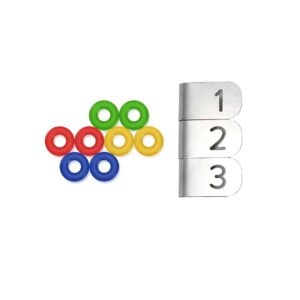
Custom select 1/2/3 probes for accurate meat internal temperature tracking.
FAQ
If you cannot turn off by holding down the power button, you can perform a reset operation:
1. Prepare a thin needle, toothpick, or paper clip.
2. Find the RESET hole next to the charging port of S1 Main Unit.
3. Insert the fine needle into the RESET hole and gently press until the screen briefly disappears and lights up to indicate that the reset is complete.
If it still cannot be resolved, please contact our customer service email [email protected] Please provide your order number and instructional video. We will provide further diagnosis and support.
If your S1 is unable to connect to Bluetooth or is stuck on C-1 during pairing, please follow these steps to resolve the issue:
- 1. Check App Permissions: Make sure the ChefsTemp app has all required permissions—especially location access—enabled on your device.
- 2. Clear Existing Connections: Ensure all previous connections are removed from the ChefsTemp app. Then, reconnect by following our tutorial video: How to Pair Your ProTemp S1 with Bluetooth and Wi-Fi | Step-by-Step
- 3. Reset the S1: Press the RESET button next to the charging port.
- 4. Test with LightBlue App: If the issue persists, download the LightBlue app and check for “ProTemp S1 Base” in the device list.
If there are still issues, please contact our customer service via phone or email for support.
If you experience connection issues with your probes (can not connect the probes to ProTemp S1/ProTemp Plus Series, or the probe is disconnected during use), please try the following step-by-step guide:
- Delete all your connection in the app, including ProTemp S1, ProTemp Plus/ProTemp 2 Plus and probes.
- Uninstall the ChefsTemp app and reinstall it, ensure that your app is the latest version.
- Fully charge everything: Place all probes in the 4-in-1 Charger or ProTemp Plus/ProTemp 2 Plus Stand for at least 15 minutes.
- Pair probes one at a time: Take only one probe out of the Charger/Stand to pair. Wait for it to connect successfully, then put it back, and repeat with the next probe (Click on “…” in the upper right corner of the app homepage, click on “My Connections”, click on “Add New Probe”, and then click on “Probe” in “SEARCHING FOR NEARBY PROBES”).
- Ensure that your ProTemp S1 and ProTemp Plus/ProTemp 2 Plus Stand are located close to the probe to ensure smooth transmission of probe signals.
This method avoids signal interference between probes and helps the app detect them correctly.
If your probe still cannot connect, you can perform the following confirmation steps:
- Click on the probe icon on the probe page to perform fault diagnosis. You can watch this video to perform the operation: New ChefsTemp App Update Guide | How to Diagnose Disconnection Issues
- After charging the probes, remove them from the Charger/Stand, download and open the LightBlue app, search for “Probe”, and see if you can find them. Each charged and removed probe will display a line of “Probe”.
- Please take a video of your complete connection operation, screenshots of the app homepage and diagnostic information, as well as LightBlue screenshots and send them to us. We will analyze and provide a solution for you.
Please watch our tutorial video to ensure you’re following the correct Wi-Fi setup process: How to Pair Your ProTemp S1 with Bluetooth and Wi-Fi | Step-by-Step.
If you are still stuck on the Wi-Fi connection step, please check the following tips:
- 1. Confirm the Wi-Fi icon on your S1 screen is solid (not flashing). A missing icon indicates Wi-Fi is off, while a flashing icon suggests an unstable connection.
- 2. Check App Permissions: Make sure the ChefsTemp app has all required permissions—especially location access—enabled on your device.
- 3. Check Wi-Fi Settings: Ensure your Wi-Fi is on a 2.4GHz network. If 5GHz Wi-Fi only, simply create a guest 2.4GHz Wi-Fi network in the router app, making it easier for smart devices to join.
- 4. Password and SSID: Use the orange magnifying glass to auto-detect the SSID, and double-check that the Wi-Fi password is entered correctly, as spell-check may alter it.
- 5. Router Settings: Disable fast roaming (e.g., 802.11r) on your router, as it may prevent the S1 from connecting.
If your router is far from ProTemp S1, you can install a Wi-Fi extender (such as TP Link Omada EAP610 Outdoor) to ensure that S1 can receive Wi-Fi signals.
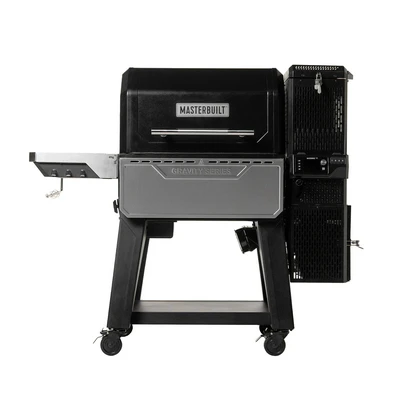
The ProTemp S1 is designed to replace the original grill thermometer, providing reference temperature data. Since temperature differences within various areas of the grill/smoker can be significant, sometimes varying by over 100°F, we recommend installing the ProTemp S1 in the original thermometer port for more accurate readings.
If your grill/smoker does not have a thermometer port, you may need to create one and position the ambient probe of ProTemp S1 closer to the meat for more accurate temperature measurements.
If there are still issues, please contact our customer service via phone or email for support.
Remove the S1 Main Unit from the Base first, then charge the S1 Main Unit. Do not charge ProTemp S1 on cooking equipment!
If your S1 isn’t fully charging or has a short battery life, try the following:
1. Use a different power supply and charging cable, then recharge the device.
2. Ensure your S1 firmware is updated to the latest version.
3. Reset S1 by press the RESET Button next to the S1 charging port
If it still fails, please send a video of the issue (showing the charging progress) to our support e-mail: [email protected], we will help you further.
When charging your S1, a charging animation will appear on the battery icon. A flashing, fully charged icon indicates the S1 is completely charged. A fully charged S1 provides at least 40 hours of usage. For optimal charging, use the original charging cable with a power source not exceeding 20W.
Remove the S1 Main Unit from the Base first, then charge the S1 Main Unit. Do not charge ProTemp S1 on cooking equipment!
If your S1 isn’t fully charging or has a short battery life, try the following:
1. Use a different power supply and charging cable, then recharge the device.
2. Ensure your S1 firmware is updated to the latest version.
3. Reset S1 by press the RESET Button next to the S1 charging port
If it still fails, please send a video of the issue (showing the charging progress) to our support e-mail: [email protected], we will help you further.


Reviews
Clear filtersThere are no reviews yet.