The Prep
Beef is one of the most popular meats to cook on a grill or smoker, with steaks and brisket chief among the most sought-after cuts. But if you’re looking for something different and more affordable – a great-tasting option is the chuck roast.
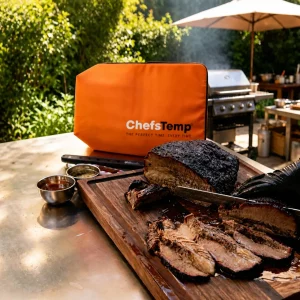
When cooked low and slow like a brisket, the chuck roast yields tender, flavorful meat in half the time, for half the cost, and is still capable of feeding the whole family. The chuck roast is a versatile cut; you can grind it for burgers, cook it to around 200 for slicing, or let it go a bit longer to easily shred it for tacos or pulled beef. For this cook, I wanted to emulate a sliced brisket for a Sunday dinner, so I started this chuck roast first thing in the morning.
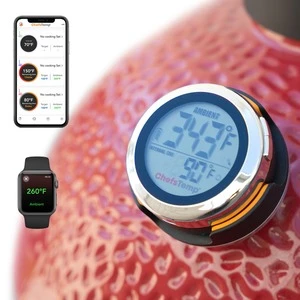
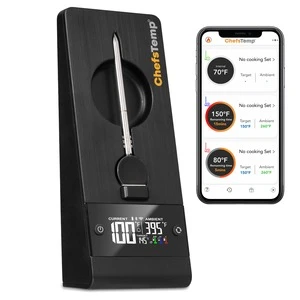
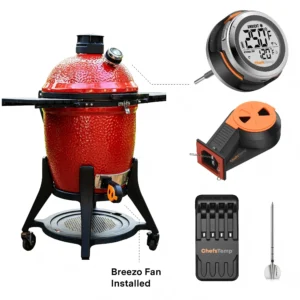
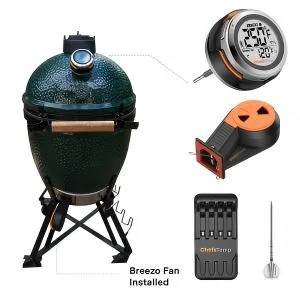
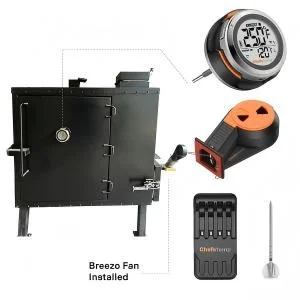
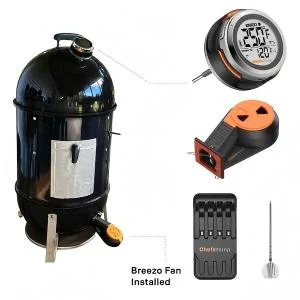
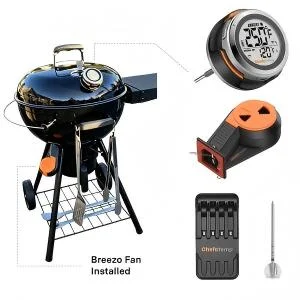
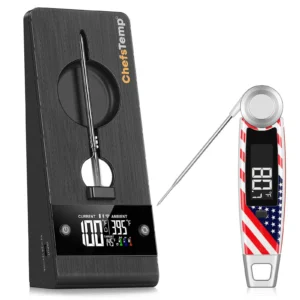
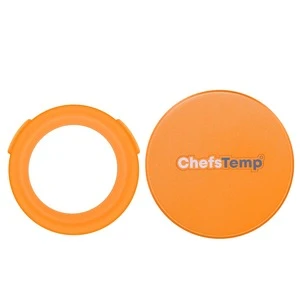
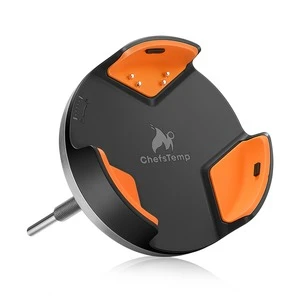
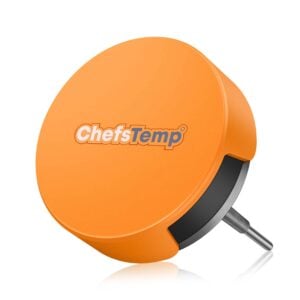
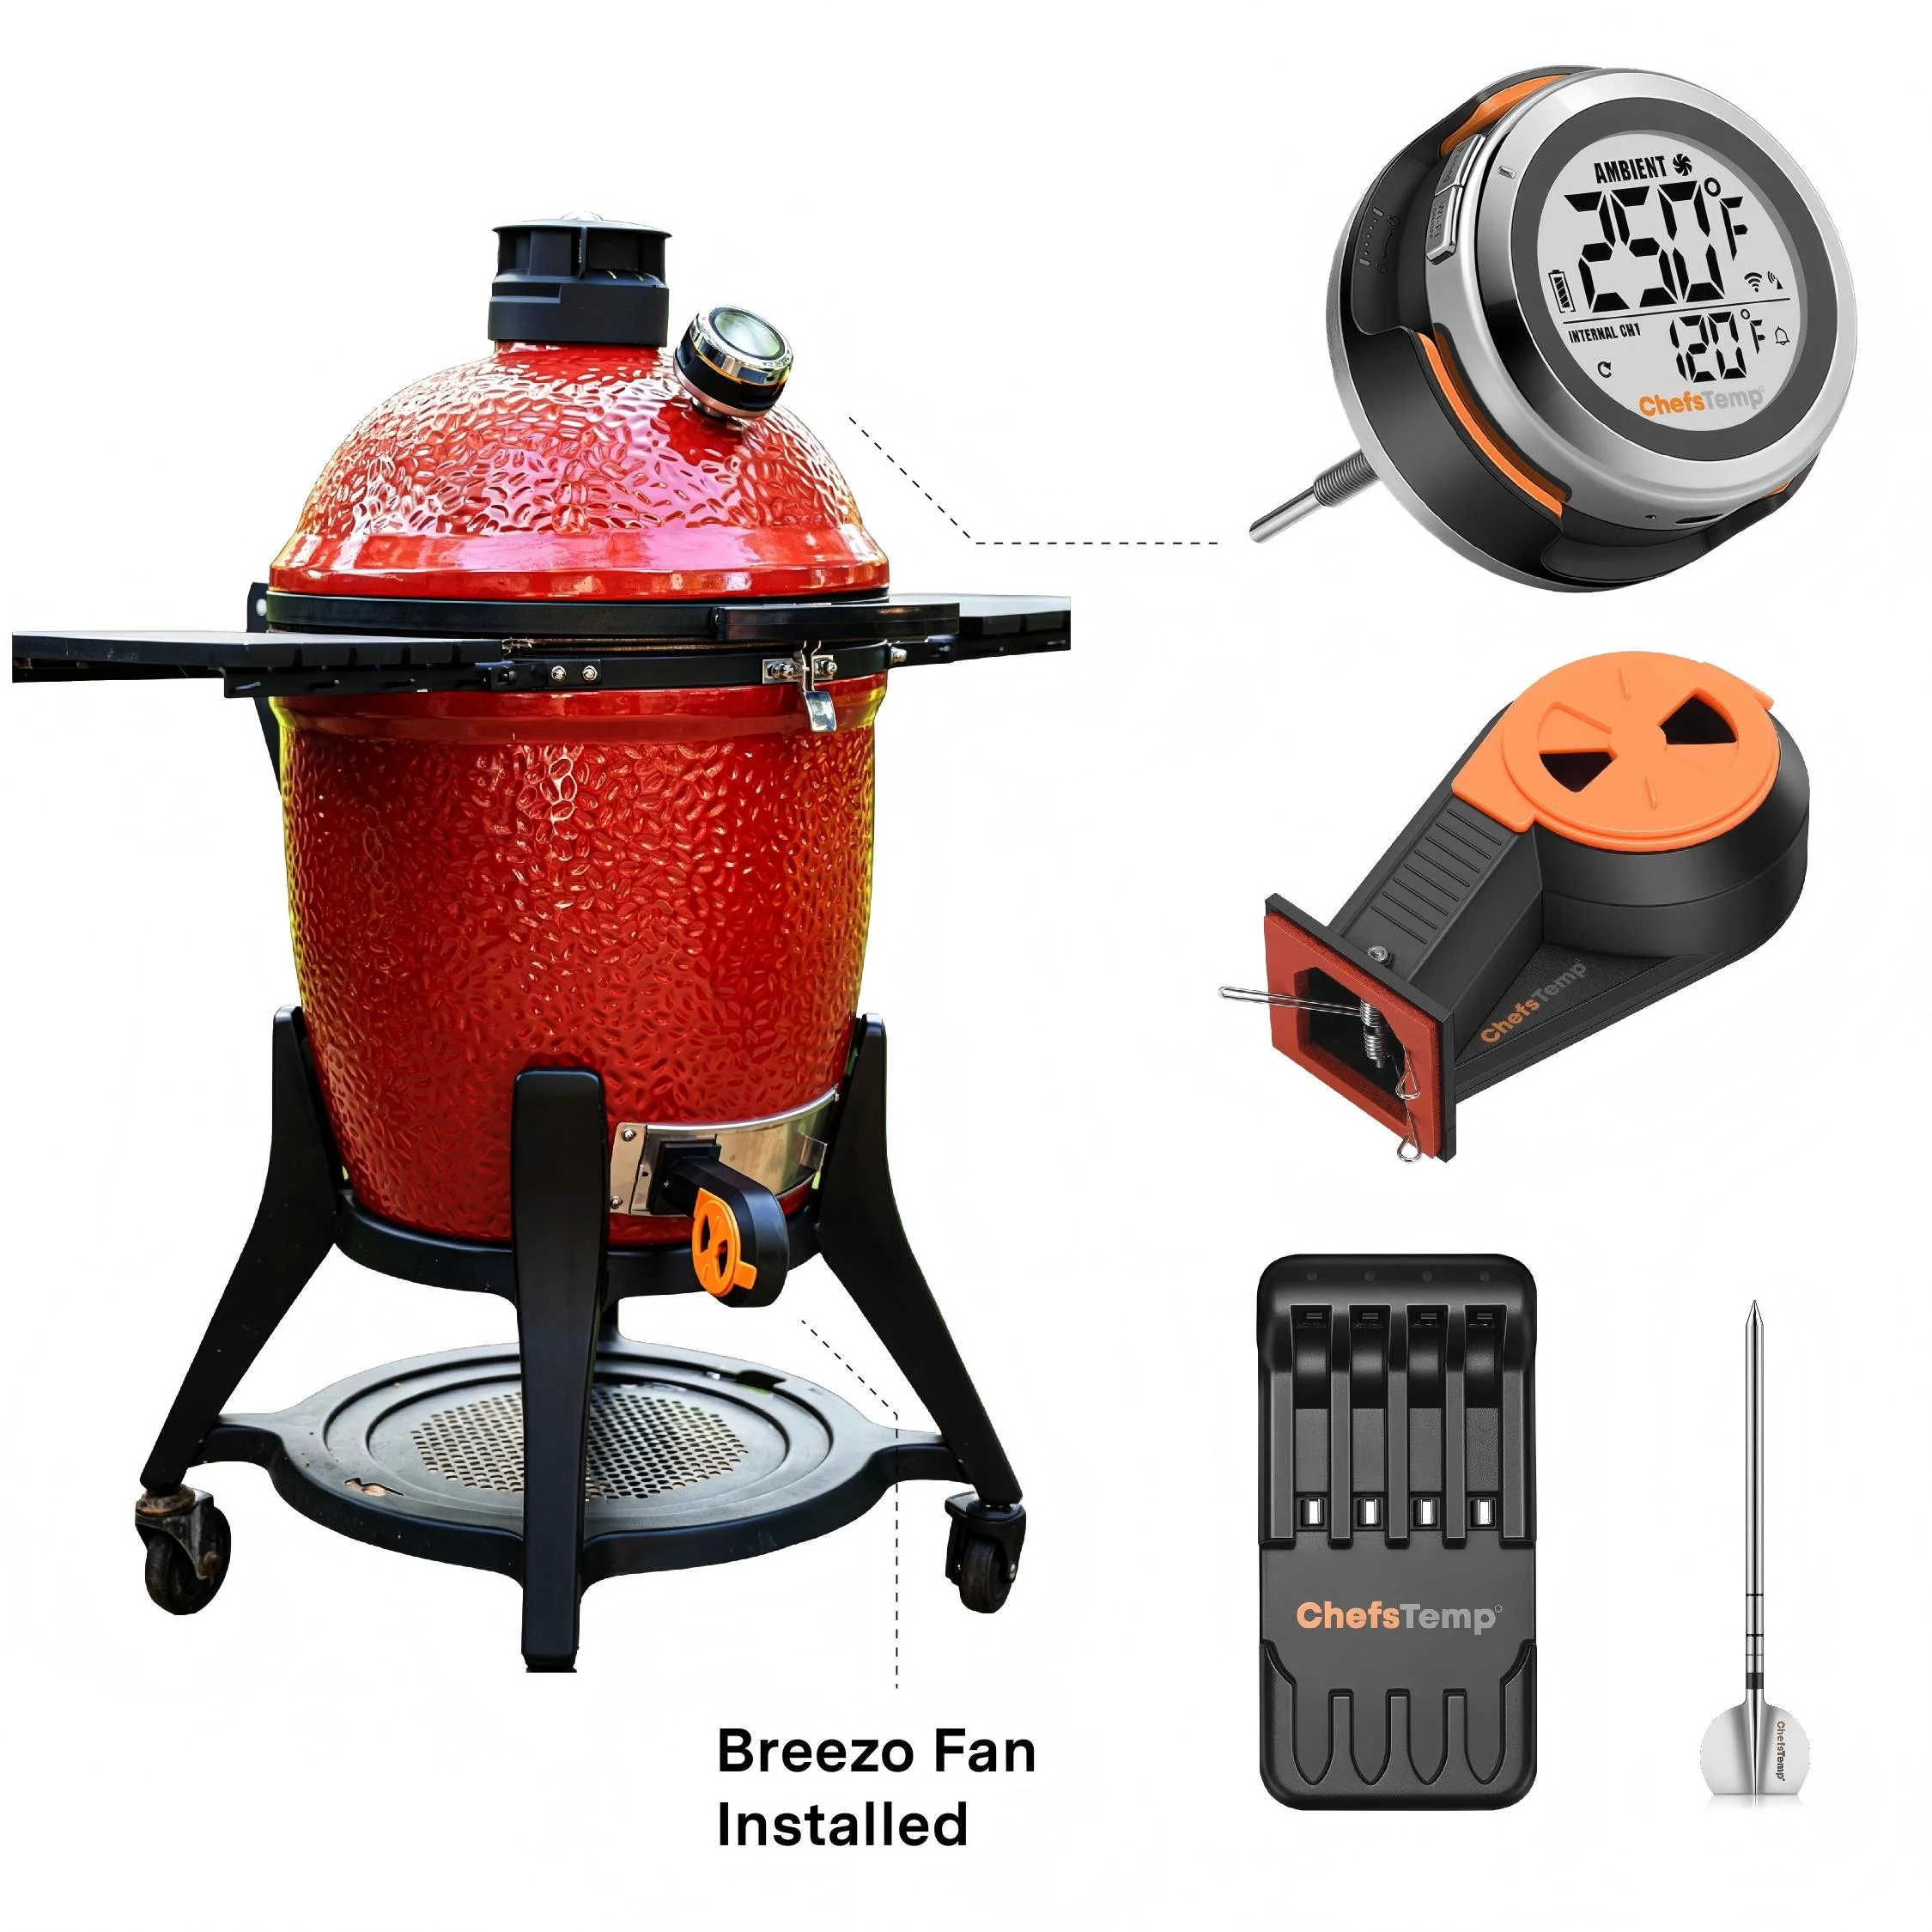
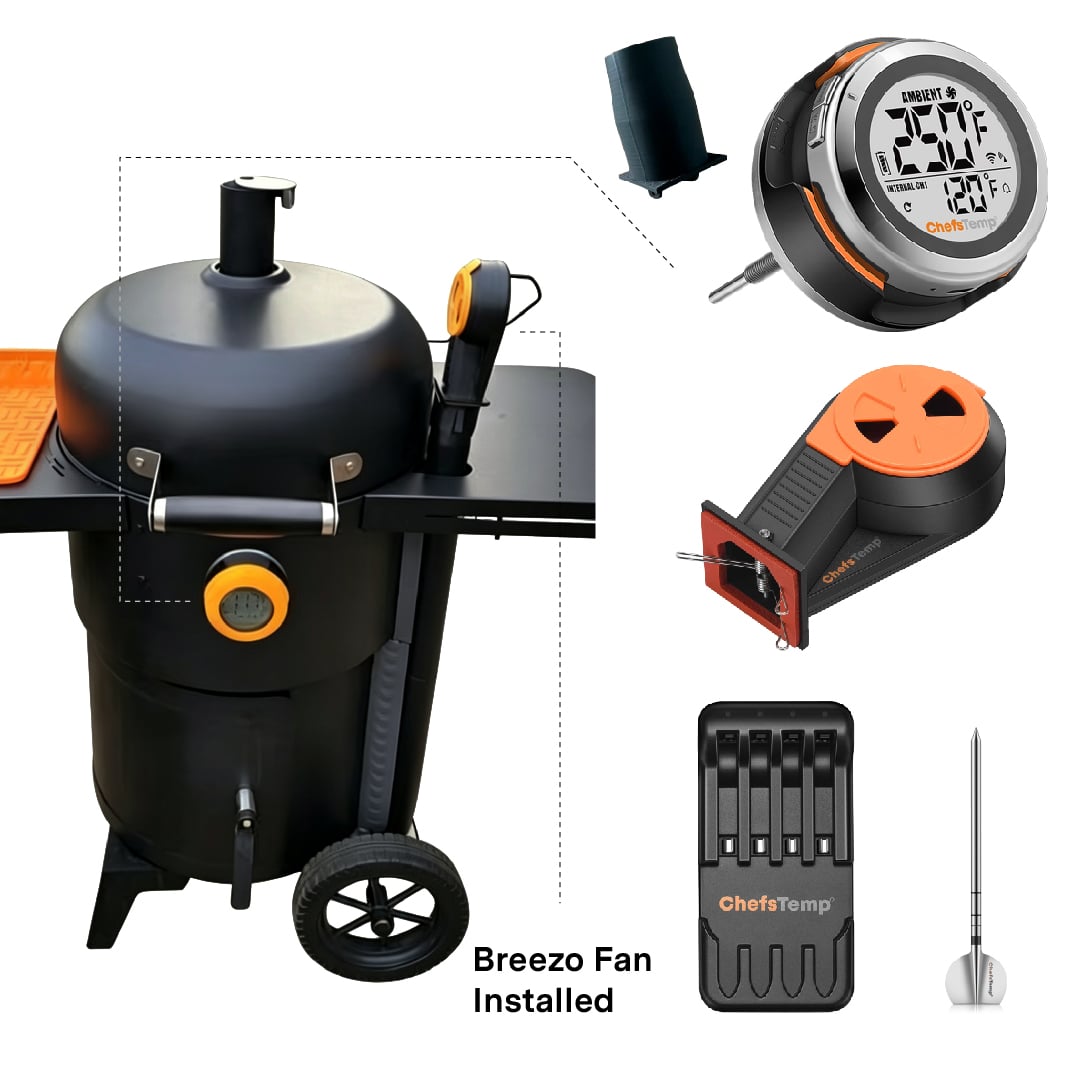
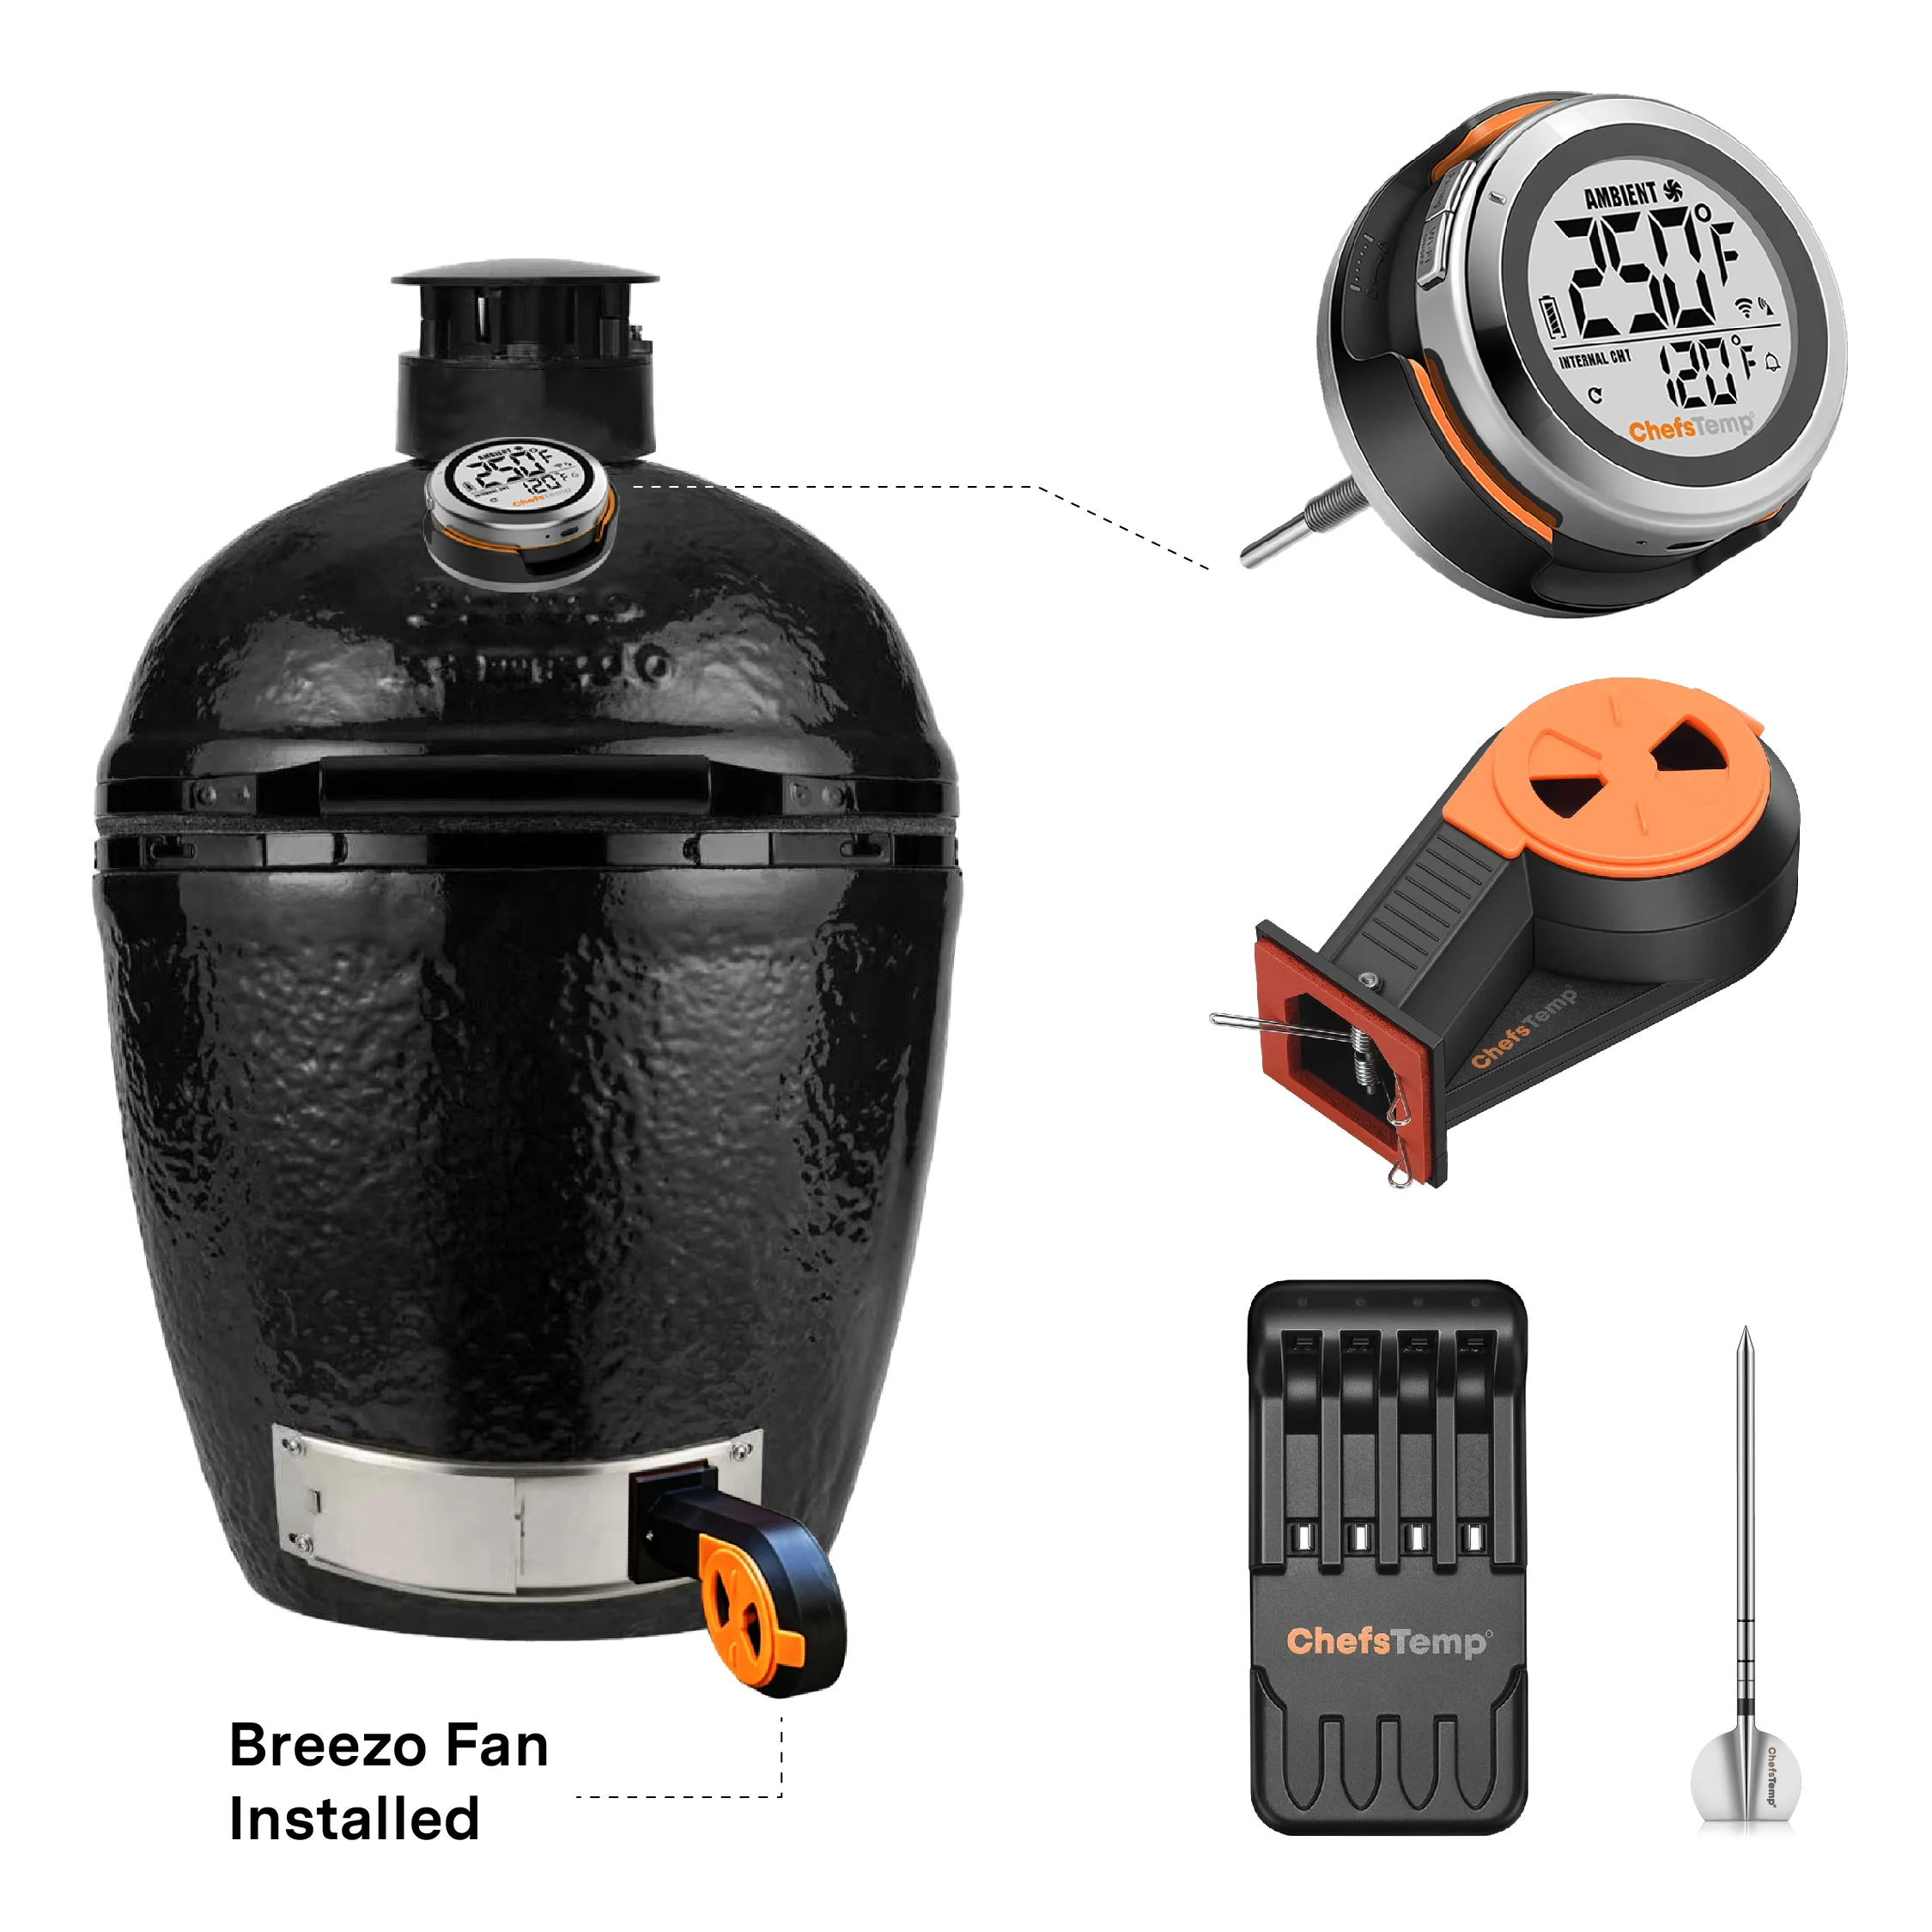
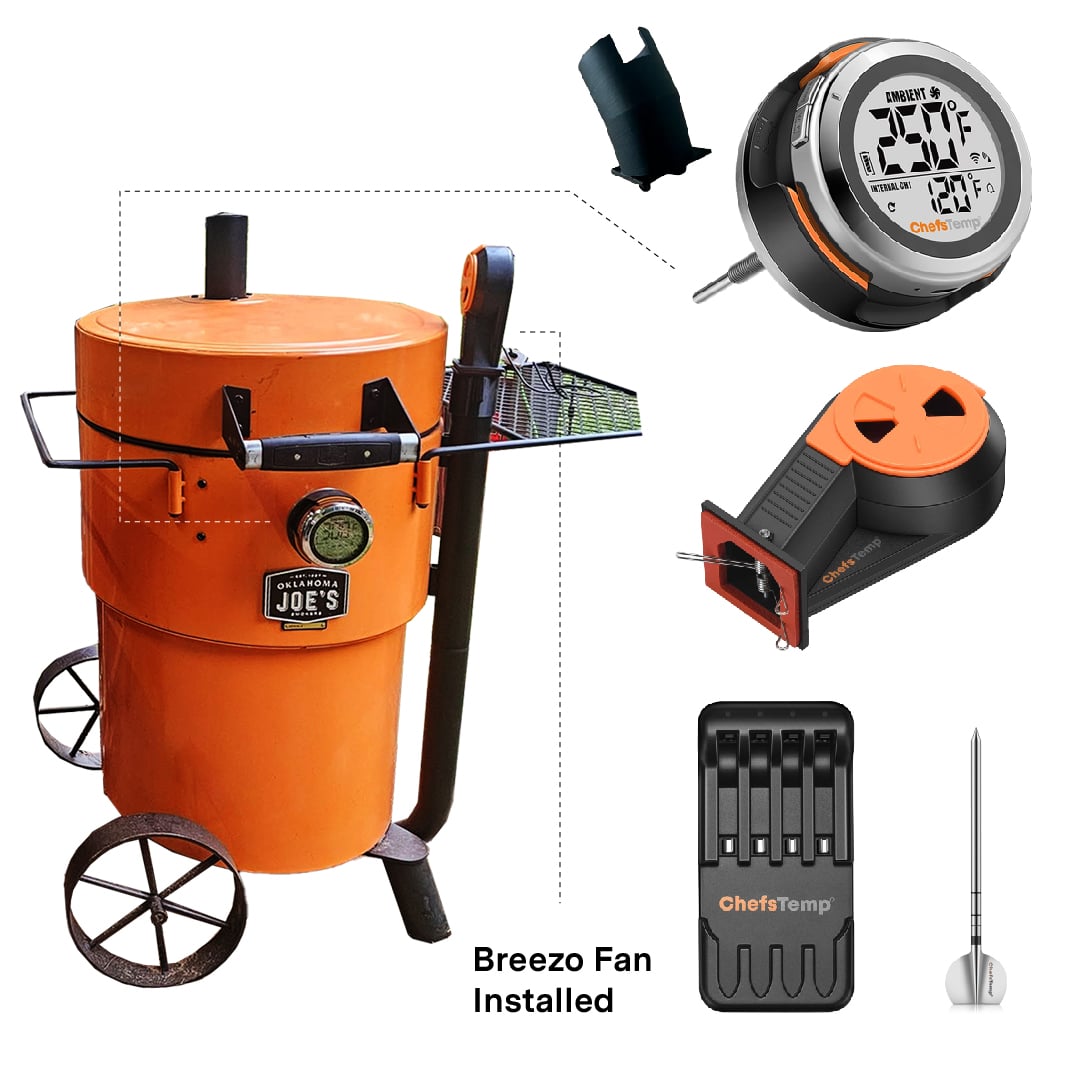
With the ChefsTemp ProTemp S1 Smart Grill Temperature Controller Upgrade Package for the Weber Smokey Mountain, this was a super simple weekend cook for sliced chuck roast a.k.a the poor man’s brisket.
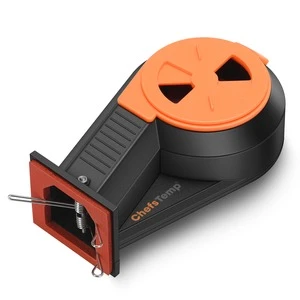
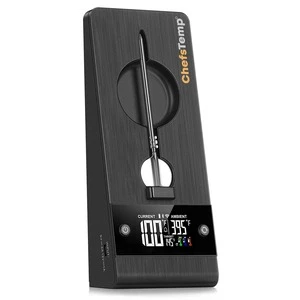
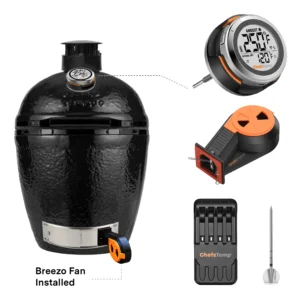
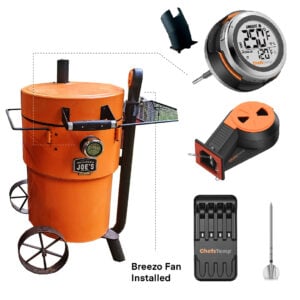
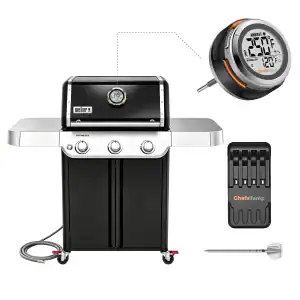
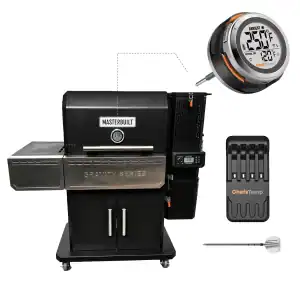
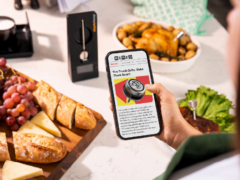
Using the Breezo V2 BBQ Temperature Control Fan, paired with the ProTemp S1 Smart Grill Gauge Thermometer Hub, makes setup a breeze and allows precise control over the cooking temperature, along with easy monitoring and adjustability from an app on your phone.
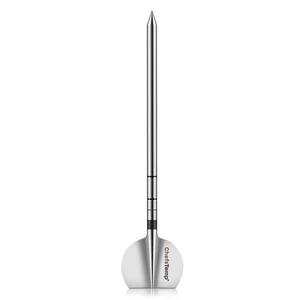
If it’s your first time using the package, the wireless setup is simple, taking less than 10 minutes to swap out the OEM probe thermometer, attach the Breezo fan, and pair the ProTemp S1 via Bluetooth or WiFi. Subsequent uses are even easier, as all you need to do is make sure the Smart Grill Gauge is charged, plug in the fan – and you’re good to go.
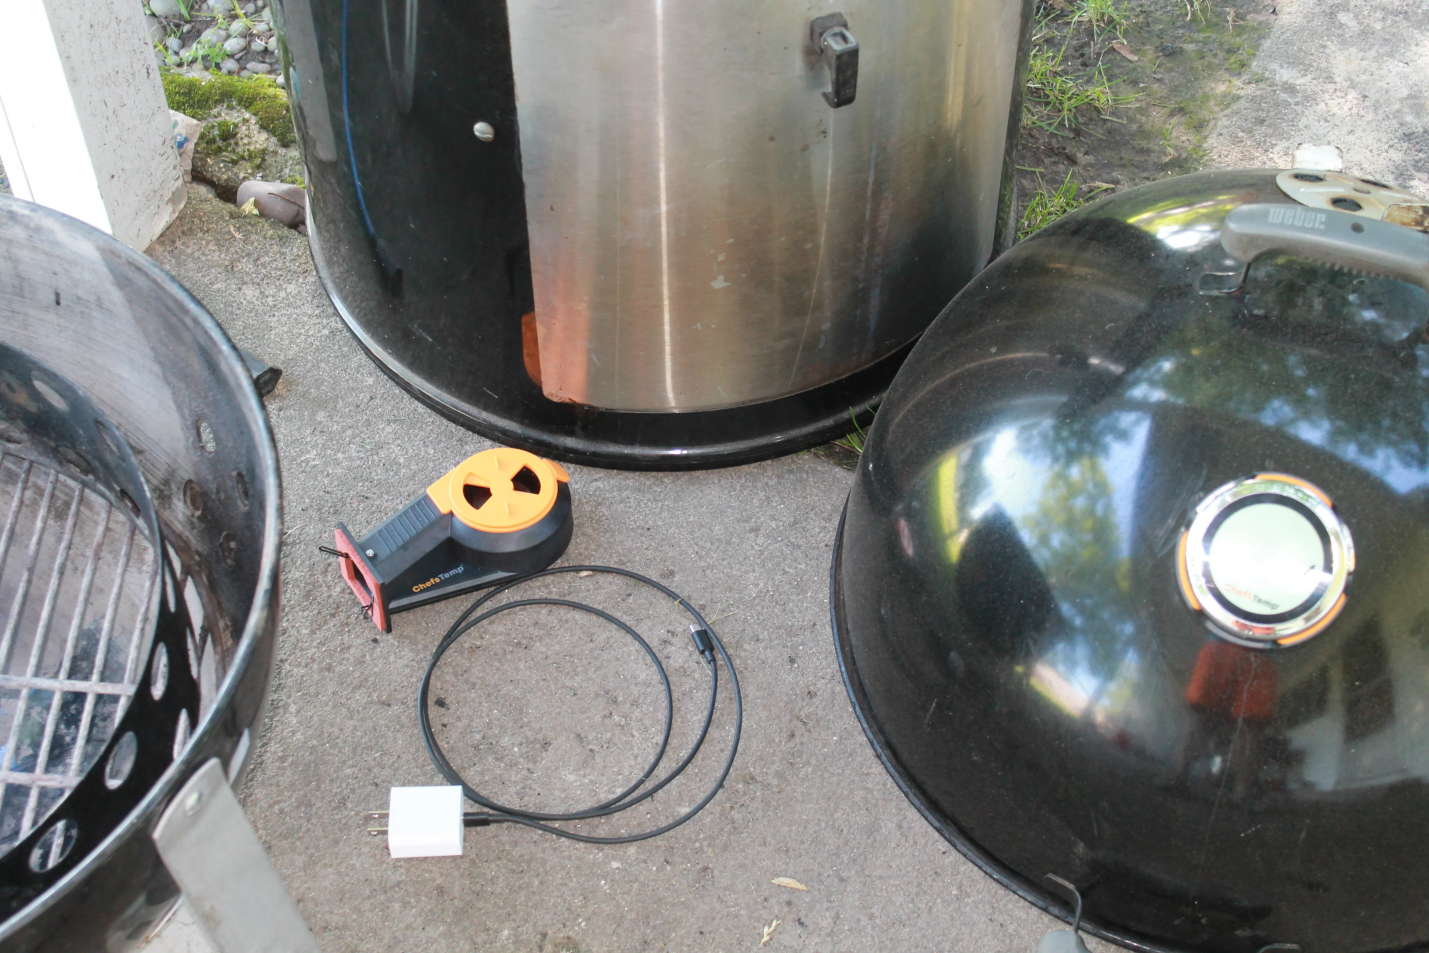
The ChefsTemp upgrade package makes any cook easier to manage. For this one, I used my 22” WSM with the minion method. I started with about 12 pounds of charcoal, as I estimated about a 6-8 hour cook time. I buried some chunks of mesquite wood into the charcoal, and lit up a chimney about a quarter of the way full. I like the minion method as it allows the fire to slowly spread, igniting coals and wood chunks over hours.
For long, slow cooks, I like to use the integrated water pan of the WSM. The water pan acts as a natural heat deflector, preventing the meat from getting scorched on the bottom, and has the added benefit of bringing more moisture and humidity to the cooking chamber.
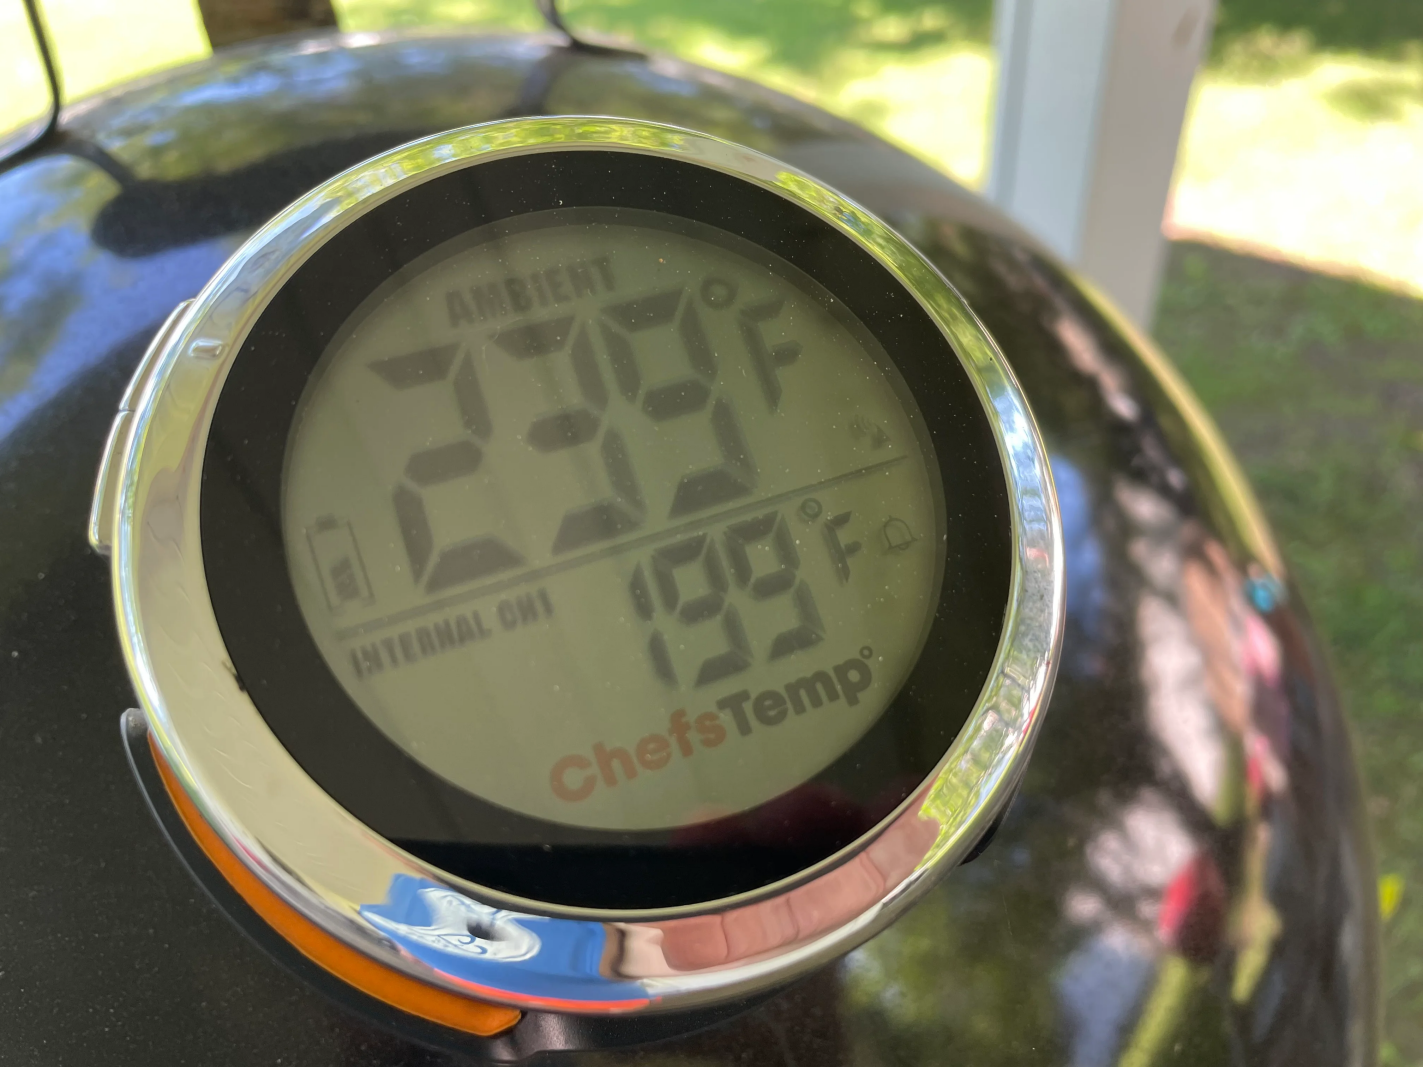
The Breezo fan did an outstanding job of quickly getting the WSM up to temp, and keeping an even ambient temperature throughout – allowing me to head off to church, run some errands, and get a bit of yard done while the Breezo fan and the ProTemp S1 Smart Grill Gauge Thermometer Hub managed the smoker.
Experience and ample research will prepare you for a rough estimate on how long a cook might take, but every cut of meat is different from the last; and many variables such as temperature, humidity, wind speed, and more can affect the cook time.
Trusting the ChefsTemp upgrade package cuts down on the guesswork – it holds a steady ambient temperature in the cooker no matter the weather conditions, and you don’t have to fiddle around with the vents to chase your desired cooking temperature.
I’ve found that starting well ahead of time leads to less stressful meal times – you don’t want to be cranking the heat or resorting to other methods if it seems like the meal isn’t going to be ready in time. In most cases, big cuts of meat benefit from a long rest in the event it finishes ahead of schedule.
Preparing for the Cook
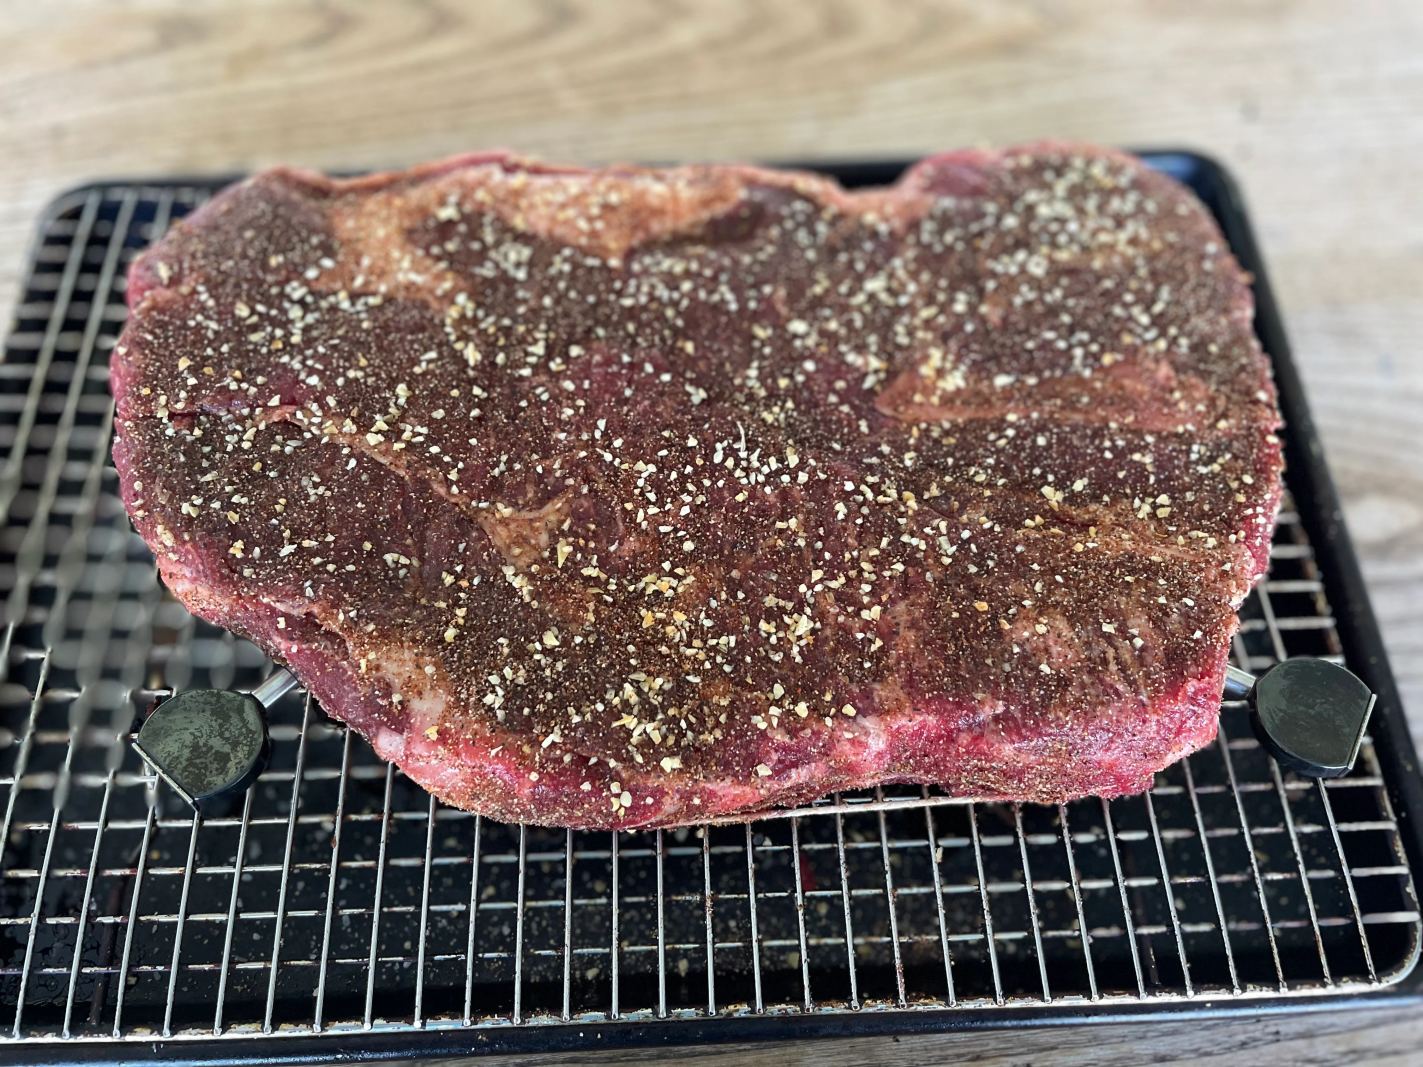
The preparation for this chuck roast was simple. Similar to a brisket, or any large cut of meat, I like to dry brine it overnight. This simple process makes a world of difference by removing surface moisture, trapping internal moisture, and penetrating the meat with ample seasoning.
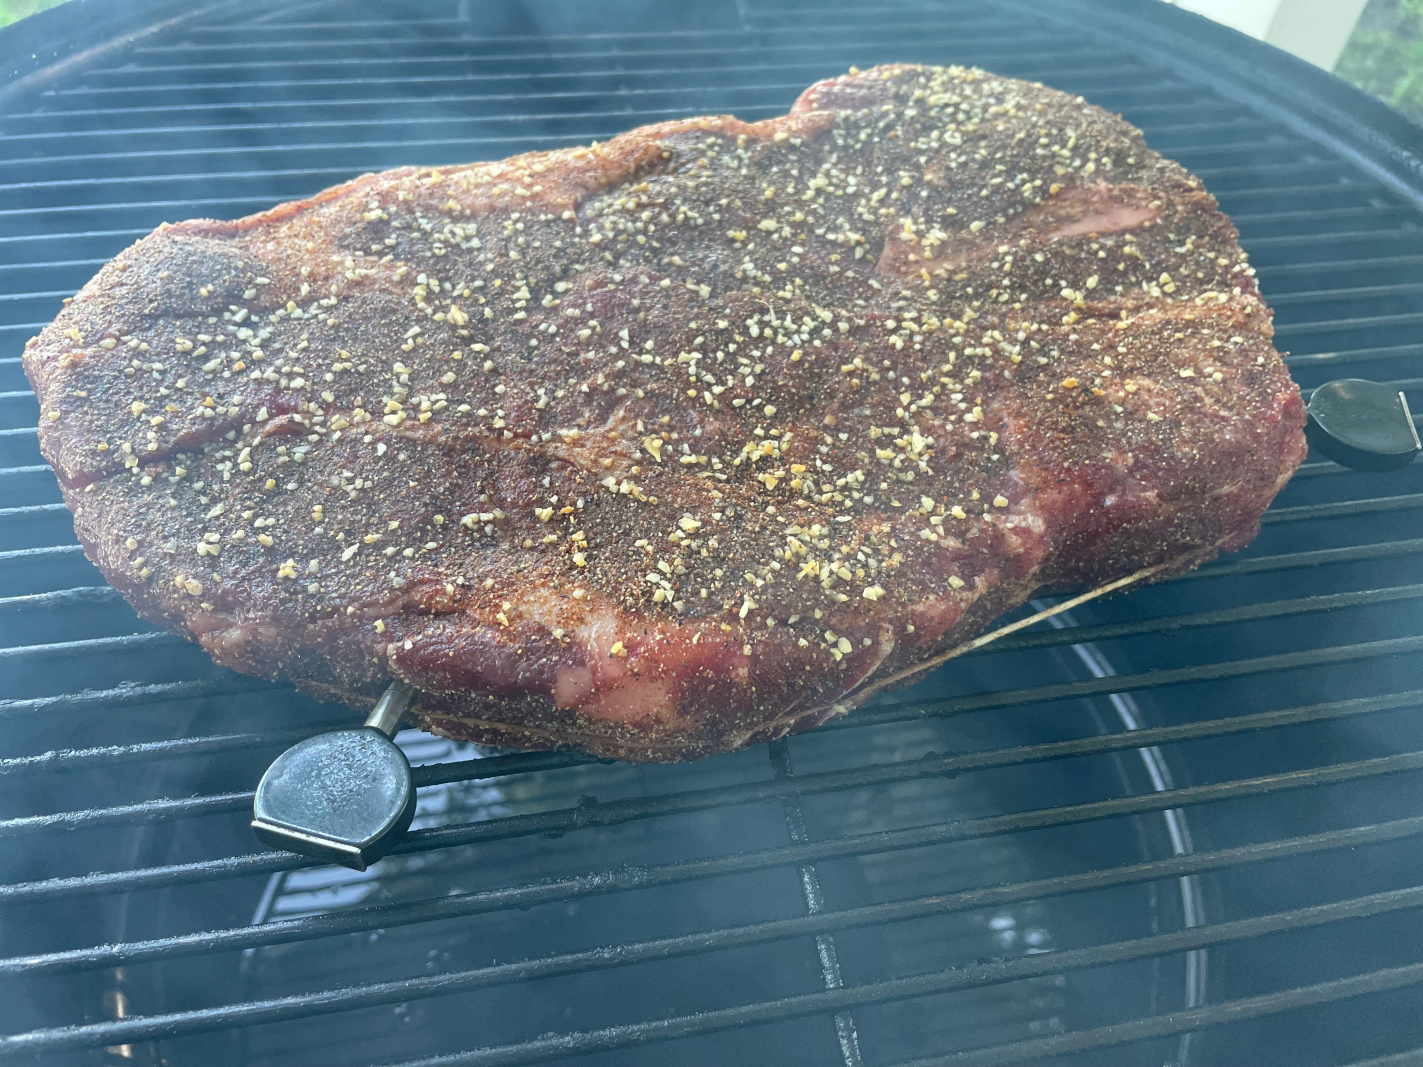
Before firing up the WSM, I pulled the chuck roast out of the fridge and sprinkled on a homemade seasoning of equal parts pepper, garlic powder, onion powder, chili powder, chipotle powder, plus a pinch of cayenne and ground rosemary. Once that was applied, I went back over the meat with dried, minced garlic. I’ve found that this peppery, savory rub works well on most cuts of beef.
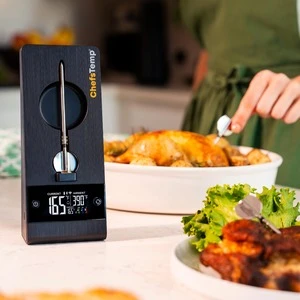
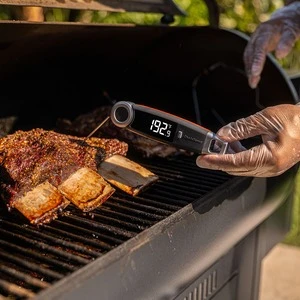
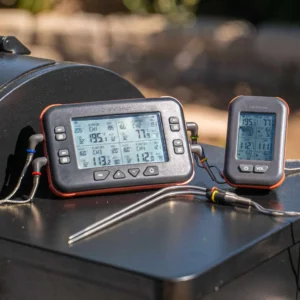
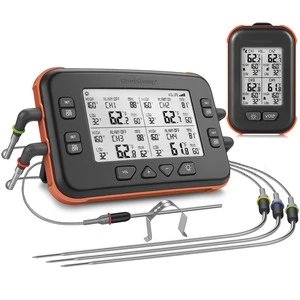
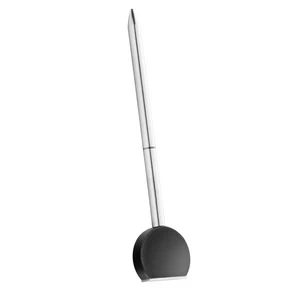
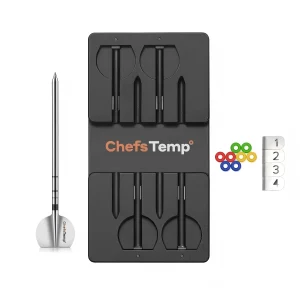
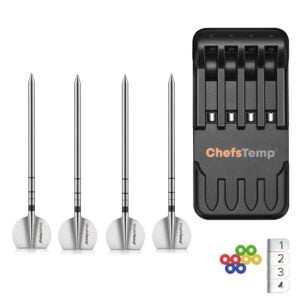
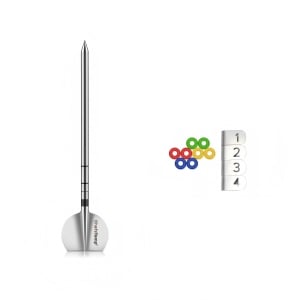
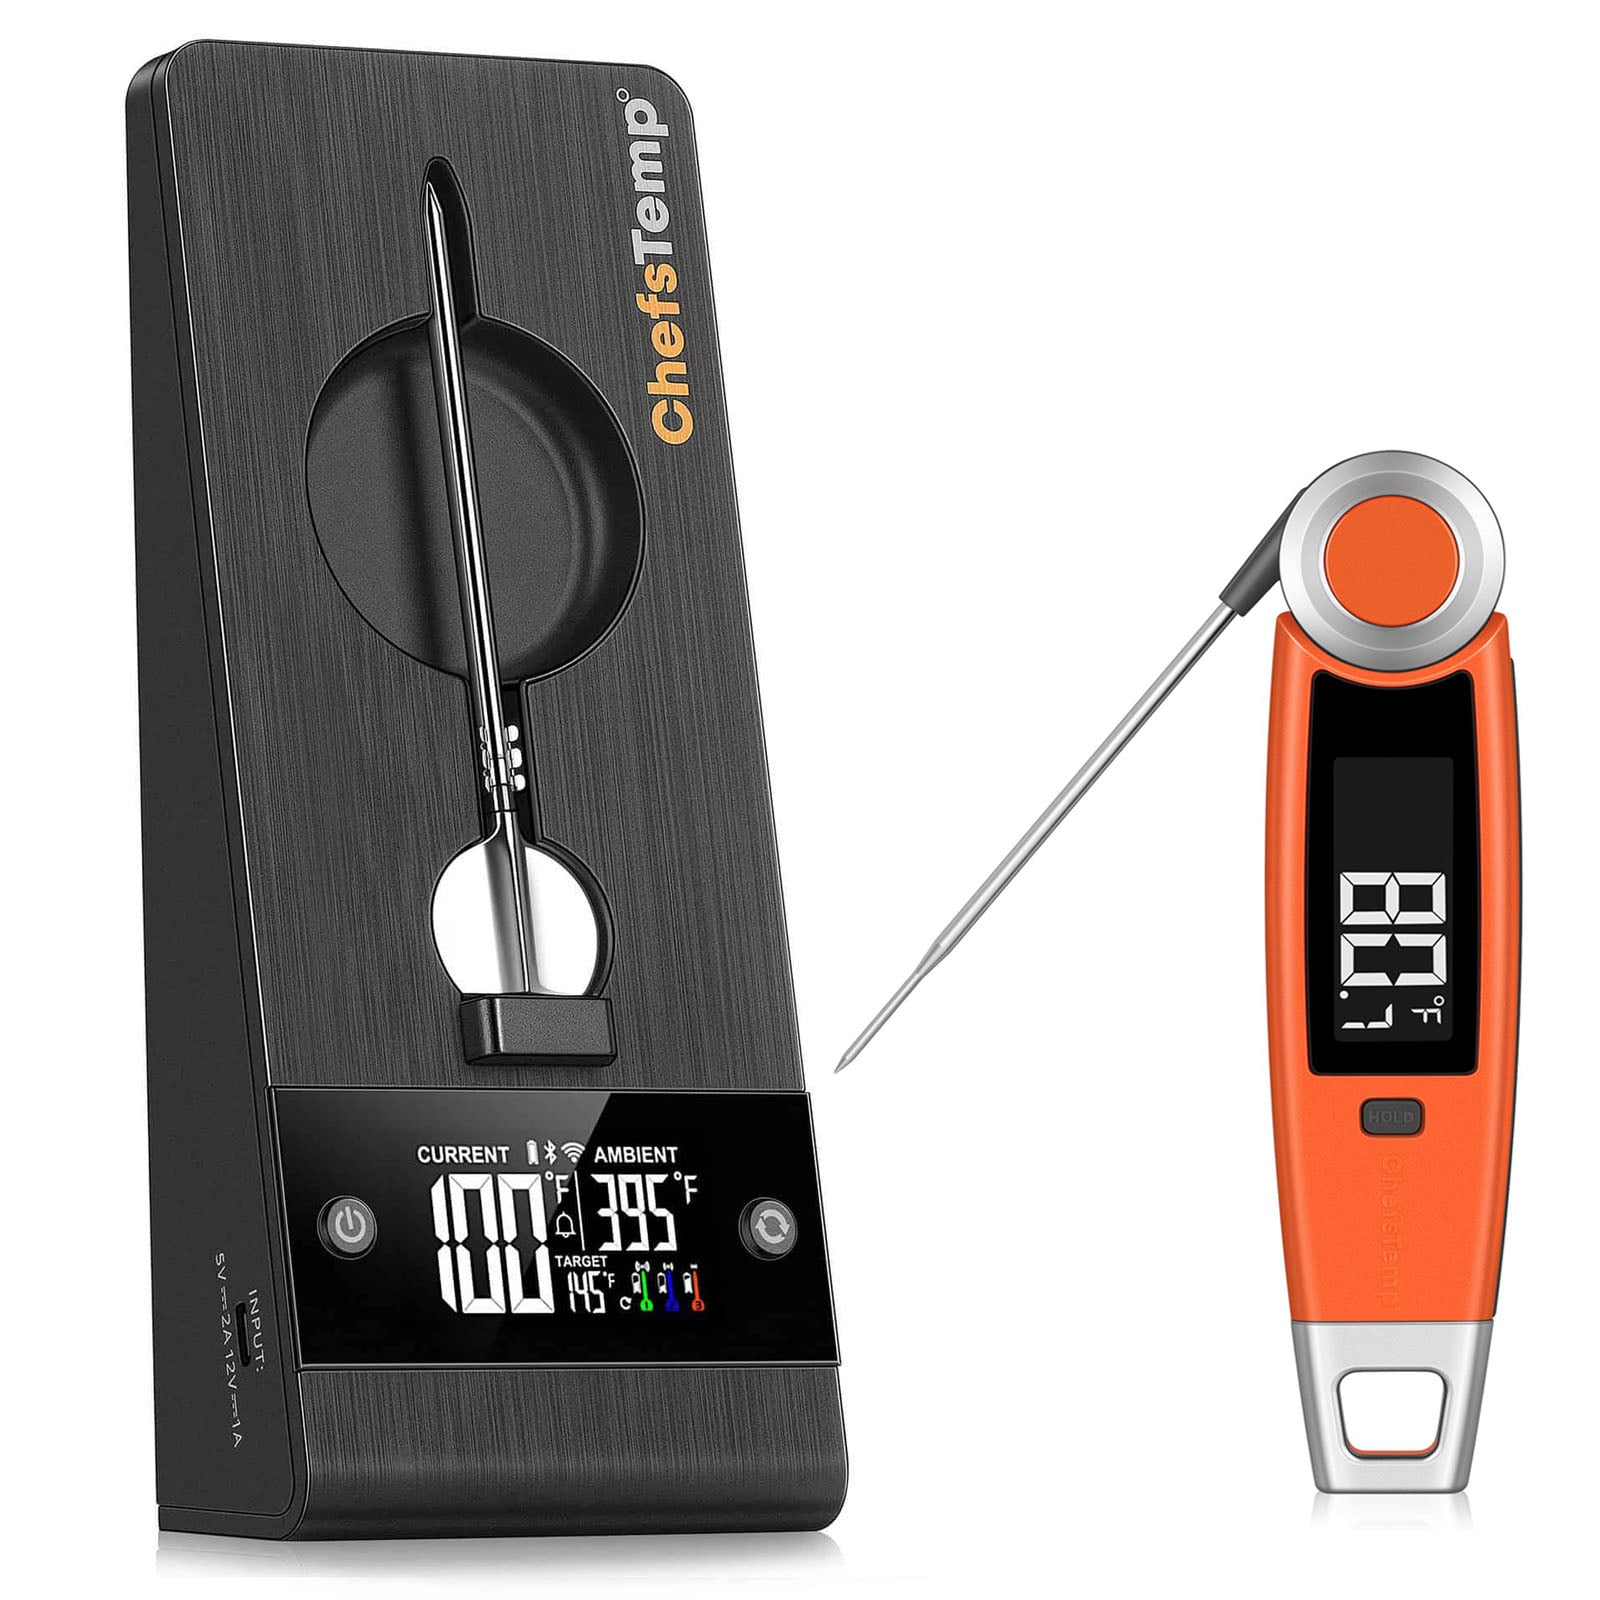
Inserting multiple wireless probes into the meat allows you to monitor the internal temperatures from afar and go about your day without having to open the lid for periodic check-ins.
I typically do not spritz meat while using the WSM with the water pan installed. I find the added moisture is plentiful to prevent the meat from drying out. For this cook, I simply set up the smoker and just let it go – tracking the ambient temperature and internal meat temperature from the app.
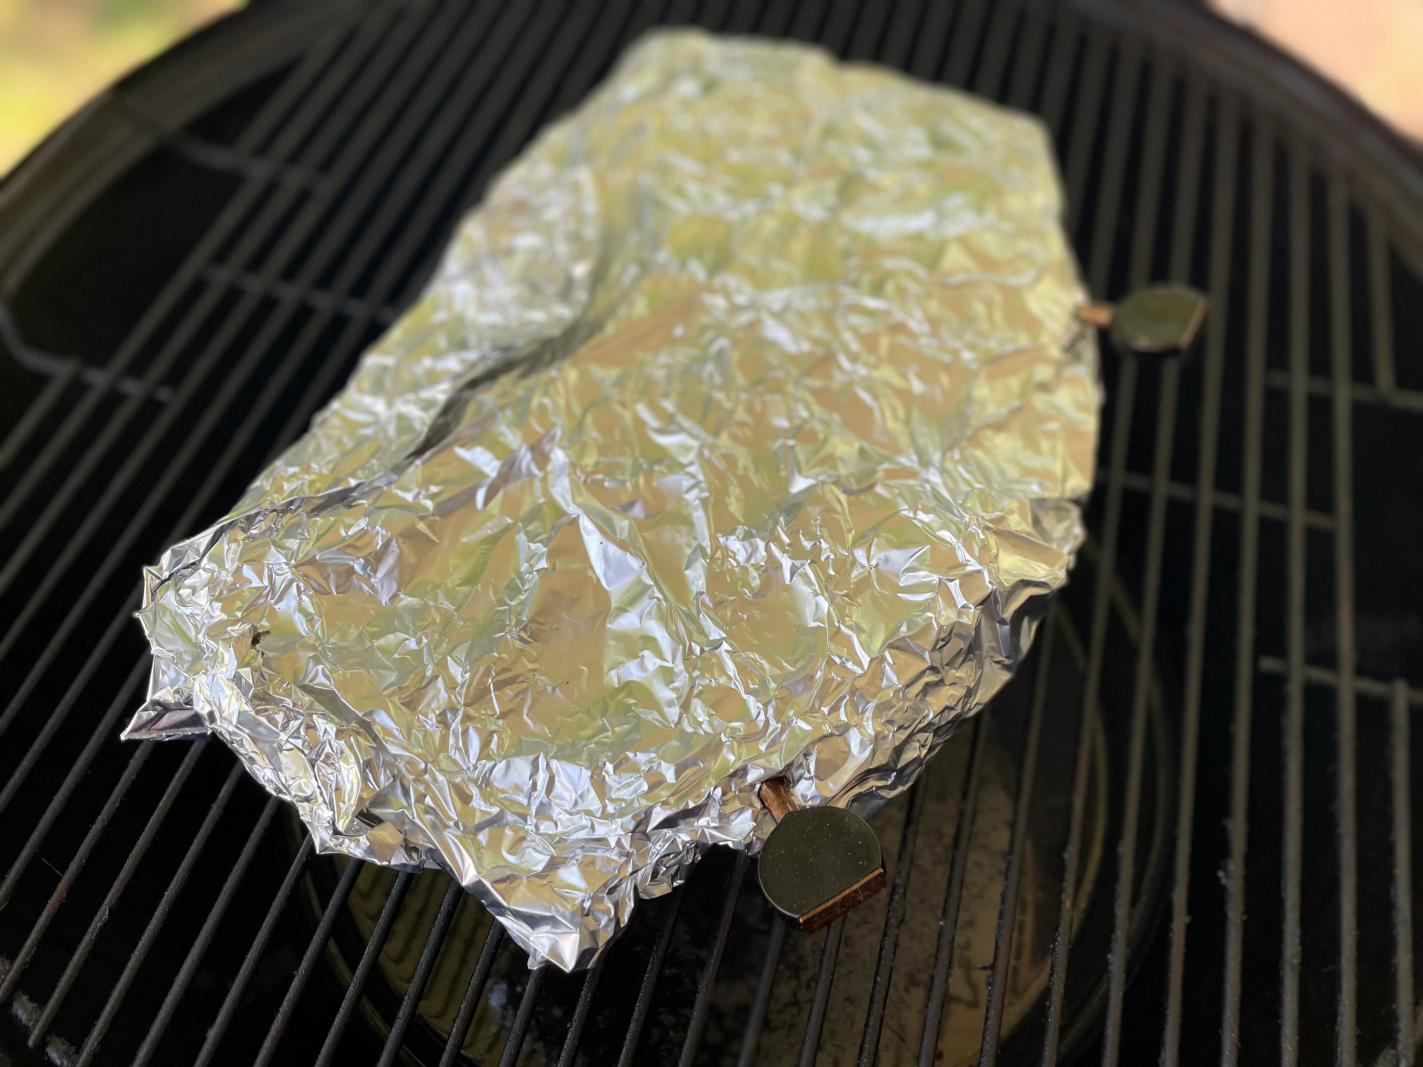
Around five hours into the cook, when the chuck roast hit 160 degrees, I wrapped it in aluminum foil. I added some homemade bone stock (store-bought would be fine), some butter, and the remaining seasoning before sealing it up tight with a double wrap. When using aluminum foil, I like to double-wrap in case the foil tears. I’ve learned this the hard way – losing the braising liquid certainly affects the final result.
I re-inserted the probes to roughly the same spot they were in so I could monitor the progress of the chuck roast during this stage.
With a chuck roast, I find this to be a necessary step anywhere from 4-5 hours into the cook. At this point, the meat has had plenty of time to absorb smoke, the bark has typically set in, and a tightly wrapped chuck roast will braise in these liquids and become far more tender than one left unwrapped.
The chuck is located on the front shoulder of the cow, right next to the ribs and above the brisket. This muscle is used to support the weight of the cow, aid in movement, and help turn its head. It is a heavily worked cut of meat loaded with connective tissue and collagen – benefiting from time and low heat to achieve a properly cooked, delicious meal.
Many recipes utilizing a chuck roast call for a crock-pot or a Dutch oven to slowly braise the meat. In previous cooks, I’ve found that cooking a chuck roast on the WSM offers the ability to achieve both smoky and very tender meat – similar to the results of more traditional cooking methods.
Tip: Click here to read more about roast pork internal temperature if interested.
Finishing Touches
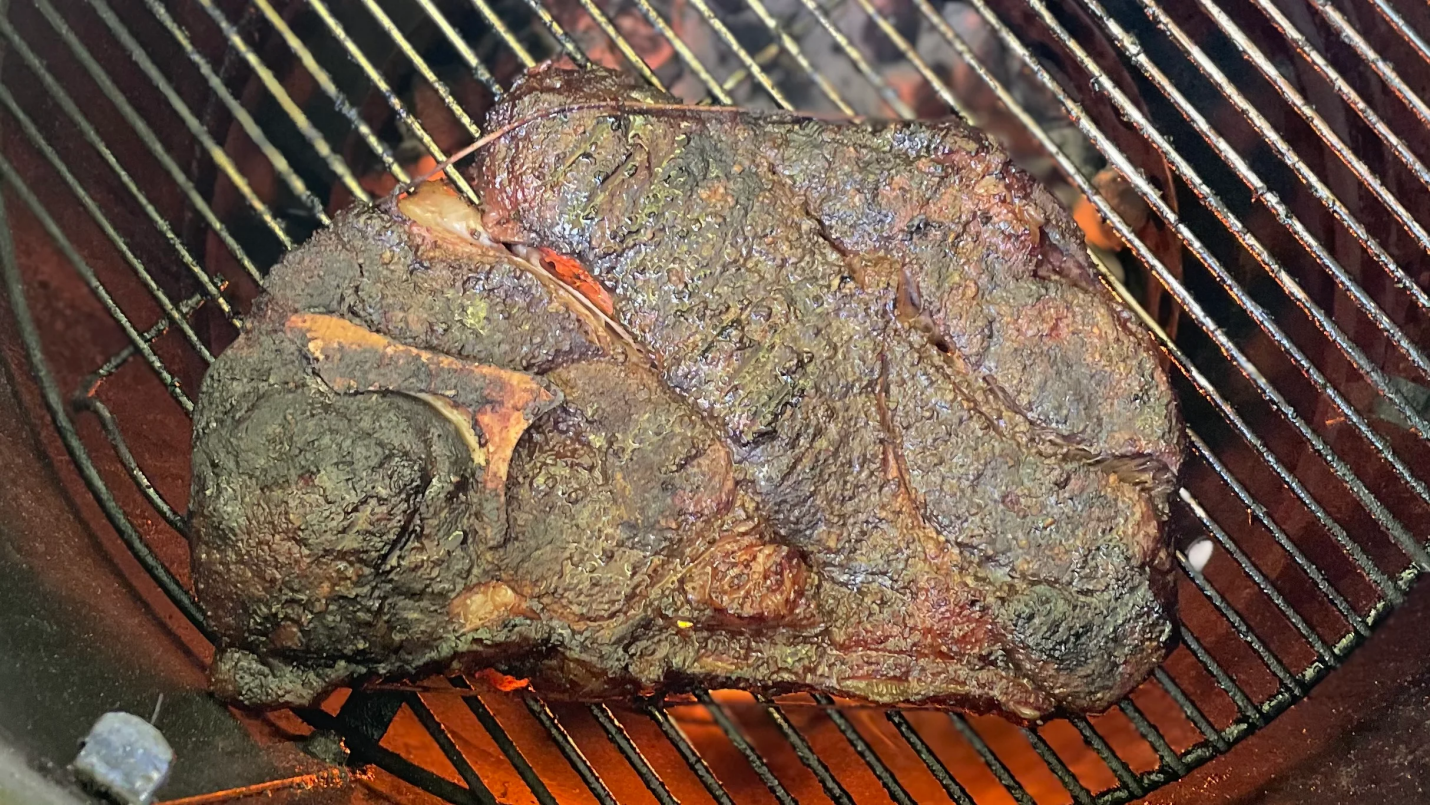
In my experience, meats that have been wrapped in foil tend to lose some bark. One way to bring your bark back is to remove the meat from the smoker once it’s reached its desired internal temperature – 200 degrees or so – then remove the cooking grate and water pan from the WSM.
At this stage, I like to position the lower intake vents to their wide open positions, leave the lid off (which essentially tricks the fan into staying on), and crack the access door to fully ignite the remaining charcoal.
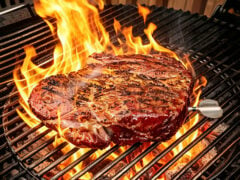
I placed the lower cooking grate into its position, and set the meat on it. With the meat on the lower rack, right above the direct, radiant heat from the coals, it helps bring back the bark and gives a nice Maillard reaction while being far enough away from the heat to not overcook the meat.
This step is not completely necessary, and I’d go as far as to advise caution – as I ended up overcooking this roast unfortunately.
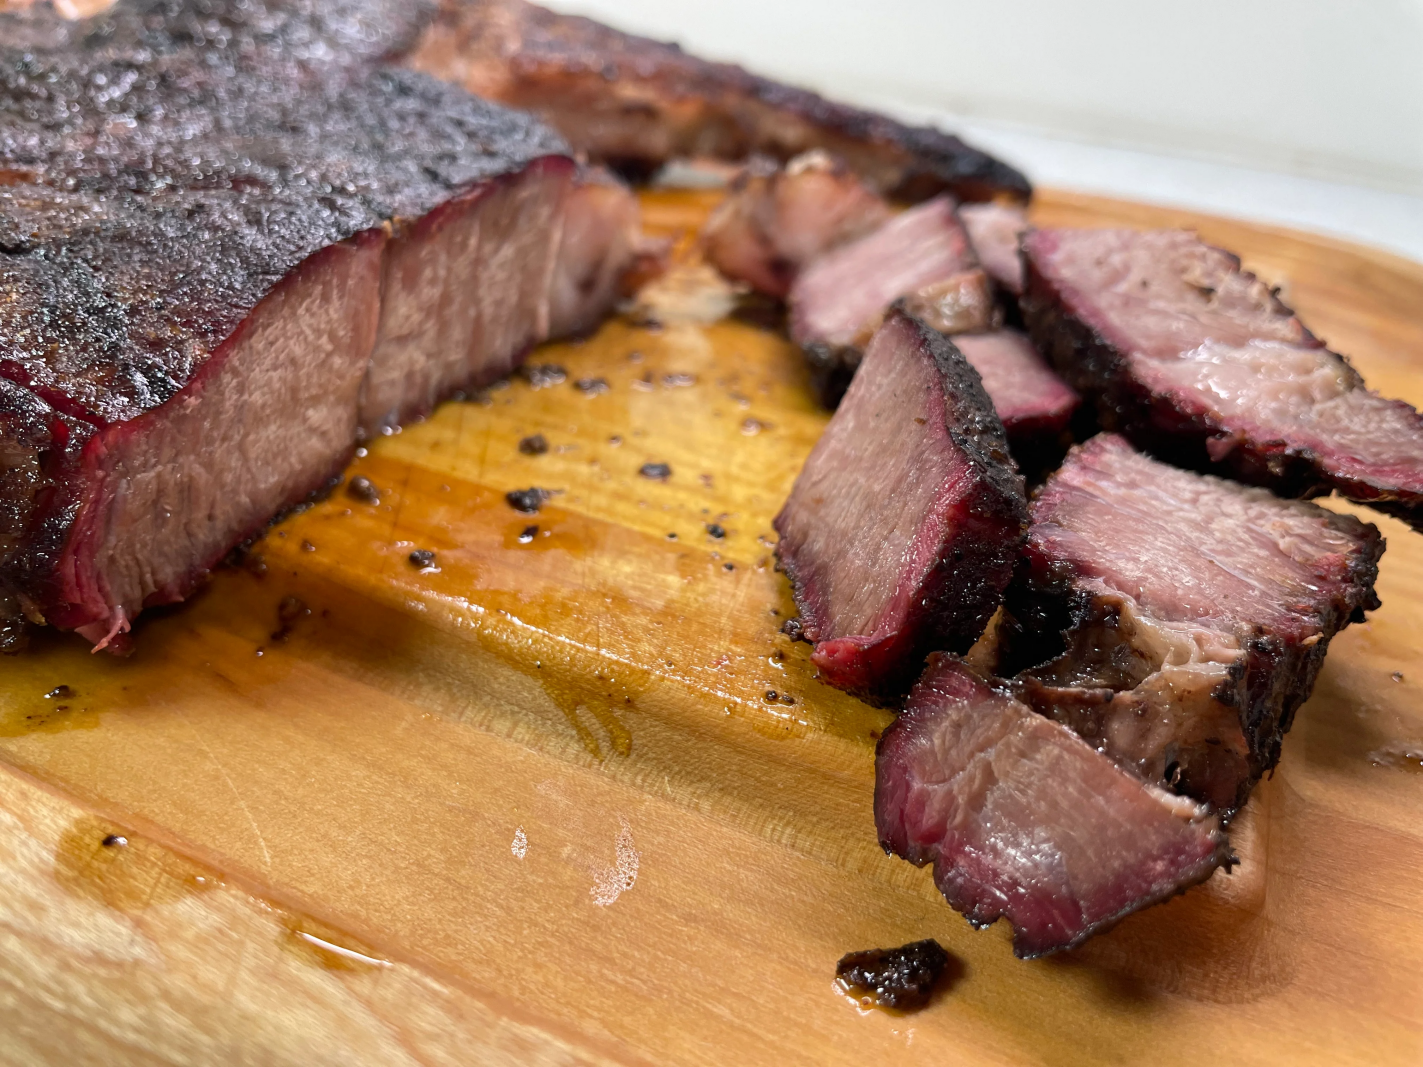
Looking back, my mistake came from taking the meat right off the smoker, not letting it come down in temperature before returning it right to the hot coals, and taking the probes out.
With probes removed, I had no way of knowing the internal temperature of the meat, and in an effort to maximize the Maillard reaction, I got carried away browning the meat and not considering the internal temperature was getting out of control.
It wasn’t a complete loss – some of the meat near the bone was right around 201, ending up moist and tender. But some areas were far overdone and a bit chewy.
Take this tidbit as a good tip on what not to do!
I still recommend searing at the end – but certainly use this article to avoid the errors I made. I know I’ll try this again in the future. It goes to show that even a self-proclaimed pit master with thousands of cooks under his apron can sometimes mess up. But I like to think of what Bob Ross always said: “We don’t make mistakes, just happy little accidents.”
Overall, the meal wasn’t ruined, and we ate every bite.

Matthew Mosher is a life-long resident of Upstate New York, where he’s been grilling since he could hold a pair of tongs. You can find him grilling or smoking meats year-round, even during snow storms. Matthew’s favorite things to put on the grill are chicken wings, ribs, pork butts, and bacon.
Related Posts
Comparing the Accuracy of the Stock Weber Smokey Mountain Thermometer to ChefsTemp S1
The Issue
The Weber Smokey Mountain is a popular and versatile cooker, but it has one major flaw - the stock ...
How to Smoke Brisket Overnight on a Weber Smokey Mountain: True User Experience
You can smoke brisket overnight on a Weber Smokey Mountain (WSM) without checking the smoker every few minutes...