

Grill Lid Thermometer Accuracy: The Real Temperature Gap and How to Close It
Your grill’s built-in thermometer is lying to you – and it’s costing you food.
When you cook raw meat over coals, a few degrees can make all the difference. You either get juicy ribs or dry leather. The core problem is placement: dome dials sit 6–8 inches above the cooking grate, measuring trapped ceiling air rather than the heat your food actually experiences. It rarely measures the heat exactly where the food sits.
That gap explains why grill lid thermometers constantly drift, lag, or disagree with the actual grate temperature. Wind, cold weather, or a lopsided charcoal fire make the problem worse. The Hearth, Patio & Barbecue Association notes that 80% of North American adults own a grill or smoker. Yet the same industry data show that temperature control remains the leading cause of overcooked or unsafe backyard BBQs.
You need steady grate heat and safe internal meat temps. This guide explains how these built-in lid dials fail and how to avoid the most common, expensive BBQ mistakes.
Table of Contents
Part 1. Why Grill Lid Thermometers Are Inaccurate: 6 Root Causes
A built-in lid dial looks official. It isn’t always helpful. Most factory gauges use a bimetallic coil — two metals bonded together that twist at different expansion rates as temperature rises.
The design dates to the 19th century. It has a typical accuracy tolerance of ±5–10°F under controlled lab conditions, and significantly worse in a live fire environment. That design can work in a clean oven. A grill is messier – smoke, grease, wind, and uneven fire all get a vote.

Here’s where the trouble usually starts:
- The placement is wrong for food. Heat rises, so the hottest air often sits near the top of the lid. Your steaks and ribs sit at the grill level. Independent tests and user measurements consistently document dome dial readings running 50–100°F above actual grate temperature during standard low-and-slow cooks.
- Calibration drift is permanent in most factory dials. After 20–30 heat cycles, the bimetallic spring’s elasticity degrades. Many factory units have no calibration screw; those that do rarely hold adjustment after another 10 cooks. Once a dial wanders, it wanders for good.
- Smoke and grease slow everything down. Inside a grill, vaporized fat forms a sticky layer everywhere. Vaporized cooking fat deposits a progressive creosote layer on the probe stem – a 1mm coating is enough to add 8–15 seconds of thermal lag per temperature reading, making the dial’s response effectively useless during active fire management.
- The weather messes with the reading. A cold wind can chill the lid metal while the fire is ripping. Rain cools the dome. Snow does it even faster. The grill lid thermometer is attached to that lid, so it borrows some of that outside temperature. The dial can read lower than what your coals are really doing.
- The sensor sits outside the primary convection path. Grills breathe through their vents. Depending on vent position and lid shape, the hottest stream of air might flow past the food and out the exhaust without washing over the thermometer stem. The dial ends up measuring a “quiet corner” of the dome.
- The grate has hot spots and cold spots. Charcoal and wood don’t burn like a flat stove burner. One side can run hotter. The back corner might be cool. A single number on the dome never tells the whole story. It can’t warn you when the left side of your grate is cool while the right side is scorching hot.
A factory dome dial is not worthless – it tells you whether the fire is building or dying. What it cannot do is give you the ±5°F precision that separates a properly rendered brisket flat from a dry one. Use it as a rough sanity check, nothing more.
Bimetallic Coil vs. Platinum RTD: How the Sensors Compare
| Spec | Factory Bimetallic Coil | Platinum RTD (ProTemp S1) |
|---|---|---|
| Typical accuracy | ±5–10°F | ±0.9°F (±0.5°C) |
| Max rated temperature | ~600°F | 1,000°F |
| Drift after 30+ cycles | Significant; often uncorrectable | Negligible; self-stable |
| Response lag (creosote-coated) | 60–90 sec | Not applicable (sealed stem) |
| Calibration requirement | Periodic; often not possible | None required |
| Wireless connectivity | None | WiFi + Bluetooth dual-band |
Part 2. What the ProTemp S1 Actually Does Differently
Before listing what the S1 does well, one limitation matters: the temperature control feature requires the separately sold Breezo V2 fan. The ProTemp S1 hub alone is a monitoring and alerting device. Buyers who expect plug-and-play automated fire control need to budget for both components
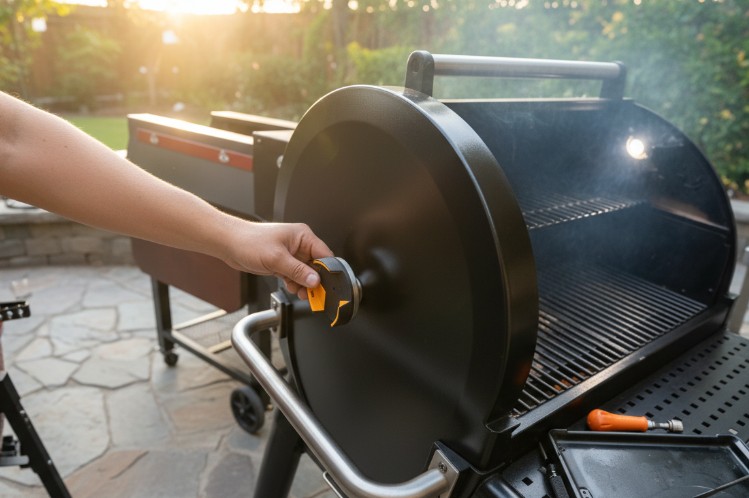
You can easily replace an unreliable factory dial with modern smart technology. Today, many pitmasters pull out their old gauges and install a specialized ProTemp S1 Patented Smart Grill Gauge Thermometer Hub. This upgrade gives you total control over the fire and your food.

The difference comes down to how the tool actually measures heat and communicates with you:
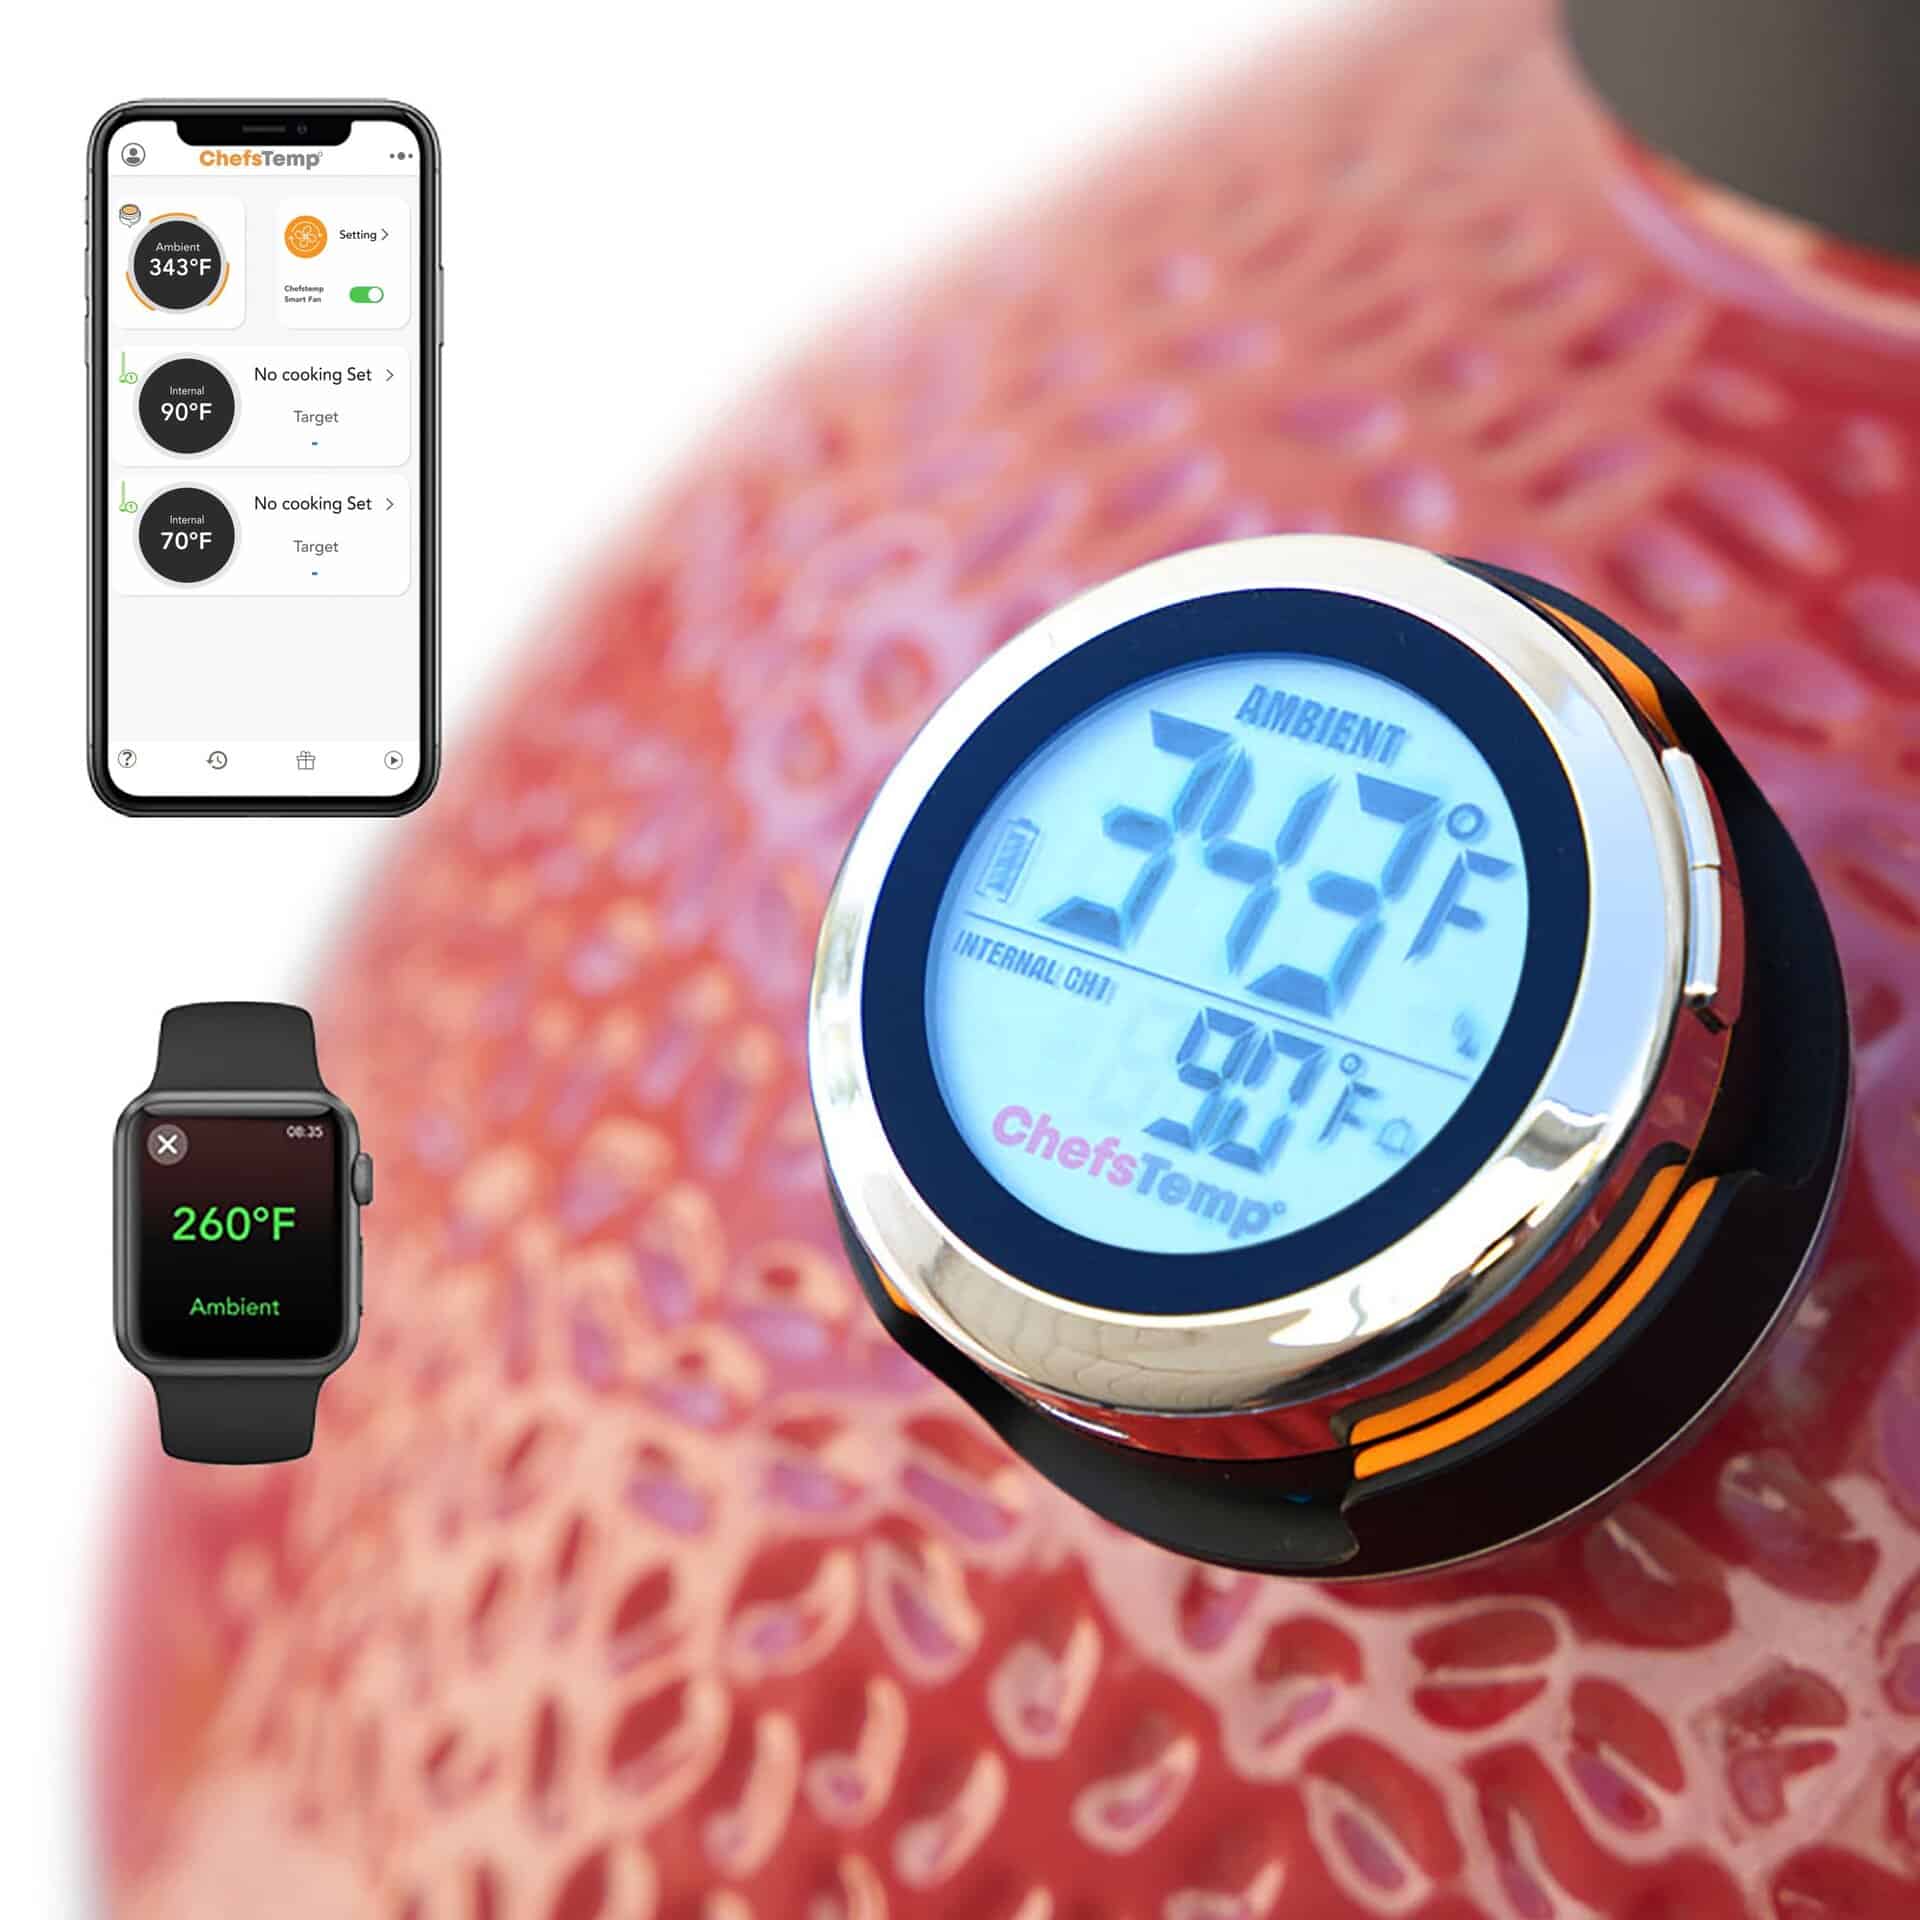
Platinum RTD Sensor: What the ±0.9°F Rating Means in Practice
The ProTemp S1 uses a platinum RTD (Resistance Temperature Detector) sensor rated at ±0.9°F accuracy. Unlike bimetallic coils, platinum RTD sensors maintain accuracy to ±0.1°C across the full temperature range and show negligible drift after years of thermal cycling – the same sensor class used in laboratory and industrial process control.
Platinum offers incredible stability at extreme temperatures. Because this unit accurately reads ambient temperatures up to 1000°F, you can easily hold a steady 225°F for low-and-slow BBQ. Later, you can crank the heat for high-temp searing or backyard pizza baking without ever destroying the sensor.
WiFi + Bluetooth Dual Connectivity: Why Both Channels Matter
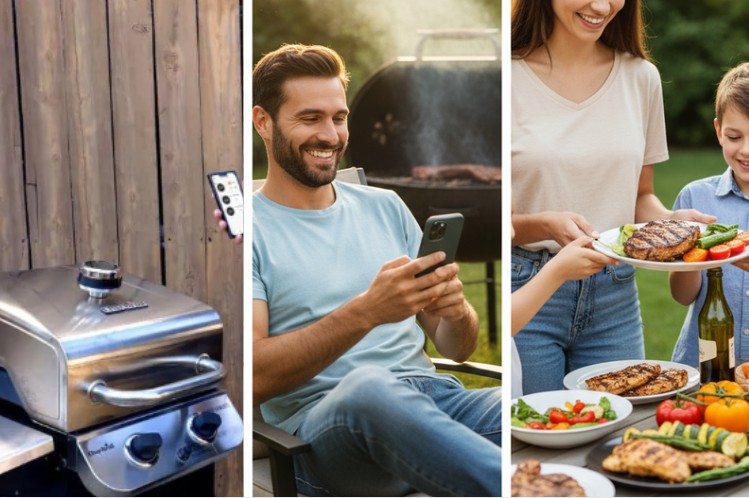
Sitting next to a hot smoker all day gets exhausting. The ProTemp S1 solves this with built-in Wi-Fi and Bluetooth connectivity. WiFi mode delivers alerts over your home network with unlimited range. If the router goes offline mid-cook, the S1 automatically falls back to Bluetooth — covering roughly 100 meters — so an overnight brisket is never left unmonitored because of a router reboot. You can step off the deck, entertain guests indoors, or even run to the store while still perfectly nailing a brisket.
Tracking Multiple Meats with Wireless Probes
When you host big family cookouts, you often need to manage several different proteins at once. A high-quality Digital thermometer with a probe setup makes this balancing act easy. The ProTemp S1 supports up to 4 wireless probes. That means you can track a thick pork shoulder, monitor two racks of ribs, and watch a whole chicken at the same time.
Automating Airflow with the Breezo Fan
Controlling the fire itself is another challenge. Managing charcoal vents manually requires constant babysitting. However, the ProTemp S1 pairs seamlessly with the optional Breezo Fan. When the pit temperature drops, this fan automatically injects oxygen into the firebox. This automatic airflow control keeps your smoker locked at your target temperature without any manual vent adjustments.
Drop-In Installation: No Wiring, No Drilling, No Adapters (With One Caveat)
Finally, this system eliminates the clutter that ruins a good cooking experience. Messy wires often melt on hot grates and tangle easily. Because the ProTemp S1 is a 100% wireless hub, it simply mounts right into the empty hole on your lid, replacing your broken dial perfectly. This eliminates external power cables and probe wires from the grill exterior entirely.
One installation caveat: ProTemp S1 ships in three stem versions (Universal 7.8mm, BGE-specific 4.1mm, and short-stem 1.5-inch). Verify your grill’s gauge port diameter before ordering — the wrong stem version will not seat correctly.
Ultimately, read more for how to choose the best meat thermometer. It will transform your daily cooking routine. Precision tools prevent dry, overcooked chicken breasts and tough, undercooked ribs. You get flawless, repeatable results every single weekend.
Part 3. How to Replace a Grill Lid Thermometer: Step-by-Step (Under 5 Minutes)
If you want better BBQ, start by throwing out the factory dial. Installing the best grill lid thermometer takes less than five minutes. For almost every standard grill on the market, you won’t need to fire up a drill or make any advanced modifications. Tools required: one pair of pliers or a 1-inch wrench, one damp cloth, and the ChefsTemp app (free, iOS and Android).
The process is incredibly straightforward. Here is exactly how you swap out your old gauge for a modern smart hub:
- Remove the Old Dial: First, open your grill lid and look behind the factory dome gauge. You will see a single retaining nut holding the old thermometer in place. To loosen and unscrew this nut, grab a pair of pliers or a regular wrench. Once the nut is off, pull the old, inaccurate grill lid thermometer straight out of the hole from the outside.
- Clean the Mounting Area: Over time, heavy smoke and vaporized fat build up on the inside of the lid. Wipe the mounting hole area with a cloth dampened in dish soap solution. Creosote residue around the port will prevent a flush seat and can cause air leaks that throw off ambient temperature readings.
- Install the New Hub: Next, insert your ProTemp S1 hub into the existing hole, then slide the threaded stem into place. Reach under the lid and hand-tighten the provided locking nut. Hand-tighten only — no tools. Over-tightening the locking nut on a ceramic (BGE/Kamado Joe) lid can hairline-crack the ceramic around the port. On metal lids, finger-tight creates sufficient compression seal.
- Connect the App: Finally, pull out your smartphone. Download the ChefsTemp app and follow the quick on-screen prompts to pair your new device via Bluetooth or Wi-Fi.
That is all it takes. In just a few minutes, you have successfully upgraded a basic backyard cooker into a remotely controlled, precision BBQ machine.
Part 4. Four Techniques That Make Precision Thermometry Actually Work
Technology definitely helps you hit your target temps, but good technique remains the backbone of great BBQ. You can have the best smart grill lid thermometer in the world, but if your fire is built wrong, your food will suffer. Here are four essential habits to adopt when you fire up your upgraded charcoal grill:
- Build a two-zone fire: Two-zone fire management is the foundational technique that makes temperature control meaningful. Place all your lit coals in a tight pile on one side of the grill. Leave the other side empty. This simple setup gives you two distinct heat zones: a hot, direct-searing zone and a cooler, indirect-roasting zone. You can easily move the meat away from the fire to save it from burning.
- Check your thin cuts: While your wireless probes handle the thickest parts of your brisket or pork shoulder, thinner edges cook faster. Always keep a reliable instant thermometer in your pocket for quick spot checks before serving. Checking the edges, thinner muscles, and smaller cuts like chicken wings guarantees nothing gets dry or overcooked.
- A USDA safe internal temperature reference: Poultry 165°F / Ground meats 160°F / Whole beef & pork steaks 145°F (3-min rest) / Fish 145°F.
- Keep the grill lid closed: Every time you open it, precious heat and flavorful smoke escape. Trust the ProTemp S1 app to tell you what is happening inside the cooker. As the old BBQ saying goes: “If you are looking, you aren’t cooking.” Every lid opening drops grate temperature by 30–50°F and requires 8–12 minutes to fully recover on a charcoal grill — time when your cook is stalled.
- Measure at the grate level: The precise temperature at which the food is placed must be known. Connect your smart hub to a digital food thermometer probe designed especially for the cooking grate. Keeping an eye on this grate temperature in addition to the interior meat temperature ensures the most precise and secure cooking conditions.
Time-tested practices and smart meat grill thermometers ensure that the flavor is locked in. They help you avoid raw middles and consistently serve flawless barbecue. Also, watch the test results of a cheap add‑on lid thermometer against a professional calibration probe.
Part 5. Conclusion
A cheap factory dial can easily ruin an expensive piece of meat. Standard grill lid thermometers cannot withstand bad weather, poor placement, or weak metal coils. Upgrading your setup changes everything. The ProTemp S1 fixes these exact frustrations. It delivers true platinum sensor precision, easy Wi-Fi monitoring, and multi-probe tracking.
A cheap factory dial is the fastest way to ruin an expensive brisket. Upgrading to a top-rated cooking thermometer ecosystem like the ProTemp S1 replaces analog guesswork with precise thermal data. By eliminating wire clutter and automating airflow, you stop babysitting the pit and start controlling it. Upgrade your hardware, and you secure flawless, repeatable barbecue every single weekend.
Part 6. FAQs about Grill Lid Thermometers
Q: Are built-in lid thermometers accurate?
No. Independent measurements consistently show factory dome dials reading 50–100°F above actual grate temperature, due to sensor placement 6–8 inches above the cooking surface and the slow response characteristics of bimetallic coils. For reliable pit management, a dedicated grate-level probe is required.
Q: What is the most reliable grill thermometer?
The most reliable grill thermometers use platinum RTD sensors, which maintain accuracy to ±0.9°F across a 32–1,000°F range without calibration drift. Bimetallic coil gauges, the type found in most factory dome dials, degrade measurably after 20–30 heat cycles. For ambient grate monitoring, a platinum RTD hub paired with wireless food probes (such as the ProTemp S1 setup) currently represents the highest available accuracy class for consumer BBQ use.
Q: Do chefs use meat thermometers for grilling?
Yes. Professional cooks rely on calibrated thermometers because internal meat temperature is the only reliable indicator of both food safety and target doneness. Cooking by time or touch cannot account for variable meat thickness, starting temperature, or ambient conditions. The USDA recommends reaching 165°F for poultry, 145°F for whole cuts of beef and pork, and 160°F for ground meats – targets that are only verifiable with a calibrated probe.
Q: Why do grill lid thermometers stop working?
Factory lid thermometers fail through three independent mechanisms:
- Creosote fouling: Grease deposits insulate the probe stem, adding 60–90 seconds of thermal lag.
- Bimetallic fatigue: the metal spring loses elasticity after repeated thermal cycles, causing permanent calibration drift.
- Moisture ingress: Condensation and rain corrode the internal coil, accelerating drift or causing total failure.
None of these failure modes are field-repairable on most factory units.
Q: What makes a good digital food thermometer?
A high-quality digital food thermometer should meet four criteria: accuracy of ±1°F or better; response time under 3 seconds; waterproof housing rated IP65 or higher; and a temperature range of at least 32°F to 572°F for standard BBQ use. Wireless connectivity (Bluetooth or WiFi) is valuable for long smoking sessions where leaving the grill unattended is necessary. For ambient pit monitoring specifically, a platinum RTD sensor outperforms thermocouples at the precision and stability levels relevant to low-and-slow cooking.
Q: Can I use the ProTemp S1 without the Breezo fan?
Yes. The ProTemp S1 hub functions as a standalone ambient temperature monitor and wireless probe hub without the Breezo V2 fan. You gain precise dome temperature tracking, up to four wireless meat probe channels, and WiFi/Bluetooth remote alerts. Automated fire control — where the system adjusts your charcoal fire to maintain a target temperature – requires adding the Breezo V2 fan as a separate purchase.
Discover Other ChefsTemp Products


Discover more recipes and learn kitchen tricks by joining our cooking family on Facebook.
You may also like:


