Brisket purveyors have a reputation for waking up in the middle of the night to check the temperature of smoking charcoal. Adjusting the vents on a Weber Kettle Overnight is a time-honored, albeit truly exhausting method. Modern kitchens run on automated appliances with precise cooking temperatures, designing the optimal cooking environment for the chef. Why should masters of the grill have to suffer through the cold as temperatures fluctuate. It’s time we modernized the backyard smoking experience too. Weber grill temperature control systems have made huge leaps forward. Let’s look at the most recent ones that control the kettle so the pitmaster can relax.
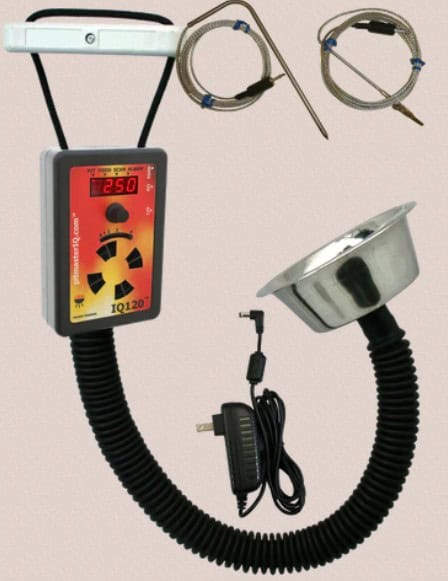 I purchased my first automatic BBQ controller and chose the standard controller model – PitmasterIQ. Such a thing or the heavily industrial Auber Instruments, certainly keeps the temperature stable; but handling such a device is like playing high school science experiment.
First of all you need to attach a bulky plastic “brick” to the side of your grill or table. After that, many of these older units are not battery operated, and you end up dragging a 120V AC extension cord over the wet grass to ensure the fan keeps running, and that’s something you can see veteran pitmasters decrieing in forums, such as AmazingRibs.
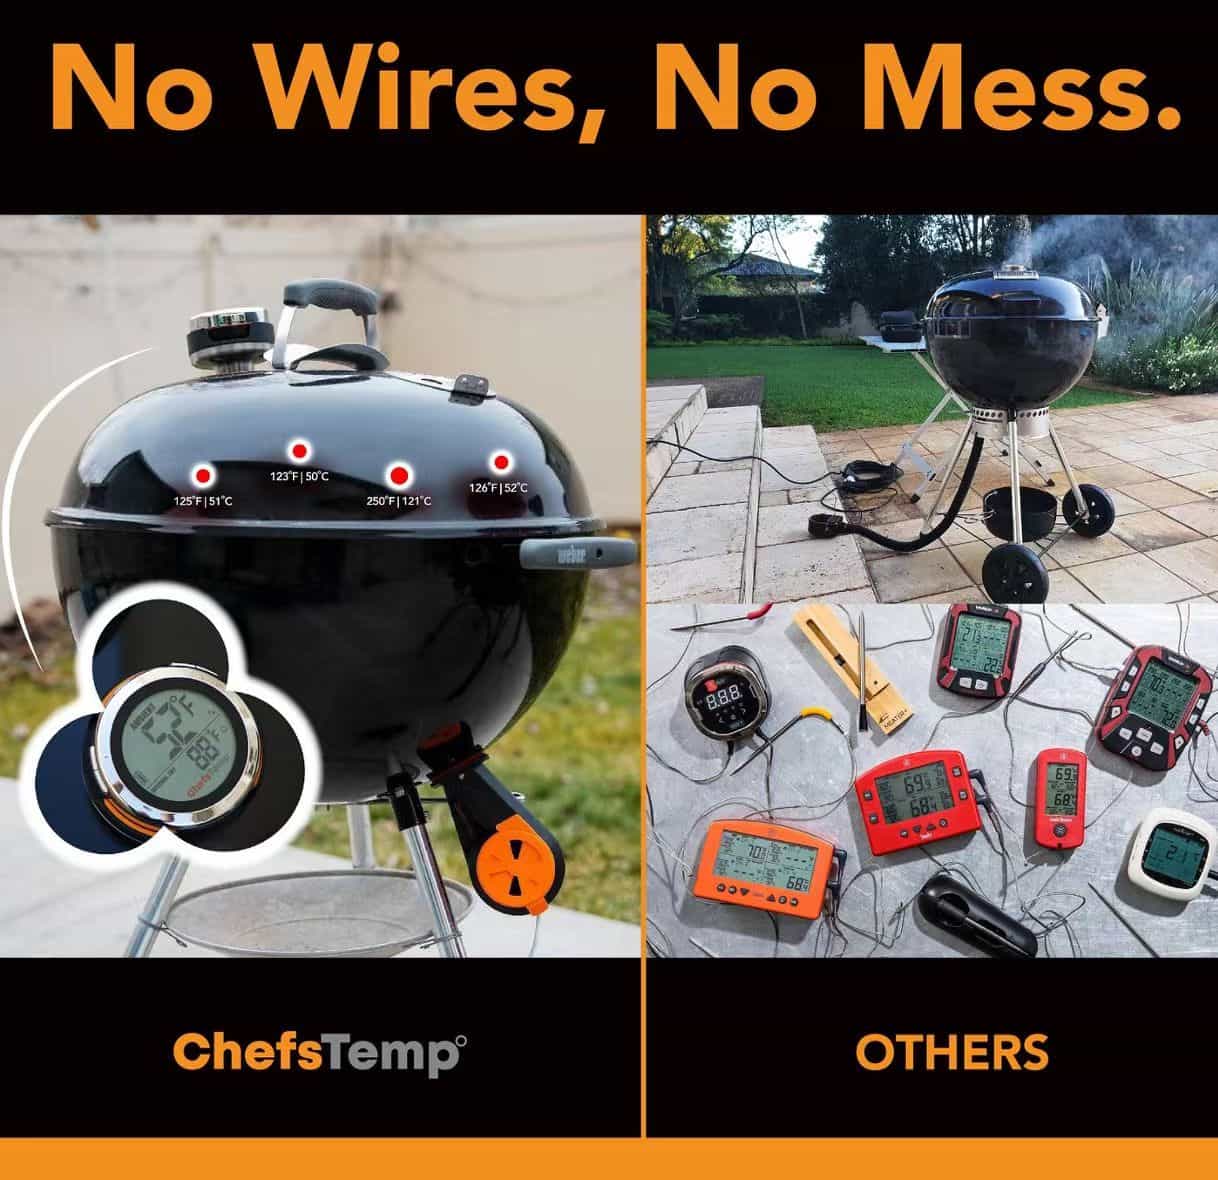
The worst thing about it, however, is what they call the “spaghetti problem. There are several metal wires protruding from the outside control box, through the grill vents and into your meat. Those cables tangle at the moment that you need to flip a pork shoulder, wrap a brisket in butcher paper, or just spray some apple cider vinegar. You either break your probe with a single tug or let a wire touch a hot grate for two seconds and voila!A single pull and you fry your probe, or two seconds resting on a hot grate and you fry your probe.
I purchased my first automatic BBQ controller and chose the standard controller model – PitmasterIQ. Such a thing or the heavily industrial Auber Instruments, certainly keeps the temperature stable; but handling such a device is like playing high school science experiment.
First of all you need to attach a bulky plastic “brick” to the side of your grill or table. After that, many of these older units are not battery operated, and you end up dragging a 120V AC extension cord over the wet grass to ensure the fan keeps running, and that’s something you can see veteran pitmasters decrieing in forums, such as AmazingRibs.
The worst thing about it, however, is what they call the “spaghetti problem. There are several metal wires protruding from the outside control box, through the grill vents and into your meat. Those cables tangle at the moment that you need to flip a pork shoulder, wrap a brisket in butcher paper, or just spray some apple cider vinegar. You either break your probe with a single tug or let a wire touch a hot grate for two seconds and voila!A single pull and you fry your probe, or two seconds resting on a hot grate and you fry your probe.
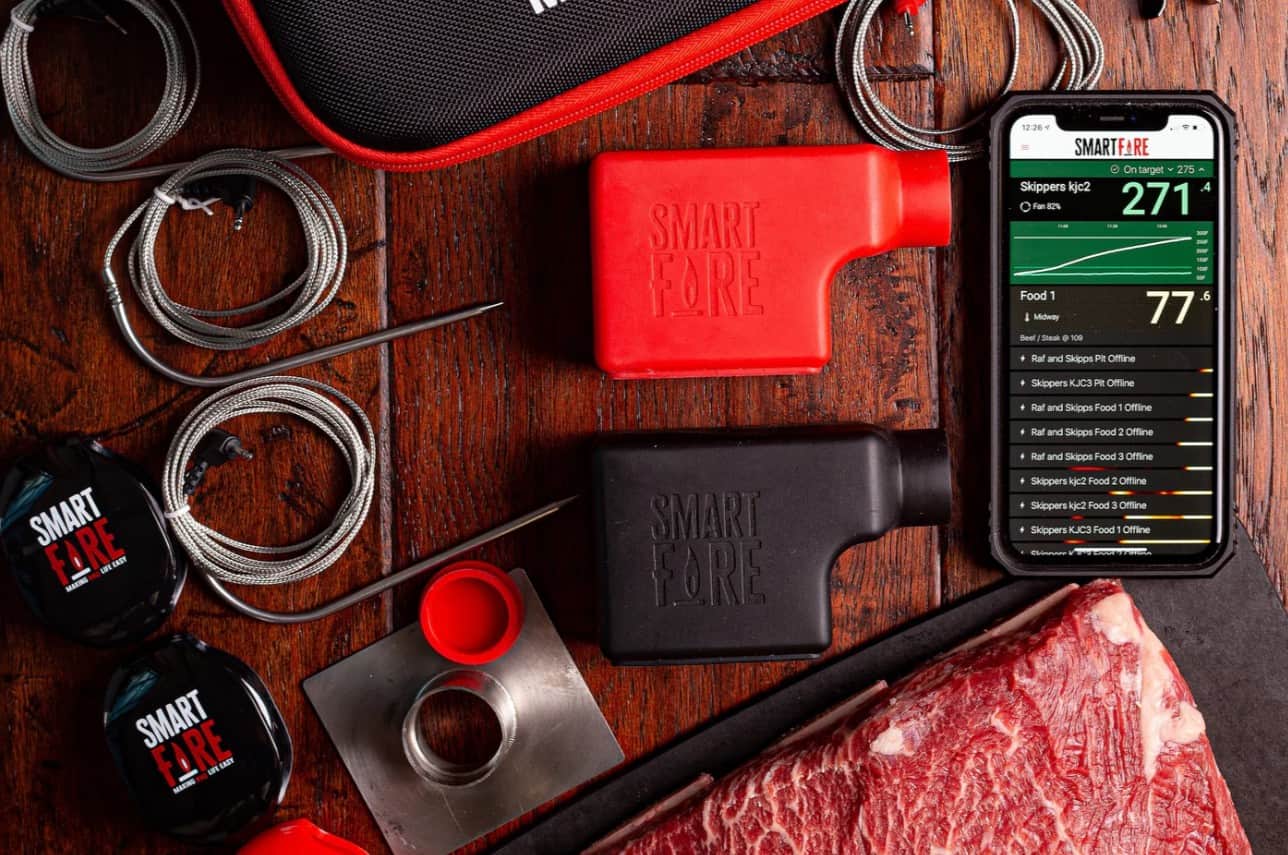
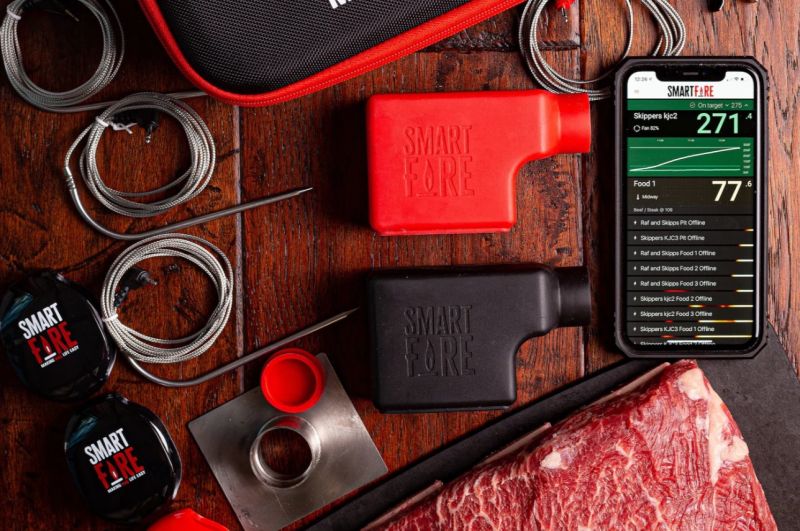 After all, brands came to understand that the wired brick was an issue. Some newer devices—such as the Smartfire—sought to simplify the hardware by eliminating the actual display screen, but that led to a new problem: it made things incredibly confusing.
Imagine, hands are coated in greasy pork rub and barbeque sauce! Wipe down the screen, dig in your pocket, unlock your phone, load an app just to check to see if your fire is steady if you have a screenless device. Does not offer the simplest and most intuitive use that would be available with a simple eyesight check as you pass by the smoker. It’s a disconnect so bizarre, and that’s why many of us began searching for a PitmasterIQ replacement—one that finally puts an end to the entangled wires and power cords, but still provides a readable, physical grill, on-screen dashboard.
After all, brands came to understand that the wired brick was an issue. Some newer devices—such as the Smartfire—sought to simplify the hardware by eliminating the actual display screen, but that led to a new problem: it made things incredibly confusing.
Imagine, hands are coated in greasy pork rub and barbeque sauce! Wipe down the screen, dig in your pocket, unlock your phone, load an app just to check to see if your fire is steady if you have a screenless device. Does not offer the simplest and most intuitive use that would be available with a simple eyesight check as you pass by the smoker. It’s a disconnect so bizarre, and that’s why many of us began searching for a PitmasterIQ replacement—one that finally puts an end to the entangled wires and power cords, but still provides a readable, physical grill, on-screen dashboard.
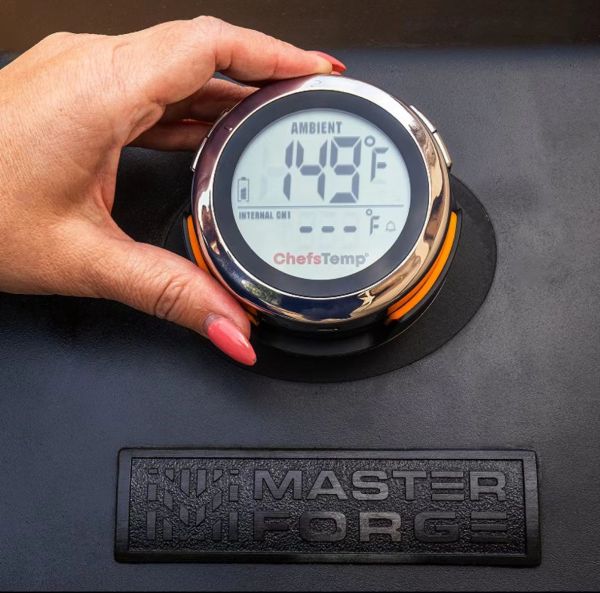 The bi-metal dial thermometer on your grill is not providing an accurate temperature reading. Since heat rises, the bi-metal thermometer will show a different reading at the lid than the temperature at the grate where the food is placed. This difference, along with many others, has been studied by culinary scientists.
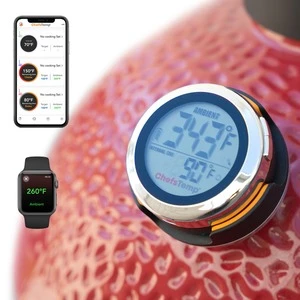
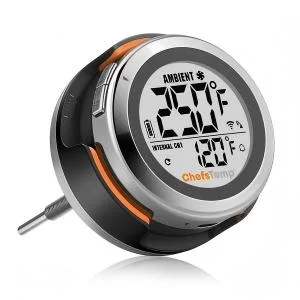
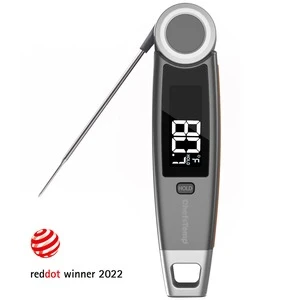
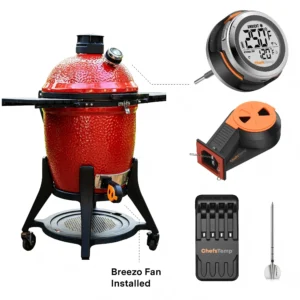
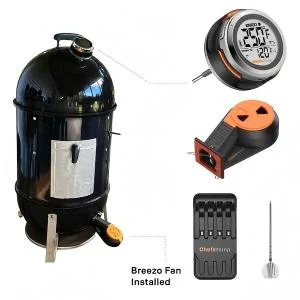
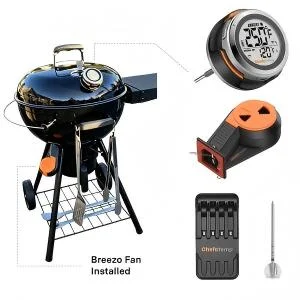
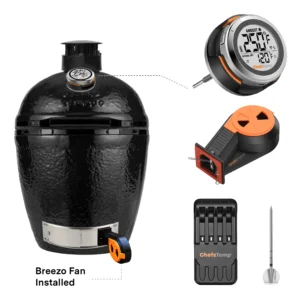
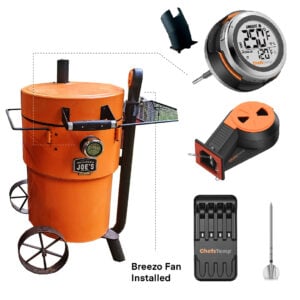
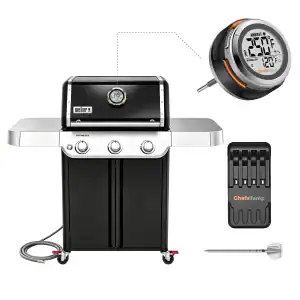
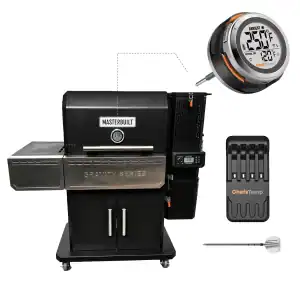
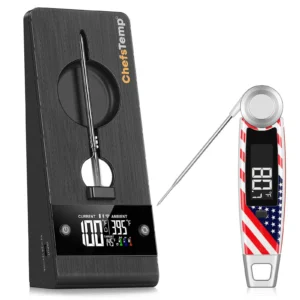
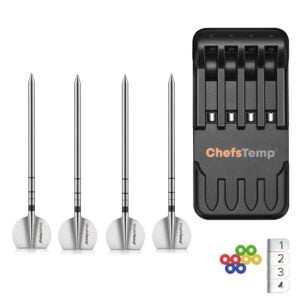
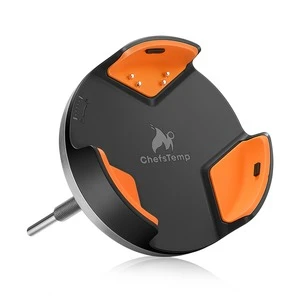
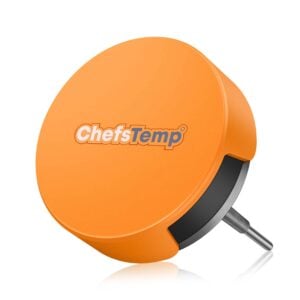
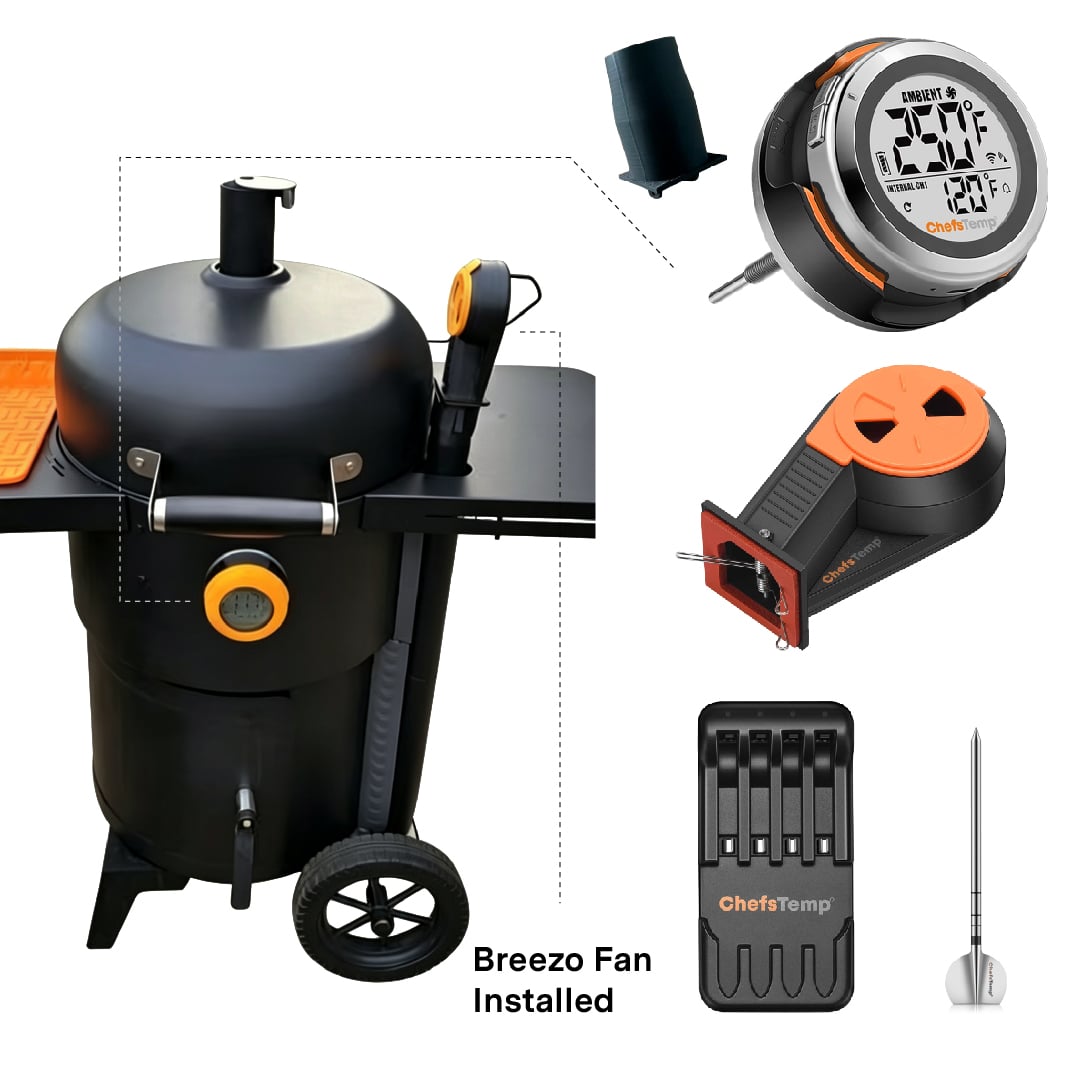
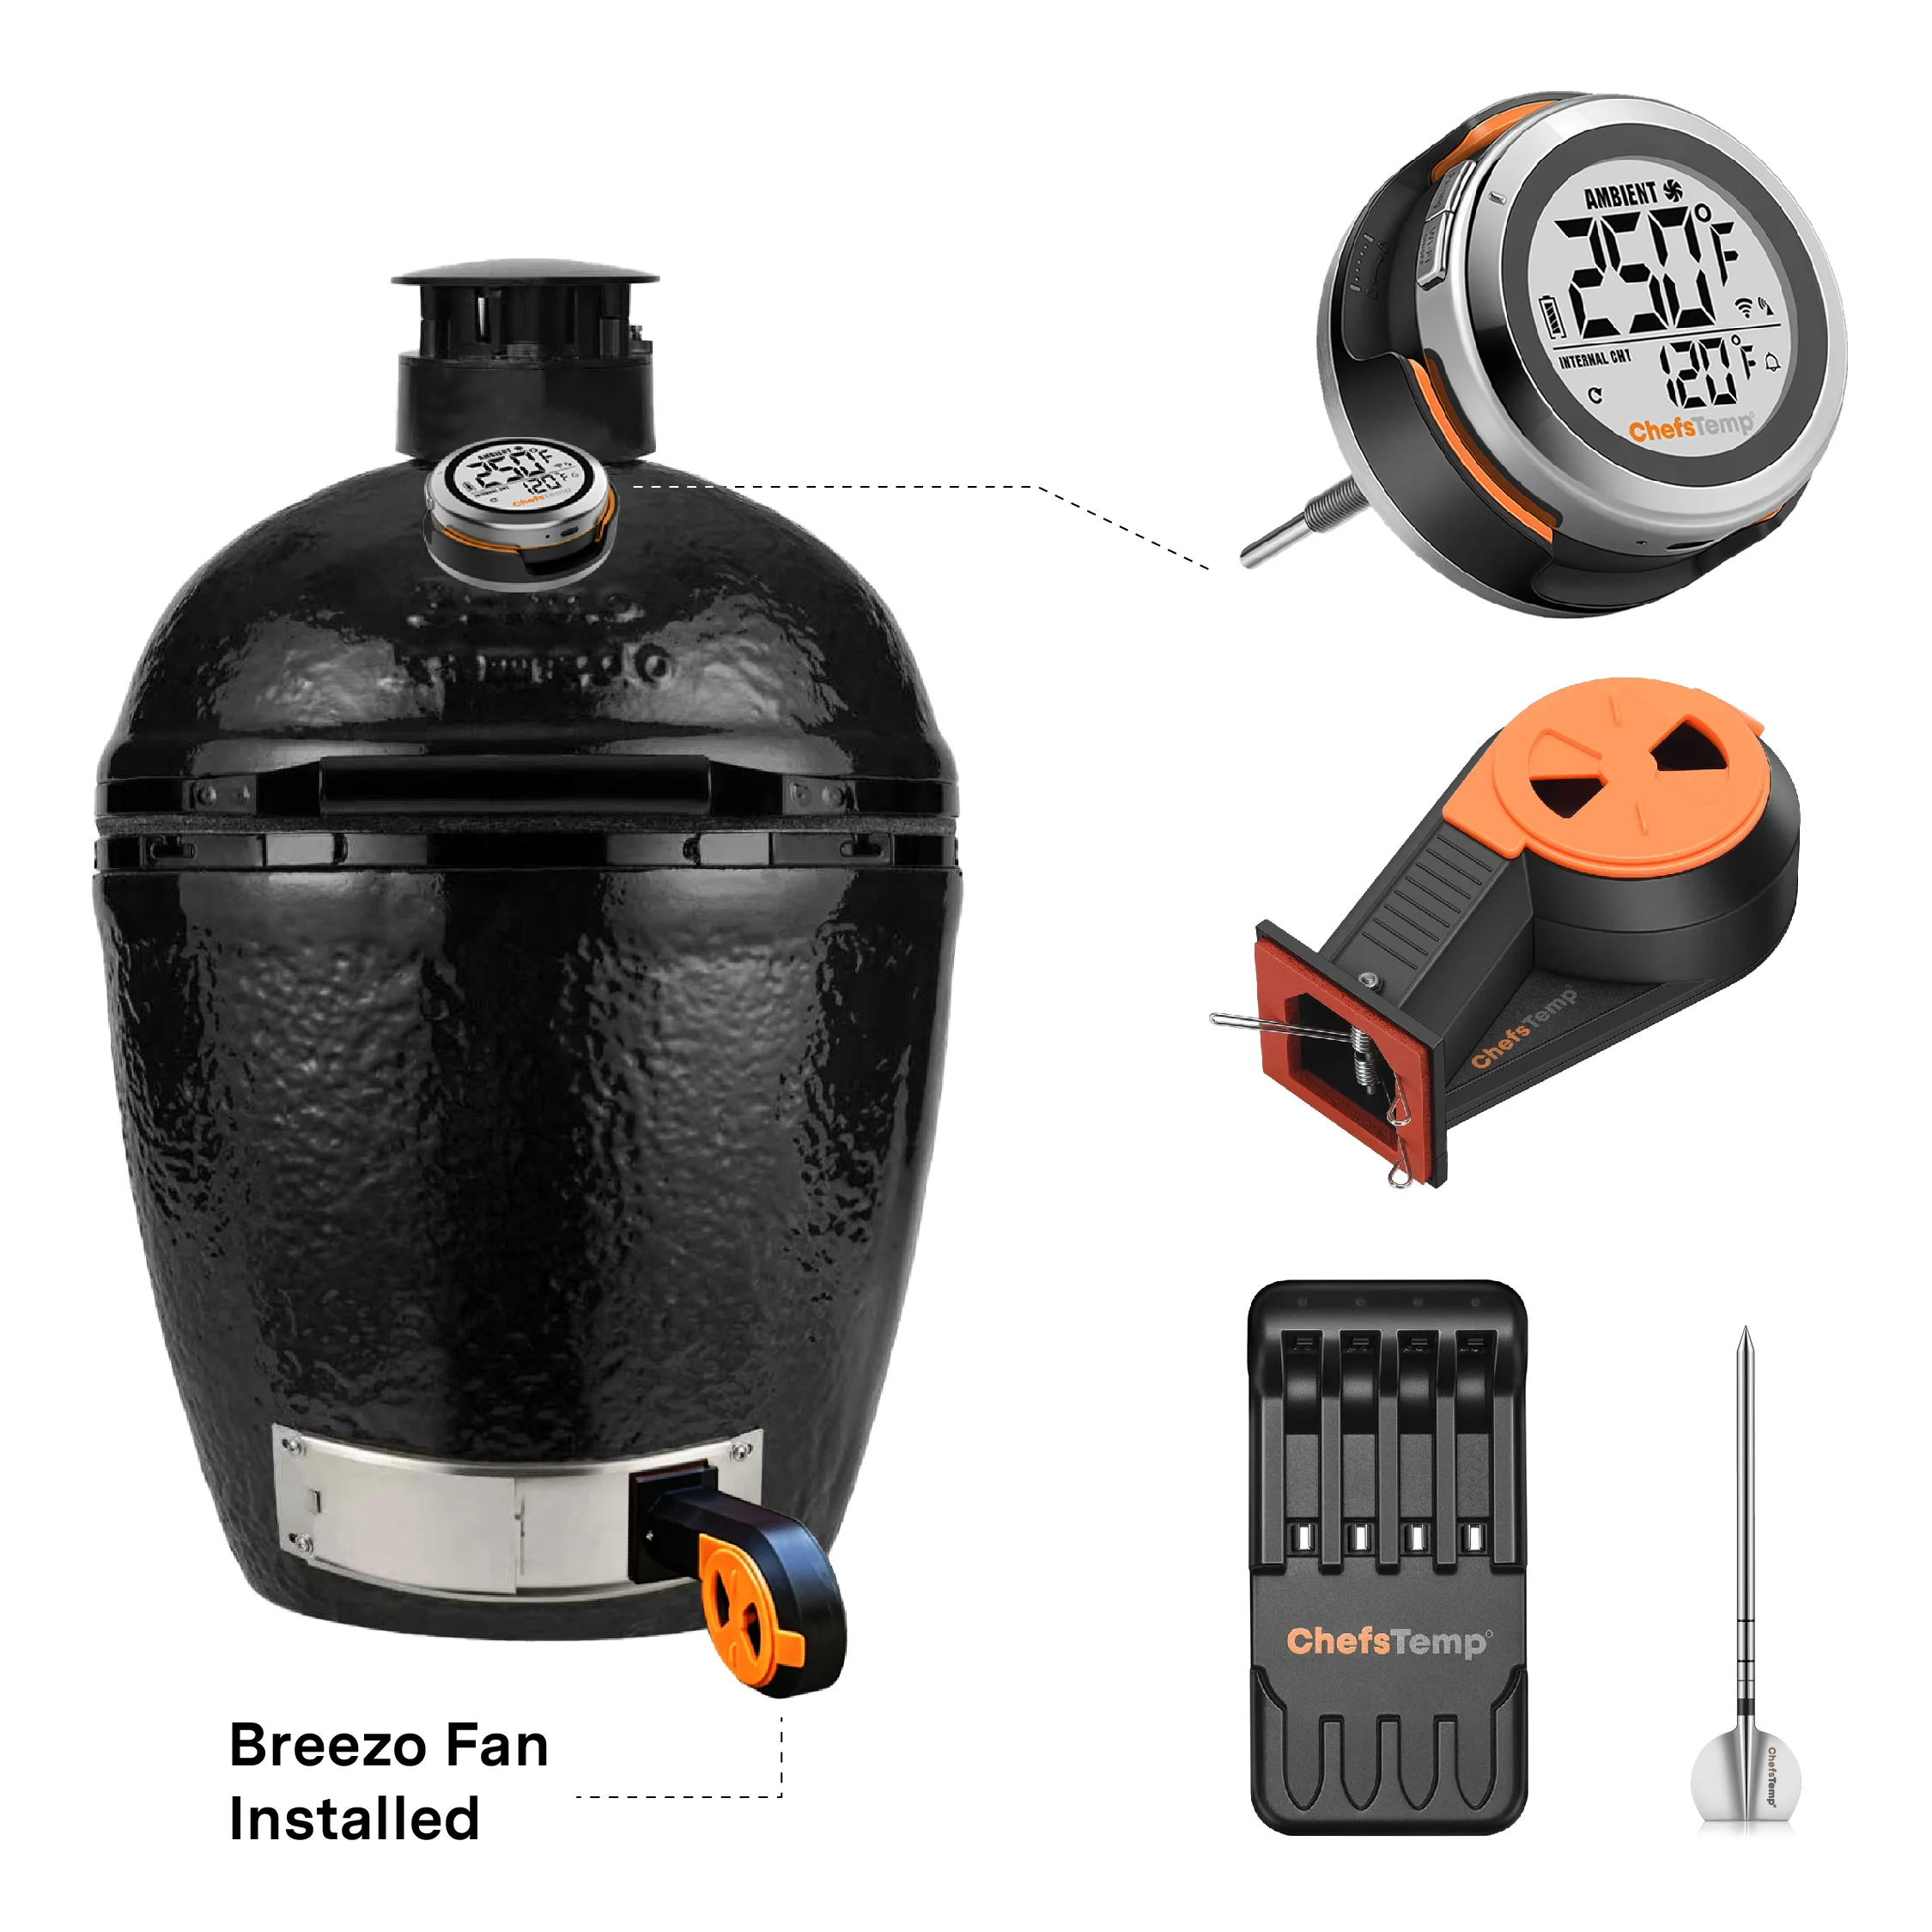
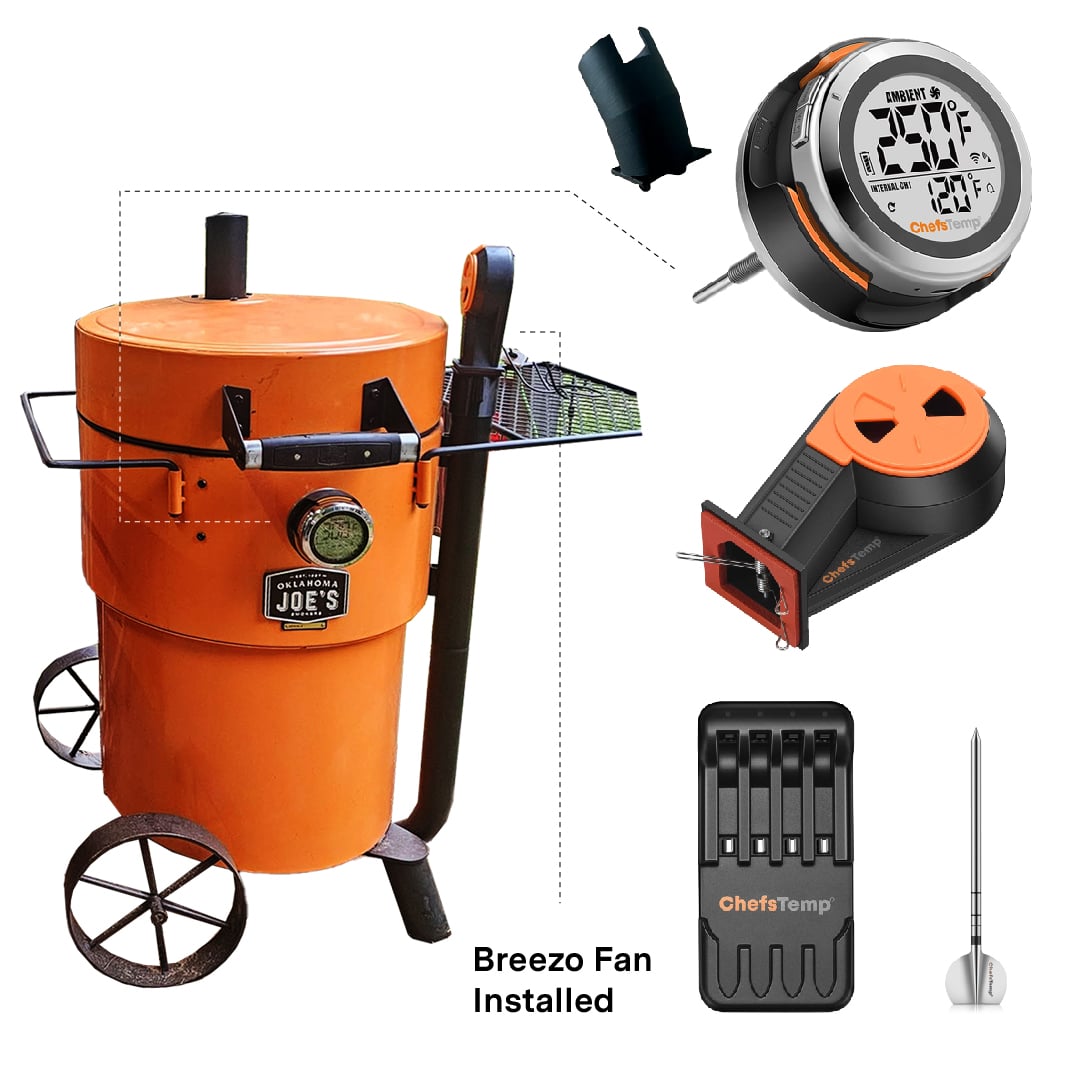
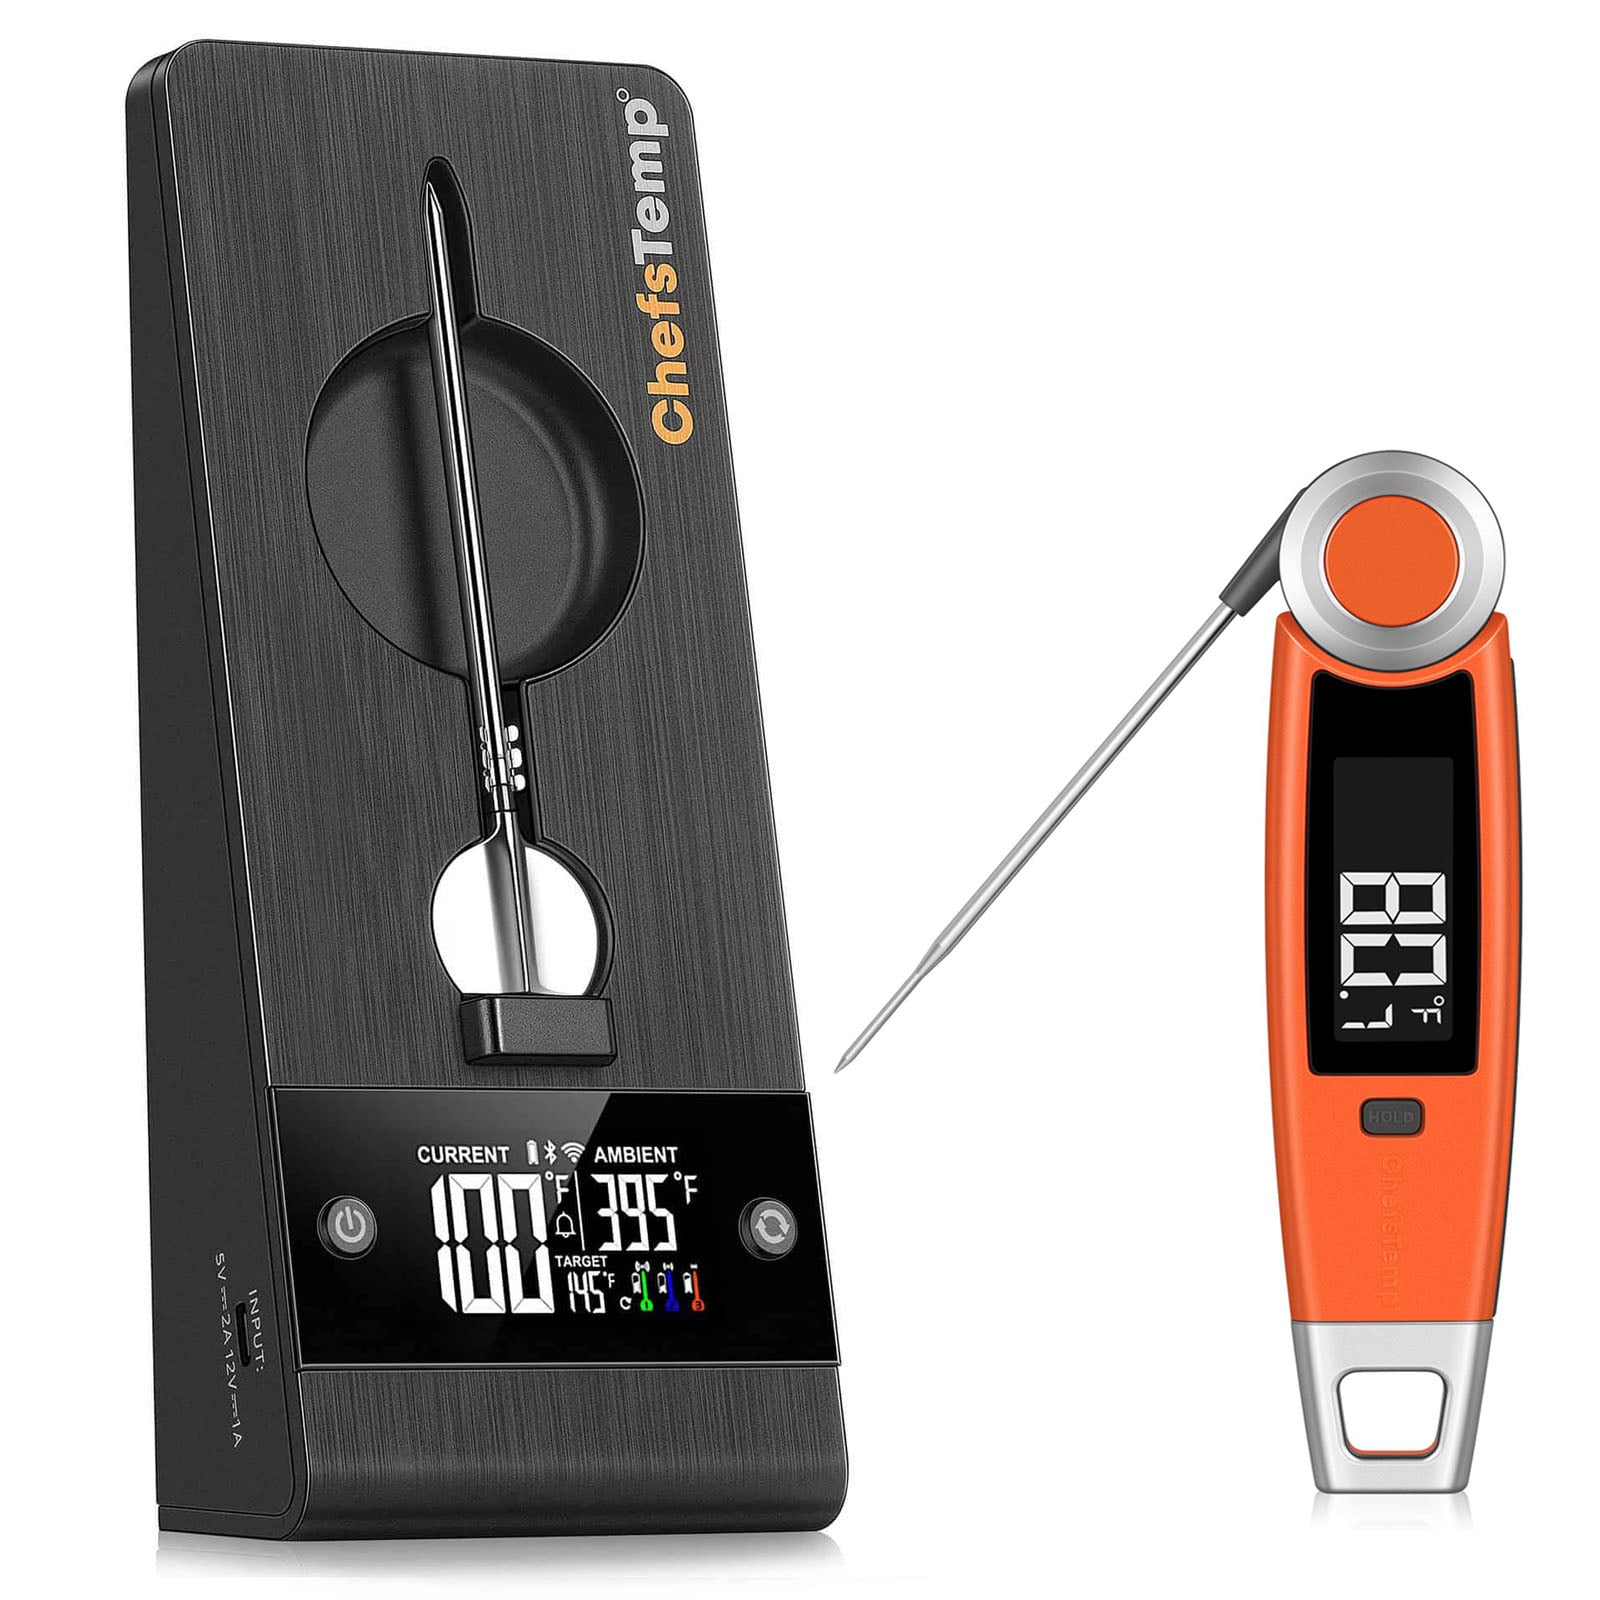
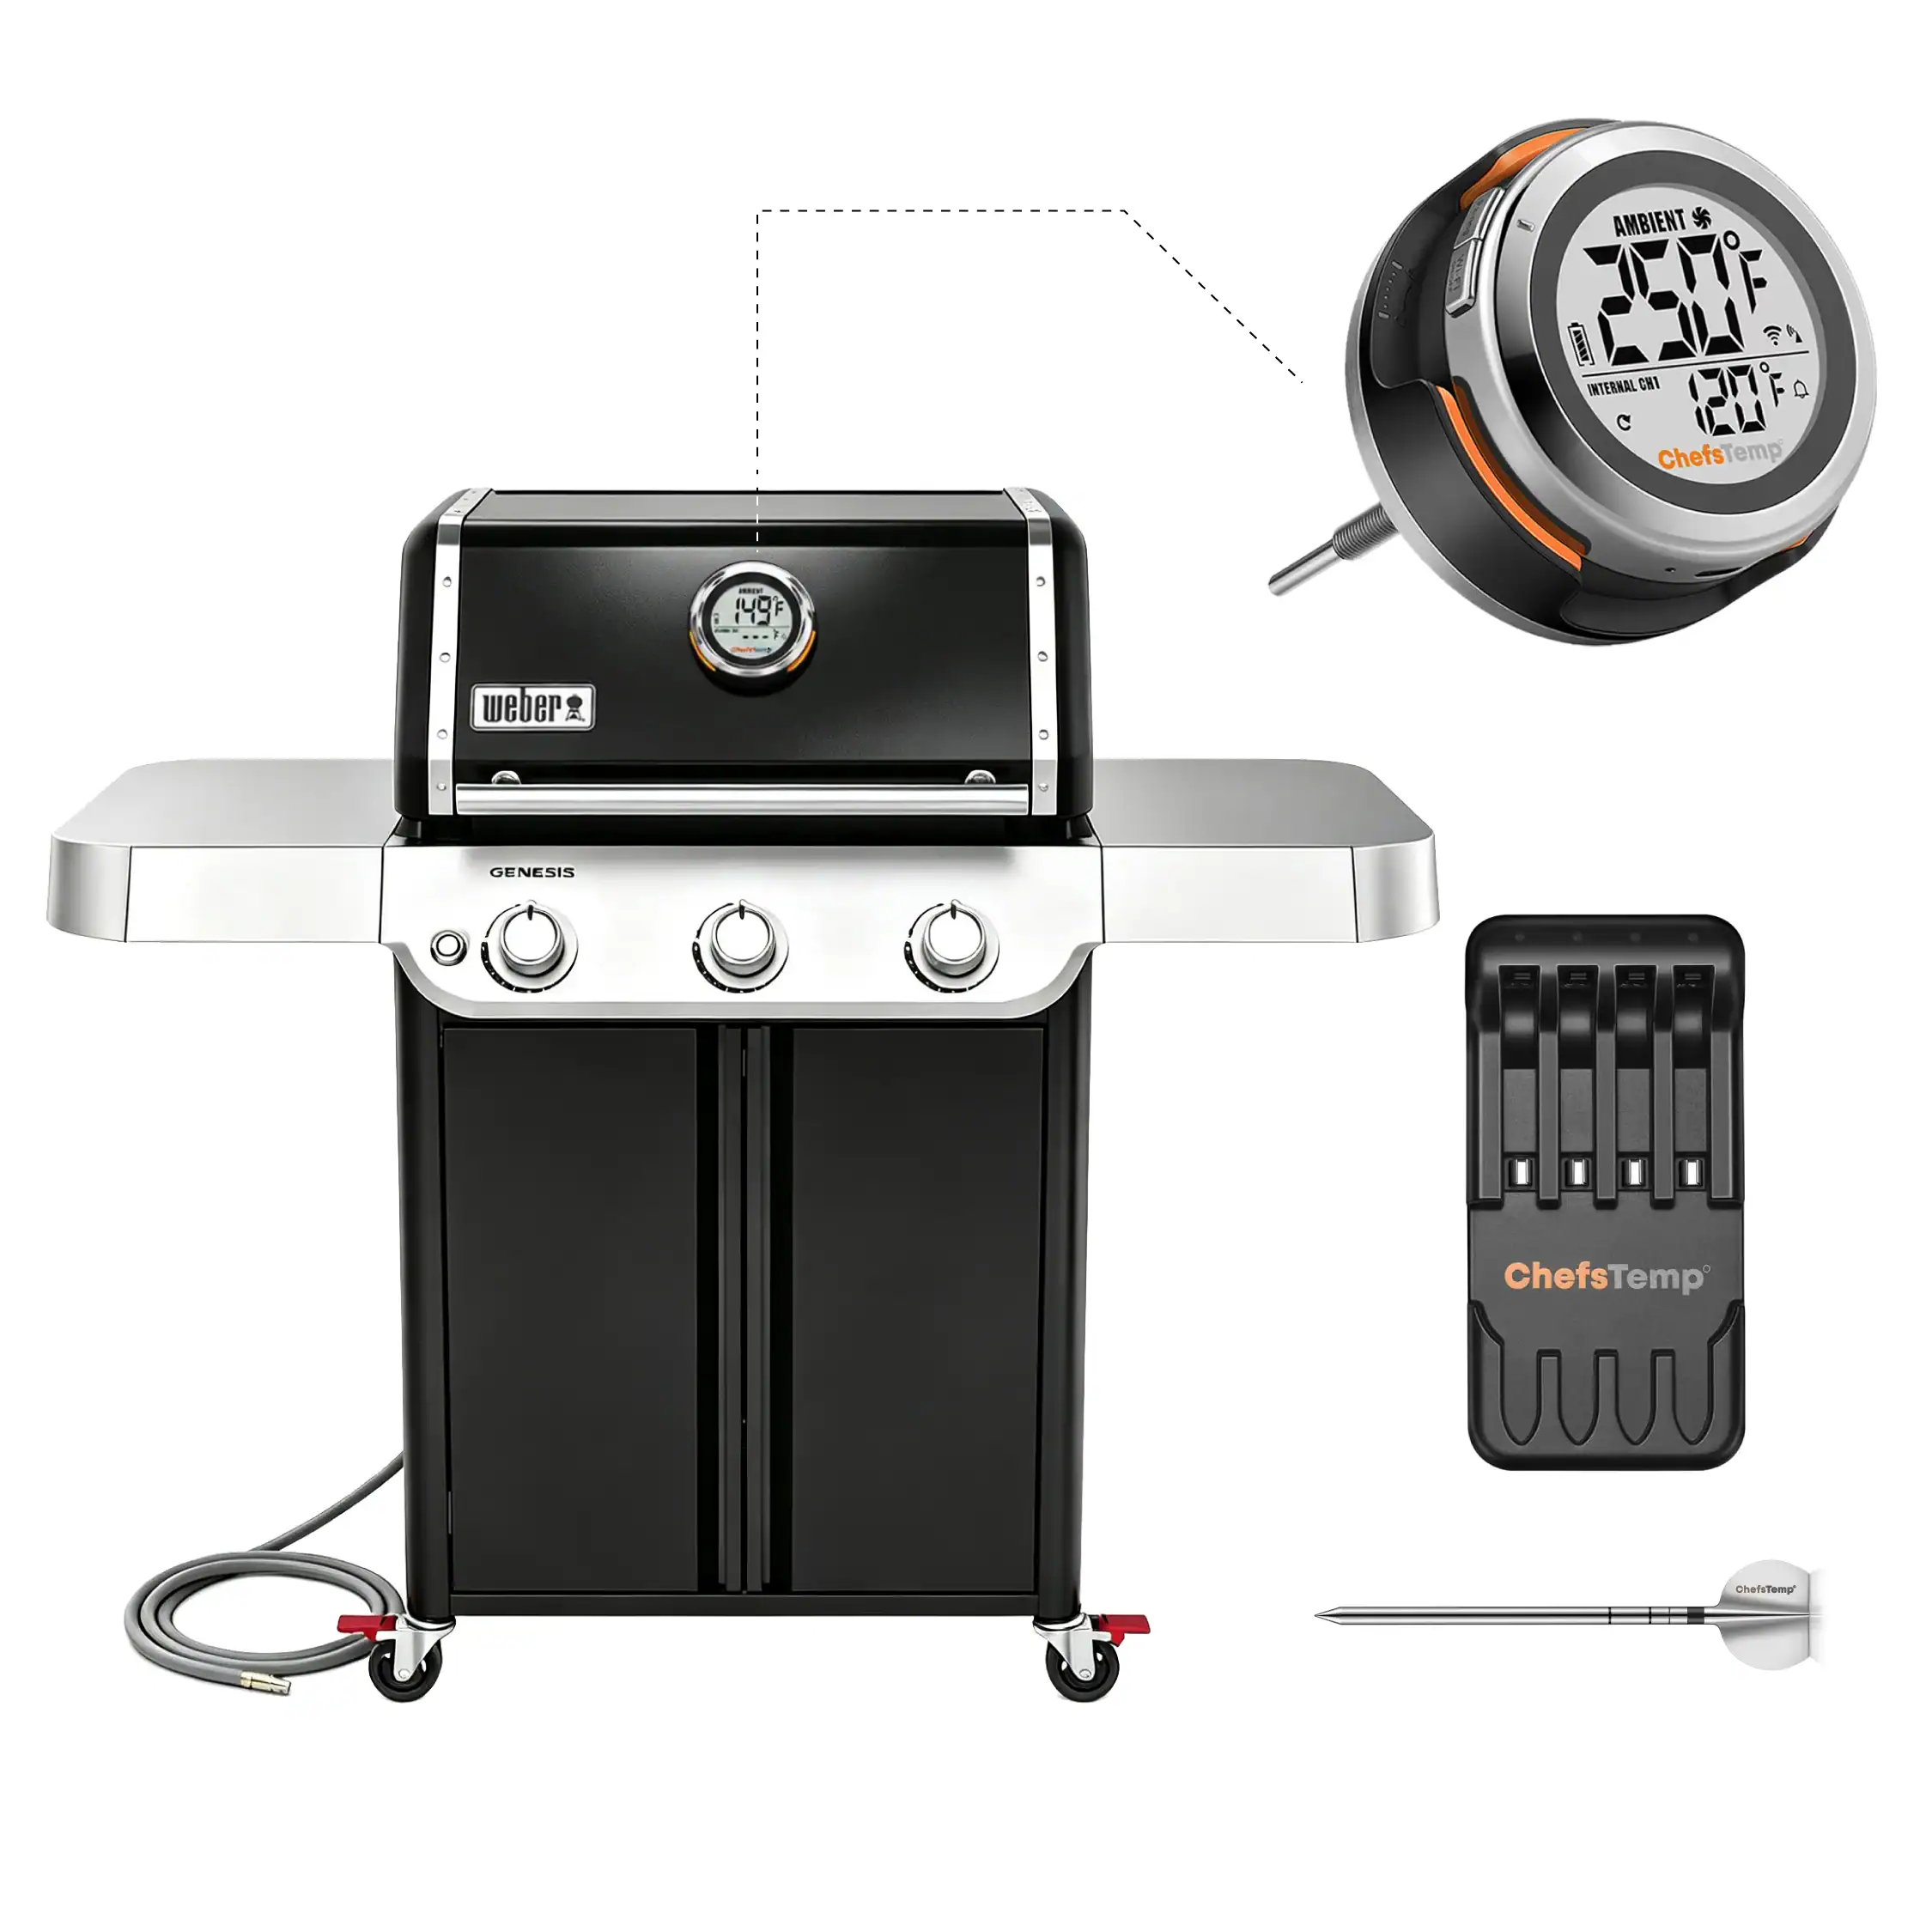
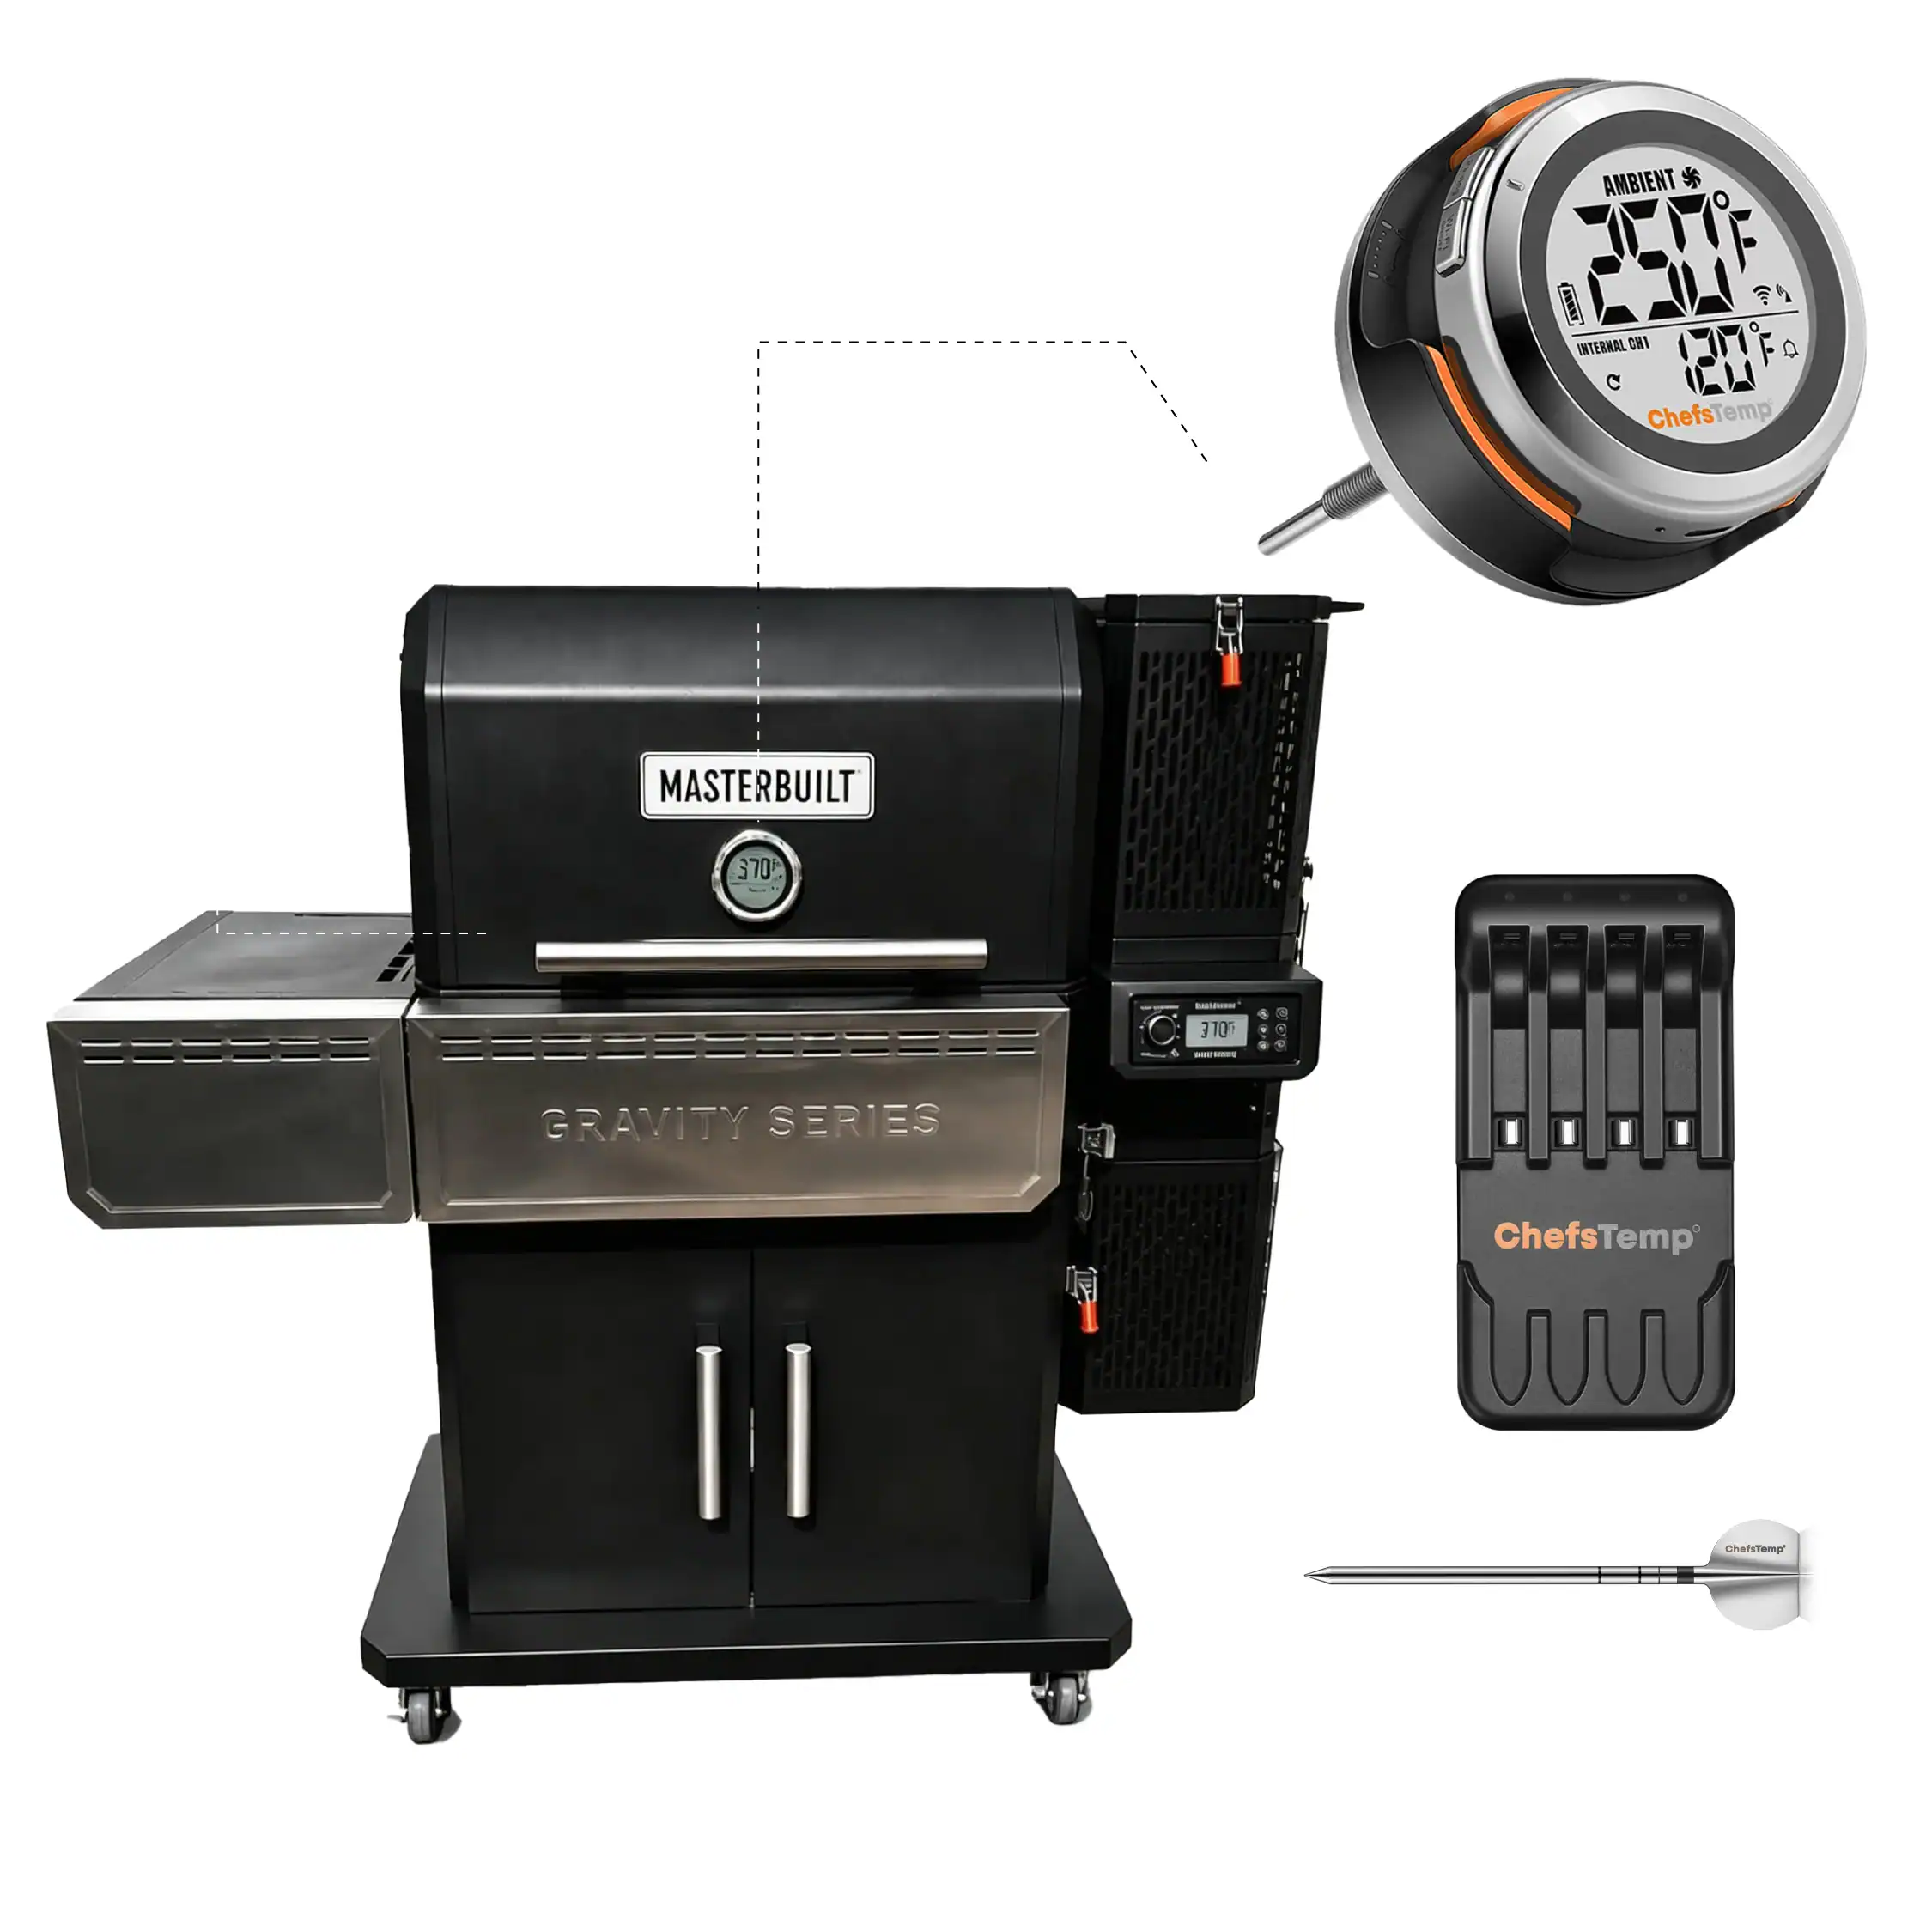
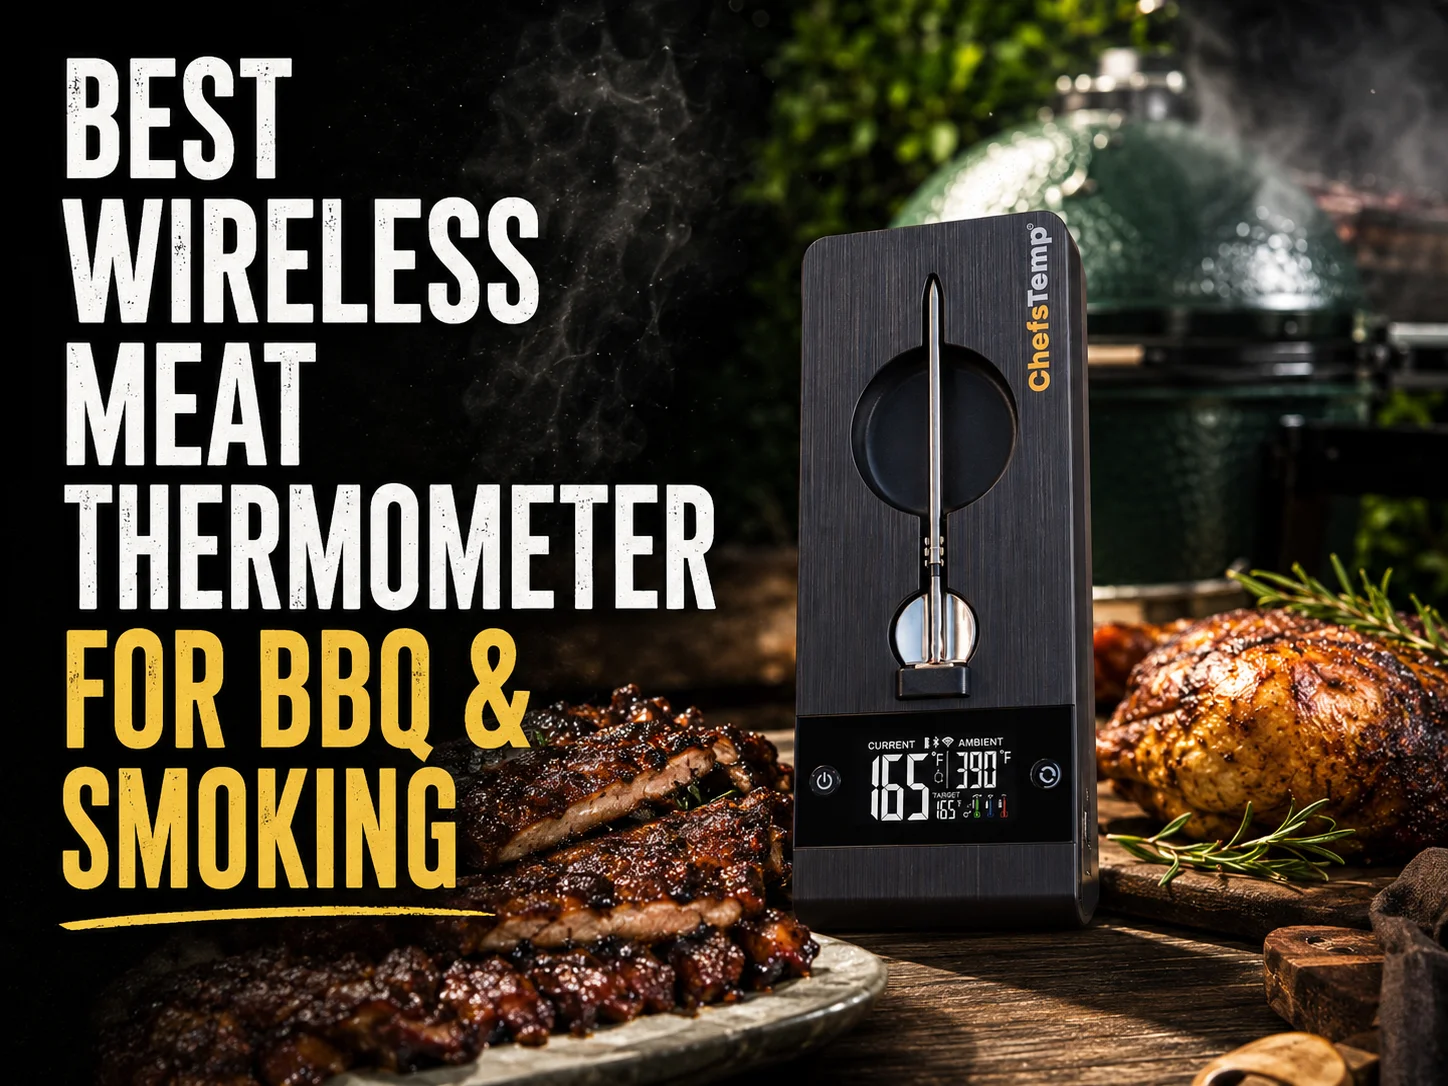
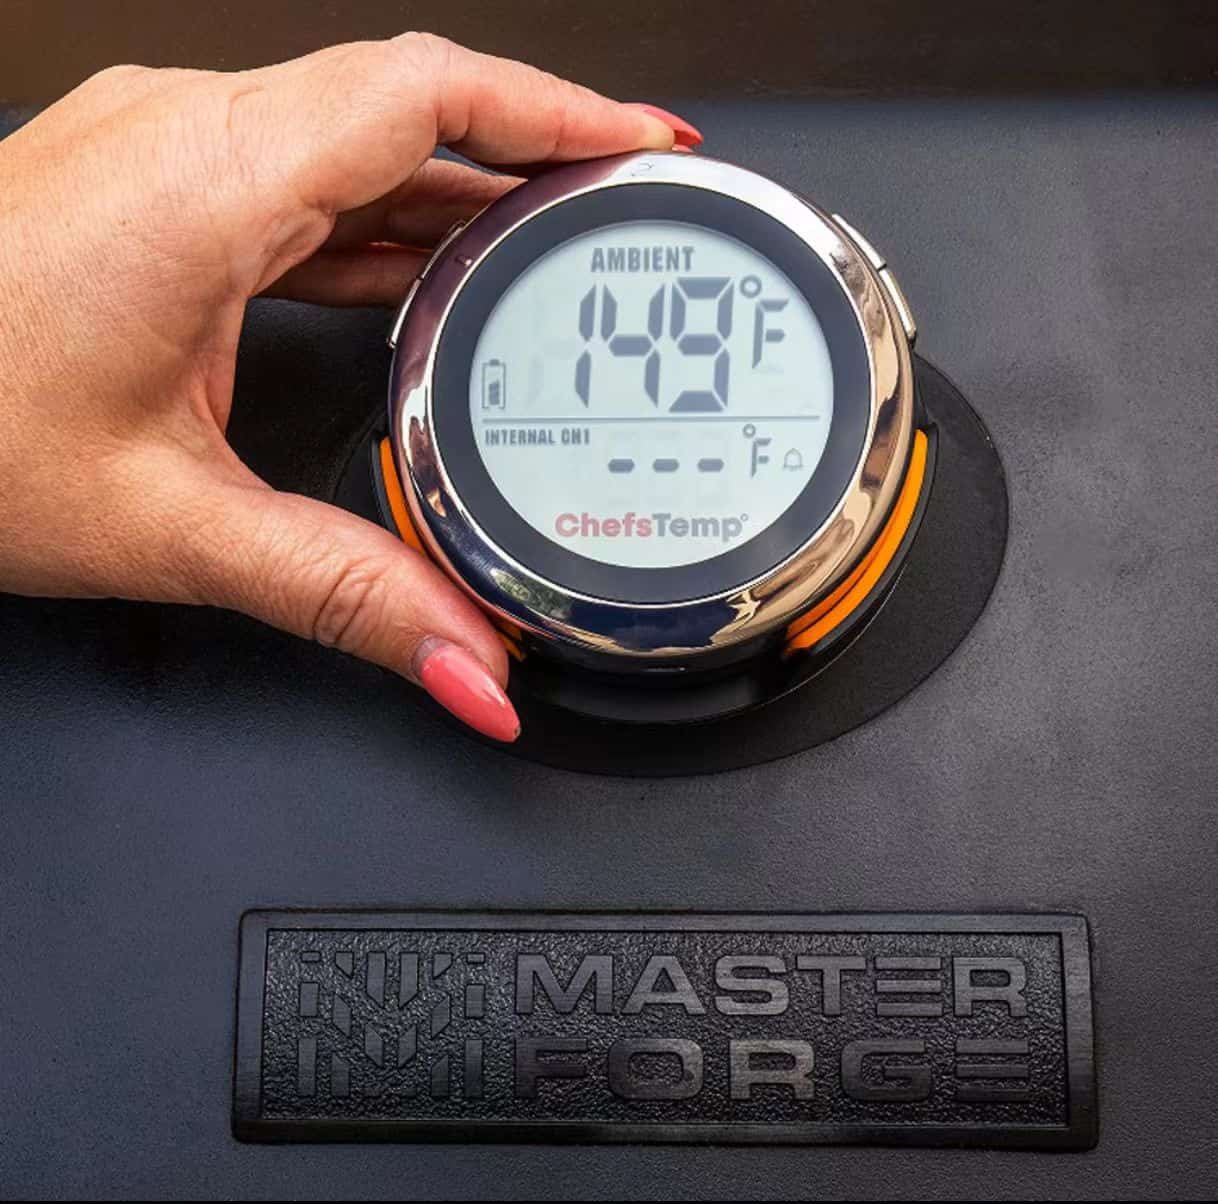
Running a heat resistant wire through the top vent of the grill is not an ideal solution. The ideal solution is replacing the factory thermometer with a better one. I physically replaced the factory bi-metal thermometer with a smart wireless meat thermometer ecosystem anchored by the ProTemp S1 smart grill gauge. Instead of an analog thermometer, I now have a digital smart grill thermometer on the lid of my grill. Now, when I walk by the grill, I can check the ambient temperature on the digital screen. Since the new smart grill thermometer has a custom fit, it enhances the look of my grill.
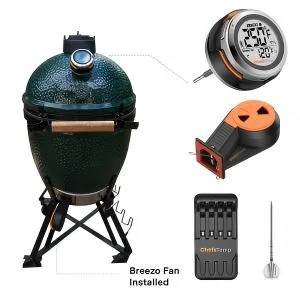
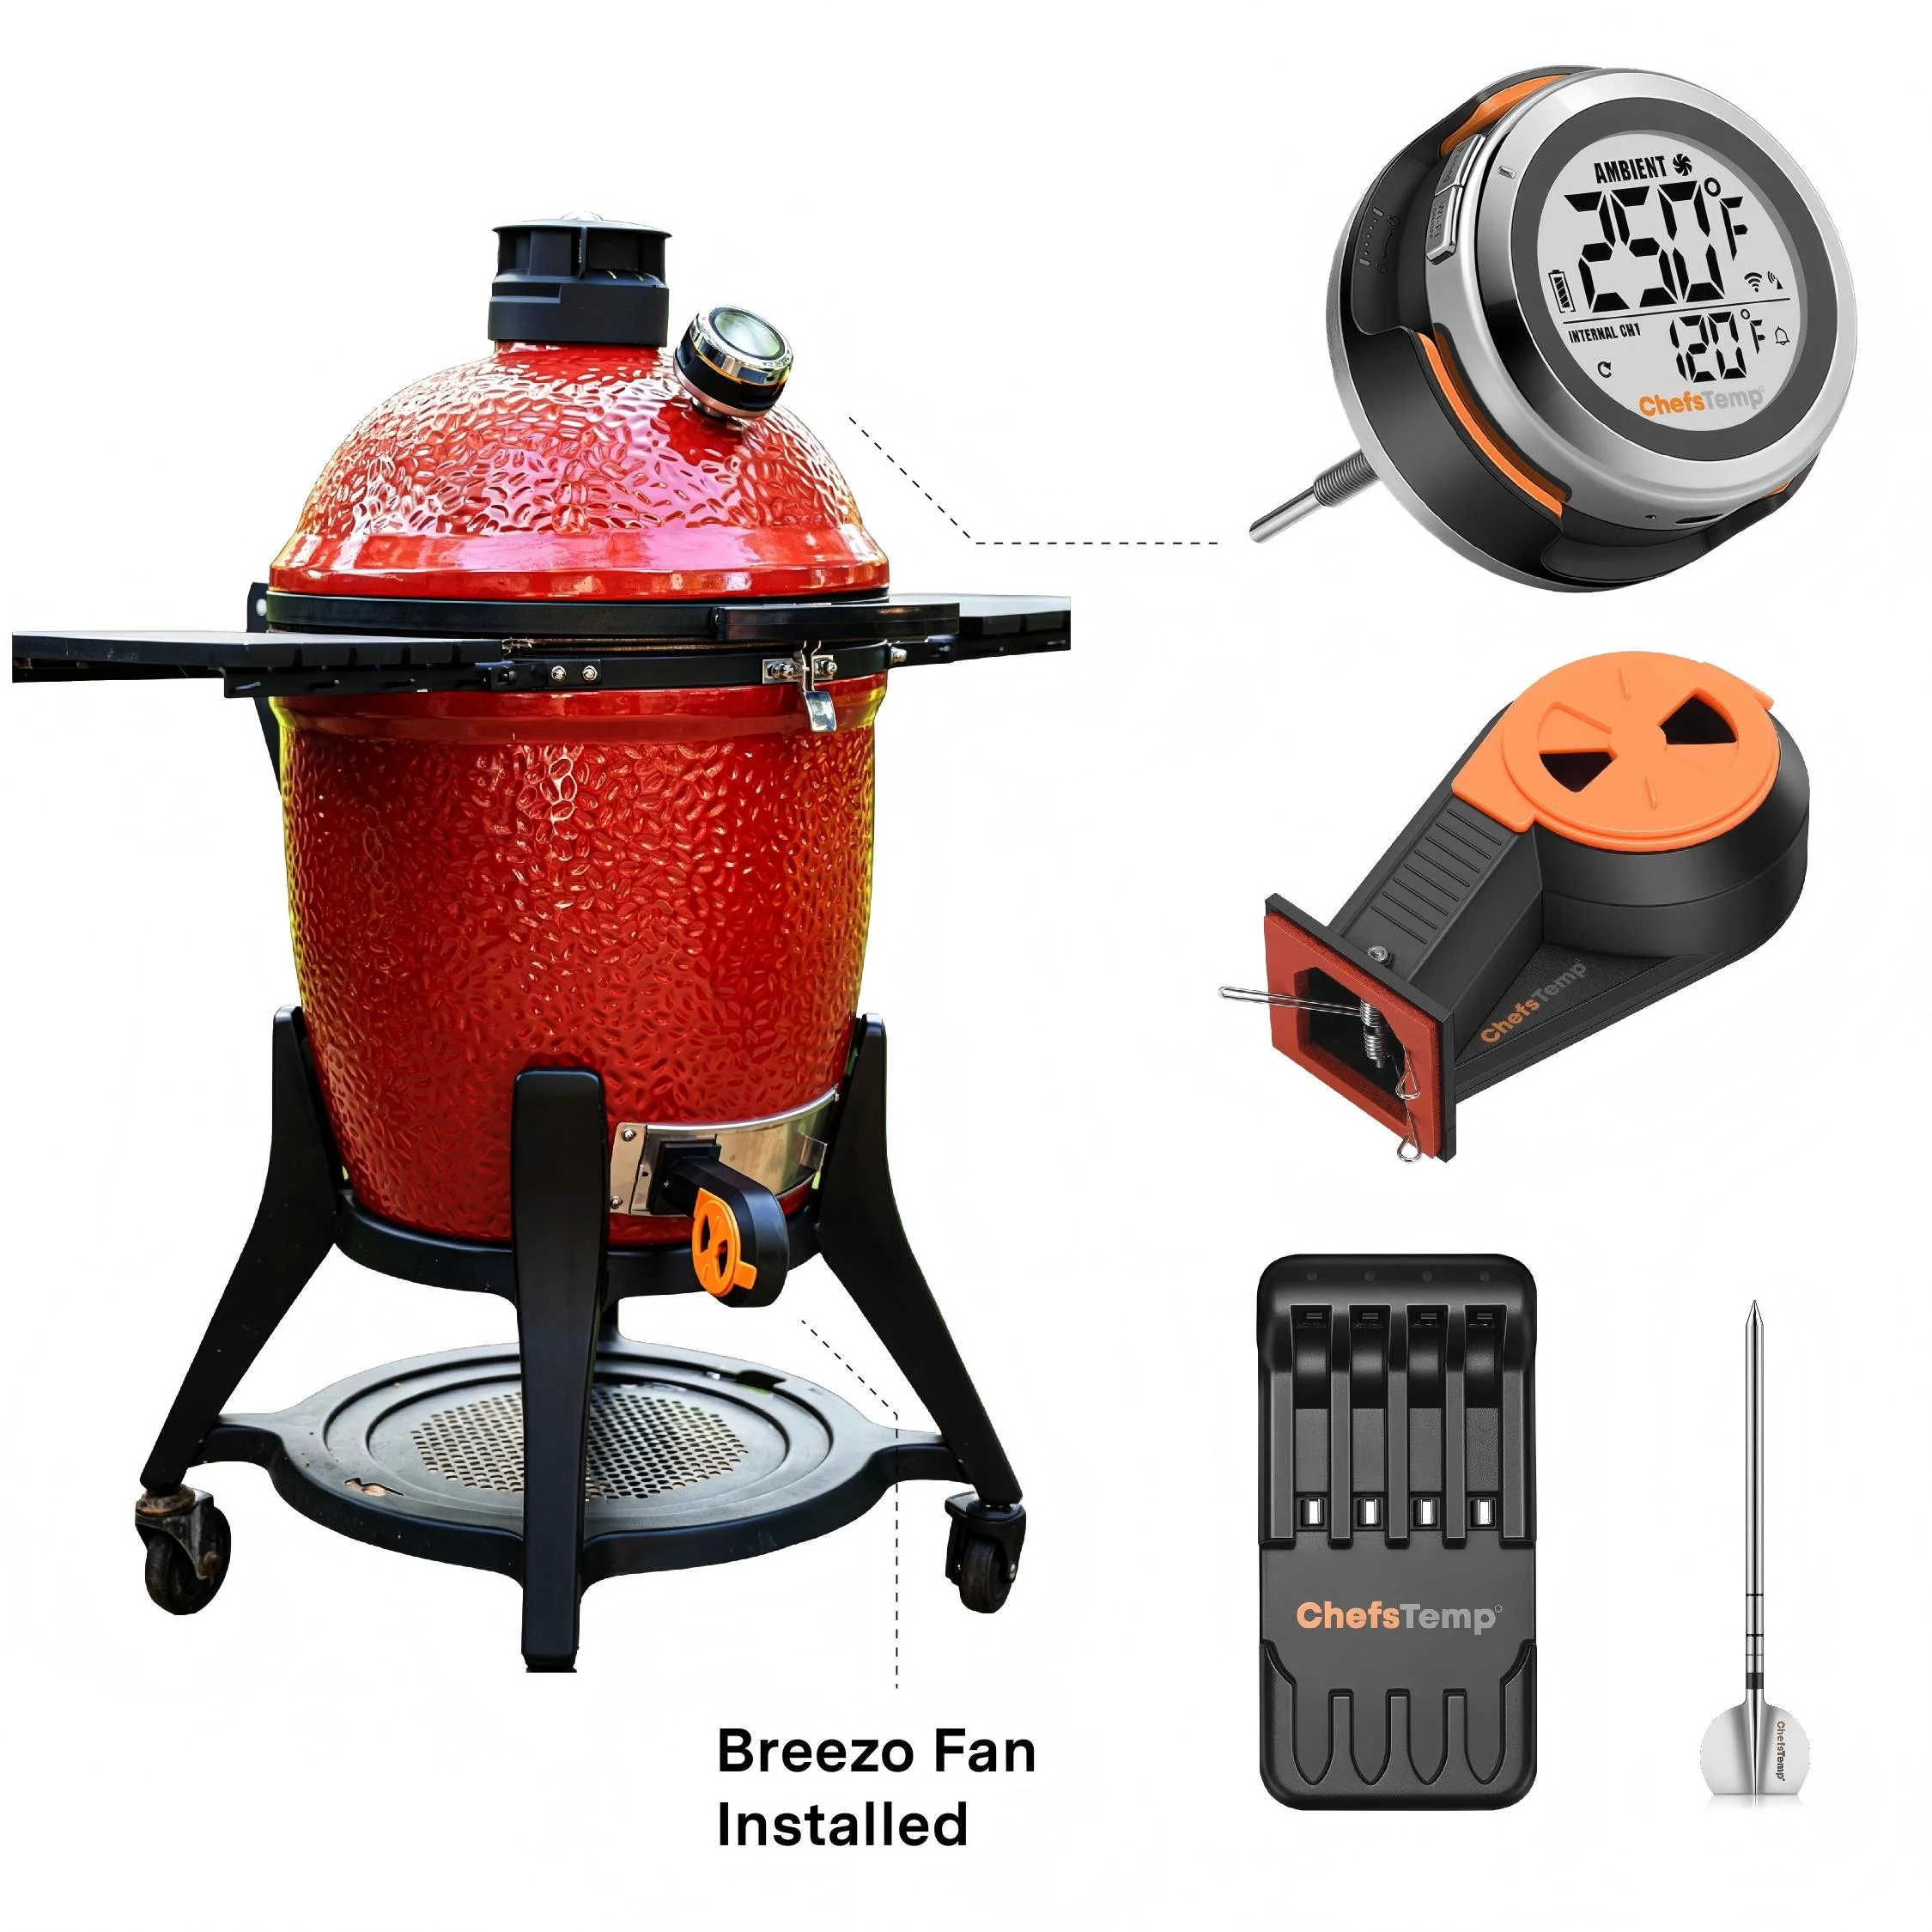
The idea of physically replacing a factory component with a better one scales well to grills besides Webers, as can be seen in our Big Green Egg Thermometer Upgrade, where we showed the mechanics of physically integrating a new thermometer system in a heavy, ceramic cooker.
The bi-metal dial thermometer on your grill is not providing an accurate temperature reading. Since heat rises, the bi-metal thermometer will show a different reading at the lid than the temperature at the grate where the food is placed. This difference, along with many others, has been studied by culinary scientists.
Running a heat resistant wire through the top vent of the grill is not an ideal solution. The ideal solution is replacing the factory thermometer with a better one. I physically replaced the factory bi-metal thermometer with a smart wireless meat thermometer ecosystem anchored by the ProTemp S1 smart grill gauge. Instead of an analog thermometer, I now have a digital smart grill thermometer on the lid of my grill. Now, when I walk by the grill, I can check the ambient temperature on the digital screen. Since the new smart grill thermometer has a custom fit, it enhances the look of my grill.
The idea of physically replacing a factory component with a better one scales well to grills besides Webers, as can be seen in our Big Green Egg Thermometer Upgrade, where we showed the mechanics of physically integrating a new thermometer system in a heavy, ceramic cooker.
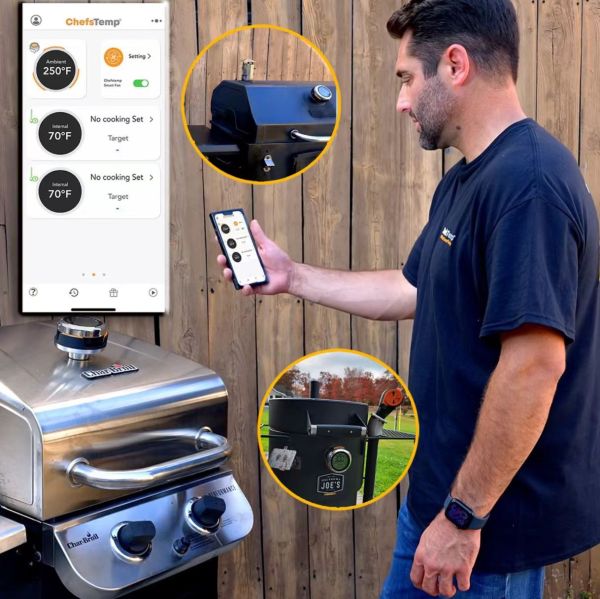 Having a digital display on the lid is nice. However, a proper hub has to be able to control the environment rather than just monitor it. This is where the spaghetti problem of legacy controllers fades away.
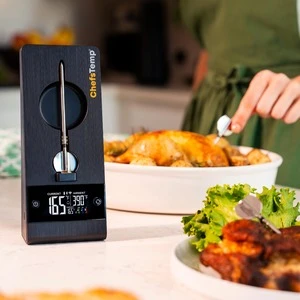
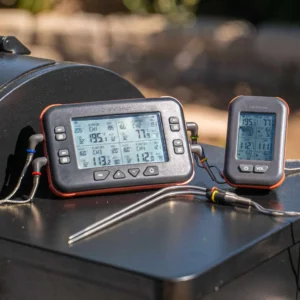
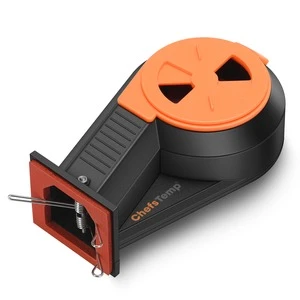
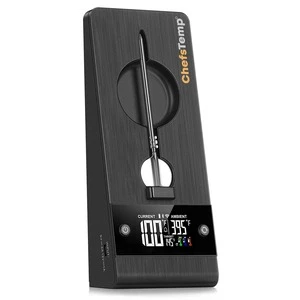
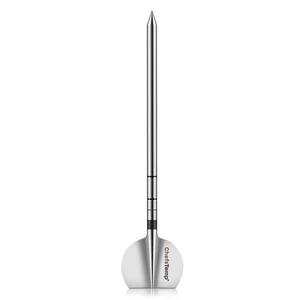
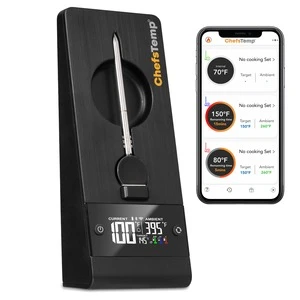
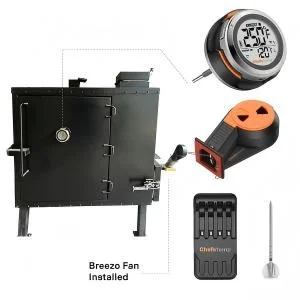
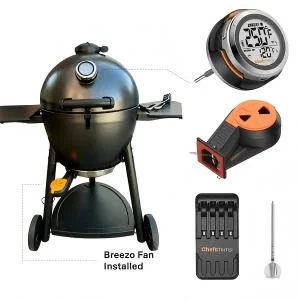
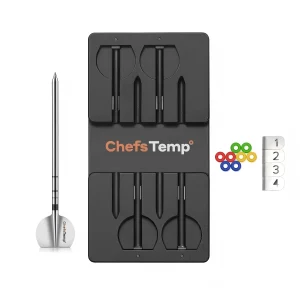
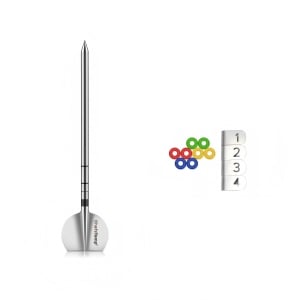
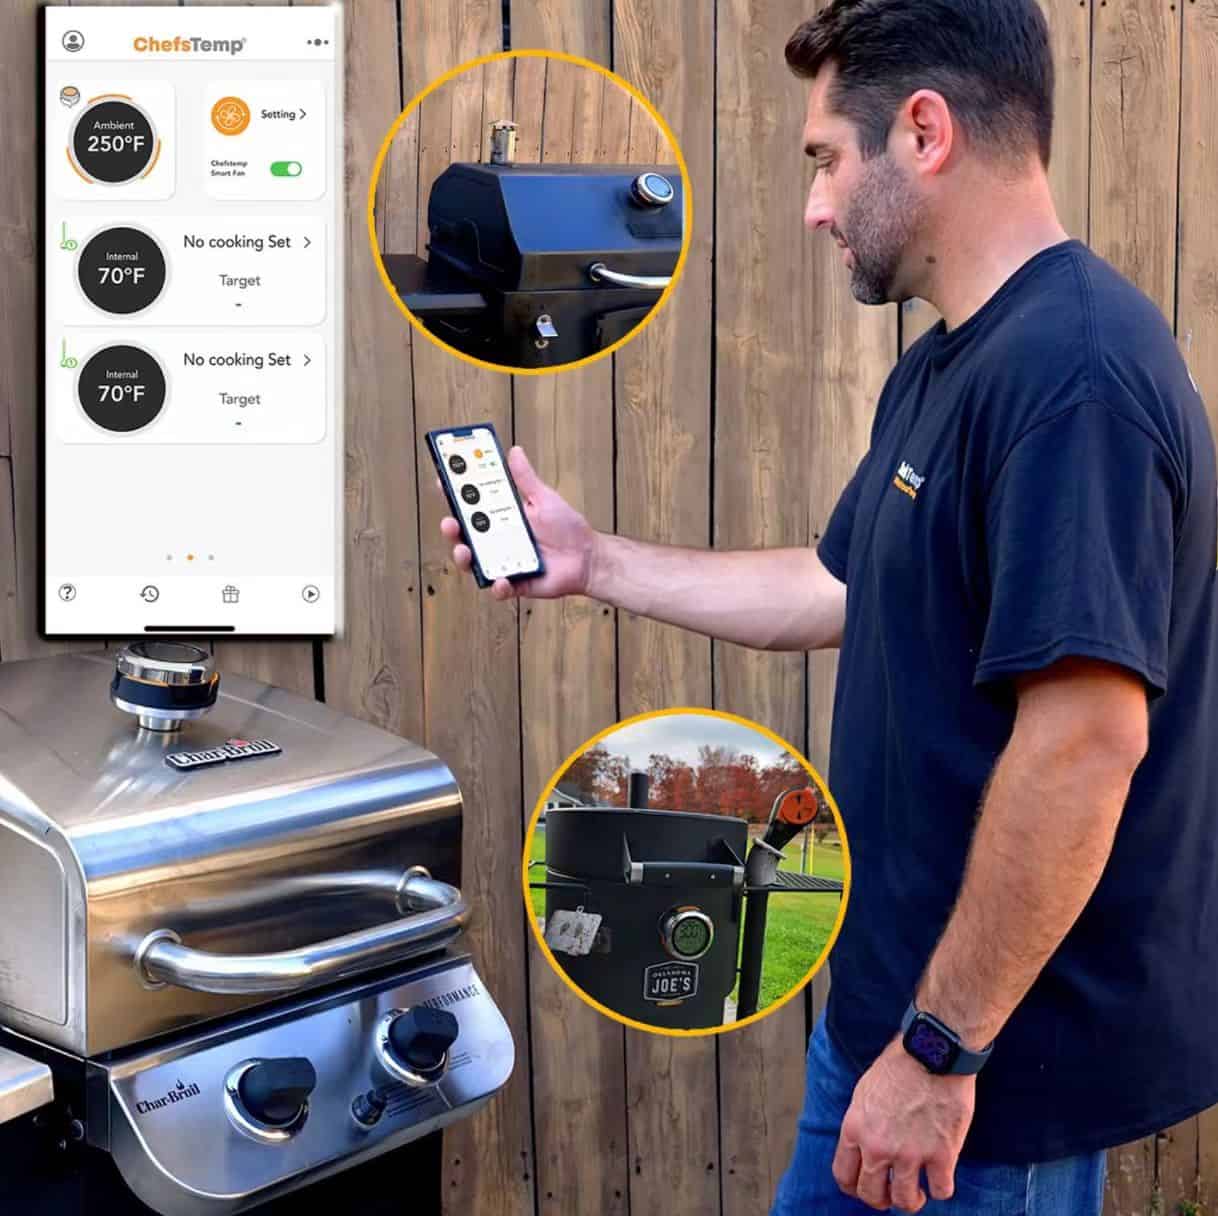
The S1 manages to take control of the charcuterie board meat probes, which benefit from being fully wireless, due to S1 assuming the role of the central command brain. S1 also manages to wirelessly cooperate with the Breezo V2 BBQ temperature control fan that I installed on the bottom intake vent.
There are no cables running to the hot exterior of the grill. The lid hub estimates the burn rate of the charcoal, ambient temperature included, and wirelessly instructs the bottom fan to achieve the optimal combustion quantity. I can stay on the couch and conduct a fully remote BBQ, while the hub manages the draft and the fan commands the airflow. I can finally sleep through a 12-hour brisket BBQ session without tripping on a million extension cords.
Tip: Click here to read more about upgrading the Weber Smokey Mountain with ChefsTemp for perfect brisket if interested.
Having a digital display on the lid is nice. However, a proper hub has to be able to control the environment rather than just monitor it. This is where the spaghetti problem of legacy controllers fades away.
The S1 manages to take control of the charcuterie board meat probes, which benefit from being fully wireless, due to S1 assuming the role of the central command brain. S1 also manages to wirelessly cooperate with the Breezo V2 BBQ temperature control fan that I installed on the bottom intake vent.
There are no cables running to the hot exterior of the grill. The lid hub estimates the burn rate of the charcoal, ambient temperature included, and wirelessly instructs the bottom fan to achieve the optimal combustion quantity. I can stay on the couch and conduct a fully remote BBQ, while the hub manages the draft and the fan commands the airflow. I can finally sleep through a 12-hour brisket BBQ session without tripping on a million extension cords.
Tip: Click here to read more about upgrading the Weber Smokey Mountain with ChefsTemp for perfect brisket if interested.
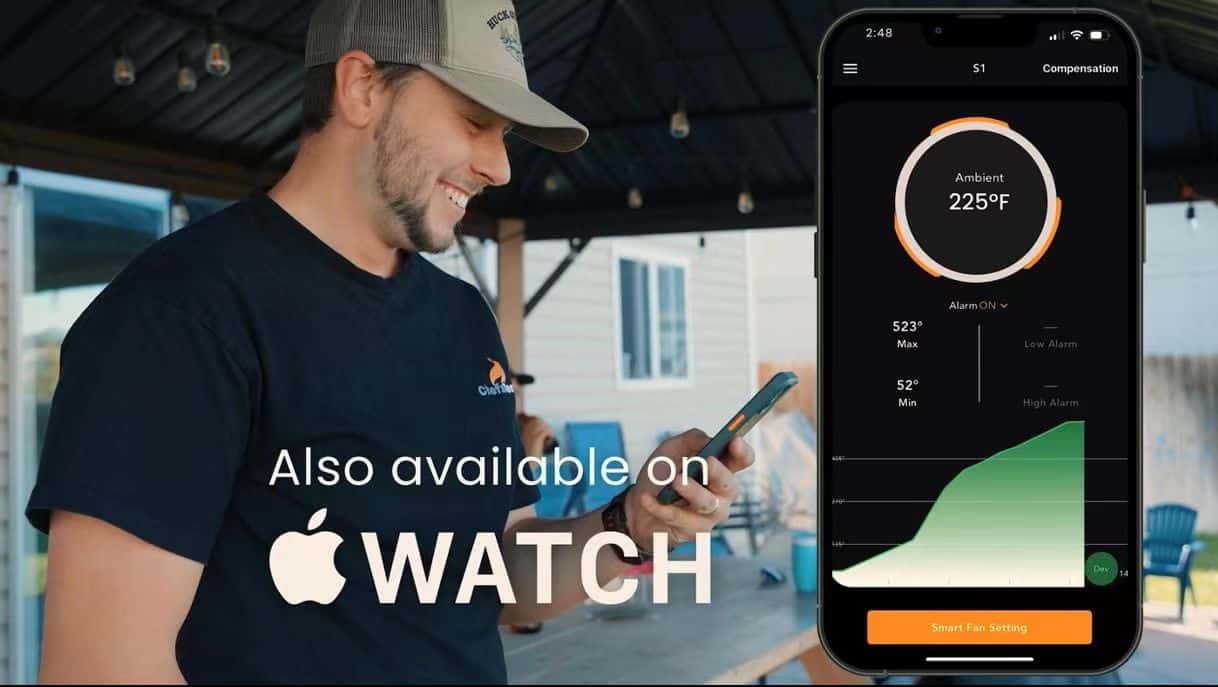
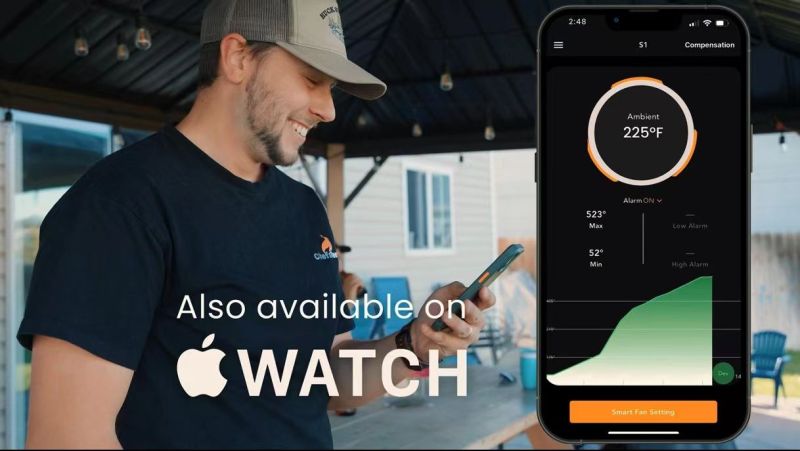 Since I was using the Minion Method, I stacked a pile of unlit briquettes and placed a small full chimney of hot coals on top of the pile. I set up the charcoal grate, and attached the Breezo fan to the bottom intake vent. After stepping inside, I accessed the app to set my target temperature to 225°F. I left the vents alone.
The best part about automating your Weber grill temperature control is the convenience. Around 2 AM, the weather changed and the outside temperature dropped to 35°F, which normally vents a sudden drop of the ambient temperature. You would have to go into the dark to the vent, and adjust it manually.
Thanks to the S1 hub, I was able to stay in bed while it detected the temperature drop inside the cooking chamber. It sent a signal to the bottom fan to increase the air flow and keep the temperature at a perfect 225°F.
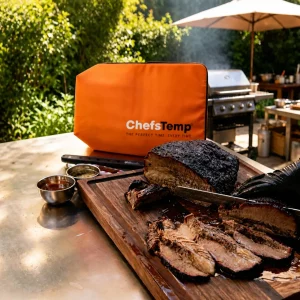
The monitoring continued throughout the night and I was able to get a notification at 7 AM when the brisket hit the stall at 165° enough for an early morning injection. No frostbite, no ruined brisket, just perfect temperature control.
Since I was using the Minion Method, I stacked a pile of unlit briquettes and placed a small full chimney of hot coals on top of the pile. I set up the charcoal grate, and attached the Breezo fan to the bottom intake vent. After stepping inside, I accessed the app to set my target temperature to 225°F. I left the vents alone.
The best part about automating your Weber grill temperature control is the convenience. Around 2 AM, the weather changed and the outside temperature dropped to 35°F, which normally vents a sudden drop of the ambient temperature. You would have to go into the dark to the vent, and adjust it manually.
Thanks to the S1 hub, I was able to stay in bed while it detected the temperature drop inside the cooking chamber. It sent a signal to the bottom fan to increase the air flow and keep the temperature at a perfect 225°F.
The monitoring continued throughout the night and I was able to get a notification at 7 AM when the brisket hit the stall at 165° enough for an early morning injection. No frostbite, no ruined brisket, just perfect temperature control.
The Thermodynamics of Charcoal: Why Manual Control is Exhausting
At the most basic level, assembling a temperature-controllable charcoal grill involves applying a basic principle of thermodynamics: manipulating the reaction of charcoal with oxygen. When we run a smoker manually, we end up acting as a thermostat. We continually process how much oxygen the fuel needs in order to maintain a clean low fire without snuffing out the coals, or letting the heat get out of control.The Airflow Balancing Act
The reality of BBQ smoker temperature management is that of the accelerator pedal and a steering wheel: oxygen is your speed, and the vents are your steer. The vents work like this: the bottom vent is the intake, and the top vent creates a draft, pulling the air and smoke out. It is a pitmaster’s nightmare for the temperature to overshoot. The bottom vent is very, very sensitive. The bottom intake opens just a little too wide and all of the oxygen floods the fuel bed. More charcoal ignites and the temperature spikes. The heavy metal of a Weber Kettle will absorb the heated charcoal for hours. When the vents are closed in hopes to reduce the temperature, the fire is essentially dying. Based on the principles of meat science provided by AmazingRibs, the shut off of oxygen creates more charcoal to ignite and negatively impacts the meat by creating white creosote that is bitter and very awful to any cut of meat. This, along with many other factors like the physics of both draft and combustion, is the reason for the extreme fatigue of managing the vents by hand for a 12 hour cook.The “Spaghetti” Problem: Limitations of Legacy BBQ Controllers
There are lots of respect for the initial gadgets which attempted to figure out the airflow mess. Over the years they saved many of my weekend barbecues. However, let’s face the facts about their use. They showed that forced-air draft control is possible, but they added another host of physical obstacles to the backyard.PitmasterIQ & Auber Instruments – Functional but Clunky
PitmasterIQ
The Screenless Flaw of Smartfire
Smartfire
Enter the Smart Hub: The Future of Grill Automation
If you are fed up with having to attach external controller boxes that look like a life-support system for your smoker, you have my sympathy. We don’t need another bulky, wired accessory hanging off the side table when it comes to mastering Weber grill temperature control. We need a native brain for the grill. This is where a smart hub comes in. The concept of a smart hub literally changes the game, removing the external boxes and integrating into the hardware you already own.Physical Integration: Replacing the Analog Gauge
Physical-Integration
100% Wireless Ecosystem
100% Wireless Ecosystem
Real-World Test: The Stress-Free Overnight Brisket
Let’s take a break from talking about the theory and examine how this goes in the backyard. I picked up a 14-pound packer brisket to do a traditional overnight cook. Historically, this meant I would have to get up at least every two hours to adjust the draft and tend to the fire. This isn’t the case anymore.Setting Up for Low and Slow Success
Setting Up for Low and Slow Success