

How to Use a Steak Thermometer Like a Pro: Master the Art of Precision Cooking
Cooking the perfect steak is a universal challenge. We have all seen videos showing that “moment of truth”. You cut into the meat to reveal its color. Sometimes it is perfect pink, but often it is gray.
This highlights a big problem: most home cooks guess. In fact, a national health survey reveals that only 27% of U.S. adults check the temperature of their meat. And sadly, guessing results in dry food and wasted money.
Fortunately, there is an easy solution. You need a high-quality steak thermometer. This tool instantly transforms an amateur cook into a grill master. It removes the stress of cooking expensive cuts.
More cooks want precision. By 2035, the global market for these digital meat thermometers is anticipated to surpass USD 1.5 billion. This guide explains why temperature matters and how to use a meat thermometer for steak for the best results.
Table of Contents
Part 1. Why a Steak Thermometer is Your Secret Weapon
Great cooking is about knowing the numbers. Professional chefs never guess when meat is ready, and you shouldn’t either. If you want restaurant-quality food at home, you need the right meat thermometer steak tool. It gives you the real data you need to take control of. Here is why this simple gadget is a must-have for your kitchen:
Precision Control and Consistent Results
Meat thickness, fat, and bone make every cut unique. This changes cooking speed, so watching the clock is not enough. A steak might need 8 minutes today but 12 tomorrow. Relying on a timer is a gamble.
Instead, a steak cooking thermometer shows precisely what is happening inside the meat. This lets you hit the perfect temperature every single time. You can stop serving dinners that are raw in the middle or burnt on the outside.
Prevents Overcooking and Dryness
Overcooking ruins dinner fast. When meat gets too hot, the muscles tighten up. This squeezes out the natural moisture. You end up with a tough, dry piece of leather instead of a juicy bite.
However, using a digital steak thermometer solves this. It shows exactly when to take the meat off the heat. This stops you from losing liquid and keeps the flavor inside. The result is a perfect, tender, delicious bite every time.

From backyard BBQs to gourmet kitchens, a versatile digital thermometer is your secret weapon for perfectly cooked meals every time.
Food Safety Assurance
Beyond taste, safety is the top priority. You cannot see bacteria, and checking the meat’s color is not a reliable test. You need to be sure. Experts say food must reach a specific temperature to kill germs.
An internal meat thermometer confirms that your dinner is safe to eat. It gives you peace of mind, protecting your family without forcing you to burn the meal.
Versatility in Cooking Styles
Finally, this steak thermometer does more than just grill beef. It is helpful for all kinds of cooking. Your meals turn out better whether you oven-roast, pan-sear, or use a smoker.
In fact, a steak temperature probe is also versatile. It works perfectly for checking large roasts, chicken, and even fish. It is a real helper that upgrades your skills for every dish you create.
Part 2. What a Steak Thermometer Actually Measures
Cooking a steak perfectly feels like an art, but it is really just science. Understanding your steak thermometer helps you use it better. This is how it will help you cook to perfection:
- The Heat Journey: When you cook a steak, heat travels from the outside in. The surface gets sizzling hot, while the inside remains cool. This difference creates a thermal gradient.
- Targeting the Center: Your goal is to measure the coldest part of the meat. This is usually the geometric center. This single number tells you the proper doneness of the entire cut.
- Perfect Timing: If the center spot reaches your target temperature, you know the rest of the meat is cooked enough.
Using a high-quality tool matters. Modern sensors in the best instant steak thermometer are highly sensitive. They detect these subtle heat shifts rapidly. This speed lets you react quickly. You can remove the steak before the temperature rises too high.
Steak thermometers precisely measure the internal temperature of meat to ensure perfect doneness and food safety.
Part 3. How to Use Your Steak Thermometer Like a Pro
Don’t ruin a nice ribeye by guessing. Only a few degrees separate a delicious meal from a tough piece of leather. Use your steak thermometer correctly for restaurant-quality results. These steps help you master the tools and grill with total confidence:
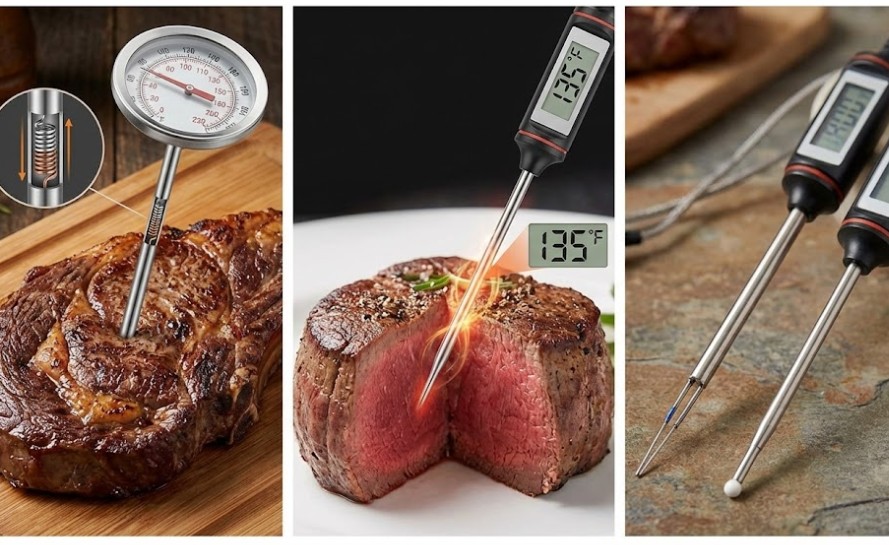
Step 1: Choosing the Right Type of Thermometer
You need the right tool for the job. Generally, you will choose between two main styles:
- Instant-Read Thermometers: These handheld devices are your go-to tools for grilling. You insert the metal tip, get a fast reading, and pull it away. They are perfect for steaks, pork chops, and other thin cuts. Speed is the most important thing here. You want a Chef-rated meat thermometer that gives you a number in under 3 seconds. If it is too slow, your hand will burn over the hot grill while you wait.
- Leave-In Probe Thermometers: These are different. They have a probe attached to a wire. The wire connects to the base. You leave the probe inside the meat while it cooks. This works best for a big Thanksgiving turkey or a slow-smoked brisket. But the wires can get in the way when you want to sear a steak quickly.
Step 2: Proper Probe Placement
Placing the probe incorrectly gives a bad reading.
- Find the Center: Always aim for the thickest part of the steak. This is where cooking takes the longest.
- Go through the Side: This is a pro move. For steaks thinner than 1.5 inches, do not poke from the top down. You might miss the center. Instead, insert the probe into the side of the steak. Push it deep toward the middle. This puts more of the metal sensor inside the meat.
- Avoid Bone and Fat: Aim carefully. Bone gets hot very fast. Fat gets hotter than muscle. If you hit a bone or a big piece of fat, you will get a falsely high reading. Your thermometer might read 135°F, but the meat next to the bone is still raw.
- The Pull-Back Method: If you are unsure, try this trick to find the coolest part. Push the probe past the center. Then, slowly pull it back out. Watch the numbers change. The lowest number you see is the actual core temperature.
Step 3: Temperature Guidelines for Perfection
Cook to 135°F for a perfect pink center. Use this chart to find your favorite spot.
| Doneness Level | Target Temperature | Description |
| Rare | 120°F – 125°F | Cool red center, soft texture. |
| Medium-Rare | 130°F – 135°F | Warm red center, ideal for most steaks. |
| Medium | 140°F – 145°F | Warm pink center, firmer texture. |
| Medium-Well | 150°F – 155°F | Slightly pink center, drying out. |
| Well Done | 160°F+ | Little to no pink, firm and drier. |
To make food safety even more accessible, we are sharing all of the Internal Cooking Temperature Charts that you need to know about.
Note: For safety, the USDA recommends cooking whole beef cuts to 145°F.
Step 4: Accounting for Carryover Cooking
Most people miss this: meat still cooks when it comes off the fire. The residual heat from the outer layers moves to the center. Chefs call this process carryover cooking.
To finish at 135°F (Medium-Rare), remove the steak when it reads 130°F. The temperature rises about 5 degrees while resting. If you wait until it reaches 135°F, it will end up Medium. A sensitive meat thermometer steak temp reader helps you catch this moment perfectly.
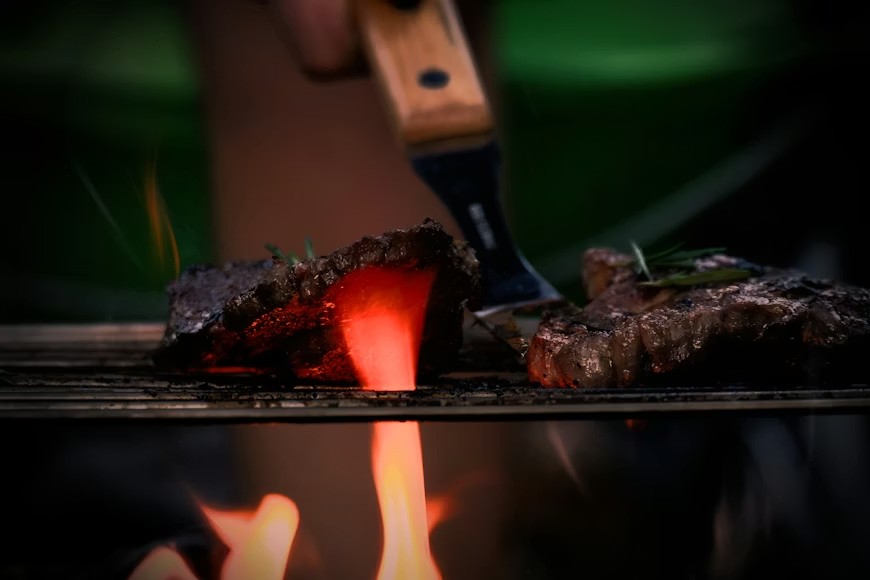
Sizzling steaks on the grill, perfectly cooked with a professional touch.
Part 4. Extra Tips to Prepare Your Perfect Steak Every Time
Cooking great steak takes practice. To get a perfect bite every time, use these simple tips to get the most out of your thermometer. This helps you check the temperature correctly, so your meat is cooked exactly right.
The Reverse Sear Method
Start with the reverse sear. This method cooks thick steaks perfectly. It sounds fancy, but it is actually simple. First, cook the steak in an oven at a low temperature. Use a leave-in probe or check the meat often with your handheld tool.
Watch the temperature. Take the meat out at 115°F. It might look pale, but that is fine. Cook it in a super-hot pan for one minute on each side. You will get a crispy crust and a perfect pink center. A digital steak thermometer is mandatory for this technique.
Tempering the Meat
Take the steak out of the fridge 30 minutes before cooking. Let it sit on the counter at room temperature. This is called tempering. Cold meat cooks unevenly. If the steak is cold, the outside burns before the inside is ready. Letting it warm up helps the heat move through the meat smoothly.
The Importance of Resting
Never cut a steak right after cooking. You must wait. The hot juices are moving inside. If you cut the meat, those juices spill out. Your steak ends up dry.
Instead, let the steak rest for 5 to 10 minutes. The meat will reabsorb the fluids. The temperature will also stabilize. Use this quiet time to clean your steak-temperature probe with an alcohol wipe, so it is ready for next time.
Checking Calibration
Trust your tools. Even the best gear needs a check-up. Test your device with a glass of ice water. Add crushed ice to a glass of water and stir. Insert the probe. It should read exactly 32°F (0°C). If the number is off, fix it or get a new one.
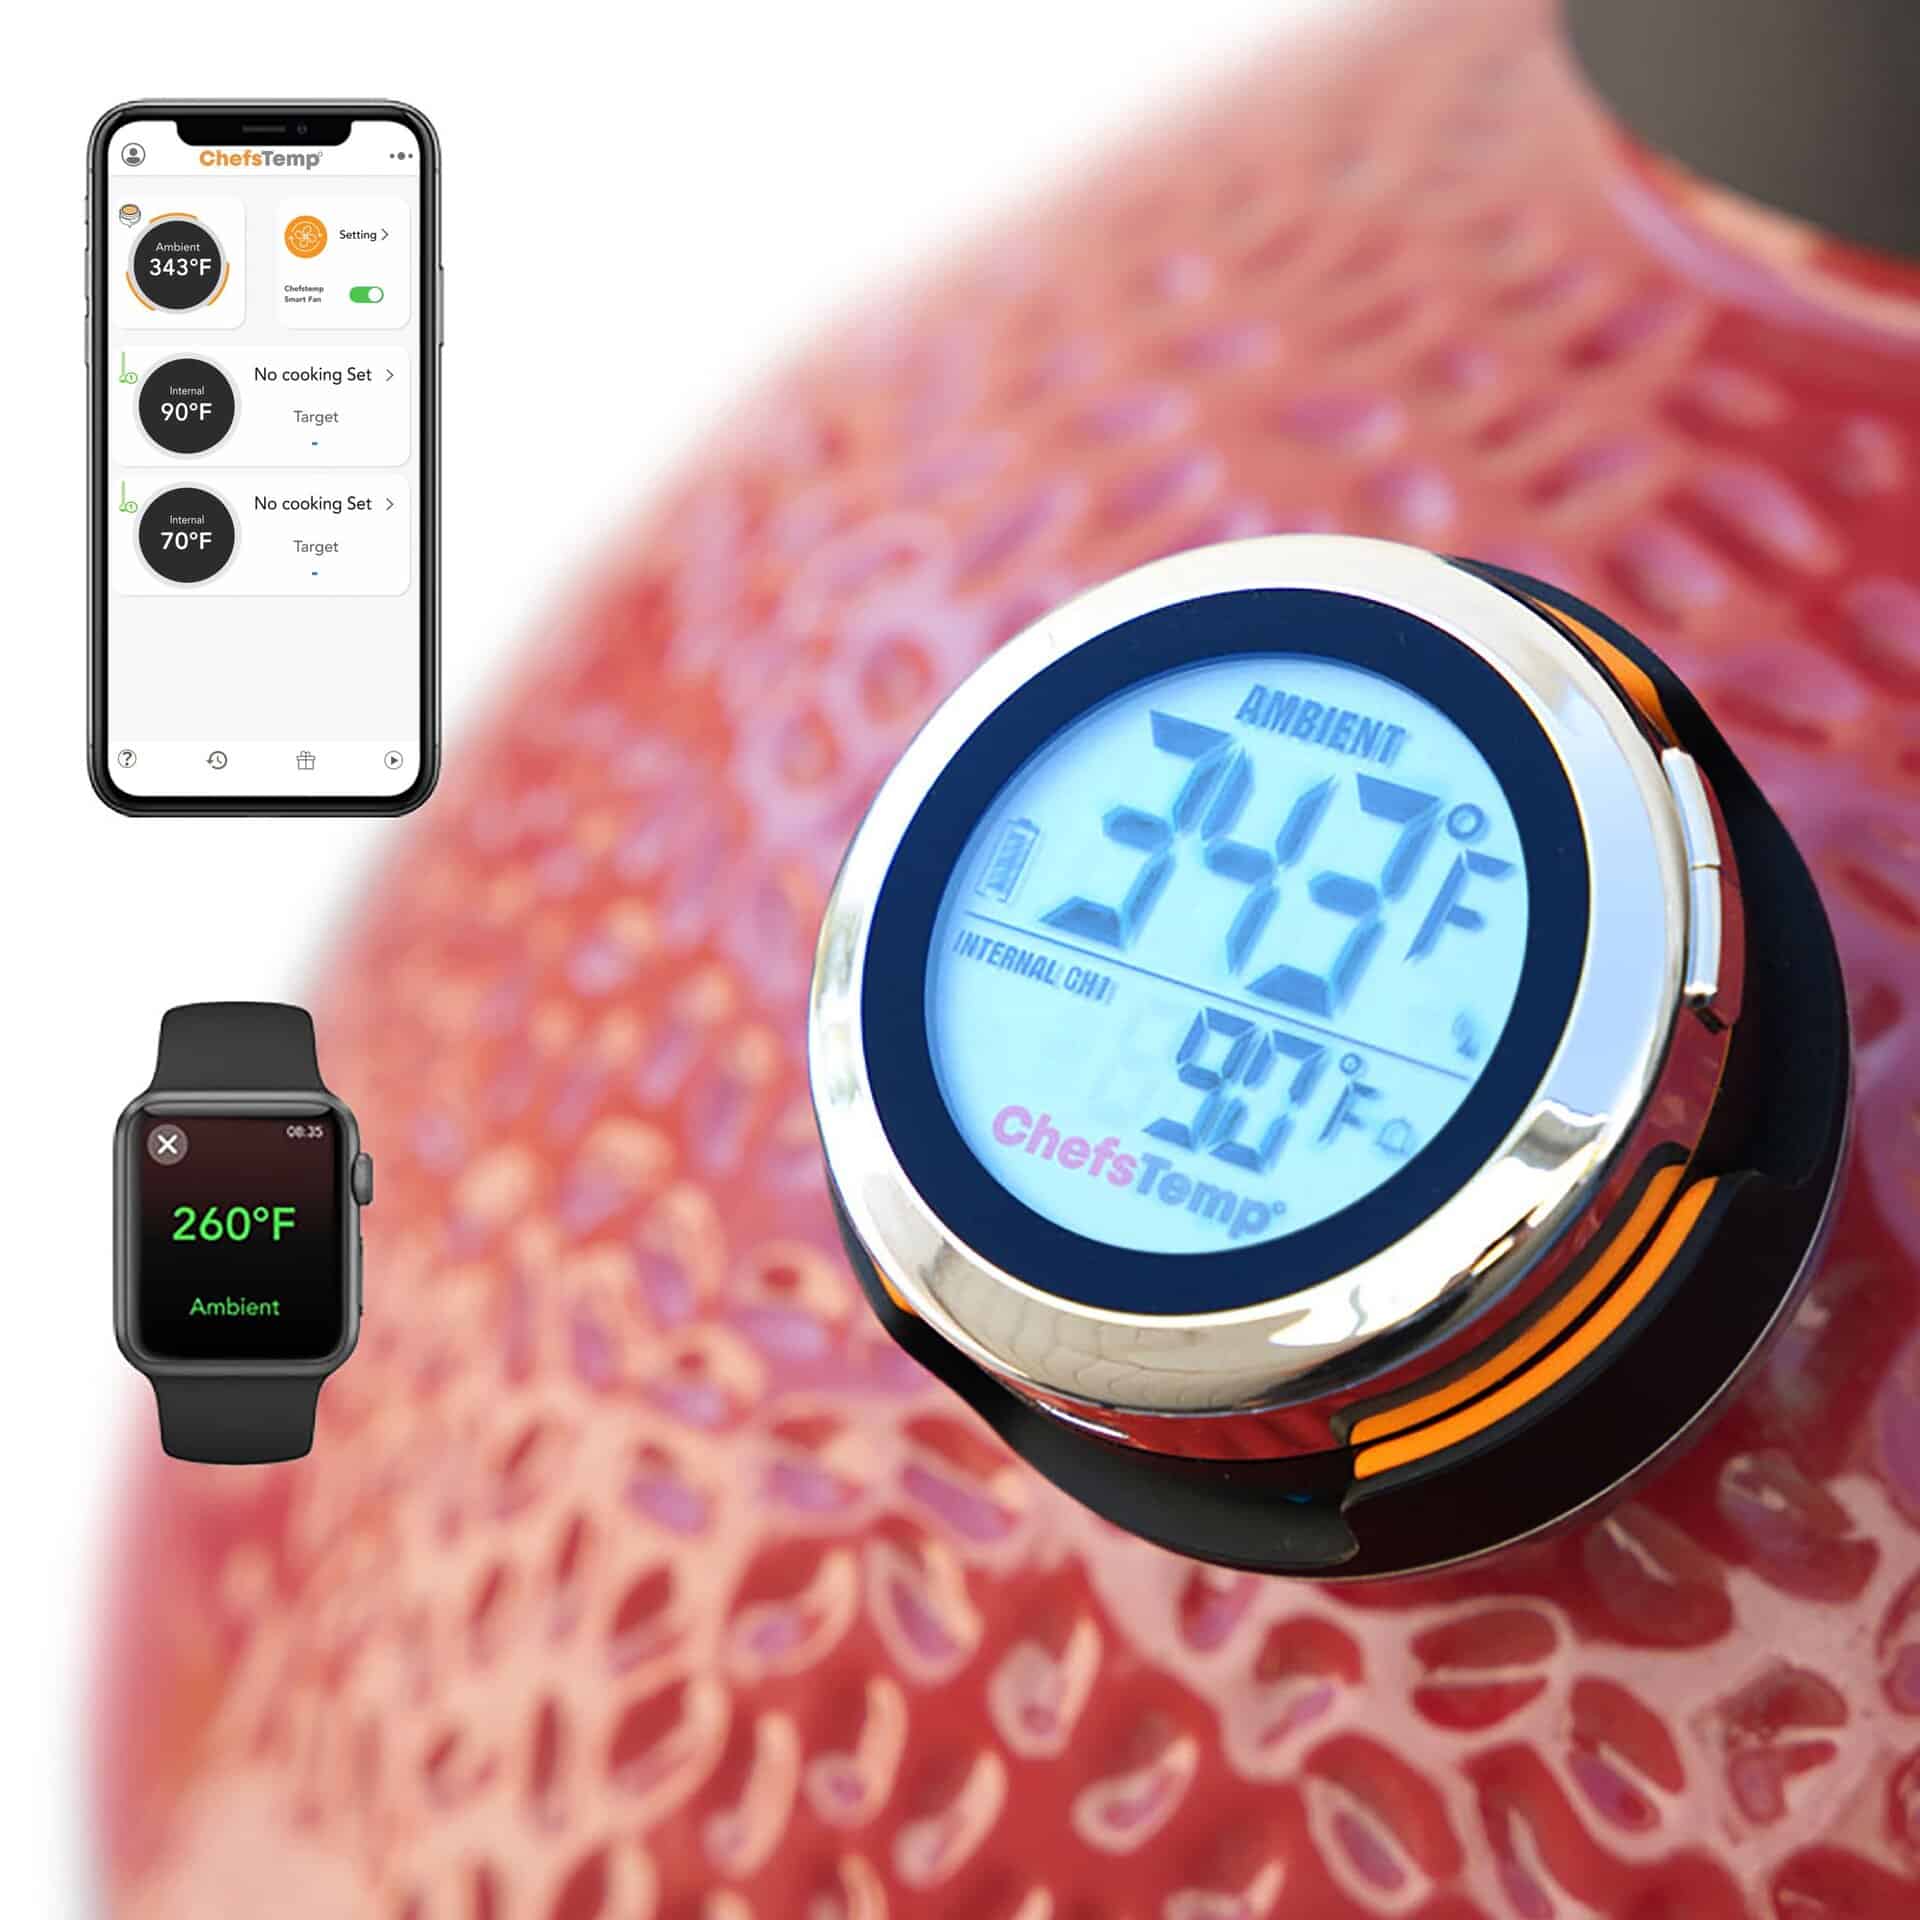
Part 5. Why Quality Matters: The ChefsTemp Steak Thermometer Advantage
You might see various types of steak thermometers on Amazon. You can save a few dollars with some cheap options. However, these basic tools are often slow. They may take up to 15 seconds to display the final number. On a blazing hot grill, that delay is dangerous.
Speed is actually a flavor factor. An instant-read steak thermometer like the Finaltouch X10 changes the game. It uses technology to make cooking easier and more fun.
- Lightning Speed: It uses a high-quality sensor to read in just 1 second. The temperature is instantly displayed.
- Total Comfort: The display rotates automatically. It works perfectly in either hand.
- Night Vision: The screen lights up brightly. You can see the numbers clearly, even during evening barbecues.
Cooking gets better with professional-grade equipment. The right tool gives you confidence. You will get excellent results every single time.
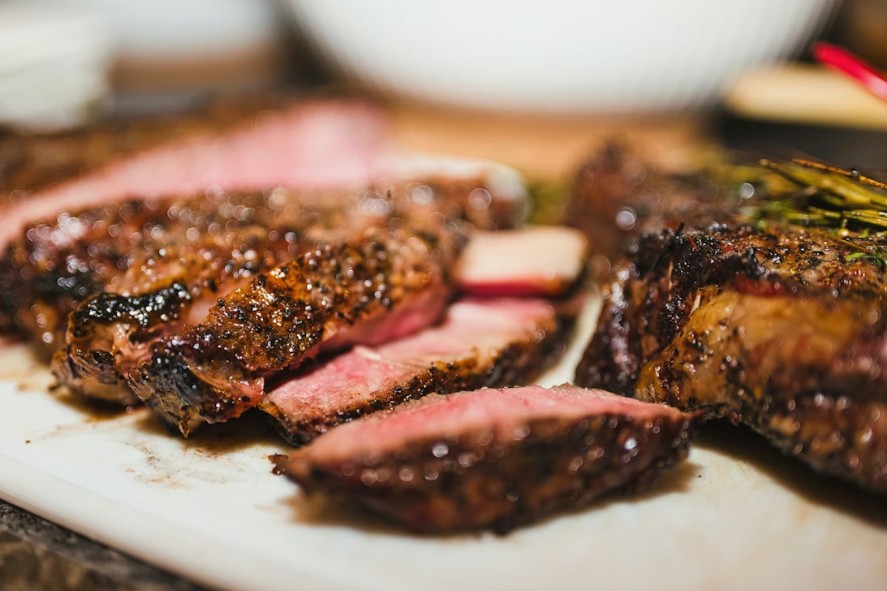
Sliced to perfection! Elevate your steak game with the precision of a professional-grade thermometer.
Part 6. Conclusion
Cooking a perfect steak takes skill. Poking the meat with your thumb is just a guess. It is not accurate. For restaurant-quality meals at home, you need absolute precision. A steak thermometer makes the difference between good and great food. It keeps your meal safe and locks in the juice.
ChefsTemp brings professional power straight to your kitchen. Our tools are built for speed and accuracy. Whether you are grilling outside or roasting inside, the Finnaltouch Professional Instant Read Steak Thermometer puts you in total control. Stop guessing now. Cook with confidence and upgrade your skills today.
Part 7. FAQs about Steak Thermometer
Q1: Does poking a hole in the steak let all the juices out?
No, this is a myth. A high-quality thermometer uses a super-thin probe. The juice loss is tiny. You lose much more moisture by overcooking the meat than from a small pinhole. It is definitely worth the trade for perfect doneness.
Q2: How often should I calibrate my digital steak thermometer?
Check it every six months. Also, check it if you drop it on the floor. The ice bath test is the best method. Ice water is exactly 32°F. If your tool matches this number, it is ready.
Q3: Can I leave an instant-read thermometer in the oven?
No. Instant-read thermometers usually have plastic parts. They are not safe for the oven. Only use “leave-in” probe thermometers with heat-resistant wires for long roasts. Keep your handheld device safe on the counter.
Q4: What is the best steak thermometer for a beginner?
An instant-read digital thermometer is the best start. It is simple and works for everything. Look for a big, bright screen. The Finnaltouch Professional Instant Read Steak Thermometer is a great pick. It is accurate and easy for beginners.
Q5: Why does my thermometer show different temperatures in different spots?
The meat does not cook evenly. The outside gets hot faster than the middle. Bones and fat change things, too. This is totally normal. Always find the thickest part of the steak. Use the lowest number you see as your final guide.
Q6: Do professional chefs actually use meat thermometers?
Yes, absolutely. Although they have excellent intuition, chefs place a higher importance on consistency. Serving bad steak is not an option. Use specialized equipment to check your work. This guarantees that every visitor always receives the ideal food.
Q7: How do I clean my steak temperature probe?
Hygiene is important. Clean the tip with warm soapy water or an alcohol wipe after every use. This stops germs. Do not submerge the whole temperature probe for the steak in water. Only do that if the manual says it is fully waterproof.
Discover Other ChefsTemp Products


Discover more recipes and learn kitchen tricks by joining our cooking family on Facebook.
You may also like:


