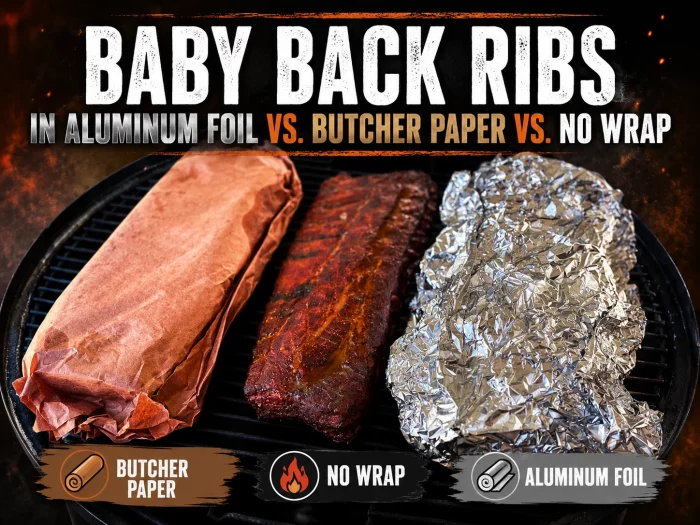
Introduction to Smoking Ribs
I personally believe one of the big reasons people get smokers is to cook ribs. I speak for myself when I say that chief among the contributing factors of why I purchased a 22” Weber Smokey Mountain is so that I can fit more racks of ribs on one cooker.
Along the way, I’ve smoked dozens of racks of baby backs, whole spare ribs, and St. Louis cut spare ribs. I’ve smoked them with the water pan and without it. I’ve used standing rib racks and specially made apparatus designed to hang ribs vertically.
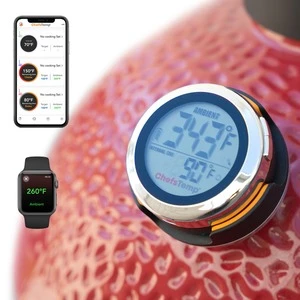
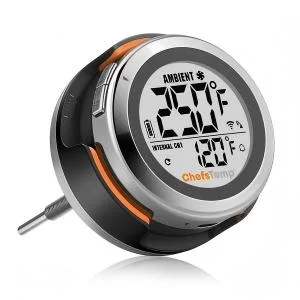
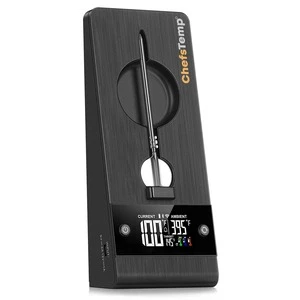
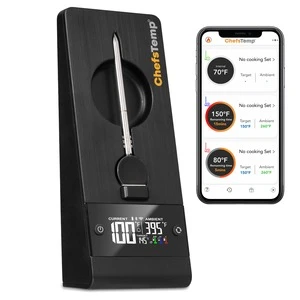
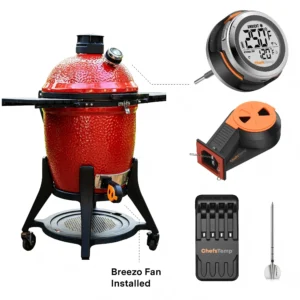
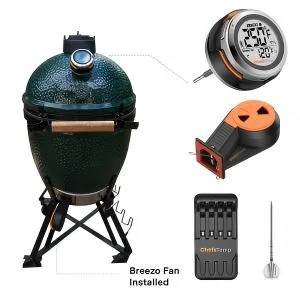
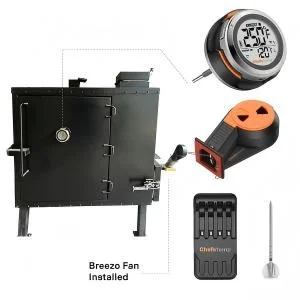
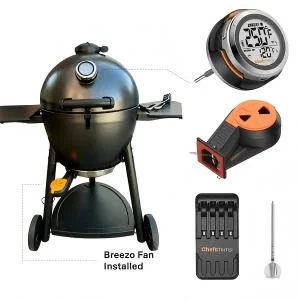
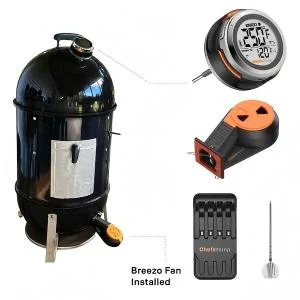
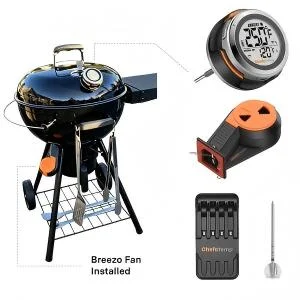
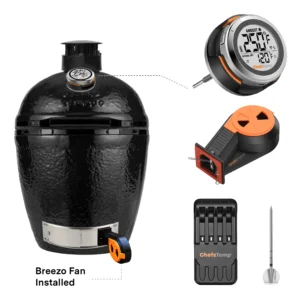
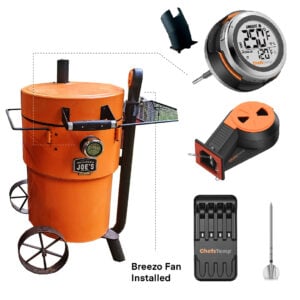
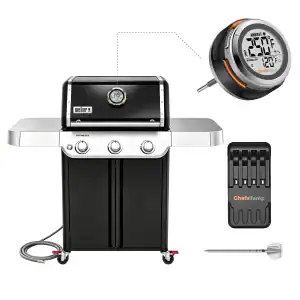
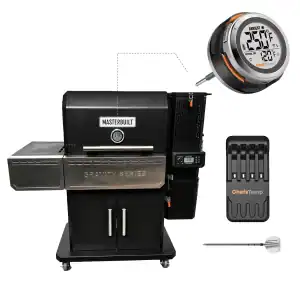
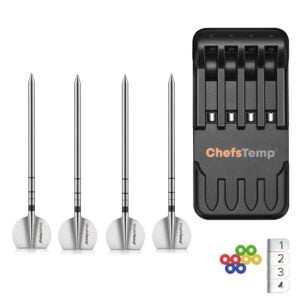
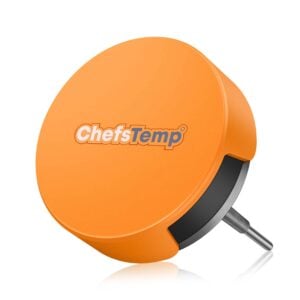
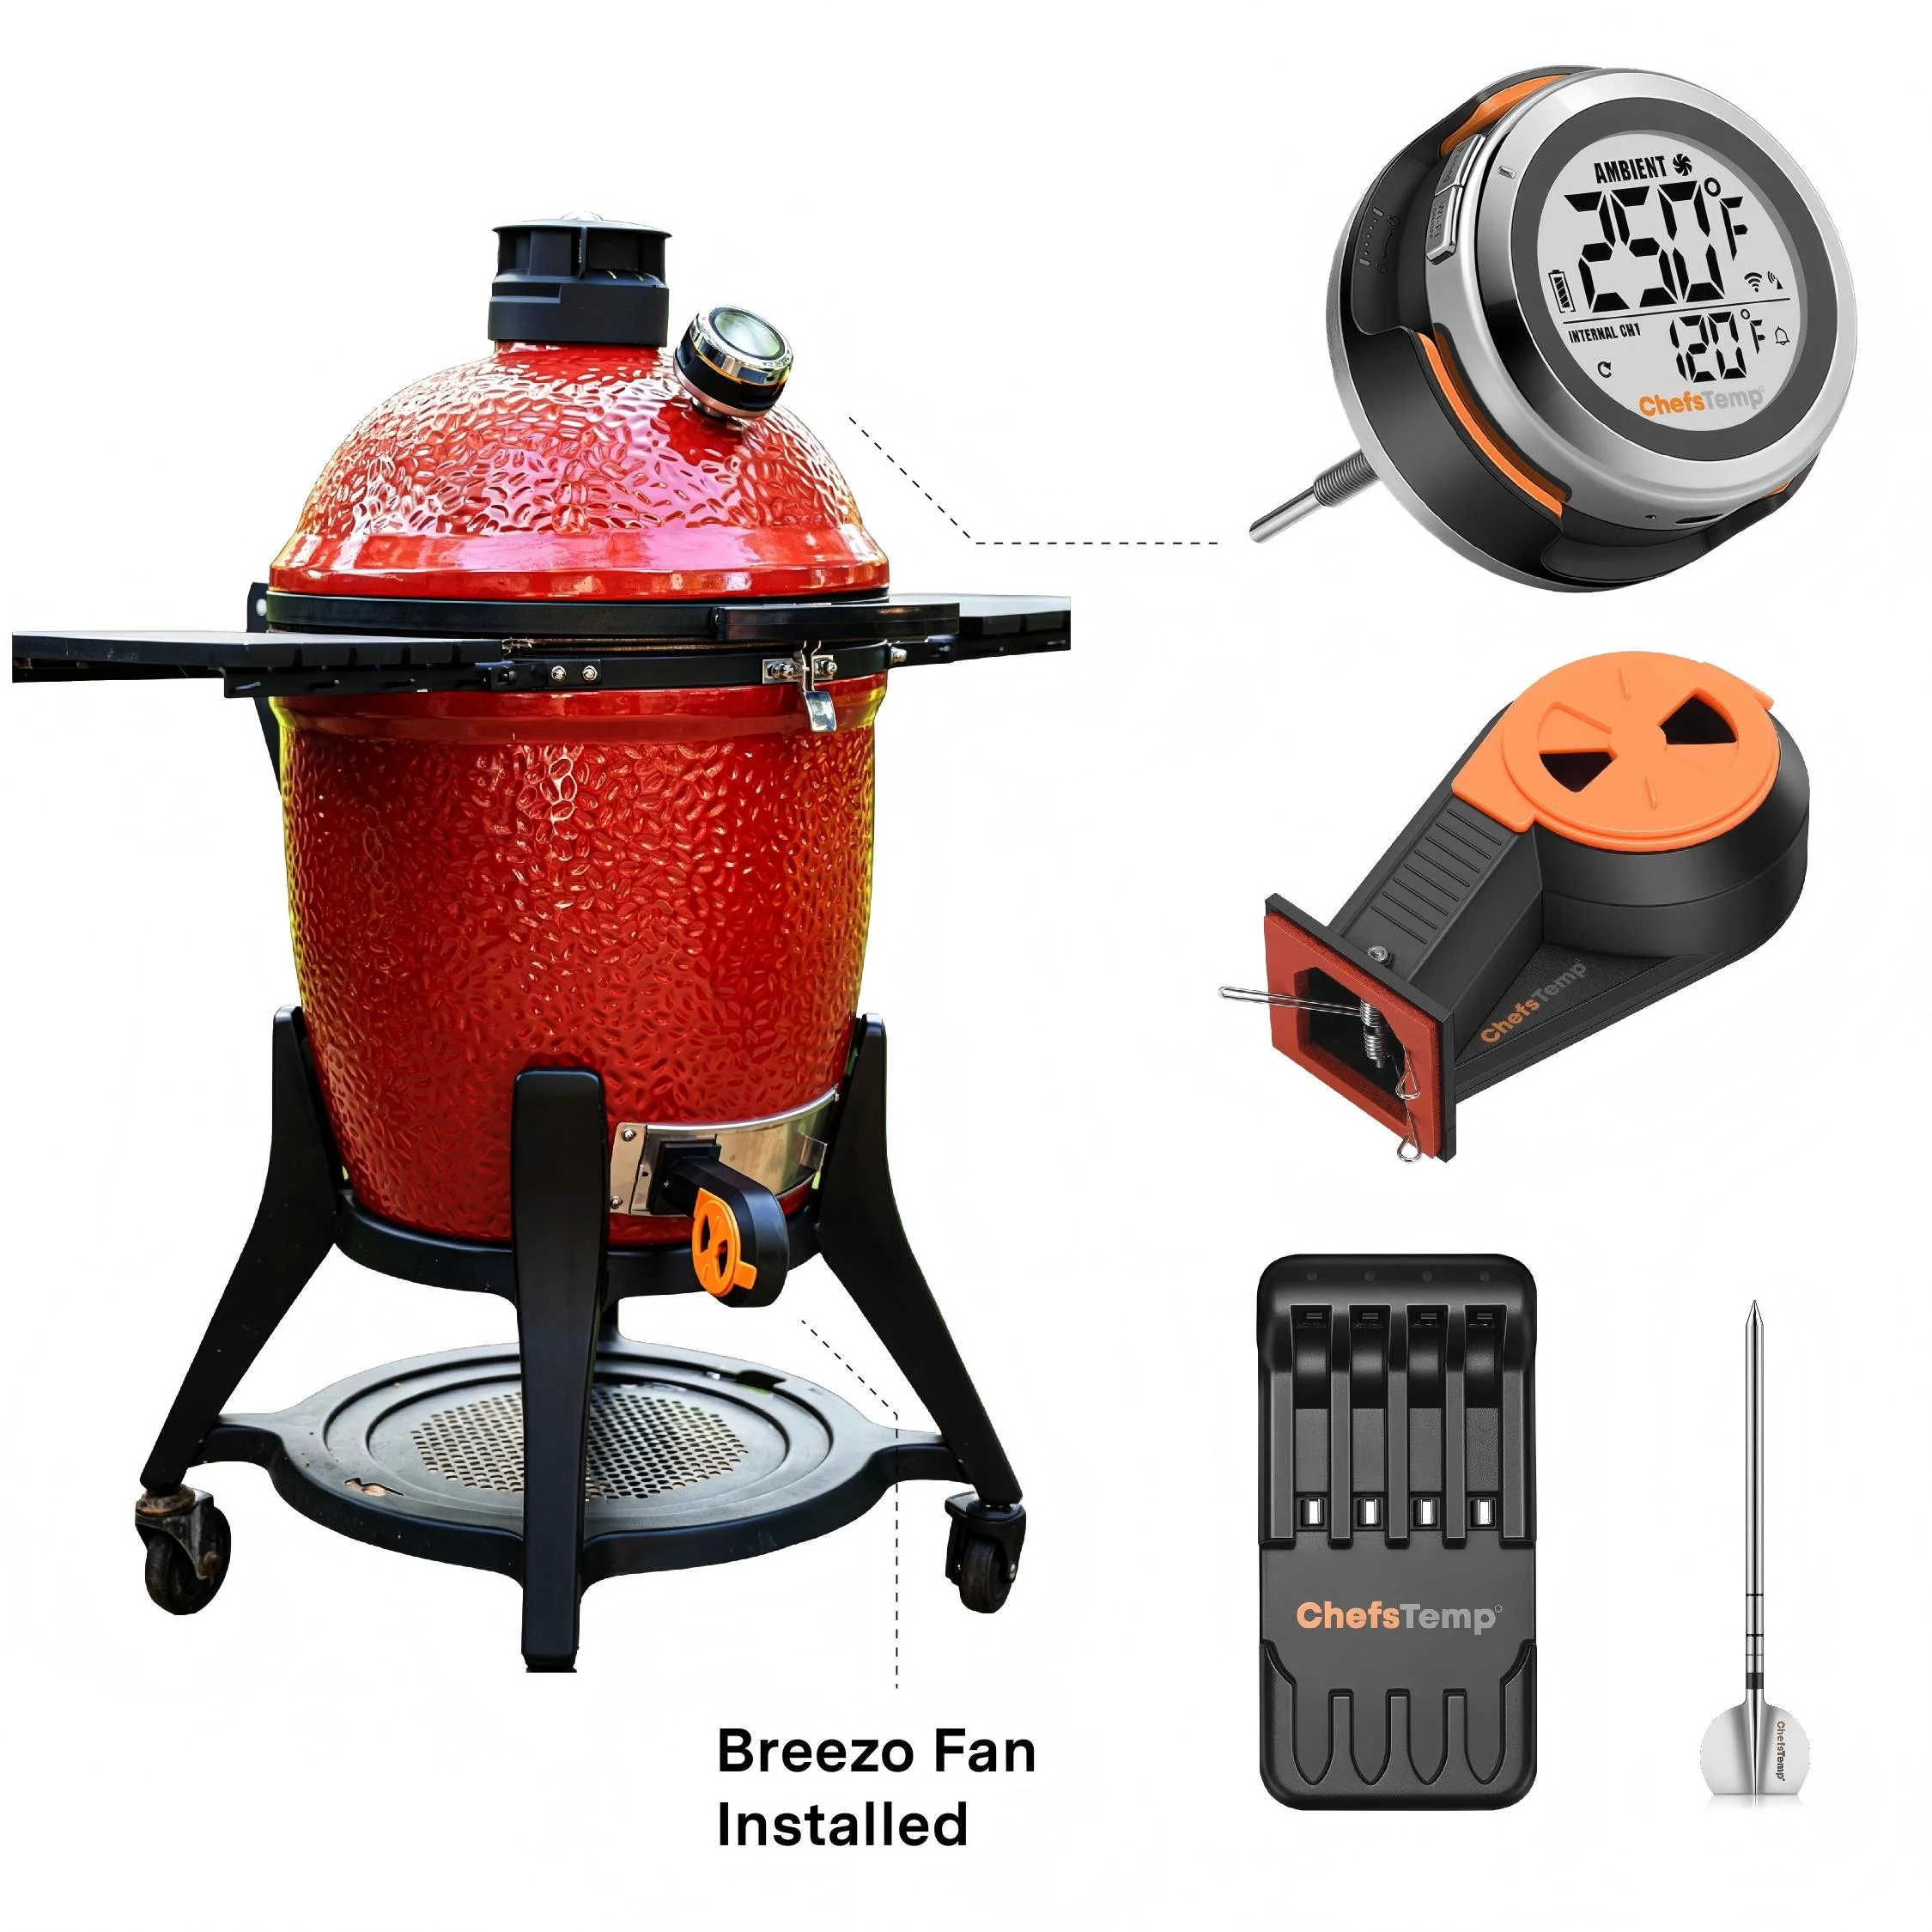
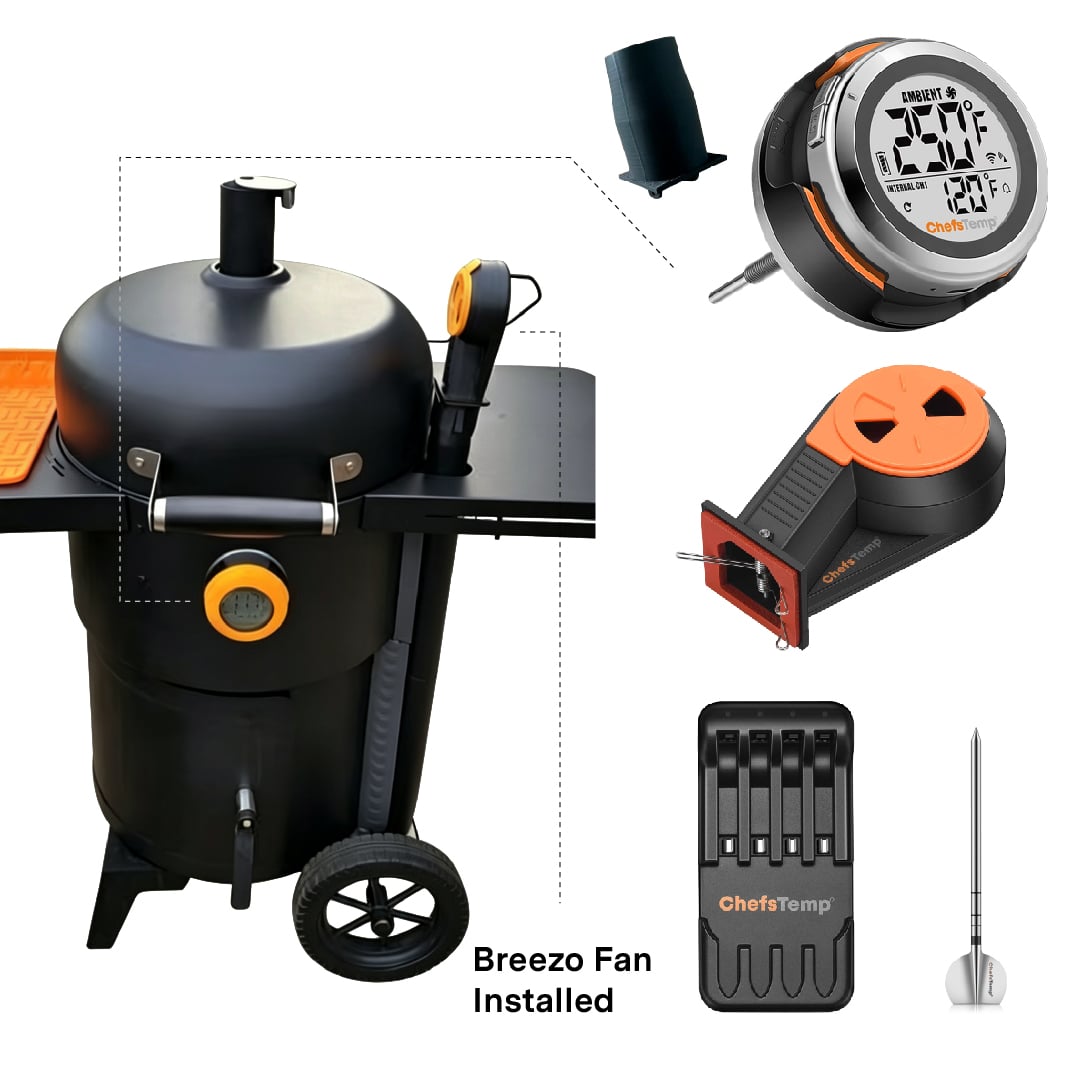
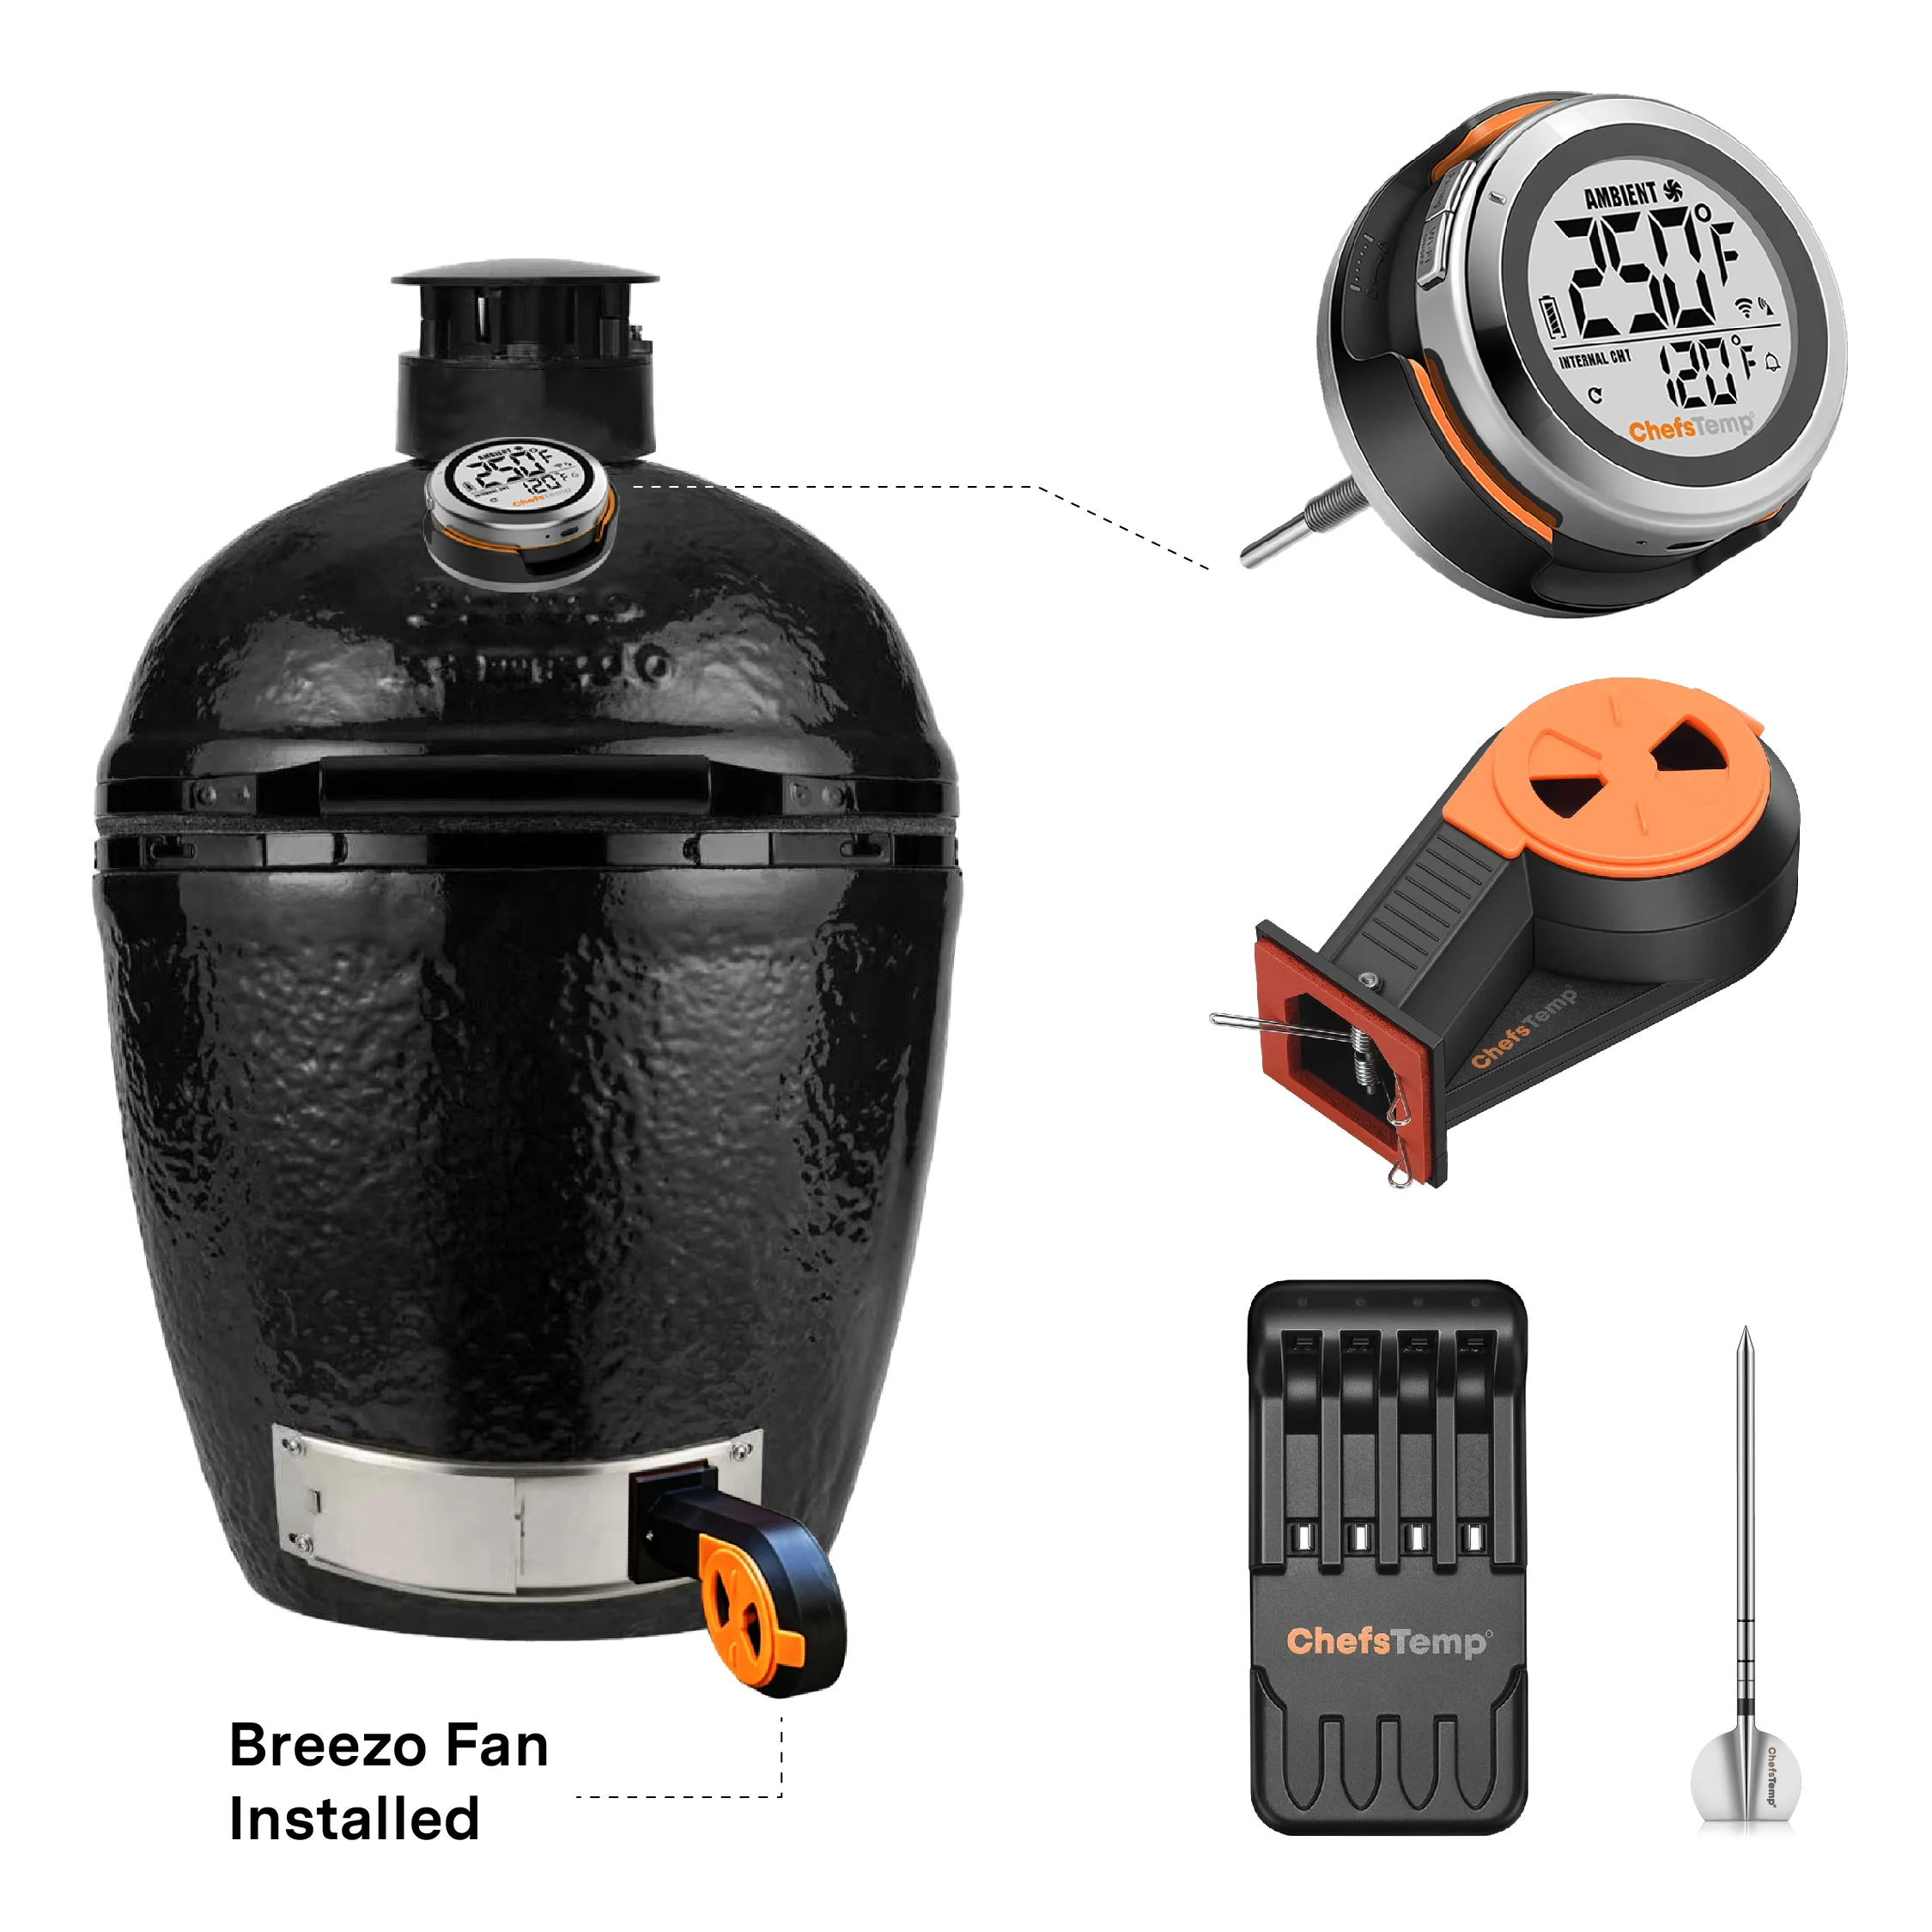
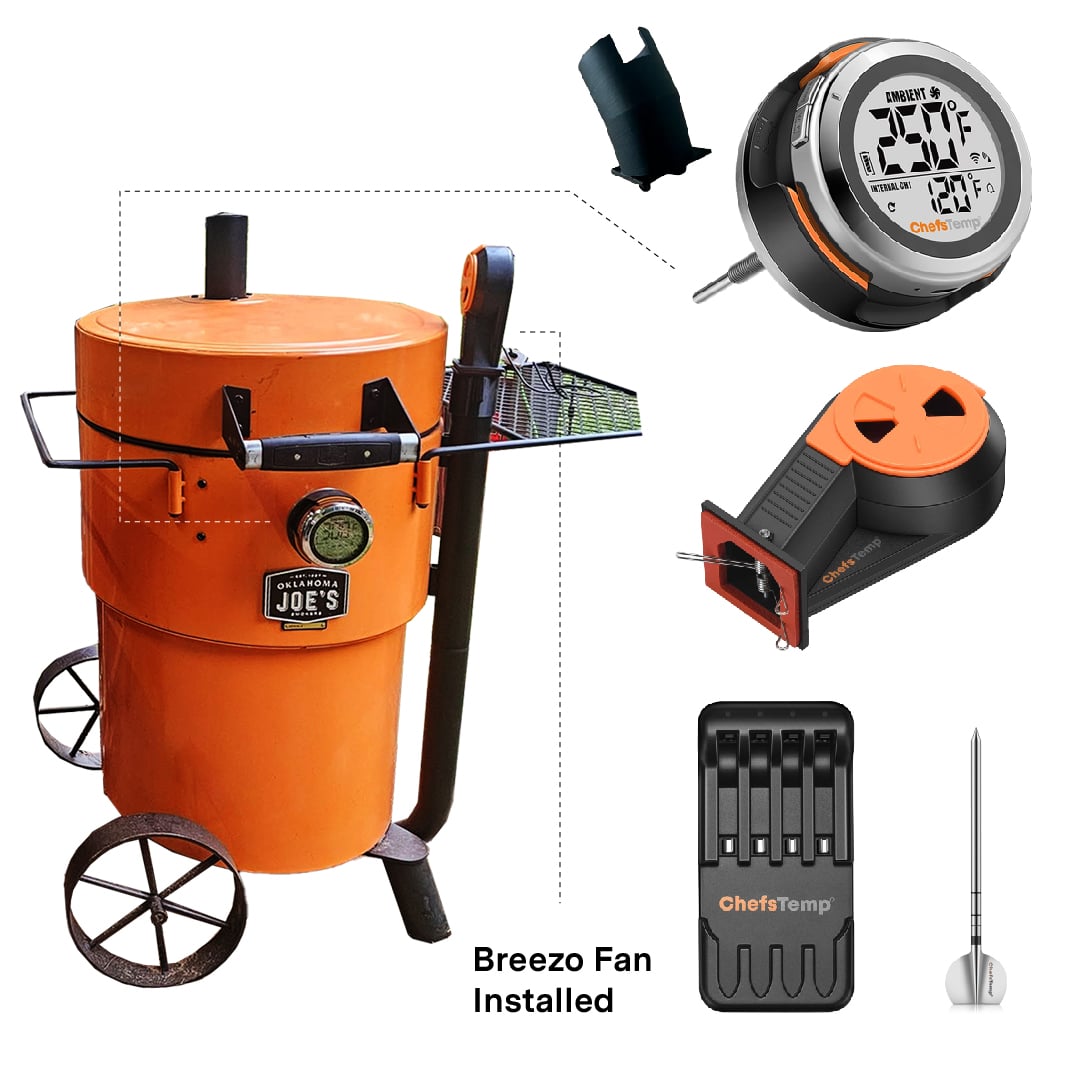
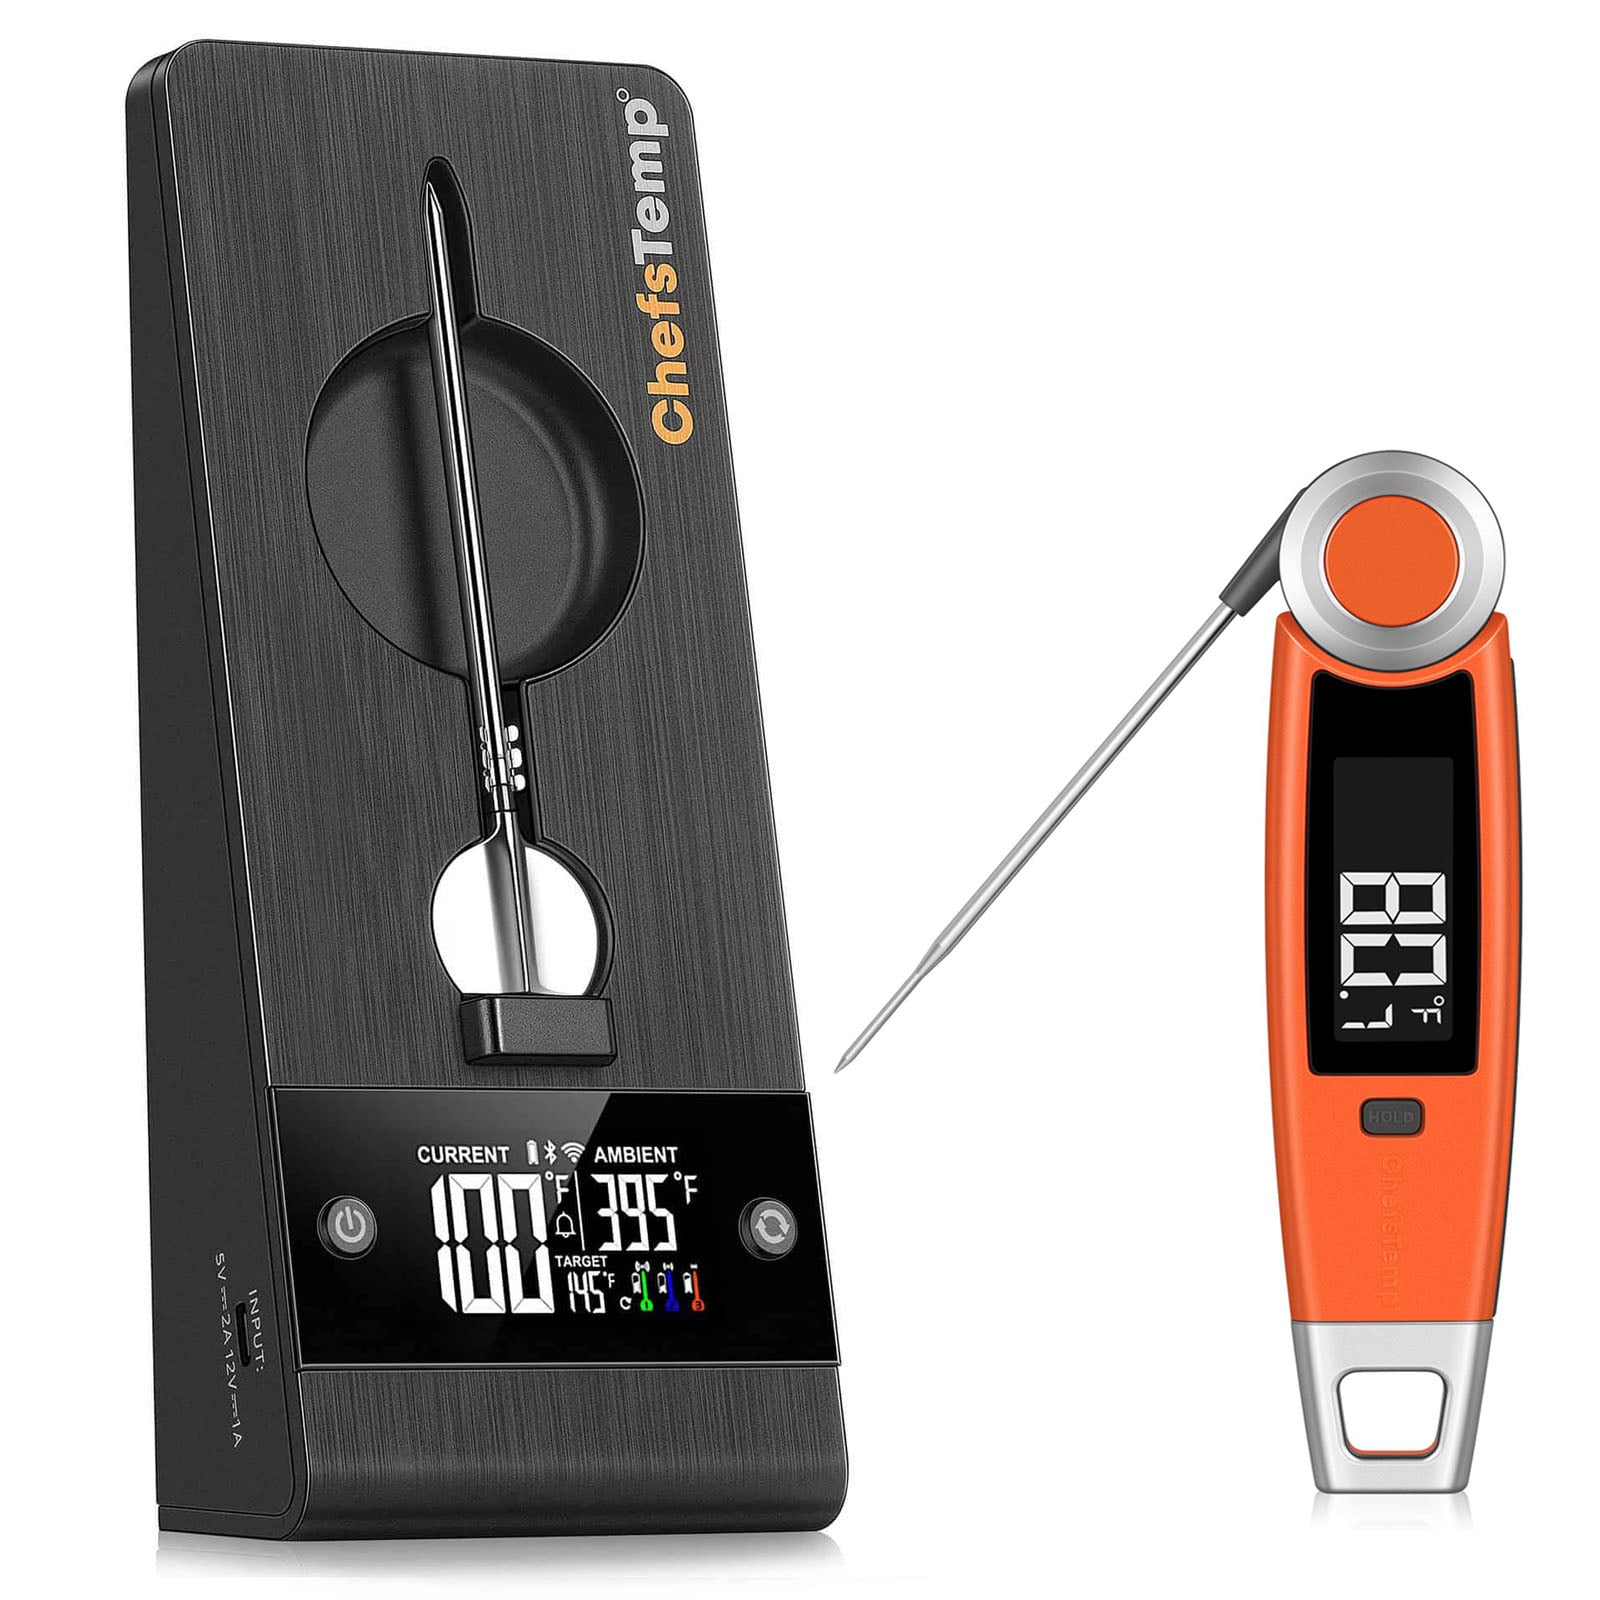
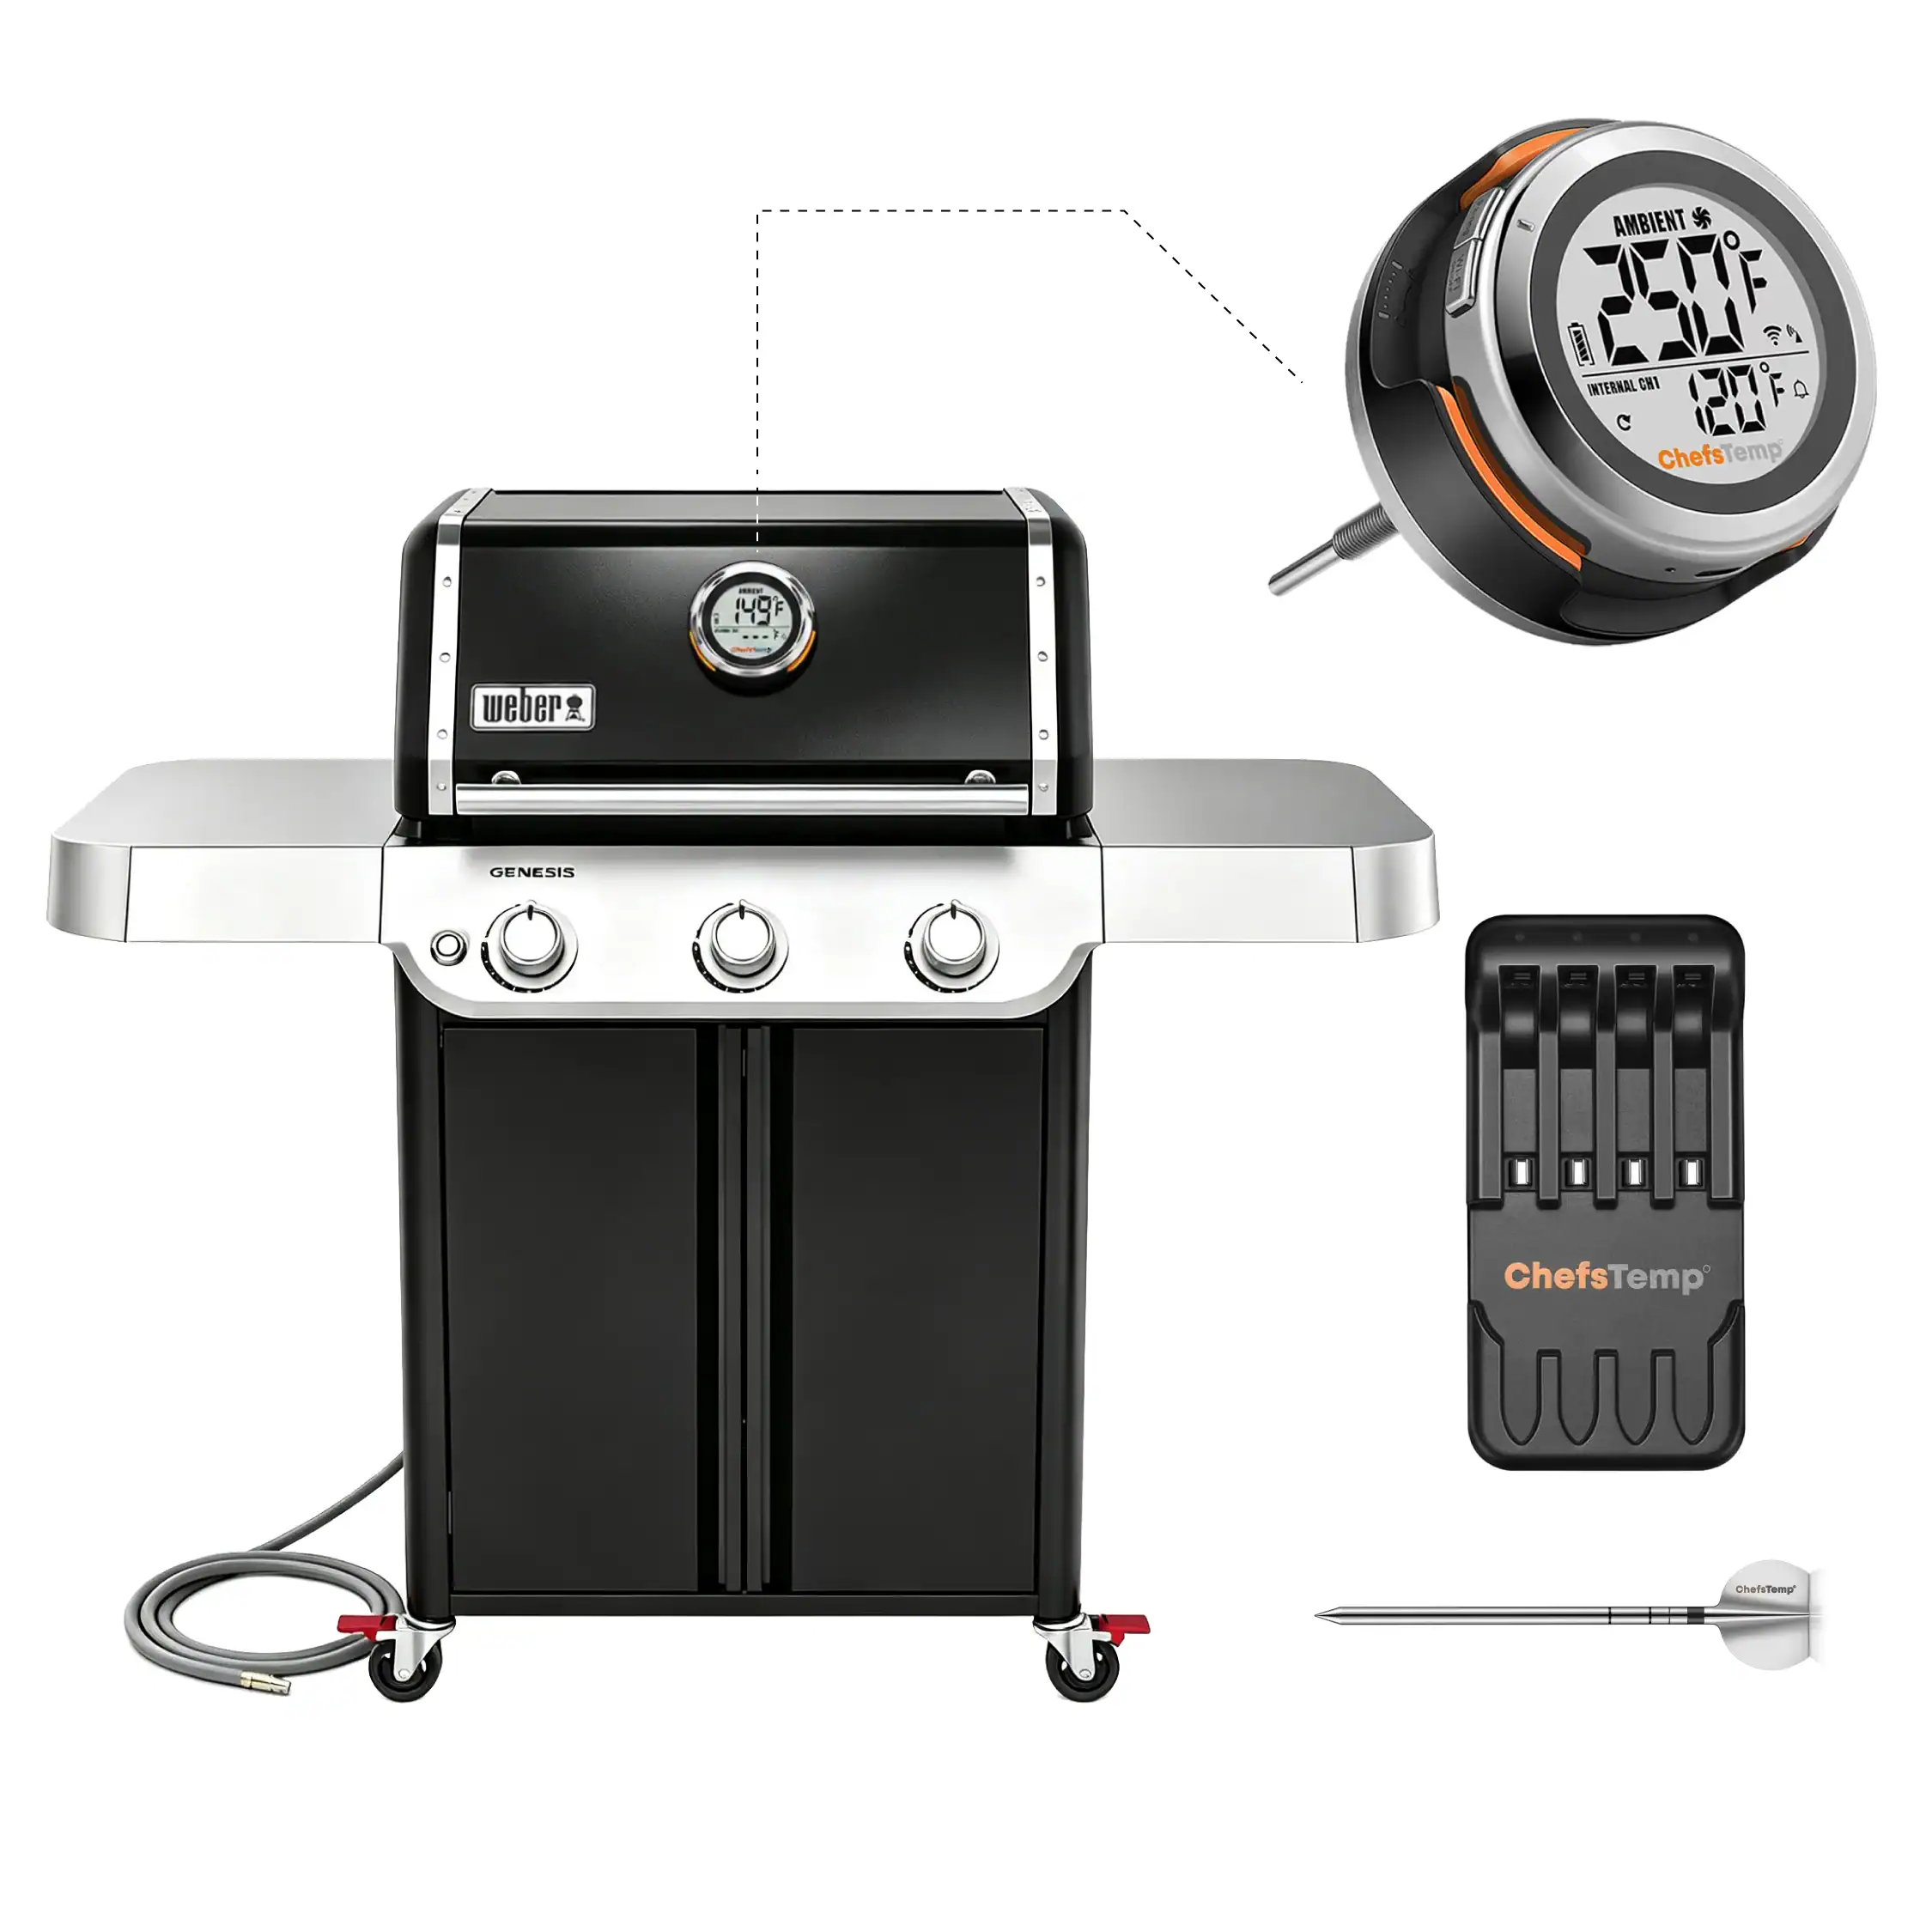
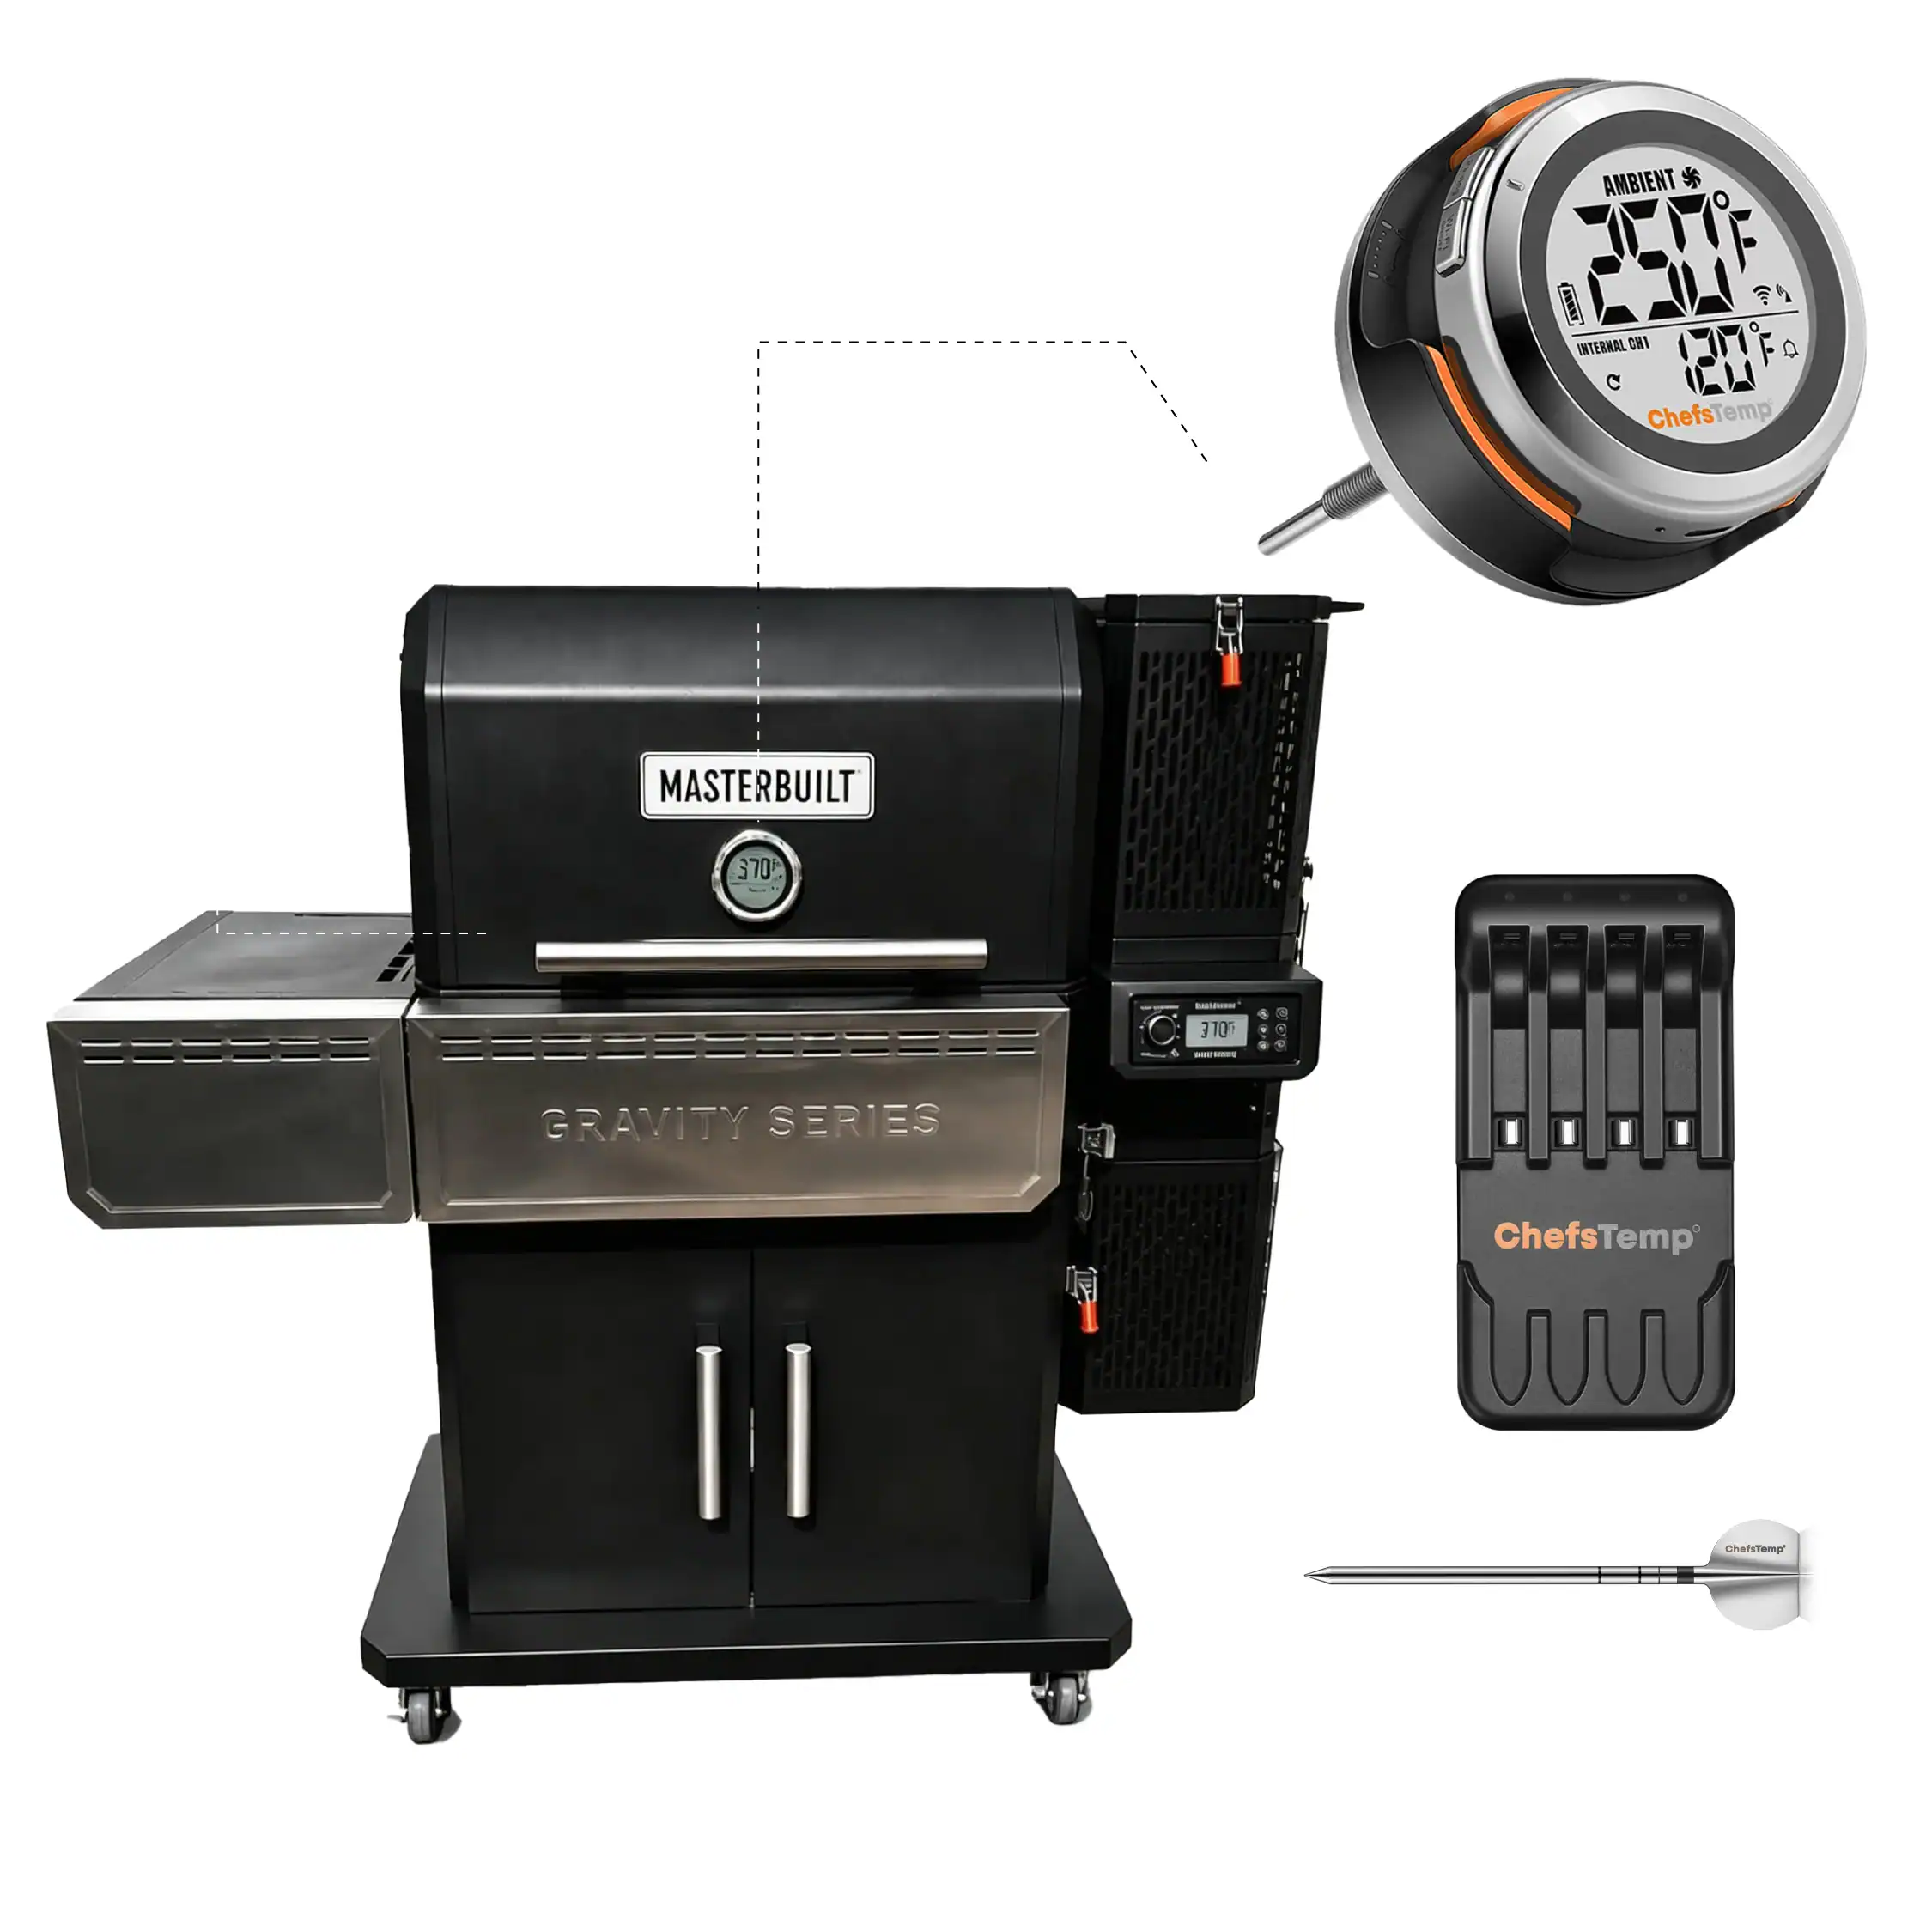
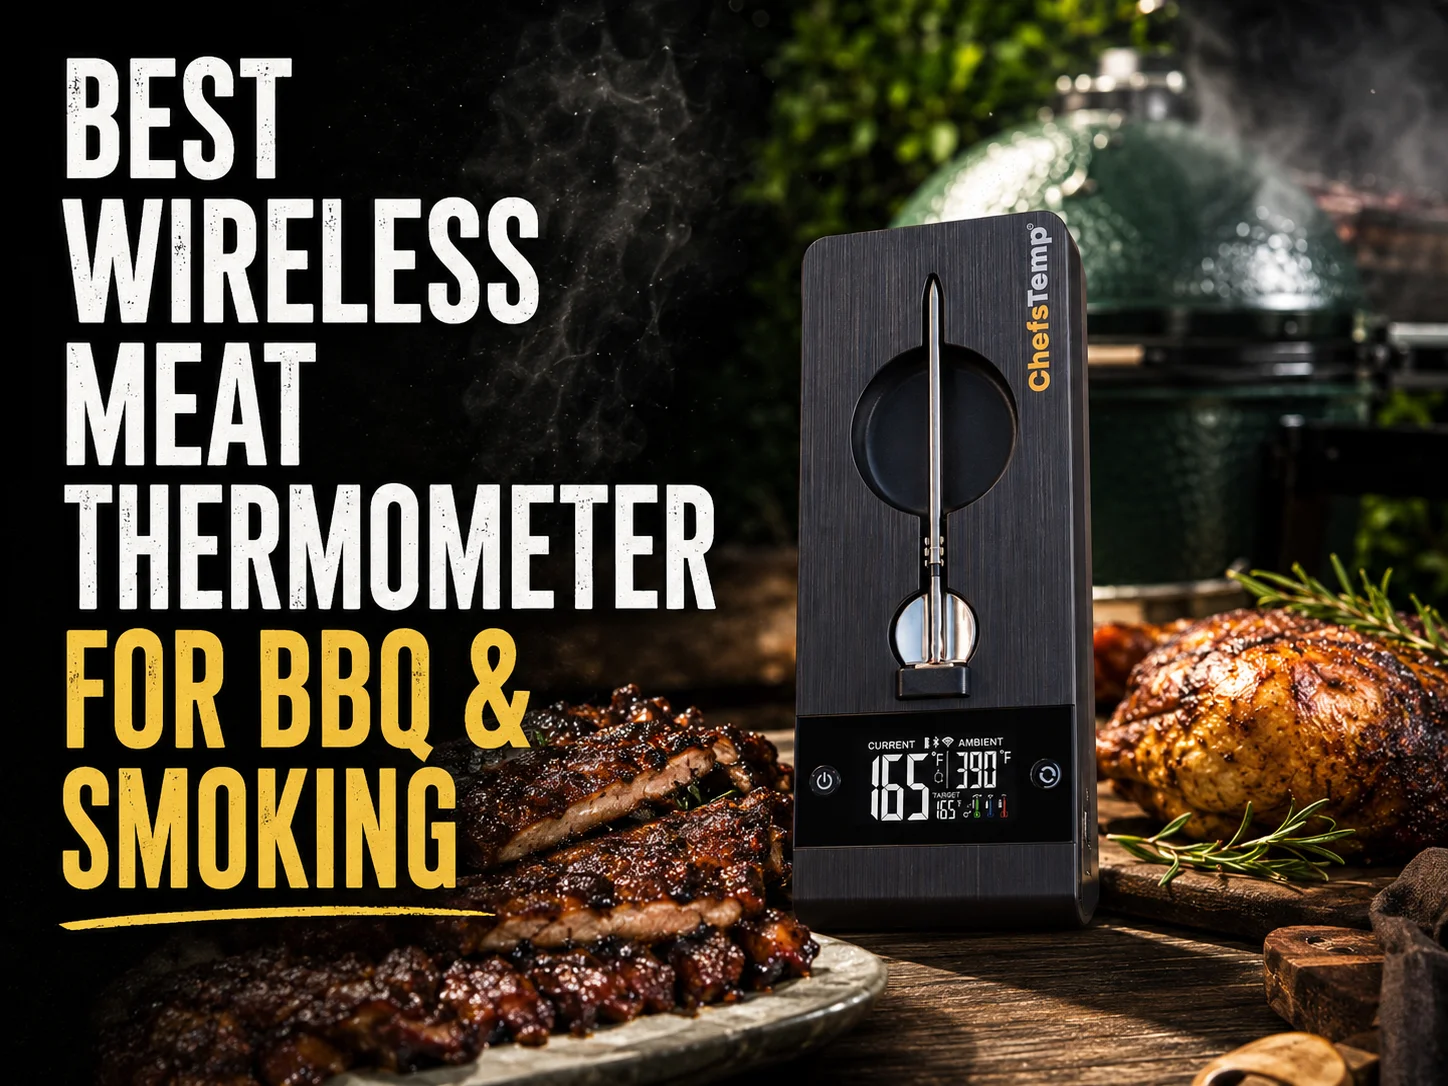
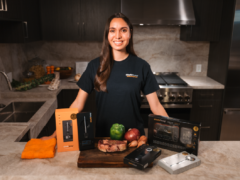
A method we’re looking at with this cook – is comparing some of the most common ways to smoke ribs, while utilizing the ChefsTemp ProTemp S1 Smart Grill Temperature Controller Upgrade Package to help keep a steady ambient temperature, and monitor the internal temperature of the ribs.
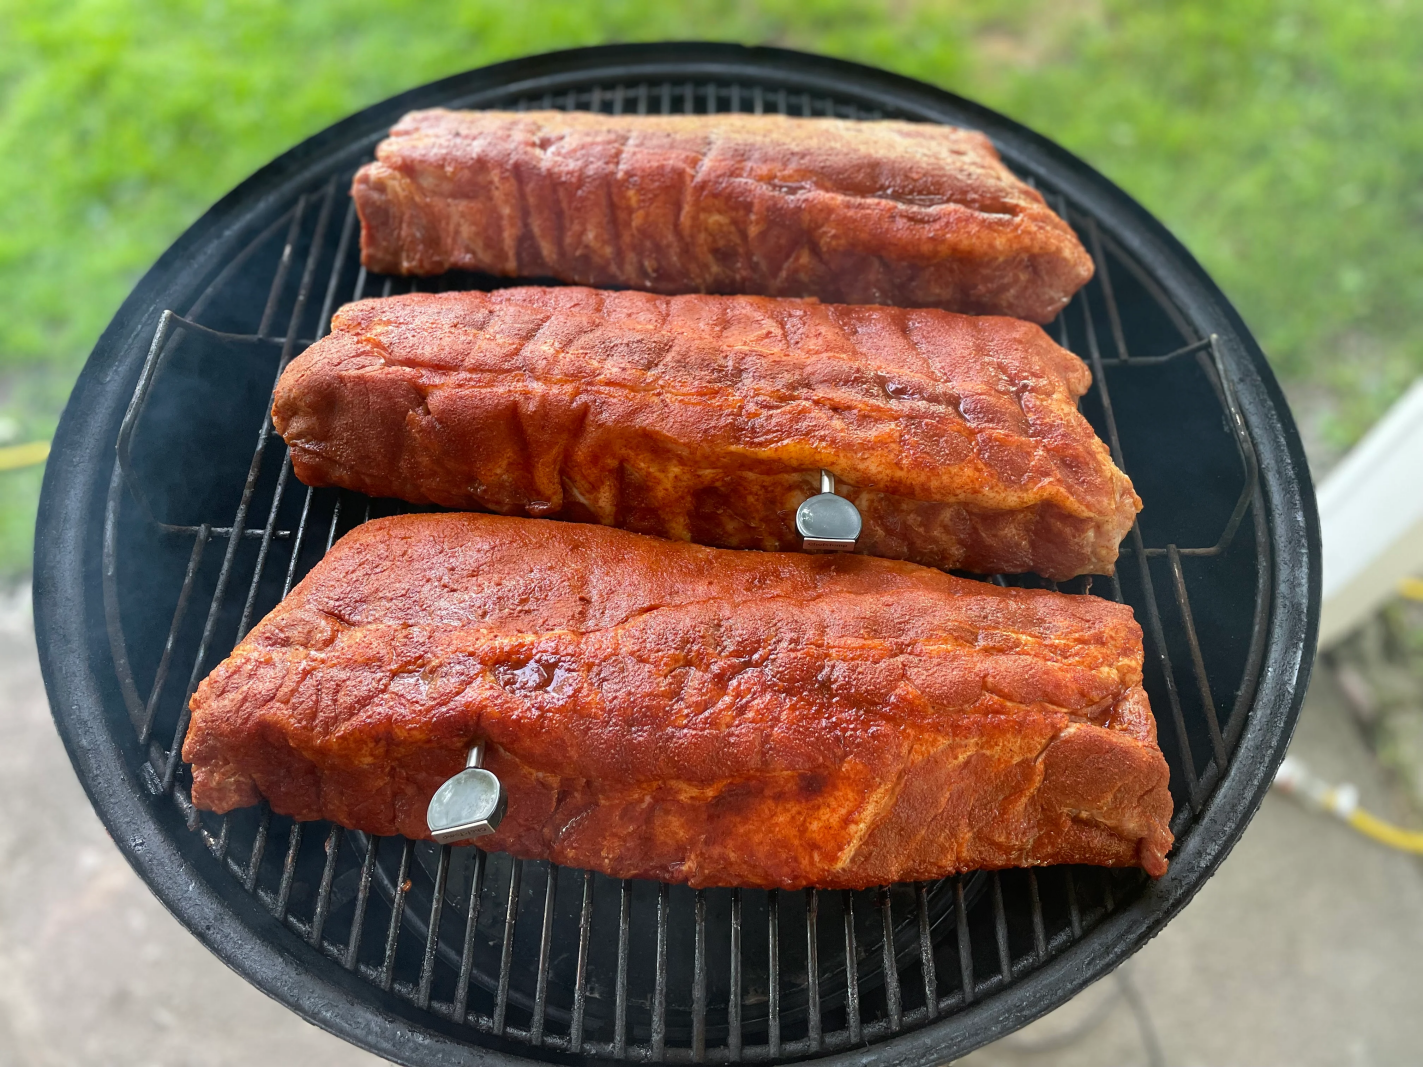
For this experiment, I started with three racks of baby back ribs, wrapped them in Aluminum Foil, Butcher Paper, and nothing. To get things started and eliminate variables, I removed the membrane on the back of each rack and seasoned each of them with the same store-bought rib rub.
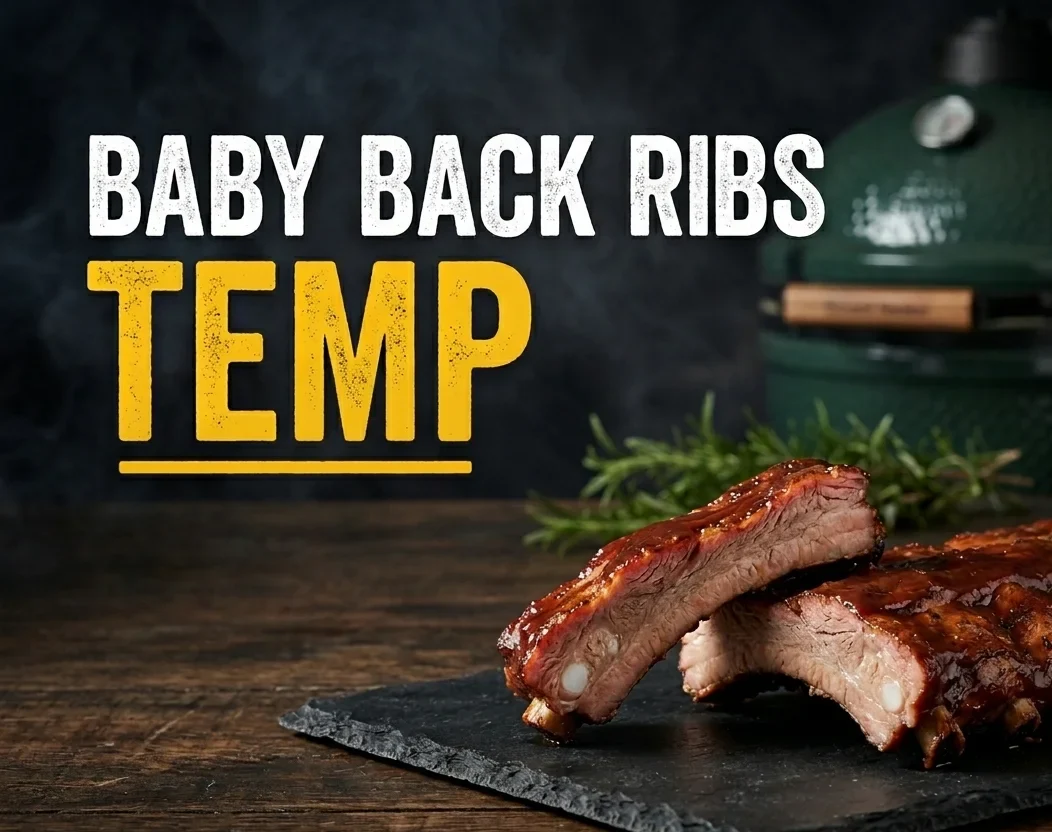
The baby back ribs get their name because they are smaller than their counterpart, the spare ribs (baby) – and they are located higher on the hog, connecting to the spine (back). This is an area of the pig that gets less movement; however, ribs are still loaded with connective tissue and require a low-and-slow cook to achieve optimal results.
The idea for this cook was to compare the three racks up against the common “3-2-1” smoking method where you smoke the ribs for three hours, wrap them for two hours, then return the ribs to the smoker for another hour. This should be plenty of time to break down that collagen and create juicy, tender meat. Ever since I started looking up recipes for smoking ribs, this has been a popular method on various YouTube channels, blogs, and smoking/grilling forums.
Setting Up
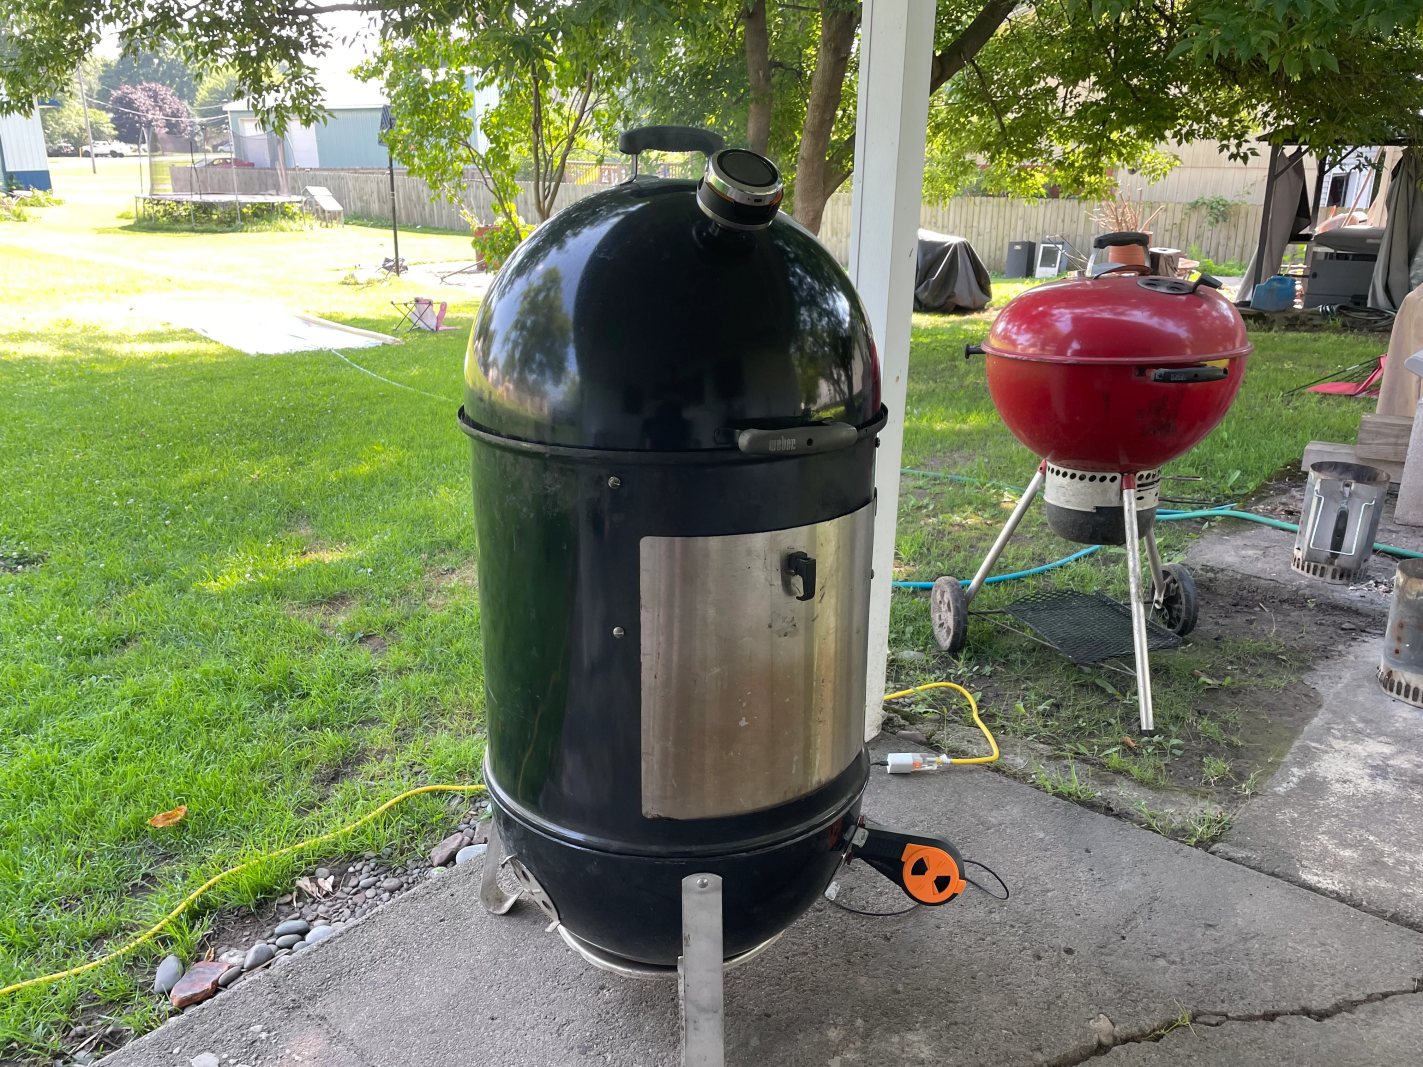
While the ribs spent some time getting to know the seasonings, I stepped outside to fire up the WSM. When I smoke pork, I often debate between using hickory or pecan. I couldn’t decide, so I ended up using a few chunks of each. I loaded the wood chunks into the coals and lit up using the minion method.
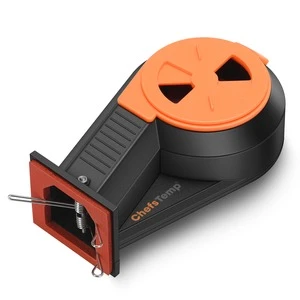
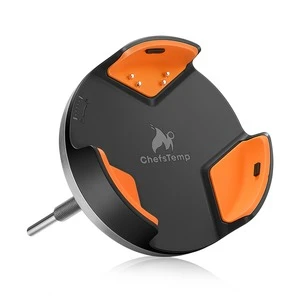
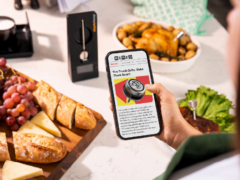
Using the Breezo V2 BBQ Temperature Control Fan with the ProTemp S1 Smart Grill Gauge Thermometer Hub makes firing up the WSM super simple – no fussing over the vents or carefully watching the thermometer to avoid a spike in startup temps. I dumped in the lit coals from a chimney, put the rest of the smoker together, filled the water pan, set the smoker to 225 via the ChefsTemp app, then went inside to get ready for church.
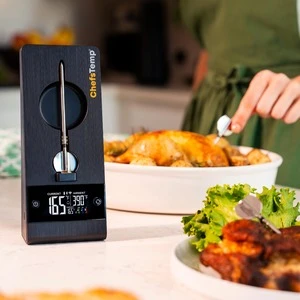
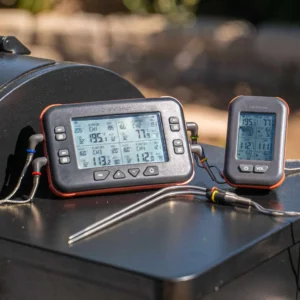
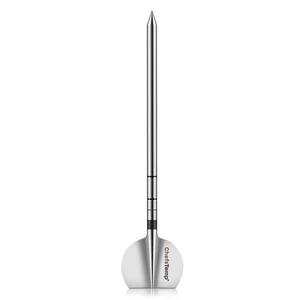
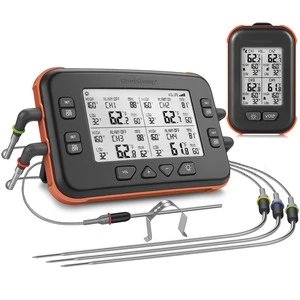
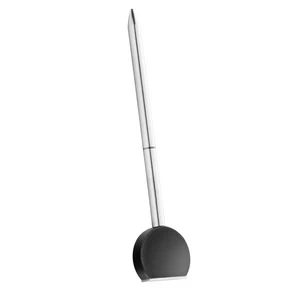
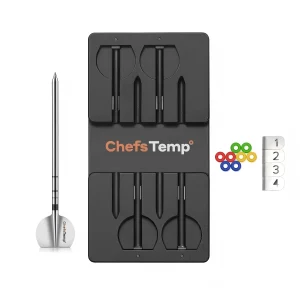
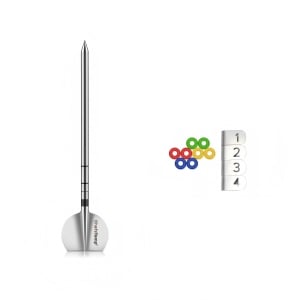
Shortly before heading out the door, I popped in two wireless probes (I only have two) into two different racks of ribs, so I could keep an eye on the ribs’ internal temperature through the cook.
I’ve cooked multiple meals with the ChefsTemp WSM Upgrade, and know I can rely on it to keep things running if I’m not around or paying attention to the smoker. And if I have any worries, I can always open the app and check in.
Time to Wrap
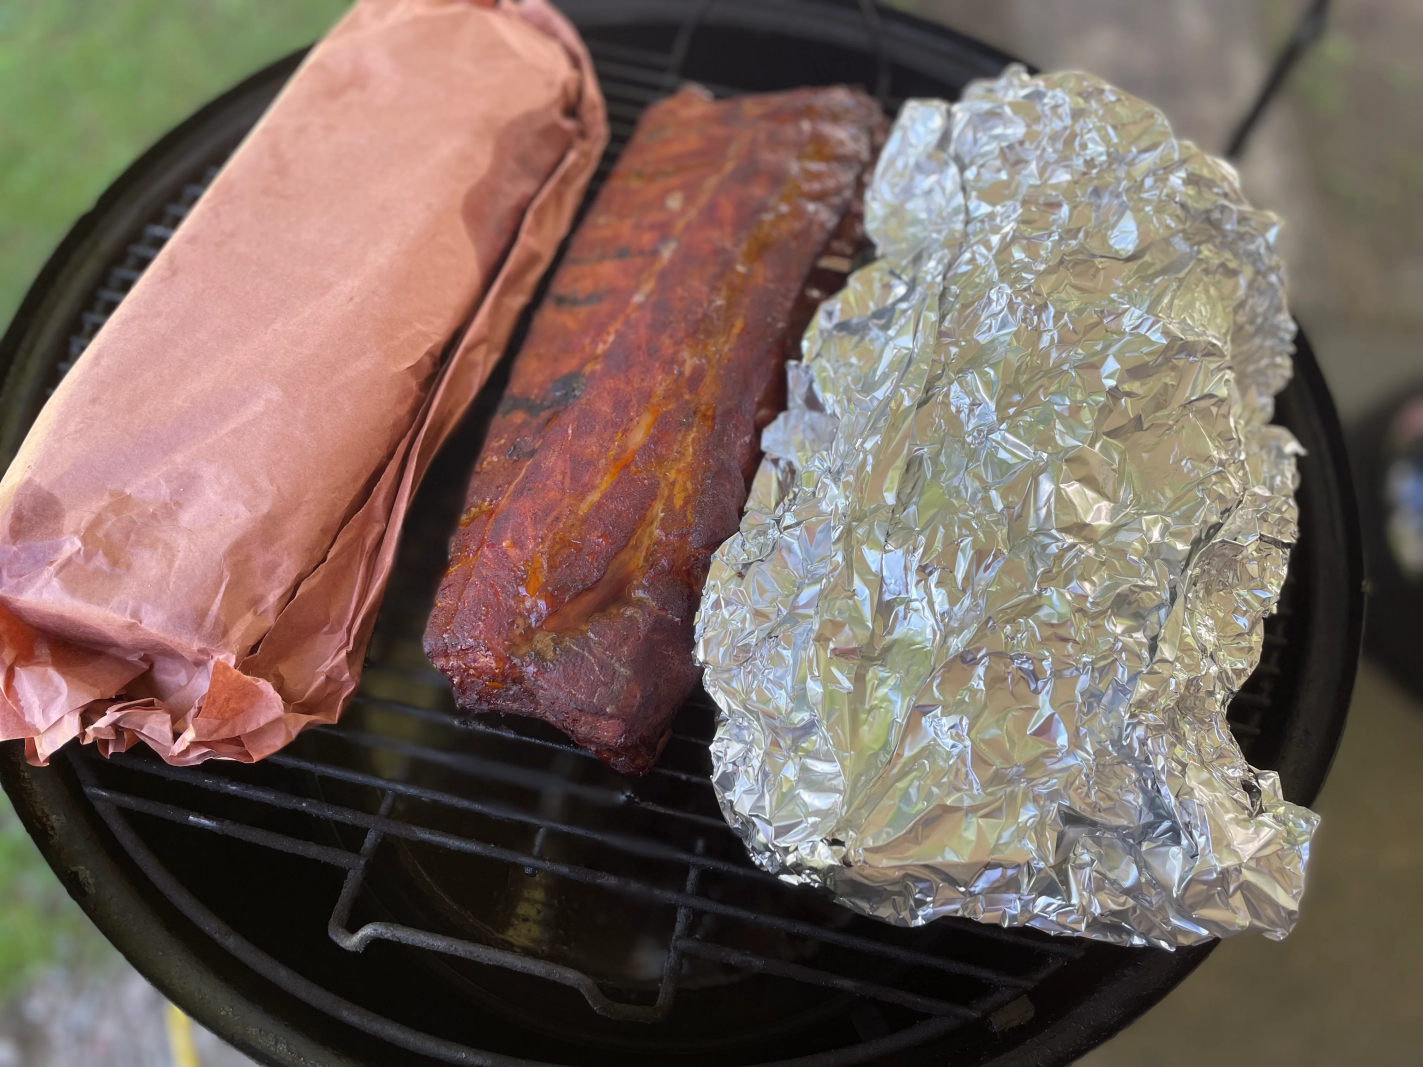
When I got home, it was almost time to wrap two of the racks. For this cook, I wanted to test cooking baby rack ribs wrapped with foil, up against a rack wrapped with butcher paper, and leave a rack unwrapped to compare cooking time, smoke absorption, flavor, bark, and moisture content of the meat.
Once I hit the three-hour mark, I got a sheet of heavy-duty aluminum foil ready and laid down some pads of butter, sprinkled some brown sugar on it, then laid the rack of ribs meat side down on top of all of it. I folded it up a little, then dumped about a cup of beef broth in to serve as a braising liquid.
A note about the liquid – you’ll see many recipes calling for apple juice, apple cider vinegar, or a mix of both. I didn’t happen to have those on hand, but broth or even water would work just the same. The idea here is we’re braising the meat – the liquid used might add a little extra flavor, but in my experience does not have a dramatic effect on the end result.
I finished wrapping up the foil, making sure it’s nice and tight, but not so tight it rips against the bones. You don’t want any liquid or steam escaping. Once this rack was back on the grill, meat side down, I then repeated the exact same process for a rack to go into butcher paper.
The center rack, meanwhile, was left completely alone. No spritzing, no additional seasonings or anything.
Once again, I left the smoker to do its job. The Breezo Fan and the S1 unit kept the smoker at a steady 225 degrees while I fired up the lawn mower and got some yard work done over the next two hours.
Tip: Click here to learn how to check if the ribs are done if needed.
Unwrapping a Few Surprises
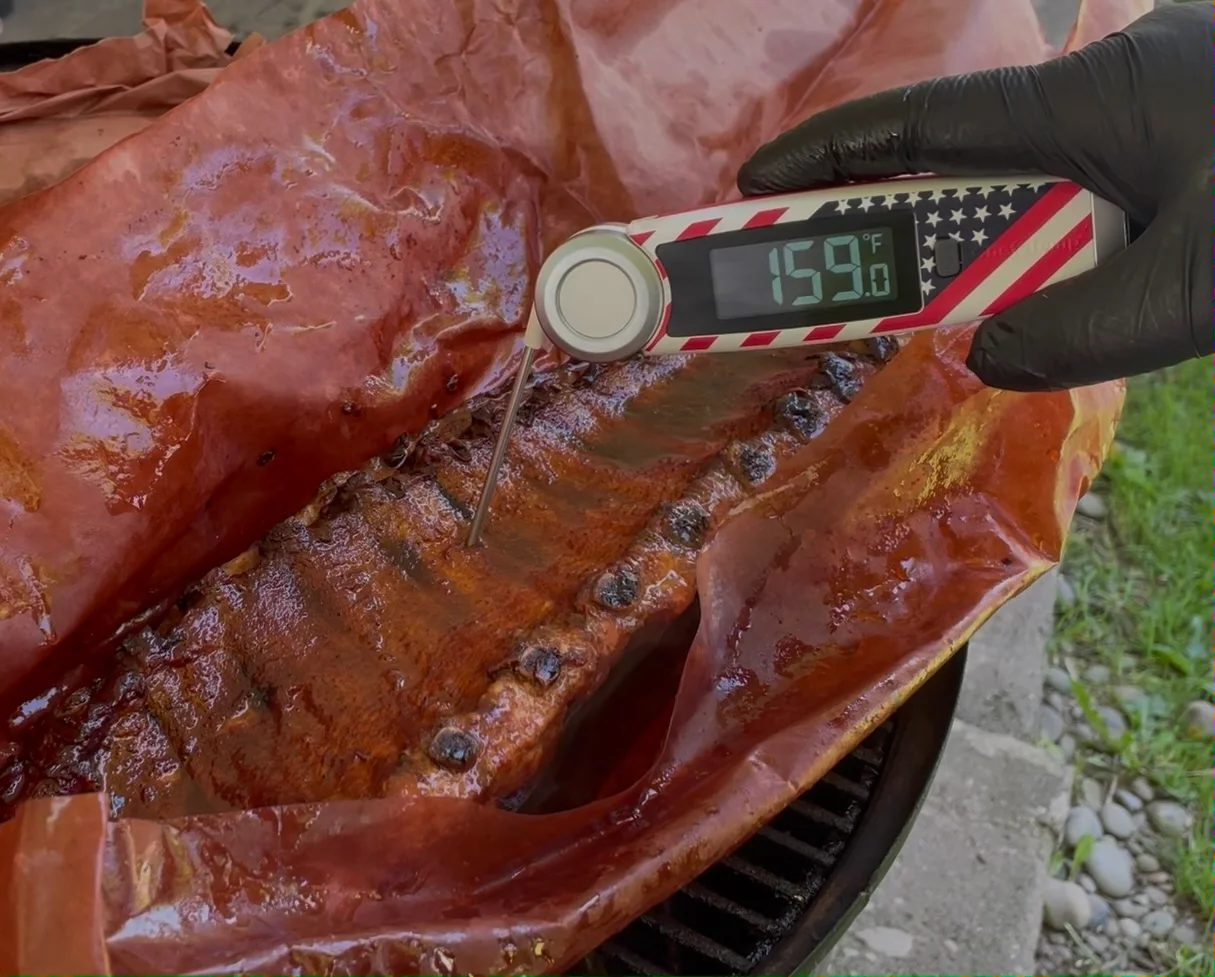
The lawn was freshly mowed, and the two-hour alarm went off; it was time to check in on the experiment, and I was in for a few surprises.
The first surprise was the results of the foil-wrapped ribs. Even at the low cooking temperature of 225 degrees, when I unwrapped these ribs, I could tell immediately that they were done.
Right away I could see a lot of meat pulling back from the bone (a tell-tale sign the ribs are done). When I went to pick the rack up out of the foil, the bones were coming right out, and the meat was extremely tender, falling apart to the touch.
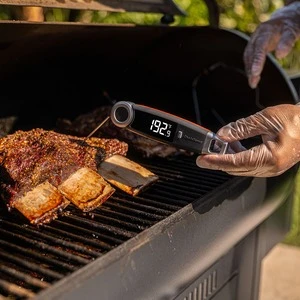
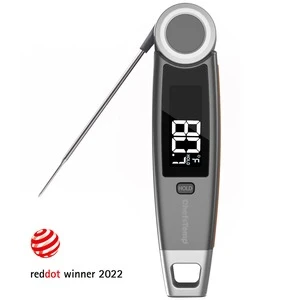
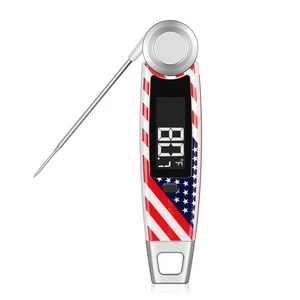
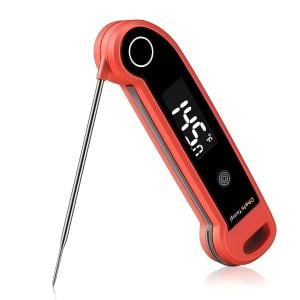
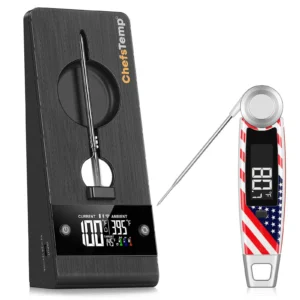
Using the Finaltouch X10 Professional Instant Read Meat Thermometer – USA Patriotic Limited Edition – the meat was temping anywhere from 203-206 degrees depending where I placed it. And when inserting it, there was hardly any resistance in the meat.
I opted to stop cooking the foil rack at this juncture. Personally, I like more of a bite-through rib than a fall-off-the-bone rib – and since this meat was literally falling off the bone already, I didn’t see any reason to continue cooking it.
I pulled it out of the cooking liquids and set it aside on a cooking sheet, wrapping a fresh sheet of foil over it to stay warm while the other ribs finished.
Another surprise: when I opened the butcher paper rack, it was tempering less than the unwrapped rack – about 160 degrees on the butcher paper-wrapped rack vs. 165 degrees on the unwrapped rack. Going into this cook, I had never wrapped ribs in butcher paper, but hypothesized the rack wrapped in paper would cook quicker than the unwrapped ribs.
Once again, I left the unwrapped rack alone, then placed the butcher paper rack back on the smoker, now unwrapped. I set a timer for an hour, then went inside to start preparing some side dishes.
Finishing Up
When the timer went off, the wireless probe in the unwrapped rack was telling me the internal temperature was about 195. I double-checked and confirmed that temp with the FinalTouch X10, and the rack that was covered in butcher paper was a little behind, sitting at around 185.
I closed the lid and let these racks finish in their own time. The unwrapped rack was done in another 10 minutes or so, and the rack wrapped in butcher paper took about another 30 minutes.
If I learned anything from this experiment, it’s this — I’m glad I didn’t pull the racks of ribs off the smoker based solely on time.
I think the classic 3-2-1 method is a decent guideline or starting point, but pit masters should prepare to alter course based on accurate internal temperature readings offered by the ChefsTemp ProTemp S1 Smart Grill Temperature Controller Upgrade Package.
Taste Test
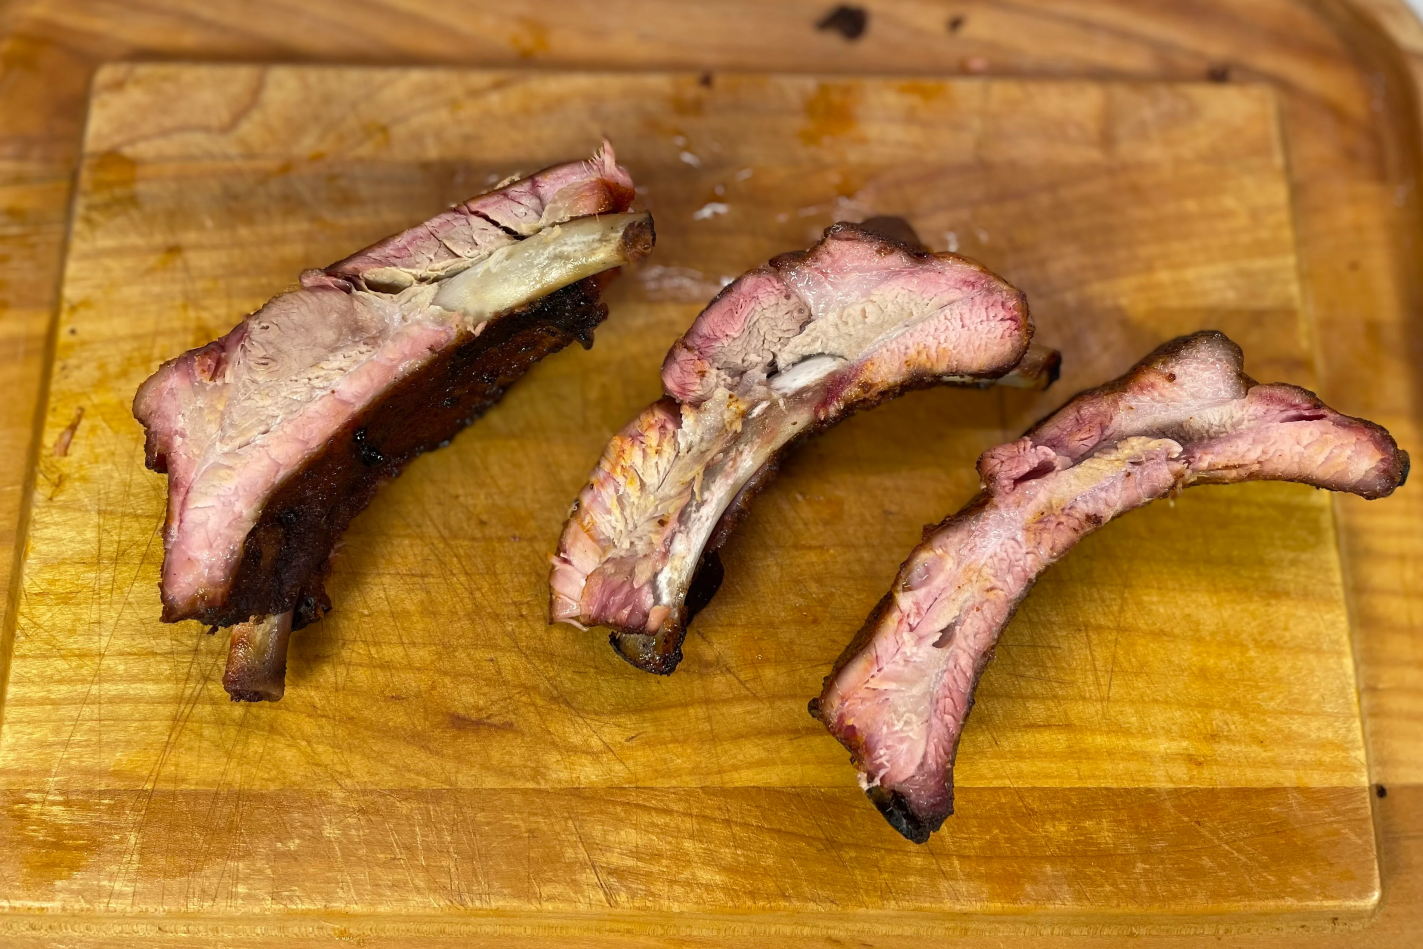
My personal favorite was the butcher-wrapped version. These ribs weren’t overly smoky, had great flavor from the sugar, butter, and broth they cooked in for a couple of hours, and had a nice bite to the texture and tender meat.
The bark on the butcher paper rack was pretty good too. The ribs that were unwrapped the entire time definitely had the best bark and had the best smoke ring as well. The unwrapped version also had tender meat, and since I was monitoring the temperature of both these racks closely, I pulled them off around 200 degrees – the meat wasn’t at the fall-off-the-bone status like the foil-wrapped version.
The ribs wrapped in foil were by far the most tender when they came off the grill. After sitting for an hour or so as the other racks finished cooking, they unfortunately dried up a little bit. Despite this, they maintained their fall-off-the-bone status as I was able to easily pull the bones right out of them and slice through no problem with my kitchen knife.
When the foiled rack came off the smoker, I did, of course, sample a couple of the ribs that fell off the rack while I was removing them from the smoker. The meat was by far the most tender of the three racks – it just about melted in my mouth. Similar to the butcher paper wrapped version, these ribs had a nice flavor thanks to the butter, sugar, and broth they cooked in while they braised for two hours.
Overall, this was a great experiment, and I ended up with three racks of nicely smoked ribs that my family enjoyed eating for a few days. I’d highly encourage you to try something similar.
There is no right or wrong way to cook ribs – the end result all comes down to personal preference, and the ChefsTemp upgrade package certainly makes it easier to control your smoker while you decide how you want your ribs to turn out.

Matthew Mosher is a life-long resident of Upstate New York, where he’s been grilling since he could hold a pair of tongs. You can find him grilling or smoking meats year-round, even during snow storms. Matthew’s favorite things to put on the grill are chicken wings, ribs, pork butts, and bacon.