Preparing the Roast
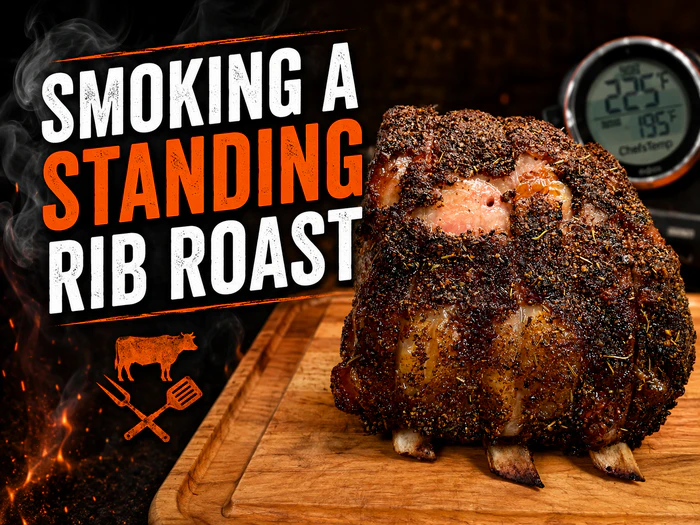
Whether you’re looking to wow your guests or prepare an outstanding meal for a special occasion, a standing rib roast will undoubtedly impress.
A birthday celebration is one such occasion to splurge a little and treat yourself and family to a fine cut of beef.
This can certainly be an intimidating cut to cook – if for no other reason than the price. My local butcher was offering this particular bone-in ribeye roast for $22/lb.
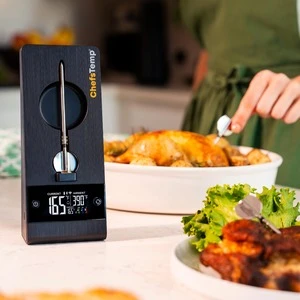
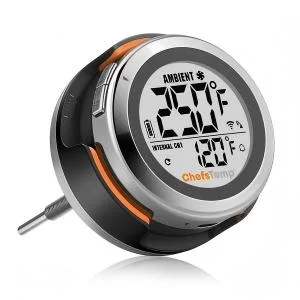
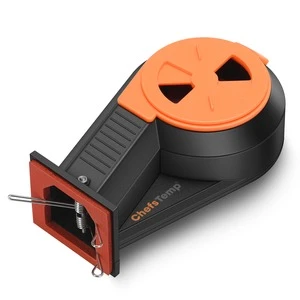
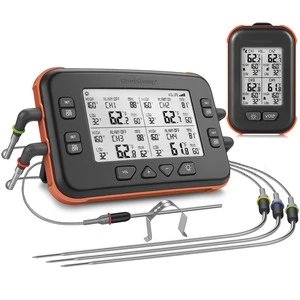
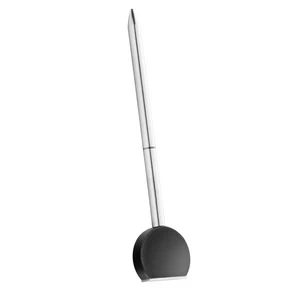
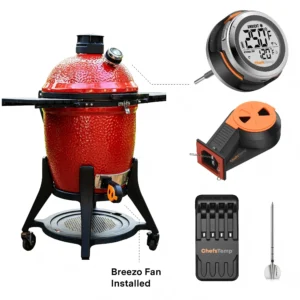
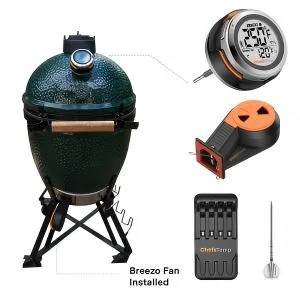
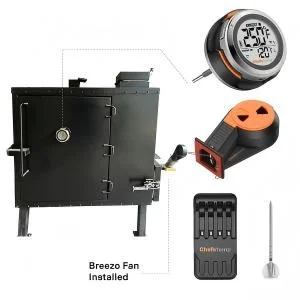
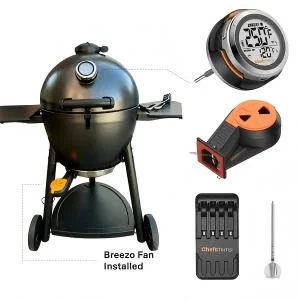
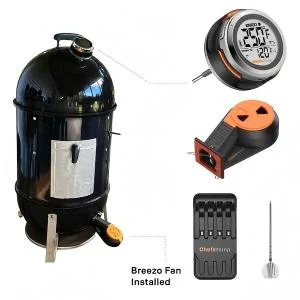
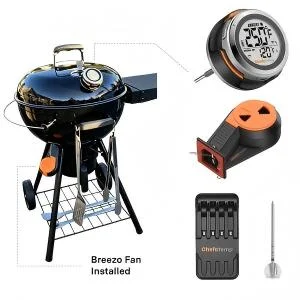
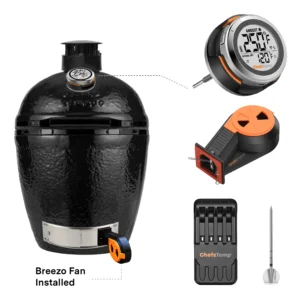
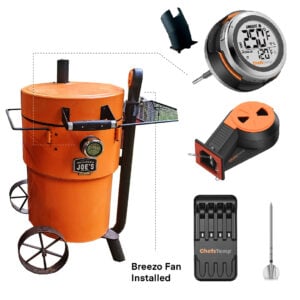
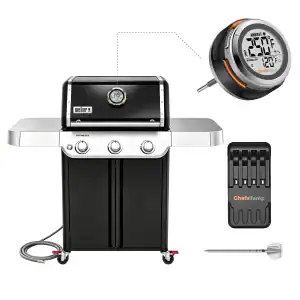
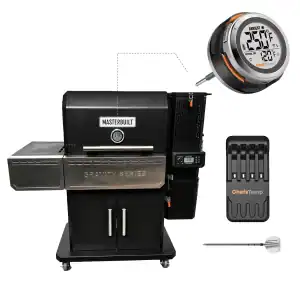
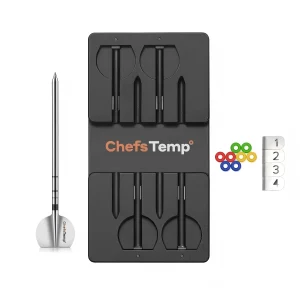
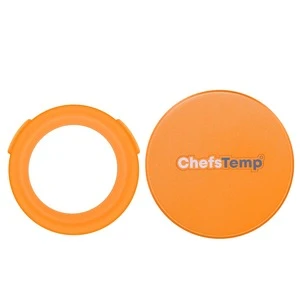
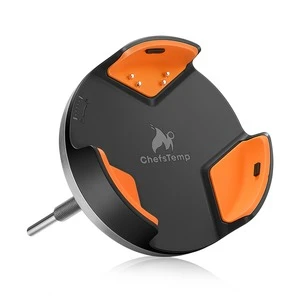
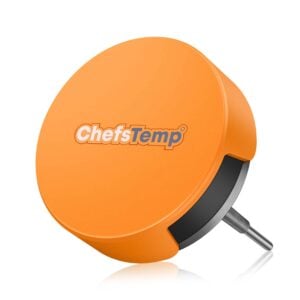
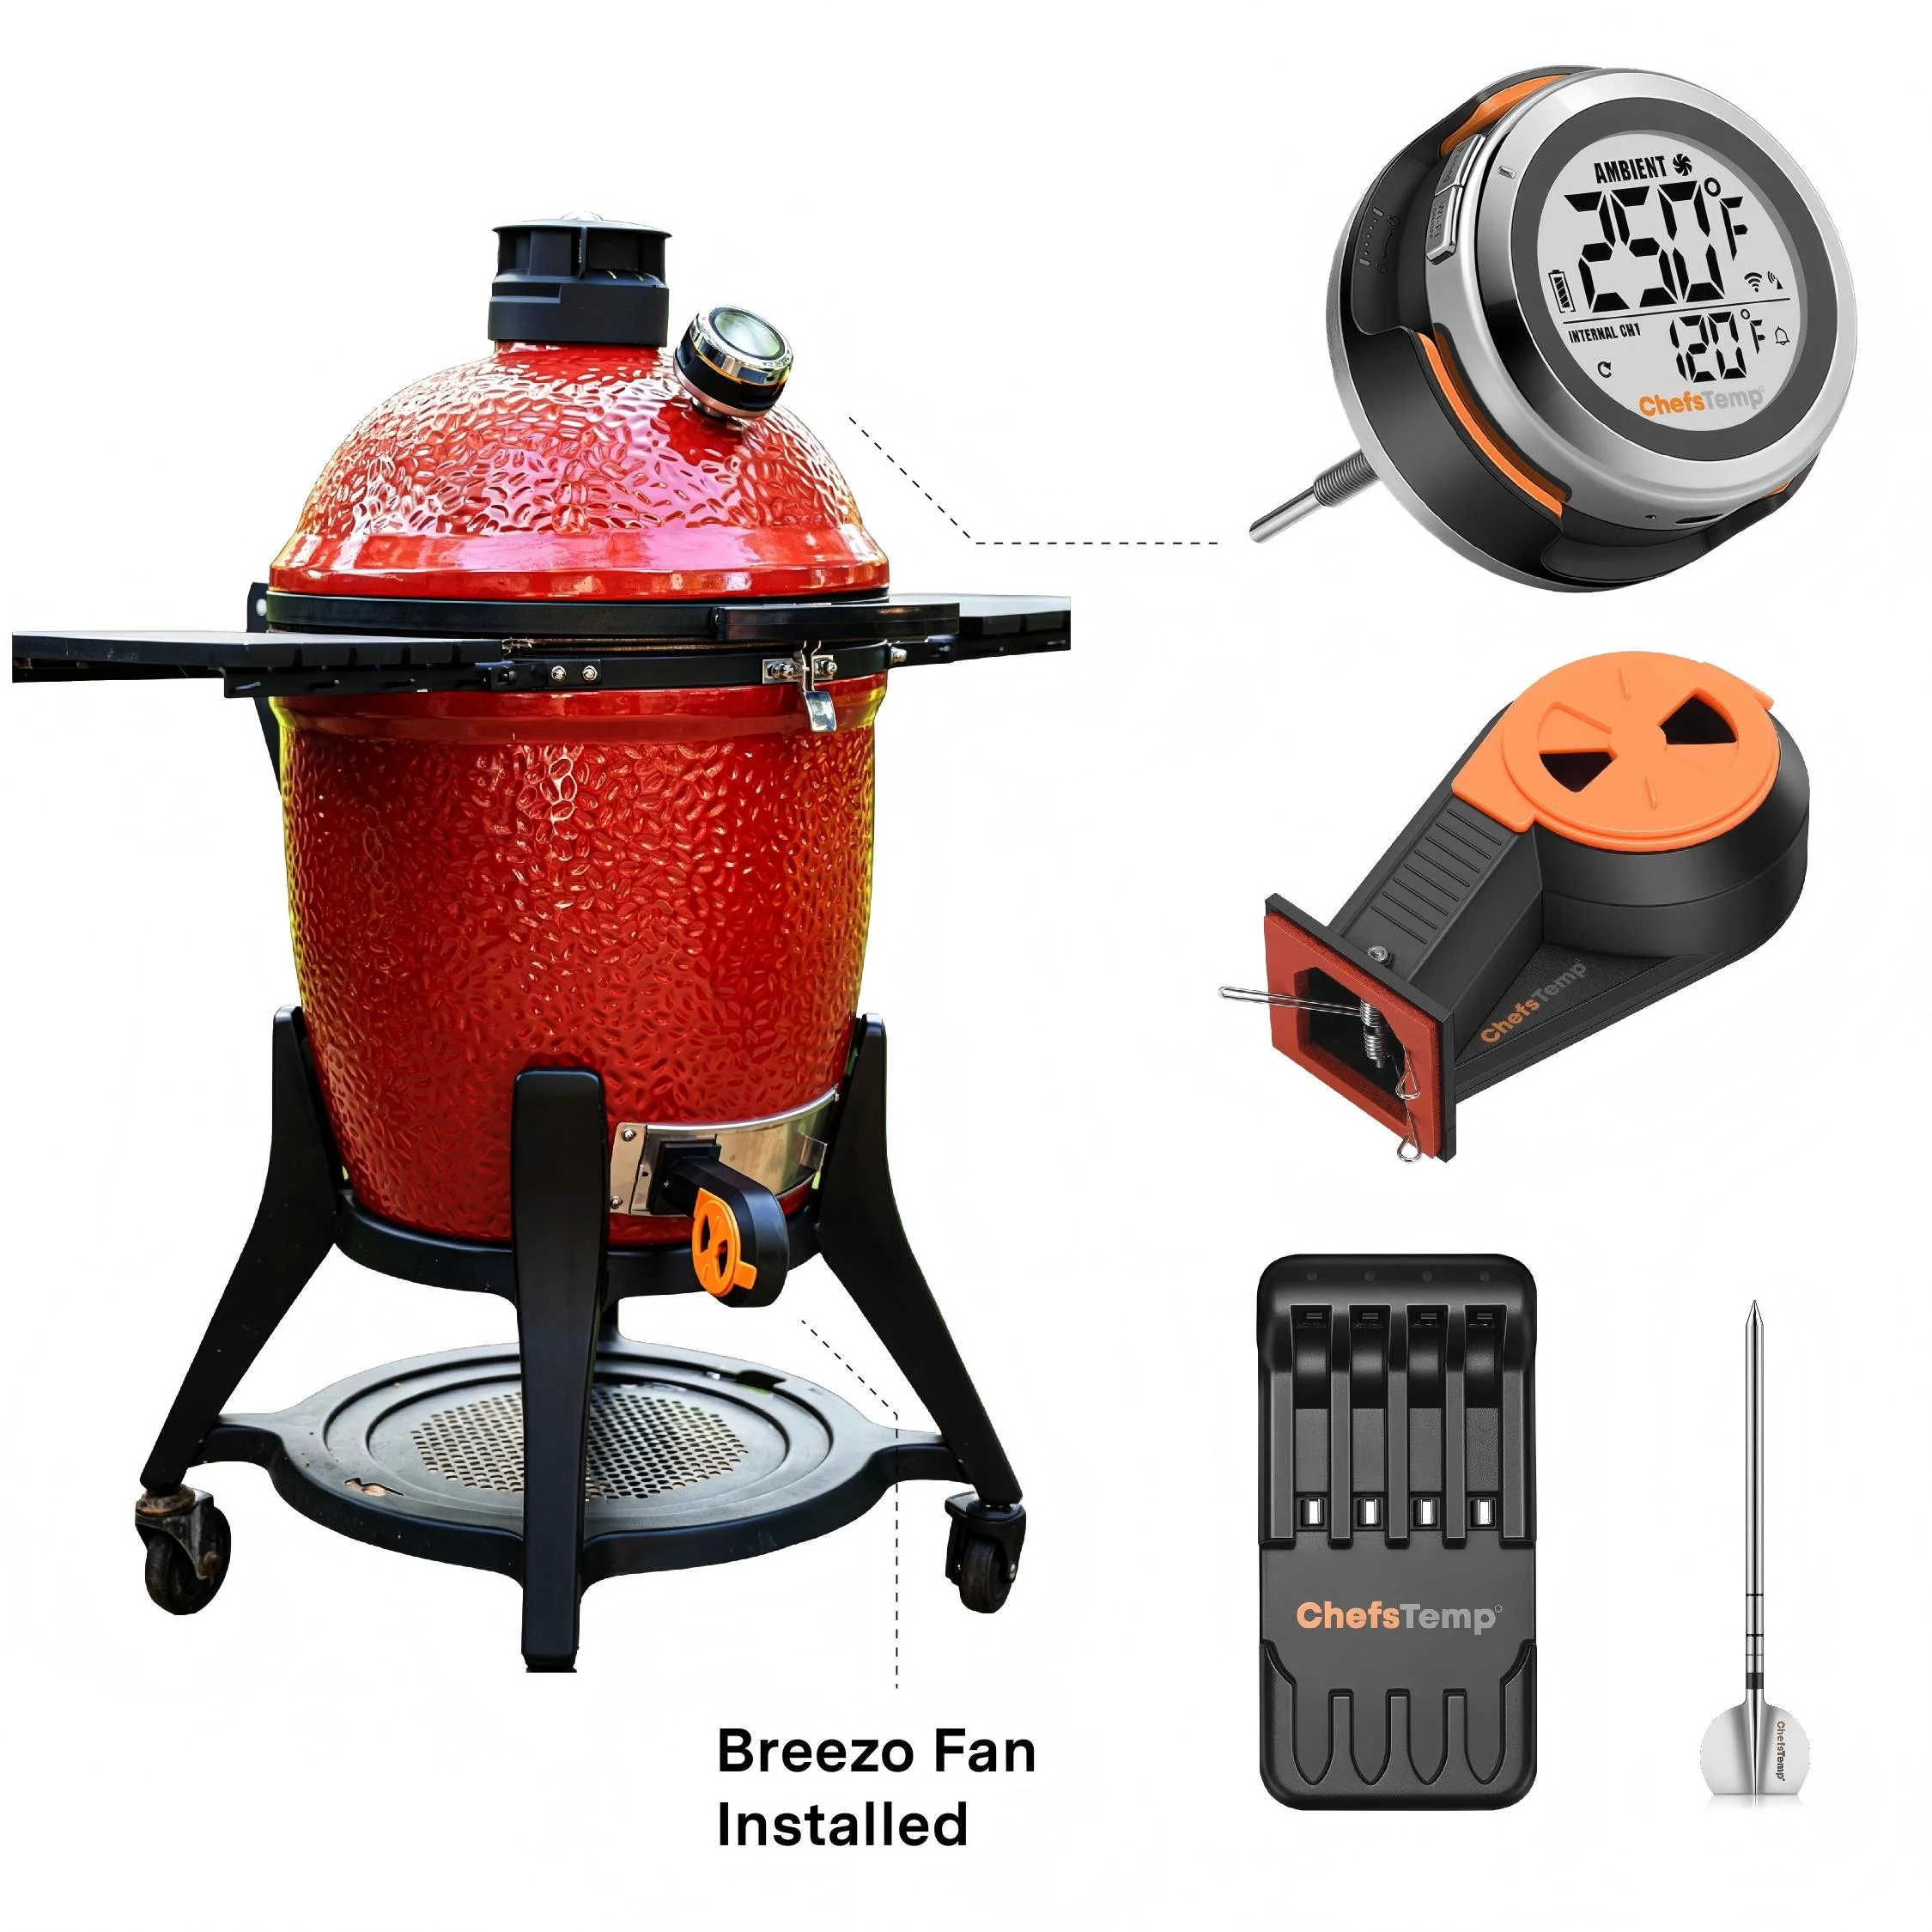
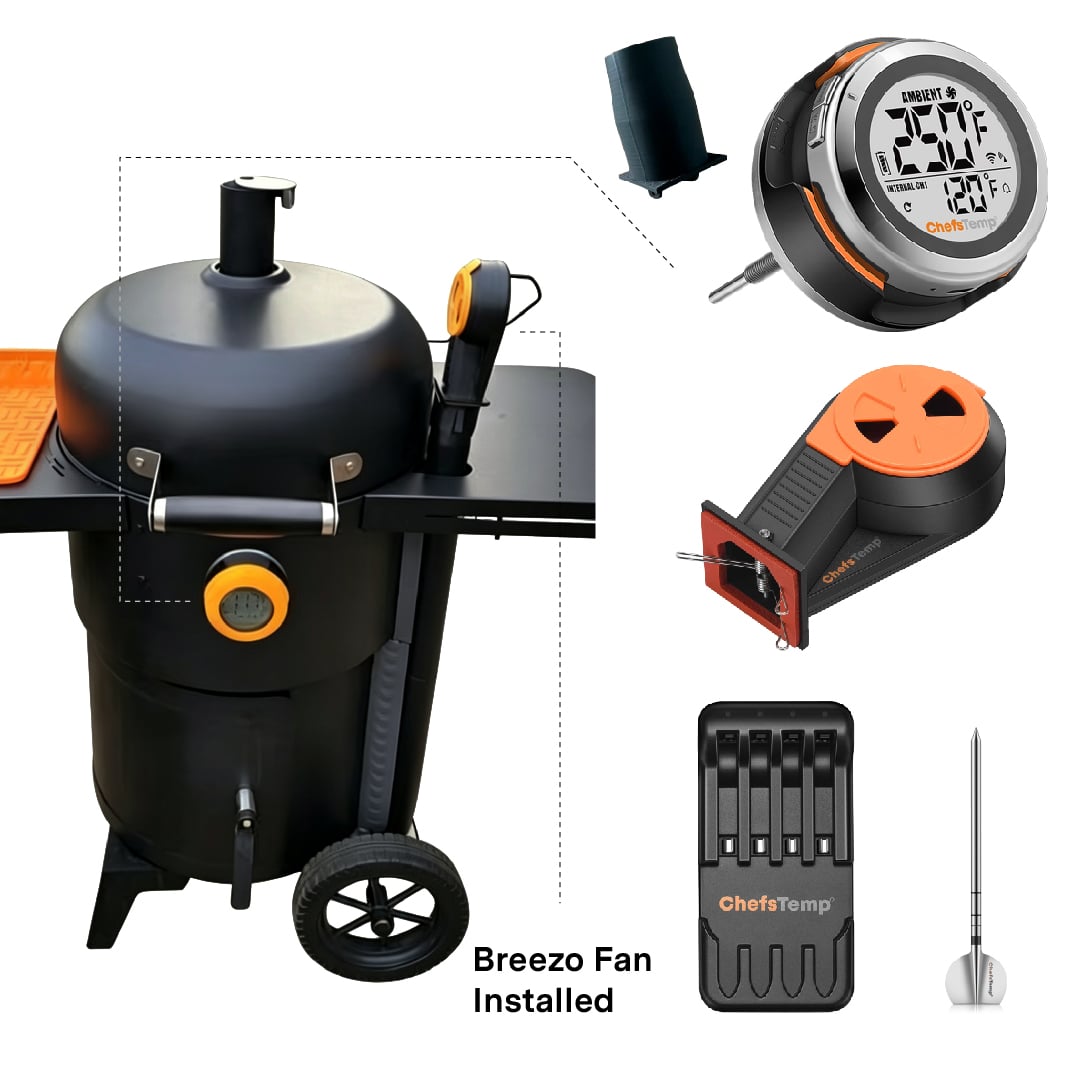
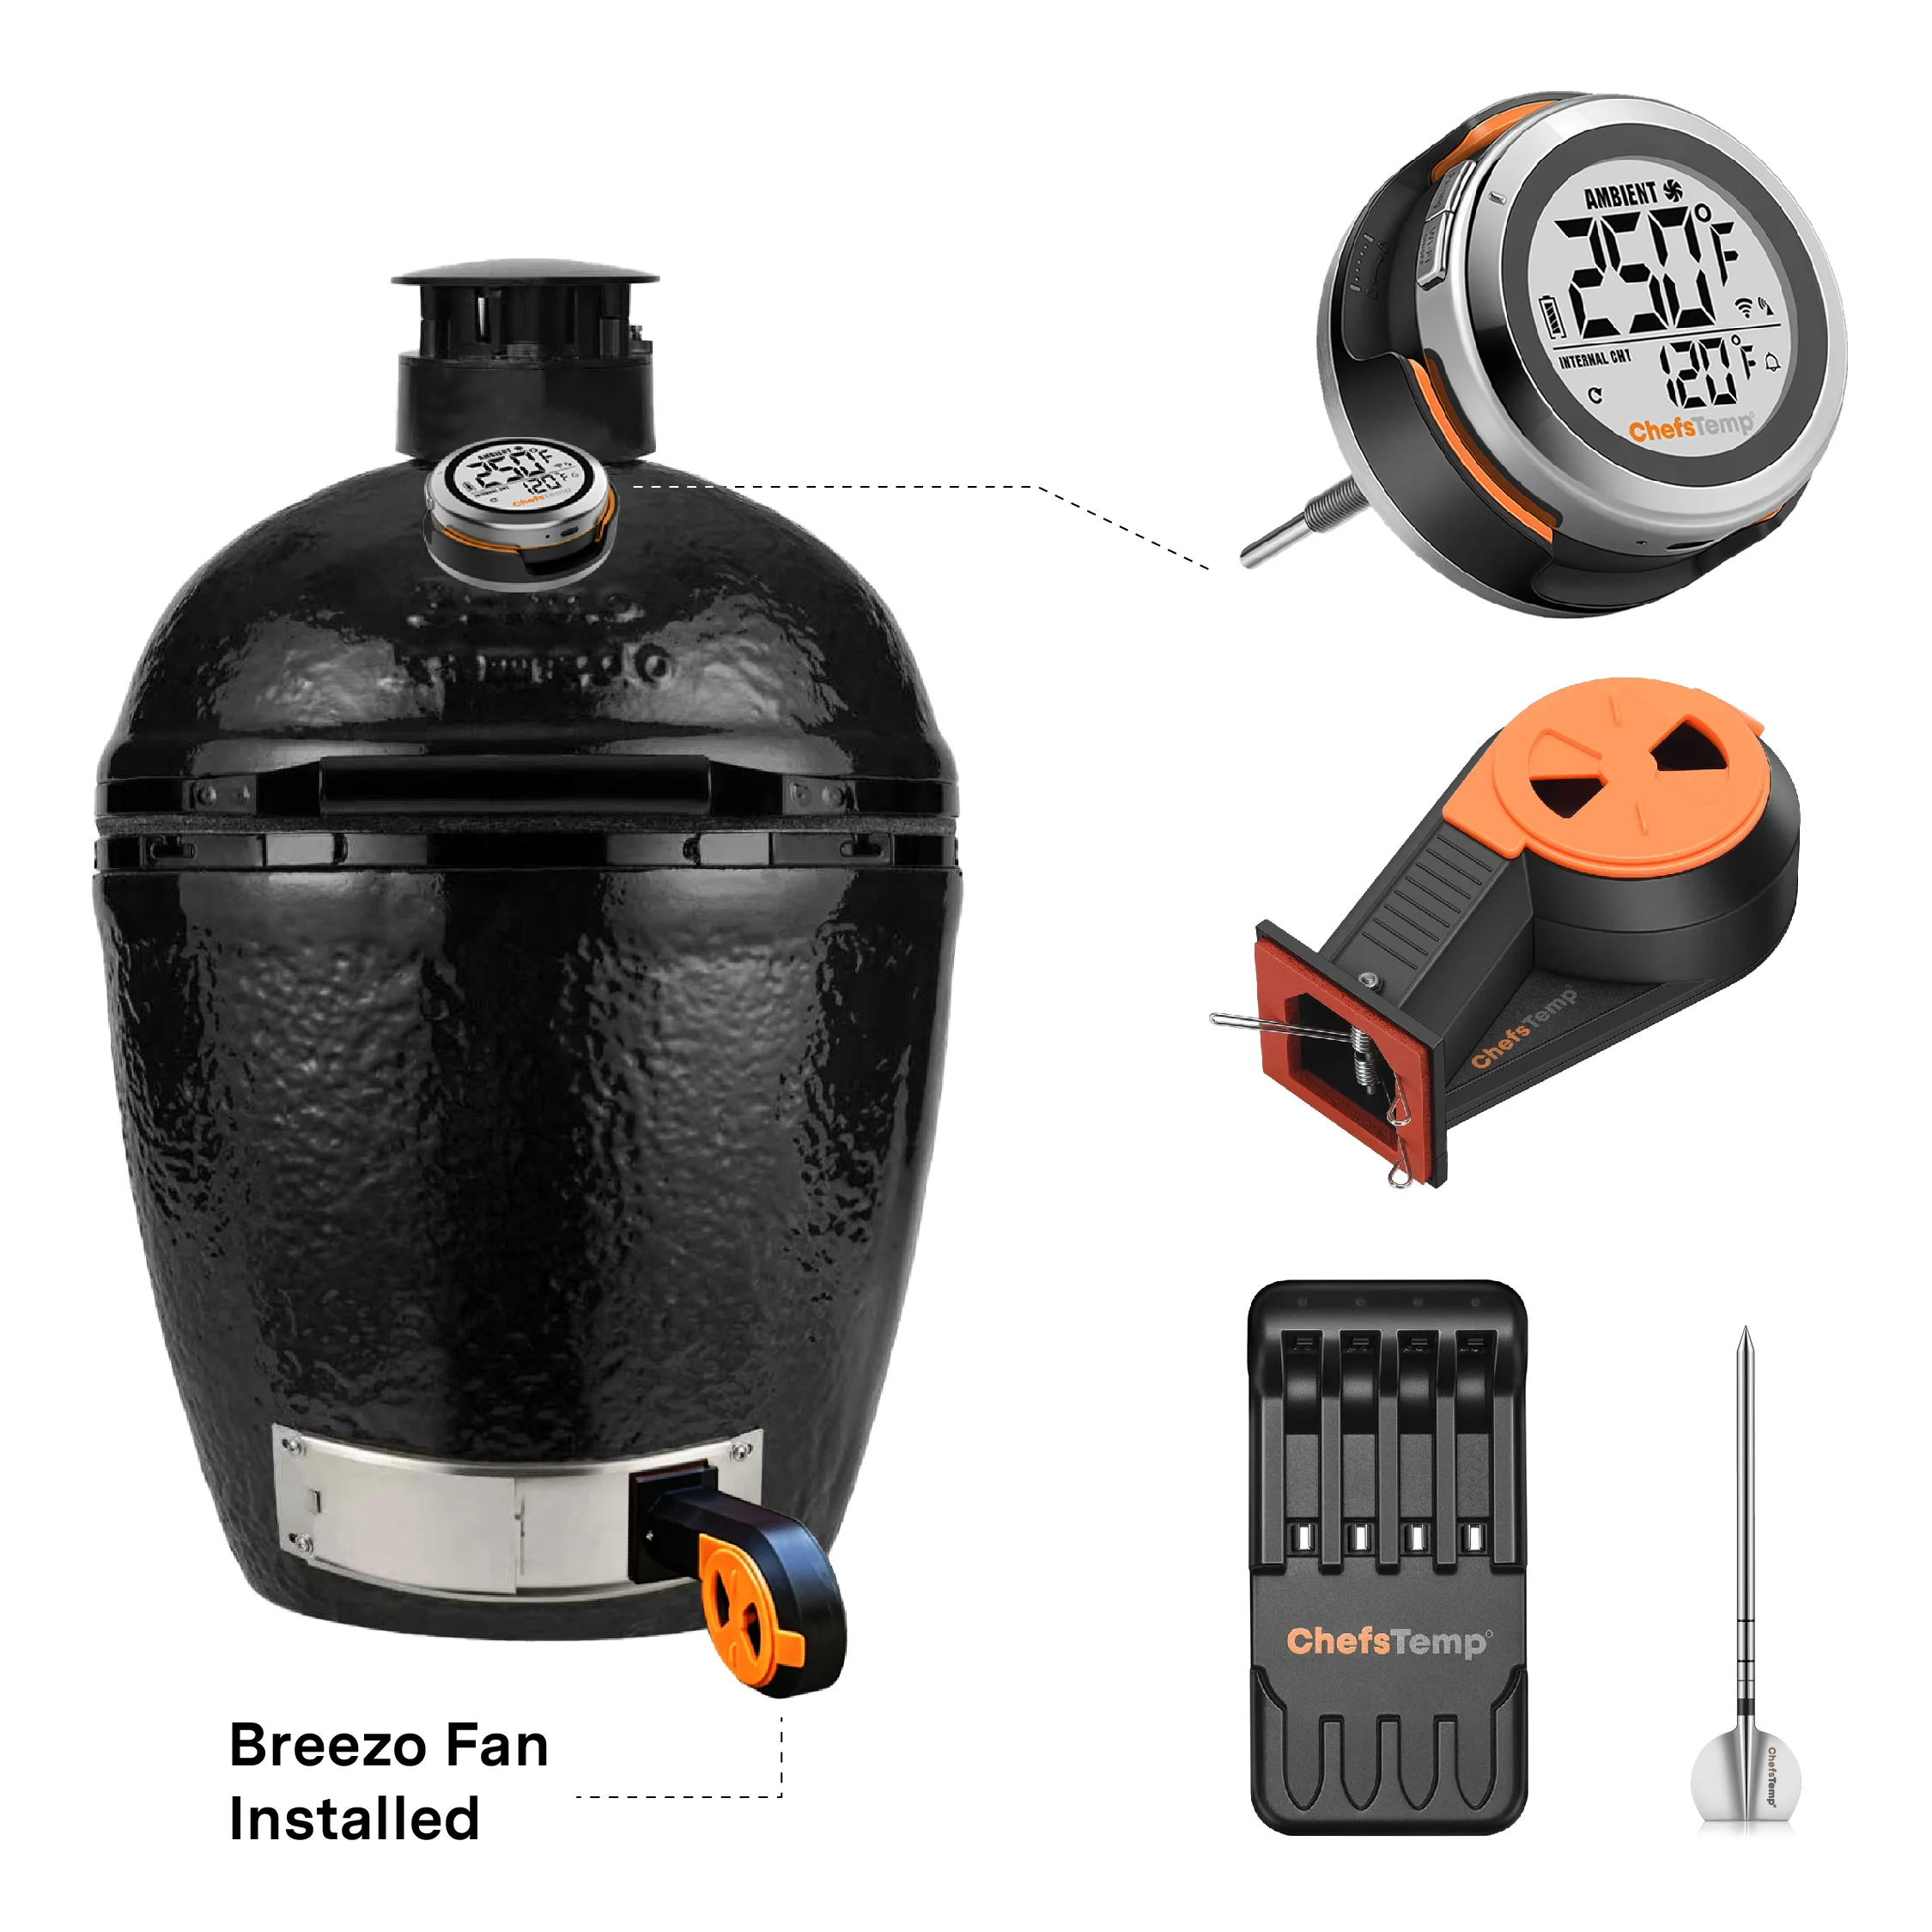
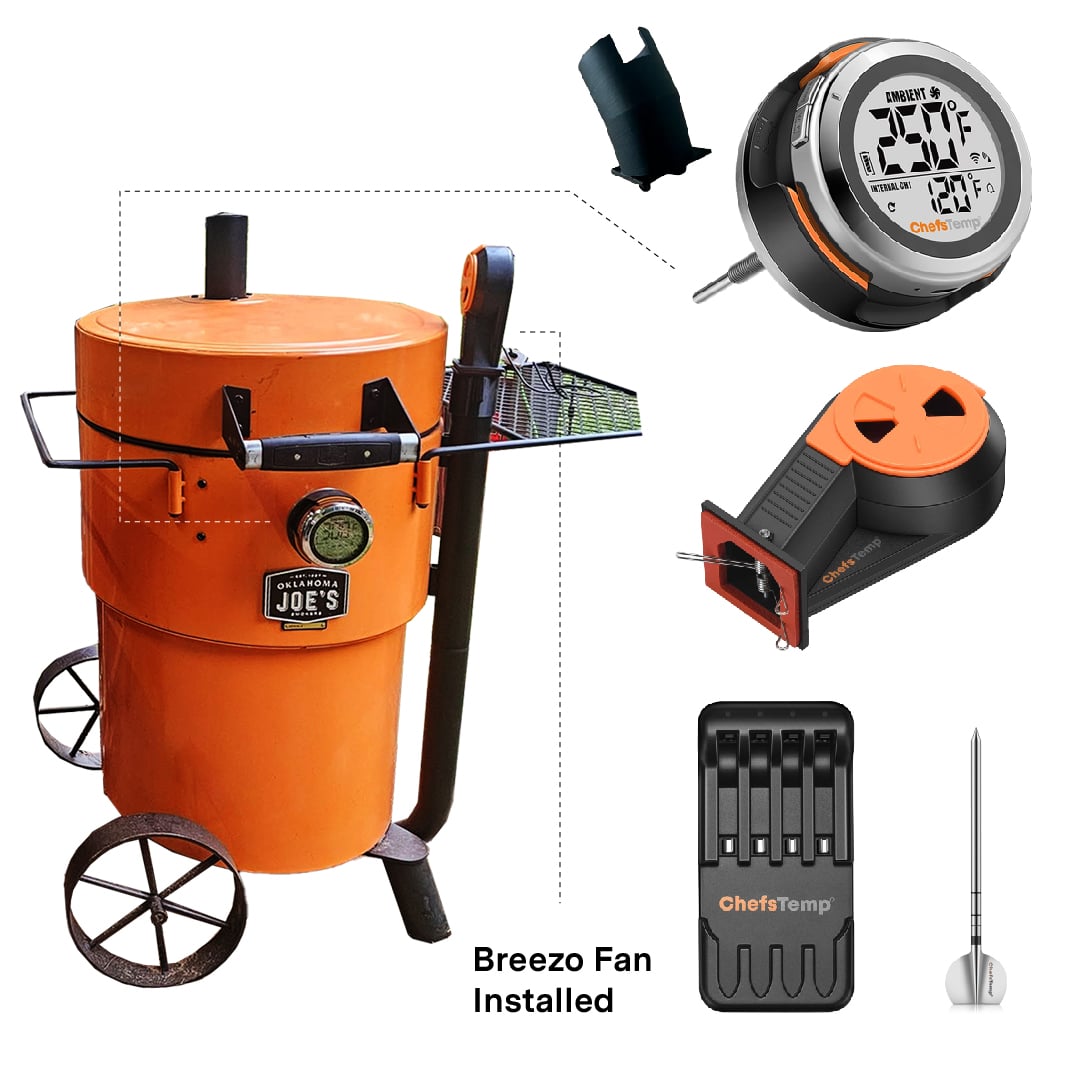
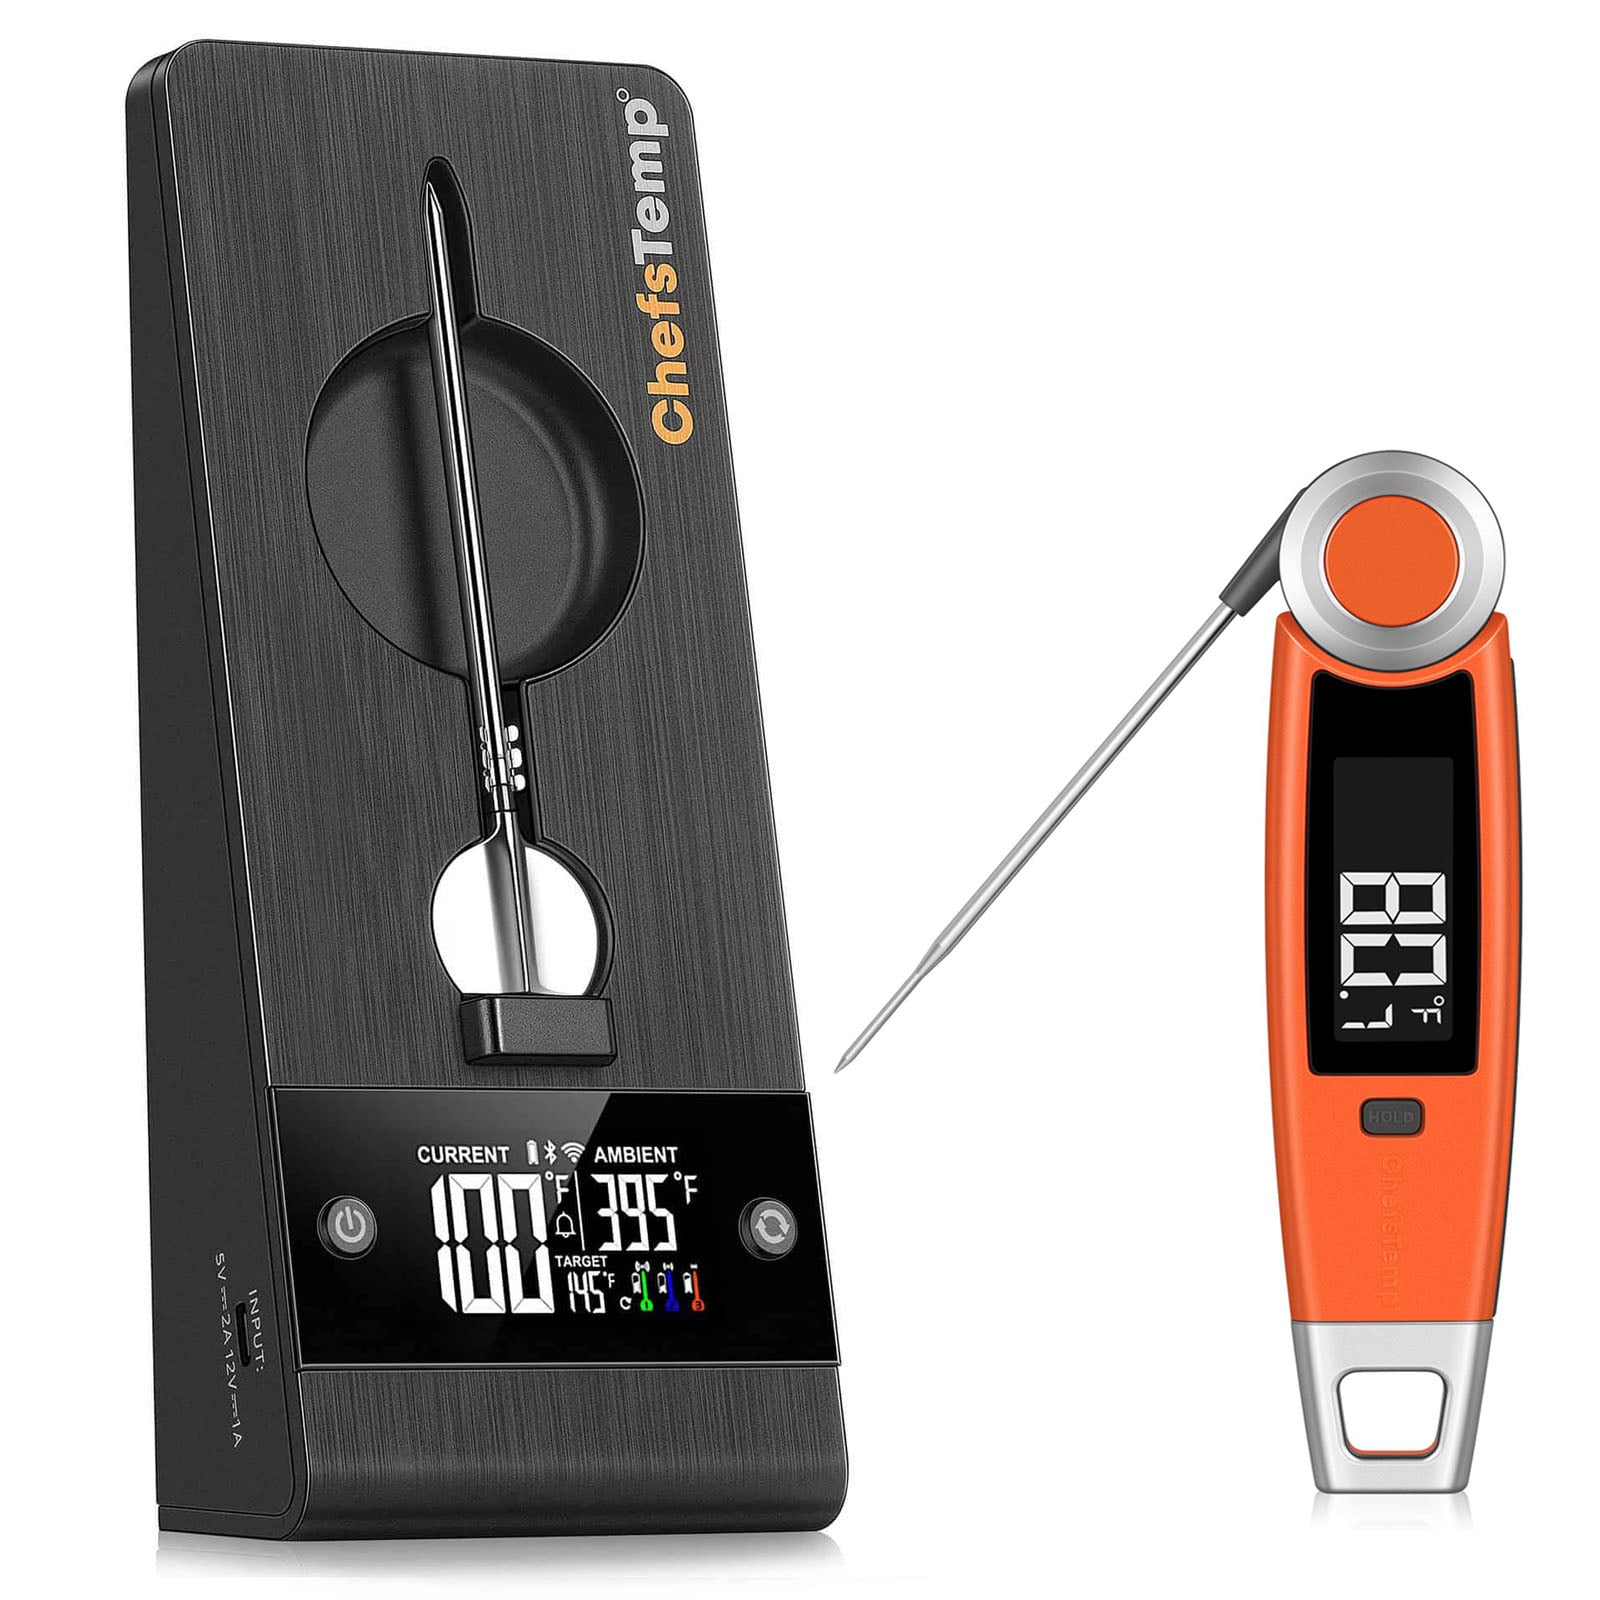
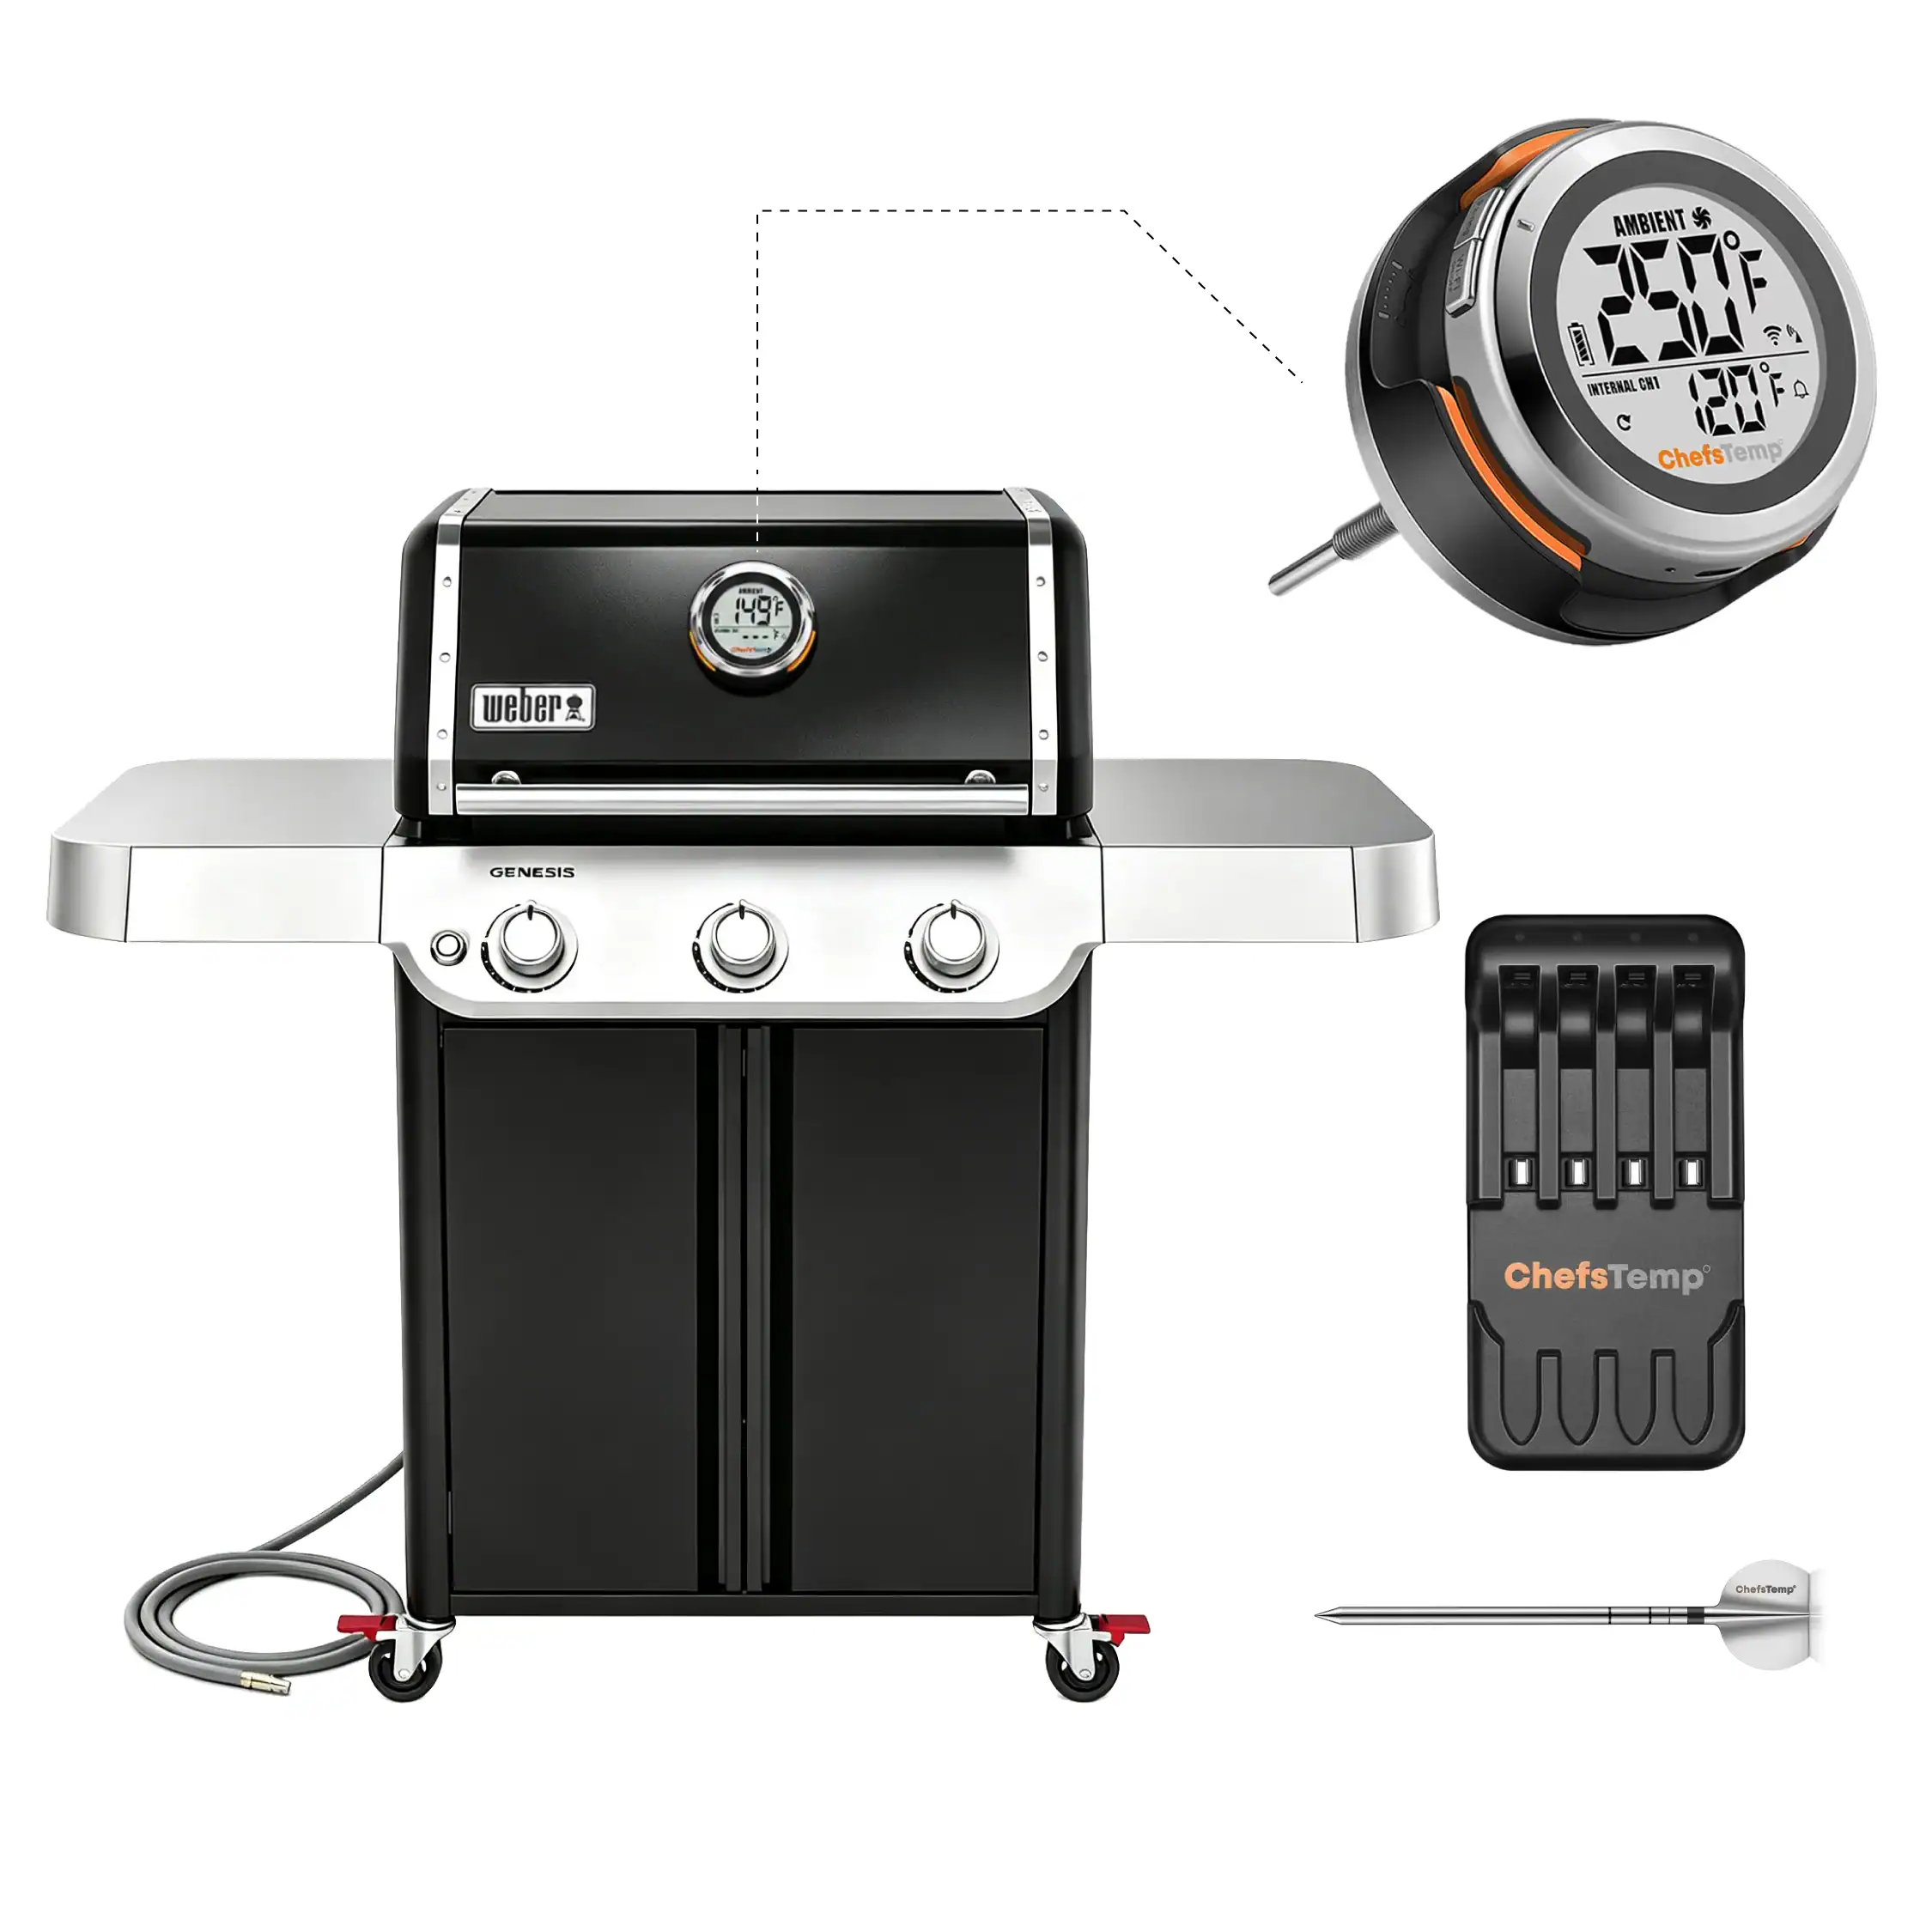
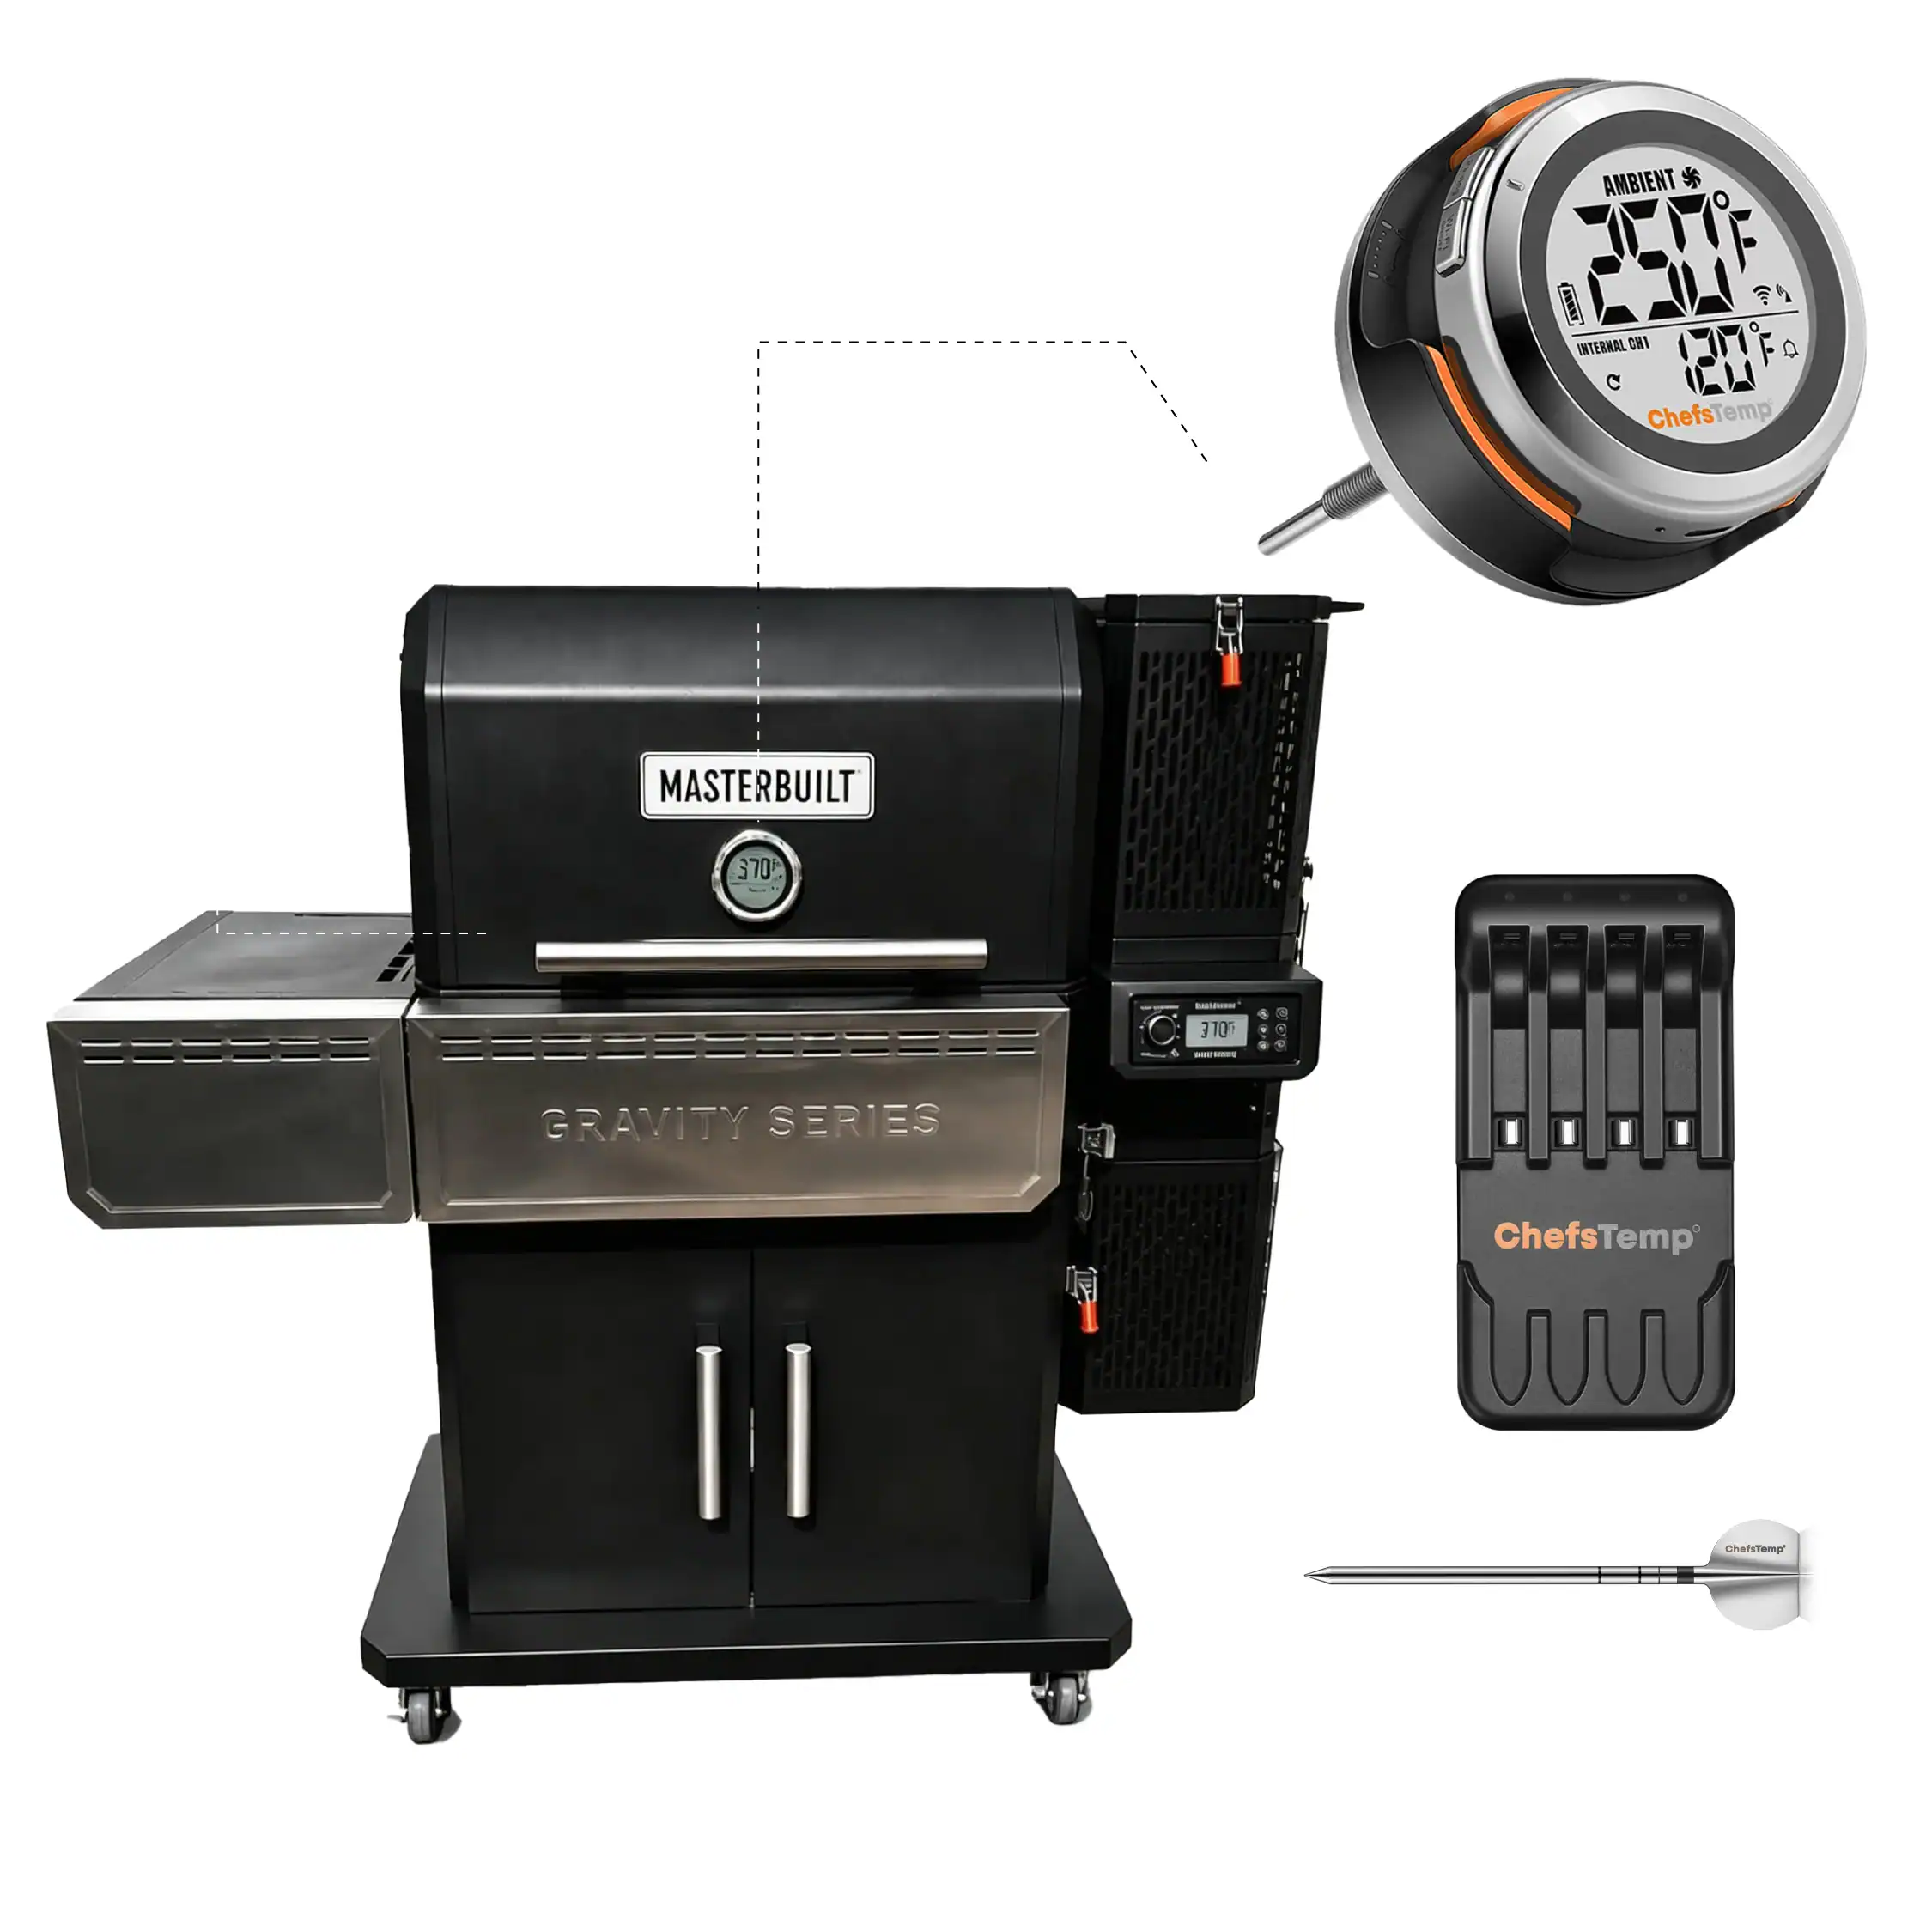
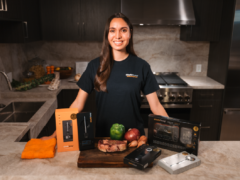
When you’re shelling out that kind of cash, you want to make sure to cook it right, and since I wanted to cook this on my Weber Smokey Mountain, using the ChefsTemp ProTemp S1 Smart Grill Temperature Controller Upgrade Package to help maintain a consistent ambient temperature and monitor internal temperatures of the meat was crucial to success.
To start things off, I pulled the roast out of the fridge about an hour before I wanted it to hit the smoker. After a few splashes of Worcestershire Sauce, I heavily coated the roast on all sides with a homemade spice blend of salt, pepper, garlic, herbs, crushed red pepper, and white pepper.
Let the Cook Begin
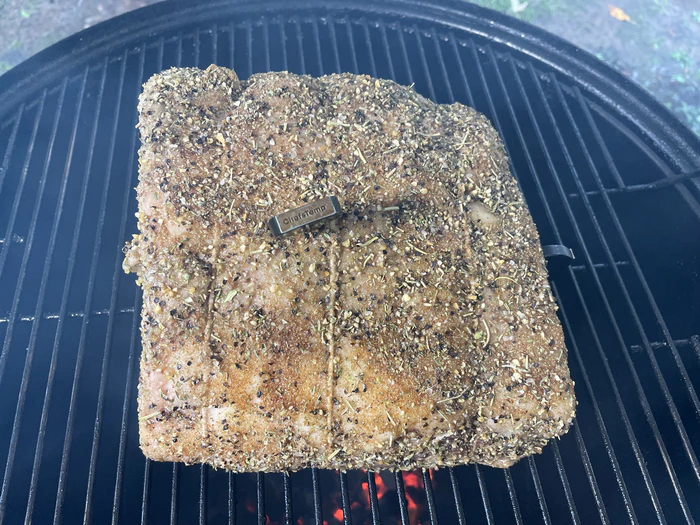
I set up my WSM with a bed of coals and a couple of chunks of hickory wood. For this cook, I left the water pan out, as I wanted the standing rib roast to get hit with both radiant and convection heat while allowing the rendered fat to drip into the fire to create extra flavor.
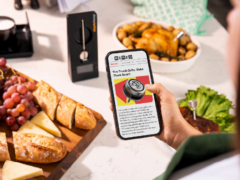
Setting up the Breezo V2 BBQ Temperature Control Fan with the ProTemp S1 Smart Grill Gauge Thermometer Hub is fast and simple. I’ve used the upgrade package dozens of times at this point, and it only takes a couple of extra steps to set up – and pays dividends in reliably controlling the ambient temperature of your smoker.
If it’s your first time using it, the initial setup only takes about 10 minutes to swap out the analog thermometer and pair the Smart Grill Gauge via Bluetooth or Wi-Fi.
Once I poured about half a chimney of lit charcoal into the WSM and put the rest of the smoker sections on, I opened the ChefsTemp app and set the Breezo fan to 275 degrees.
The day I cooked this roast, there was heavy rain and severe thunderstorm warnings in the region. On days like this, I’m glad I have a patio with a roof overhead, since you do want to keep the Breezo fan away from moisture.
With the smoker out of Mother Nature’s reach and the Breezo fan handling temperature control, I went inside to prep some side dishes and make a simple horseradish sauce like this one from Natasha’s Kitchen.
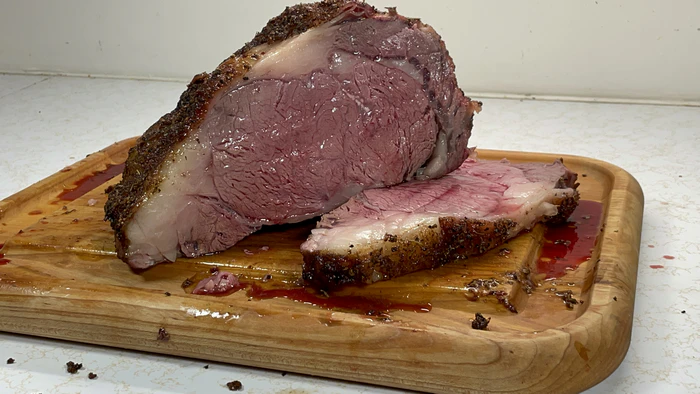
For the standing rib roast, my goal was to get a medium-rare to medium finish, as my kids are a bit squeamish about “bloody” meat. I know, and I have tried to explain to them that even though it may look like blood, the liquid that comes from cooked beef is typically a mixture of water and myoglobin.
According to the steak school, Myoglobin is a special protein found in muscle tissue that stores and carries oxygen. As meat cooks, heat changes the structure of myoglobin, causing it to darken, and the iron contained within it turns red. But good luck explaining this to a child and maintaining their appetite.
Hitting your target temperature
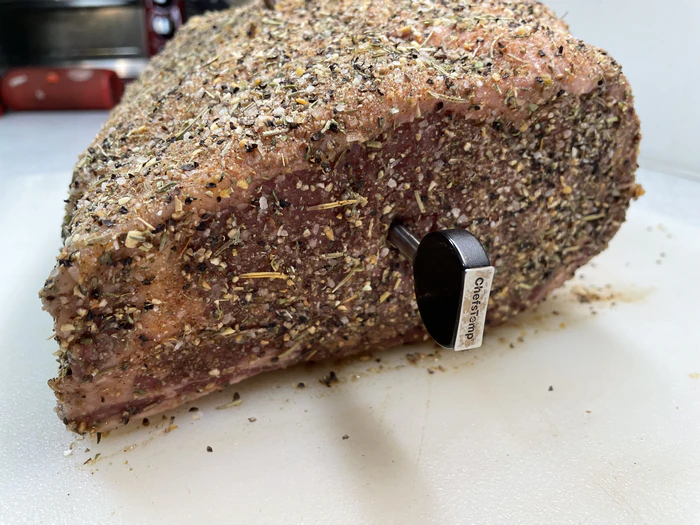
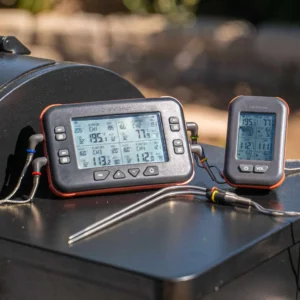
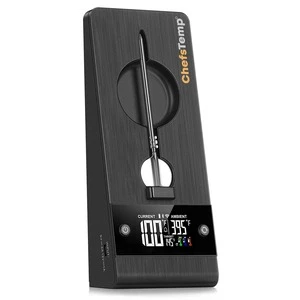
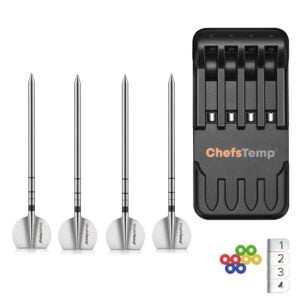
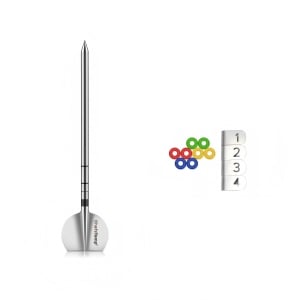
With large cuts like a standing rib roast, monitor internal temperatures with wireless probes throughout the cook. When targeting specific temperatures, it takes a little bit of planning ahead and pulling the meat off a little early.
This is due to carry-over heat, which continues to raise the internal temperature even after pulling the roast off the cooker. For instance, if you want a medium-rare finish from 130-135 degrees, pull the roast off at around 125 degrees and factor in at least 5-10 degrees of carryover heat.
This is where the app comes in handy again – I set an alarm to go off at the 125-degree mark, and a separate alarm to alert me if the ambient cooking temperature got too hot or too cold.
With that peace of mind, I could focus on prepping side dishes and getting a few things done around the house, since the app would notify me when the wireless probes hit the set temperature and an alarm would go off to remind me to take the roast off the smoker.
One of my personal favorite cuts of beef is the ribeye – and a standing rib roast (also known as prime rib) is essentially a giant bone-in ribeye steak, but in roast form. This tender, flavorful cut of beef sits along the middle back between the chuck (shoulder) and short loin, where New York Strips come from.
Unlike a brisket or chuck roast, the standing rib roast isn’t loaded with connective tissue and collagen, so it doesn’t require extensive low-and-slow cooking. Think about your classic ribeye steak – one of the most common ways to cook it is a quick high-heat sear on both sides. Since a standing rib roast is a much larger cut than a single steak, searing it for a few minutes on each side isn’t exactly the best approach. But you also don’t want to smoke it at 225 degrees for hours like you would a brisket.
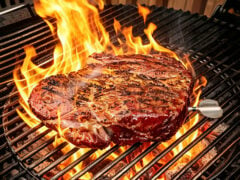
For this cook, I opted to avoid searing altogether, as we were after an overall soft, tender end result. Spending a little over two hours on the smoker over the coals produced a Maillard reaction and created some bark on the ends and the exterior.
Tip: Click here to read more about the best wireless thermometers in 2026 if interested.
Choosing your standing rib roast
Depending on how many people you plan to feed, you can ask your butcher to trim the roast to your needs. I was cooking for four and was hoping to score some leftovers, so I went with a three-bone cut.
Some butchers may offer a longer section of bone, which may look nice for final presentation, but keep in mind you are paying upwards of $22/lb for something you cannot eat.
Depending on how you want the finished product to look, you can take the time to French the bones—that is, trim a section of fat and meat back and scrape the bone clean to leave a section of exposed bone during the cook.
Something else to consider is what to do with the bones. An option your butcher might offer is to slice the bones off and then tie them back on. This could be useful at the end of your cook, as all you need to do is cut the string and pull the bones off to start slicing. For my cook, I chose to keep the whole roast intact, but I did have the butcher make a few ties with butcher string to help keep the roast together during the cook.
Finishing up
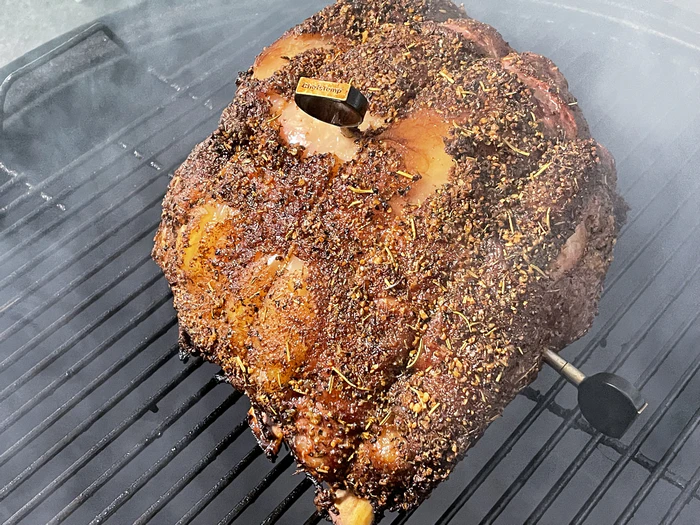
Compared to a brisket, ribs, and other low-and-slow cooks, this rib roast seemed to finish in a flash. About two hours after I set it on the smoker, the ChefsTemp app alerted me that my target temperature was approaching.
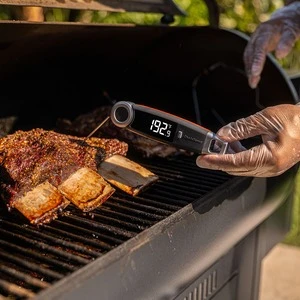
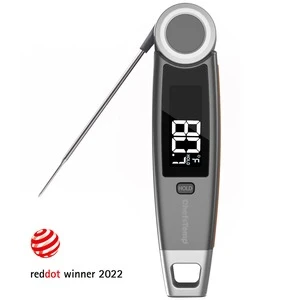
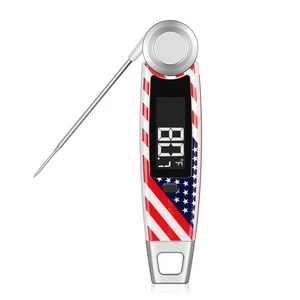
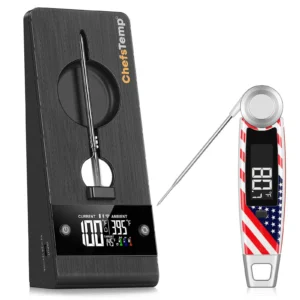
Opening up the smoker revealed a beautiful-looking piece of meat. A quick check with the Finaltouch X10 Professional Instant Read Meat Thermometer- USA Patriotic Limited Edition confirmed it was done, and it was time to pull it off for a rest.
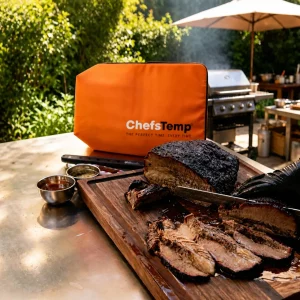
Carving into a freshly smoked standing rib roast is something we should all experience at least once in our lifetime. The smell is overwhelming, and the excitement builds as you pick up your knife for the first cut.
If you left the bones on like I chose to, the first thing you should do is turn the roast so you can slice along the back end and remove all the bones at once. This makes subsequent slices significantly easier.
One perk of a standing rib roast is the ability to “slice to order,” letting people choose how thick or thin a slice they want; if they prefer a more well-done or more seasoned piece, they can get an end cut. Or if someone wants more pink, then a slice from the middle is the perfect choice.
In my opinion, one of the best parts of the whole cut is the bone. There’s no gracious way to go about eating the meat off the bones if you’re hosting in front of polite company. But trust me when I say you’ll want to set those bones aside and treat yourself to a smoky, flavor-packed snack later.
This was the first time I smoked a standing rib roast, and based on these results, it sure won’t be my last.
Tip: Click here to read more about the perfect baby back rib temp if interested.

Matthew Mosher is a life-long resident of Upstate New York, where he’s been grilling since he could hold a pair of tongs. You can find him grilling or smoking meats year-round, even during snow storms. Matthew’s favorite things to put on the grill are chicken wings, ribs, pork butts, and bacon.
Related Posts
How to Make a Finger Linkin’ Good Marinated Pork Spare Rib Like a Pro
Who says only pitmasters can do justice to the pork ribs recipe? Grilling is the first thing that comes to min...
How to Cook Prime Rib Roast Perfectly: The Temperatures You Need!
Never cooked prime rib before? Or are you bored of cooking prime rib in a traditional way? Do you want to try ...
How to Cook with Perfect Temp – A Massive Piece of Rib
Everyone loves to do barbeque parties, even at our backyard patio. It was one of the perfect dinners for winte...
Chicken Internal Temp – Breast, Thigh, Fried, Roast Chicken
It is easier to cook other types of meat than chicken. Chicken has white meat and dark meat. Chicken breast is...
How to Select the Most Tender Cut of Beef and Cook it to the Right Temperature?
When cooking beef it is critical to select the right cut based on what style of cooking you are going to apply...
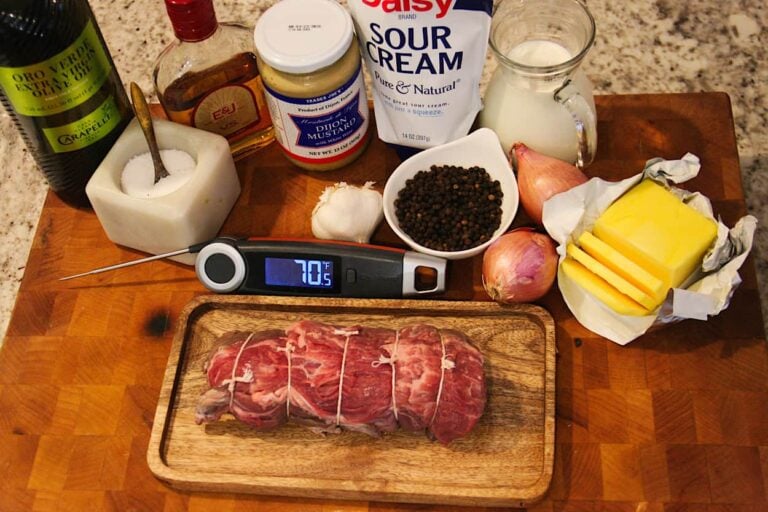
Tenderloin Series 2 Steak Au Poivre
What is Steak au Poivre?
Like all classic dishes of any notoriety, Steak Au Poivre has a muddied past full of...
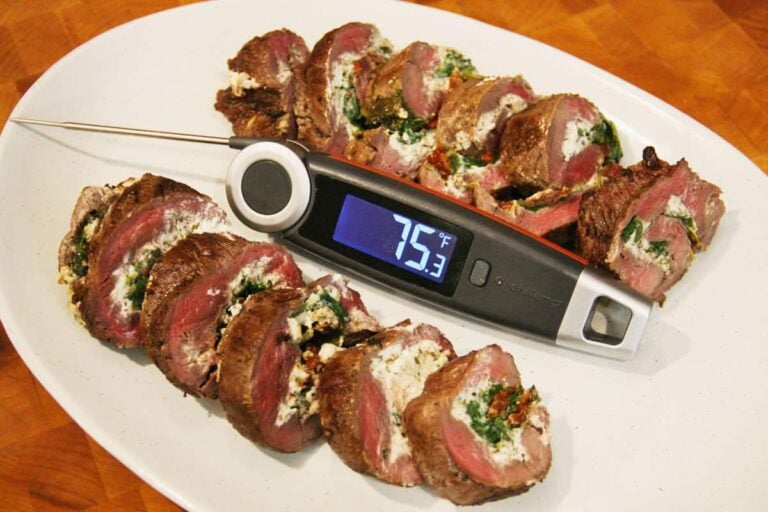
How to Prepare a Stuffed Beef Tenderloin?
A beef roulade is many things; elegant, delicious, and beautiful, but one thing it is not is complicated.
Tha...
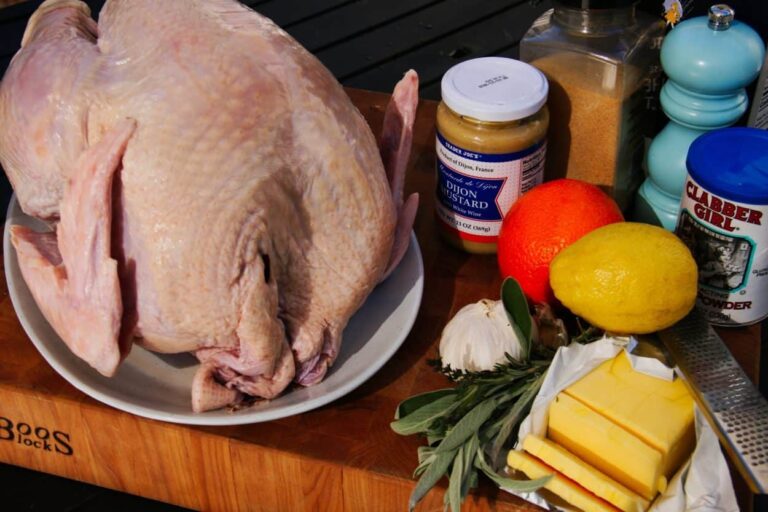
How to Thaw and Roast a Turkey
A properly roasted bird starts with a properly thawed bird. Fresh turkeys are becoming more popular, but the m...
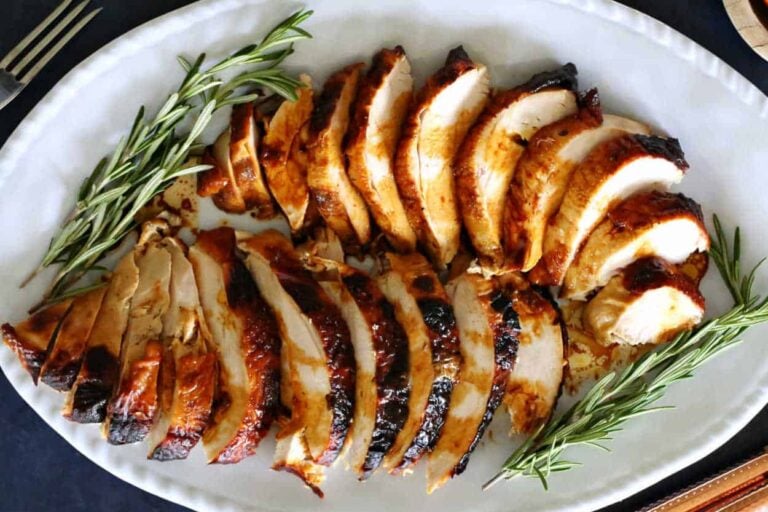
Roasted Turkey Breast with Buttery BBQ Honey Glaze
We’ve got your main dish covered with this beautiful roasted sweet and buttery BBQ glaze topped fresh turkey b...
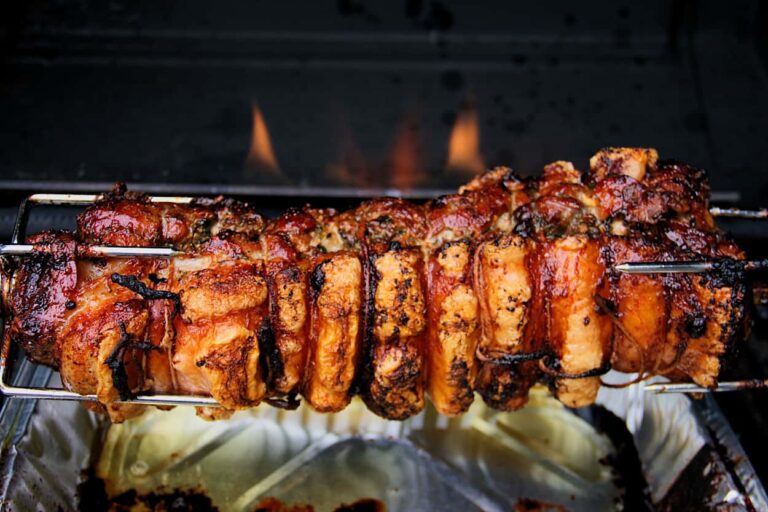
Traditional Italian Porchetta
Fall is coming, and with the changing of the seasons I also like to change up what I am putting on my grill. P...
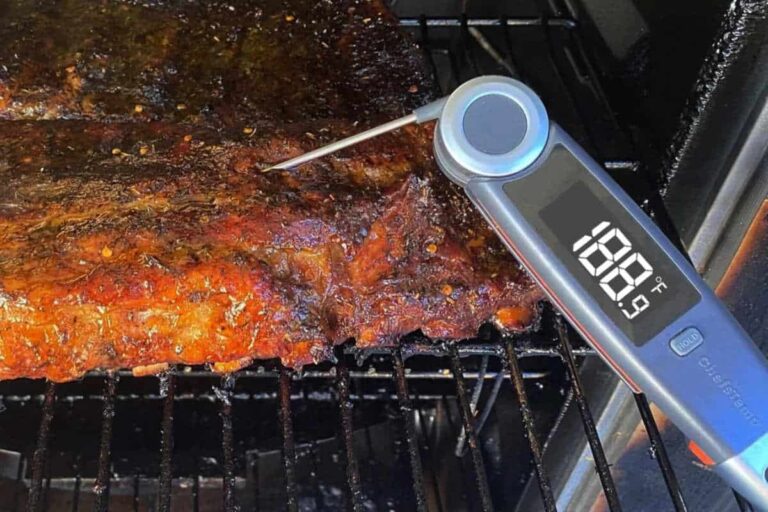
Are My Ribs Ready Yet? Knowing the Perfect Baby Back Ribs Internal Temp
When preparing ribs at home, you want to make sure they are properly cooked so the meat is juicy and tender. B...
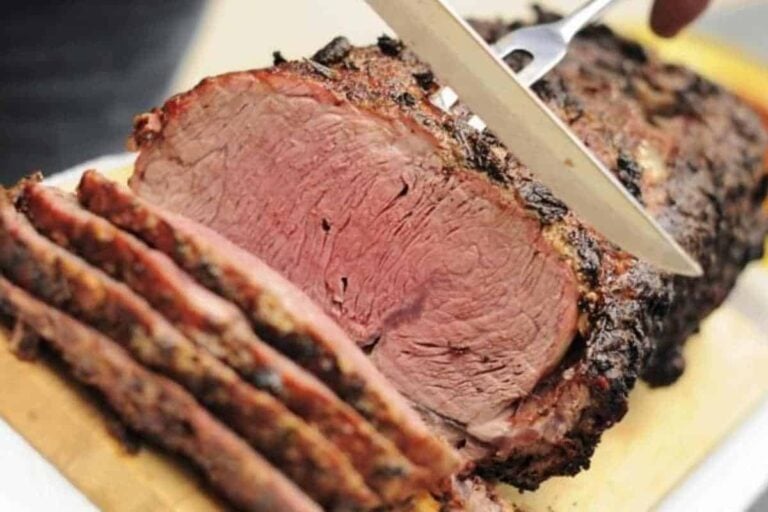
Prime Rib Temperature – Medium Rare and More
Prime rib, or the standing rib roast, is a show-stopping addition to your table for any special occasion. You ...