First Comes the Thaw
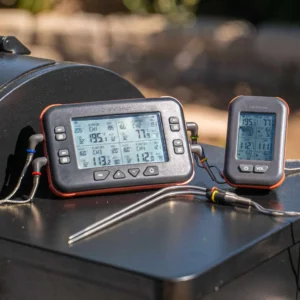
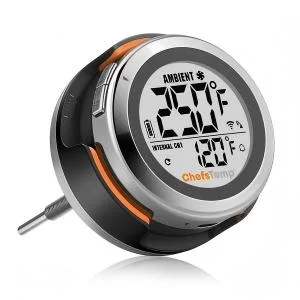
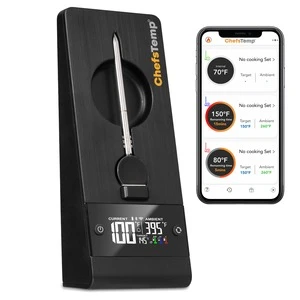
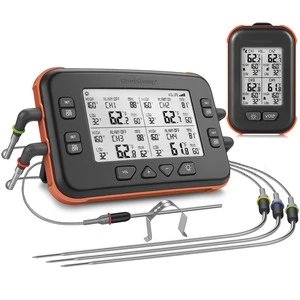
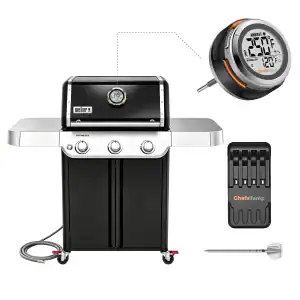
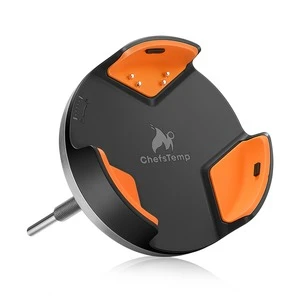
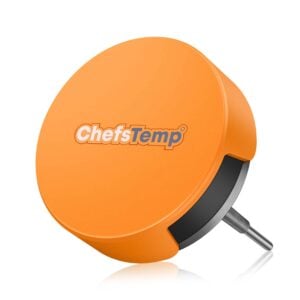
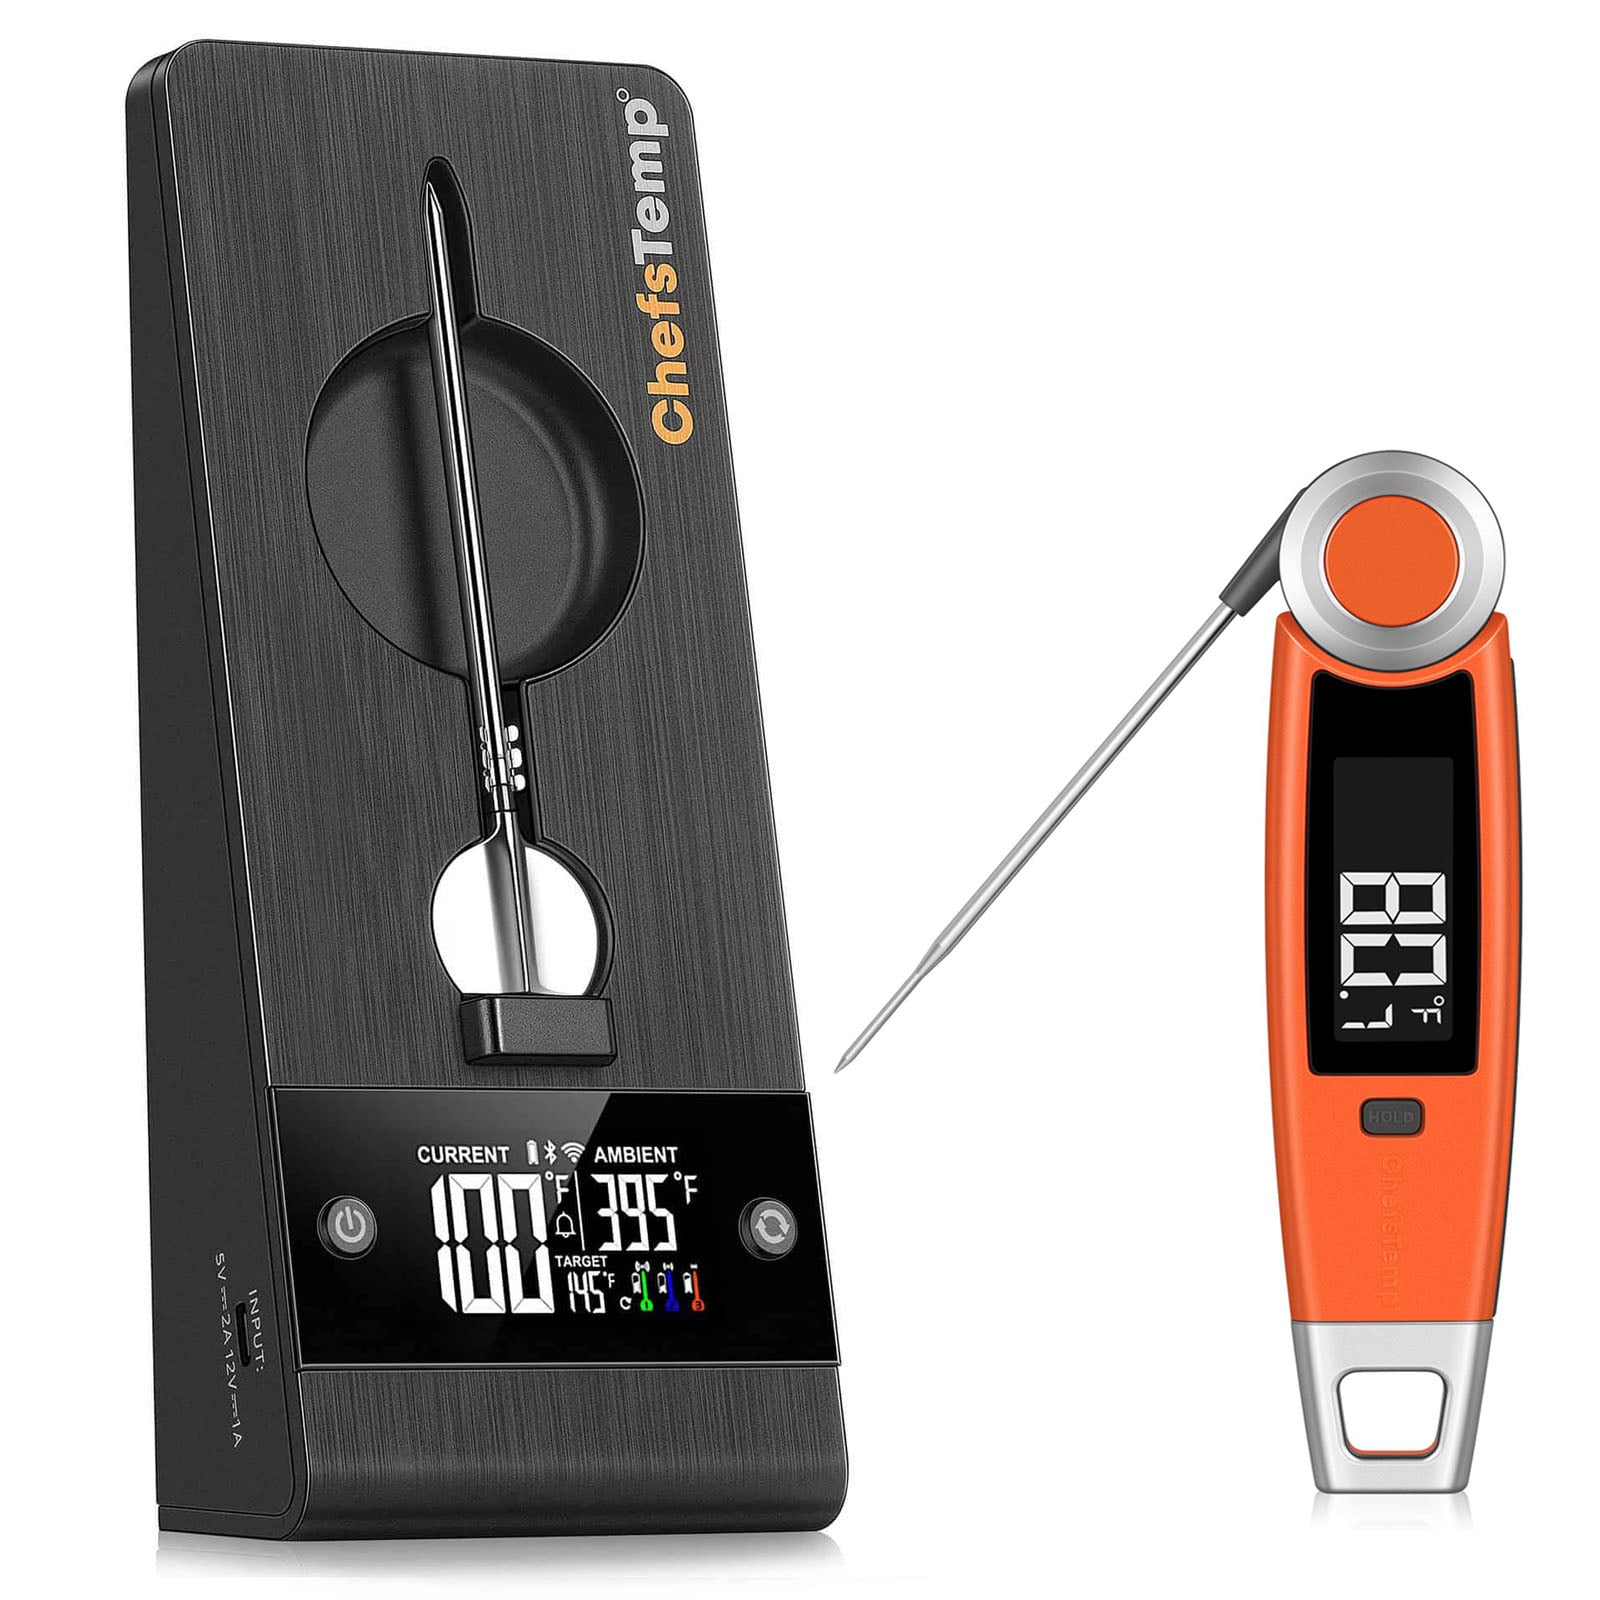
A properly smoked turkey starts with a properly thawed turkey. For an in-depth review, you can read all about how to safely thaw a whole turkey later. As a quick refresher, a whole frozen turkey is a giant meat ice cube. You need to have the space and time to thaw it slowly, preventing any cross-contamination, and keeping it out of the microbial danger zone (40-140°F) (4.5-60°C). We have found that it takes about 1 day per 4-5# of Turkey. This means that your standard 15-pound bird would take about 4 days to thaw in a refrigerated environment. Since the turkey is a giant ice cube, we use a cooler to keep it at a safe temperature during thawing. Make sure to use your ChefsTemp Quad XPro food thermometer to monitor the ambient temperature to ensure you are staying within the safe range.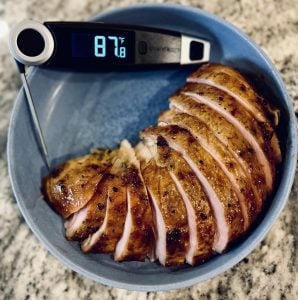
Preparing to Smoke Your Turkey
When it comes to smoking a turkey, there are three areas that will bring flavour to the party.- The dry brine
- The stuffings
- The glaze
Ready to Season and Smoke
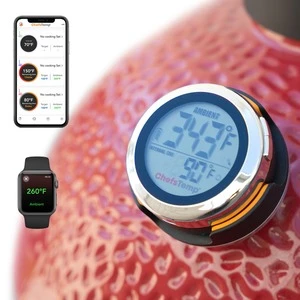
When it’s cooking day, you first need to prepare the turkey for the smoker and make the glaze. Bring the turkey out of the cooler 45-60 minutes before you plan to start smoking. It is also a clever idea to make sure your smoker is up and running during this time. Using the most accurate meat thermometers, we have found that 260°F (127°C) is the best temperature for juicy white meat and tender cooked dark meat. A Tuck the wing tips behind the breast to protect them from burning and create a better-looking final bird. When it comes to stuffing, we are not talking about cornbread or sausage. You want to avoid filling the cavity with dense stuffing because of the lower temperatures in the smoker; you will never have stuffing that is safely cooked before the bird is completely overcooked. We prefer aromatics and fruit; apples, onions, lemons, oranges, sage, and garlic make wonderful additions, and they impart flavour over the long, slow smoke. After stuffing, tie the legs together with butcher’s twine; this will create a better-looking cooked turkey and help slow the cooking of the white meat. Finally, we need to make our glaze. We are using a mixture of bourbon, apricot jam, and butter. This will glaze the turkey during the last hour of cooking, creating a beautiful sheen, capturing additional smoky flavour, and delivering a unique sweet-and-smoky bite.Smoking Turkey
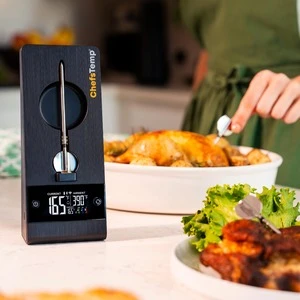
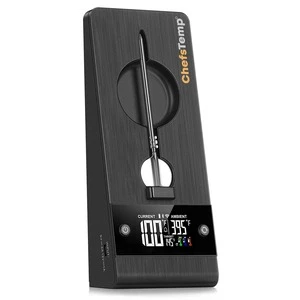
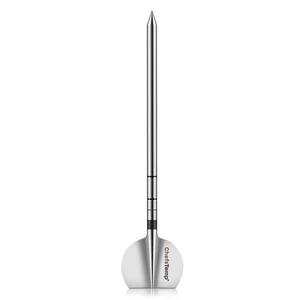
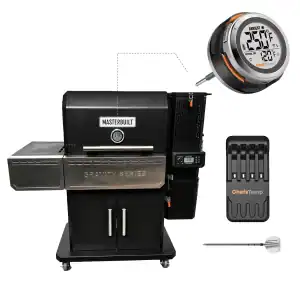
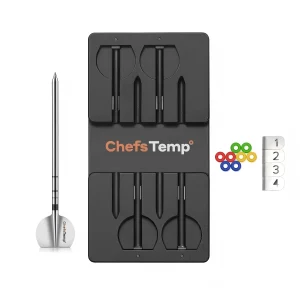
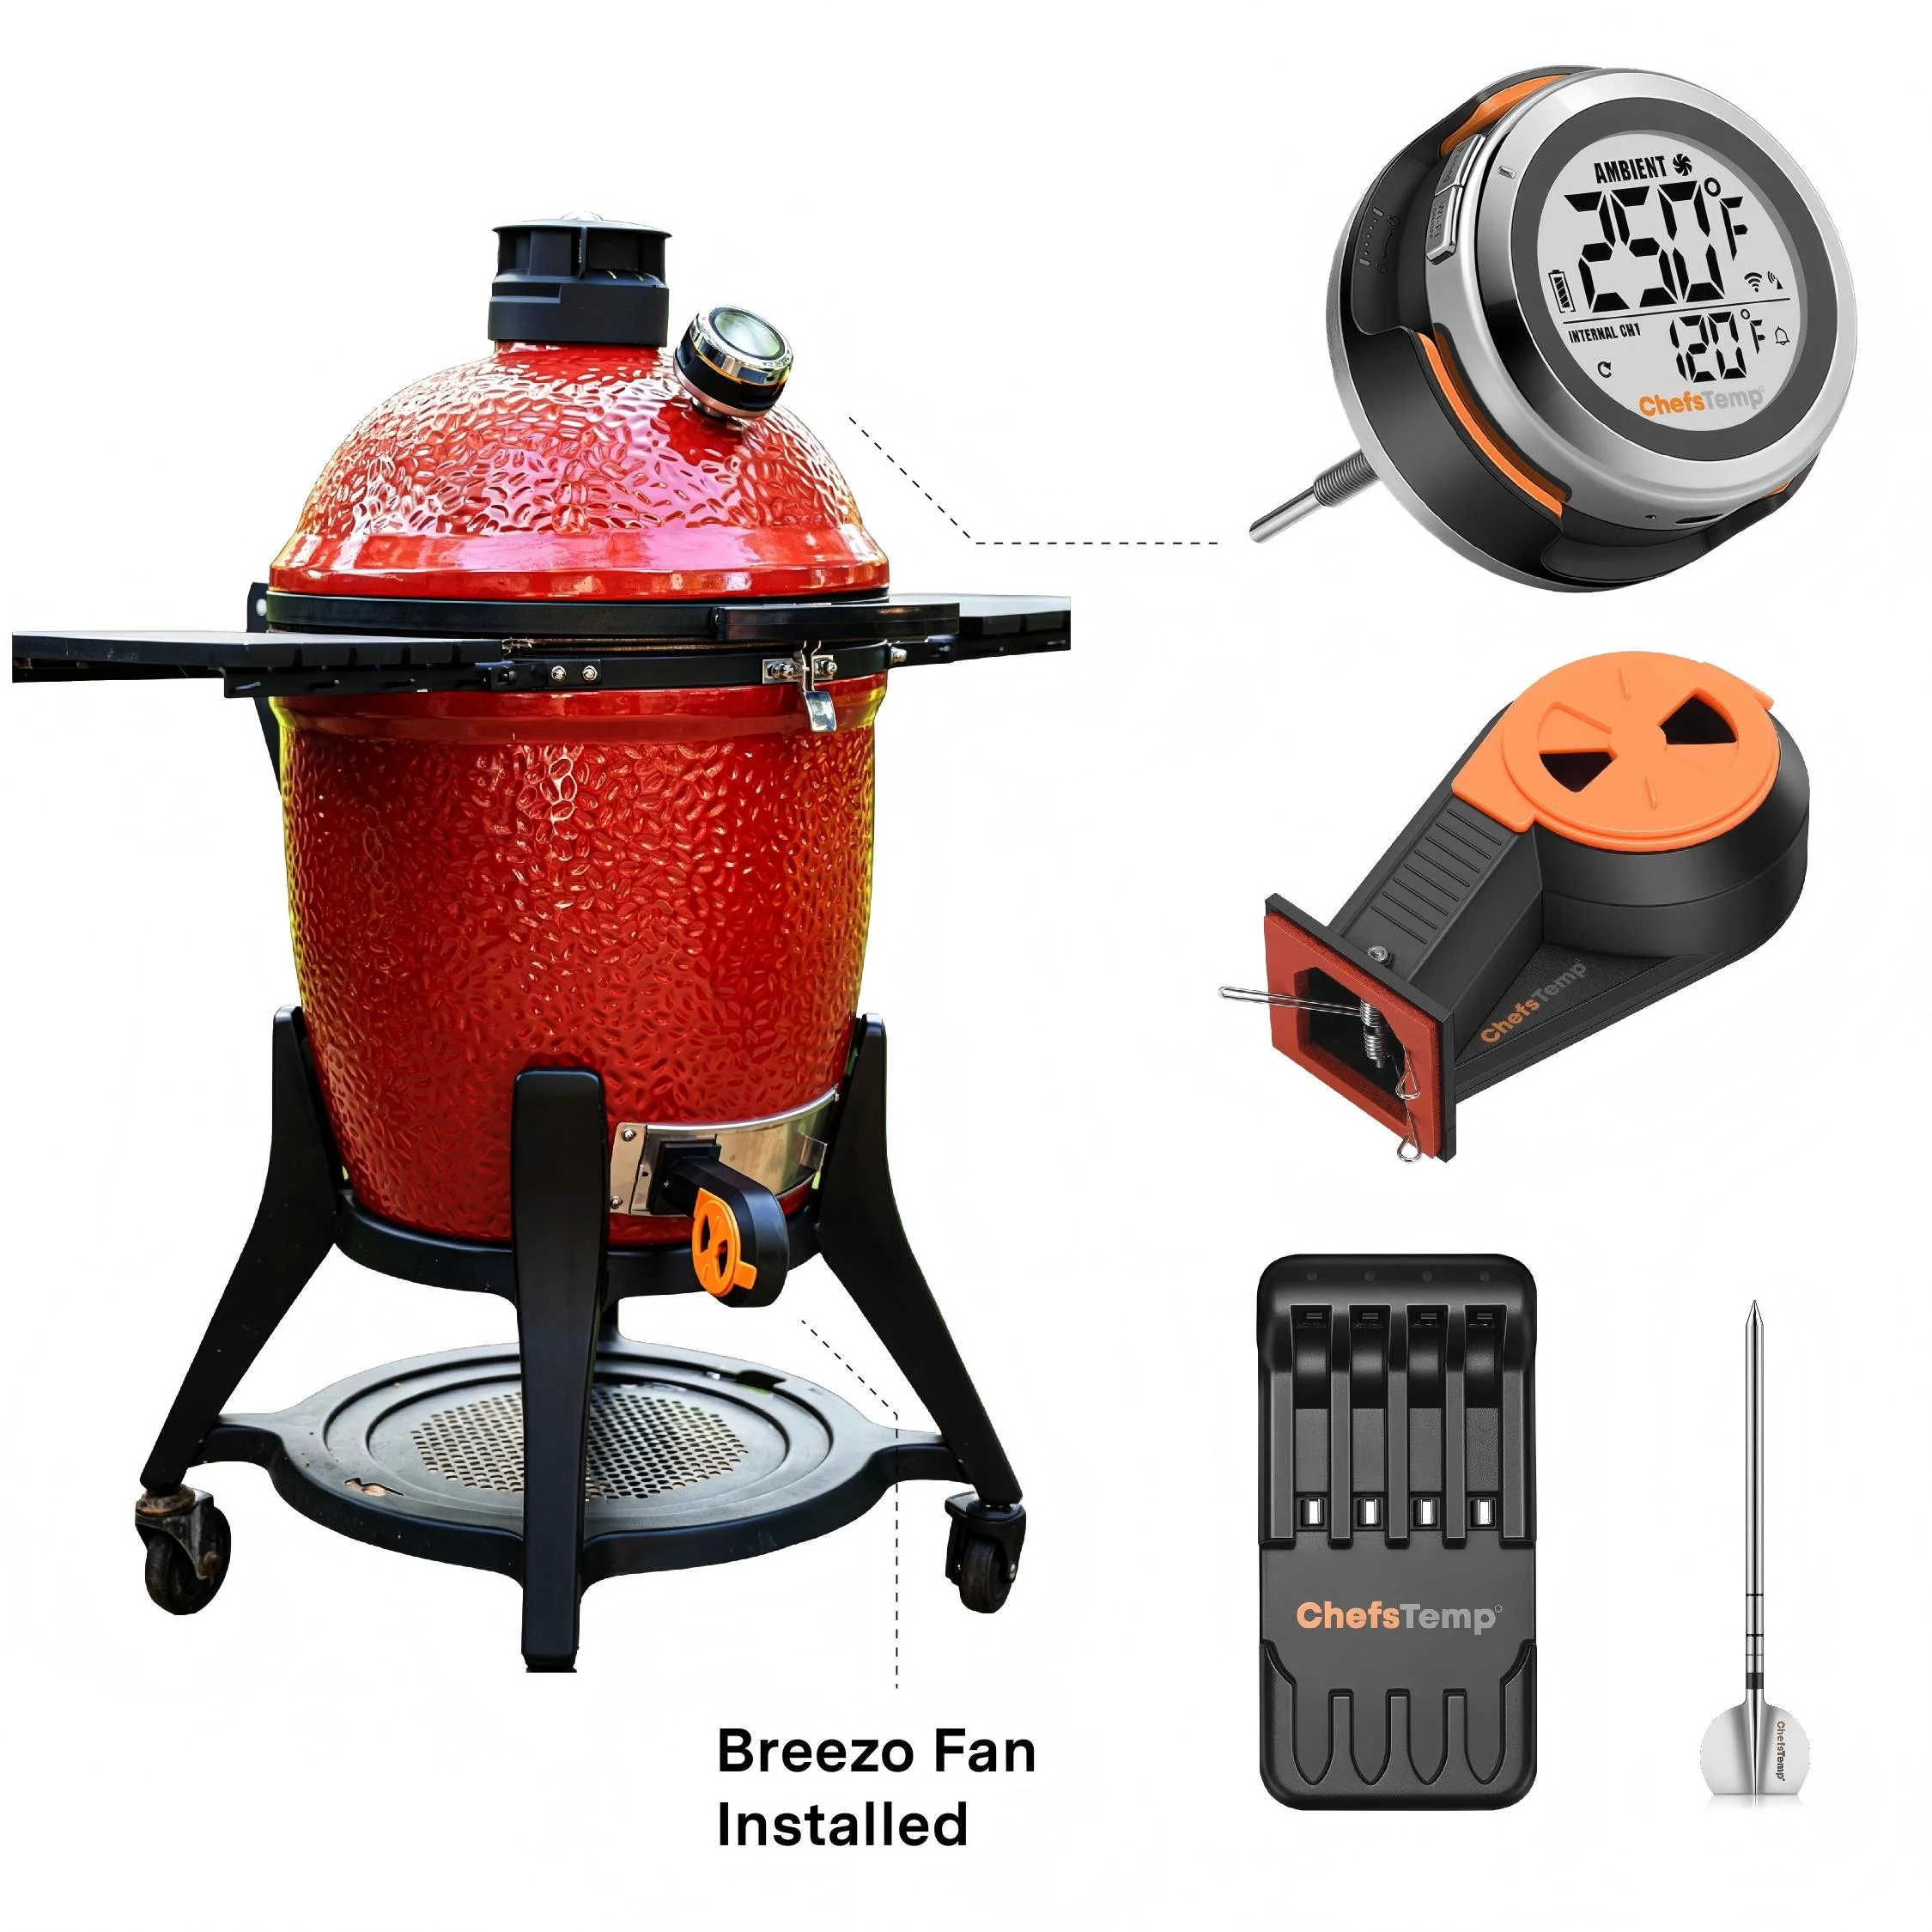
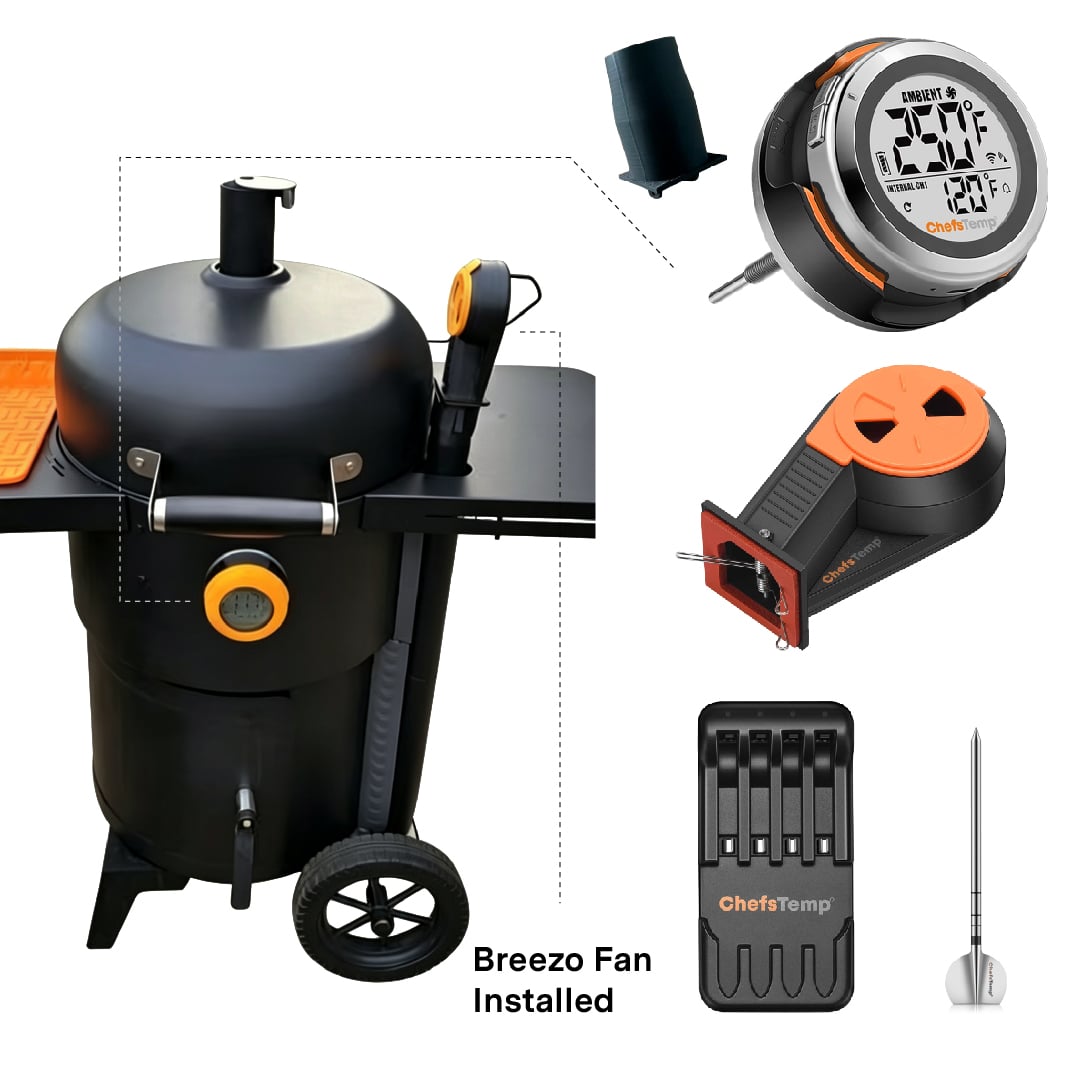
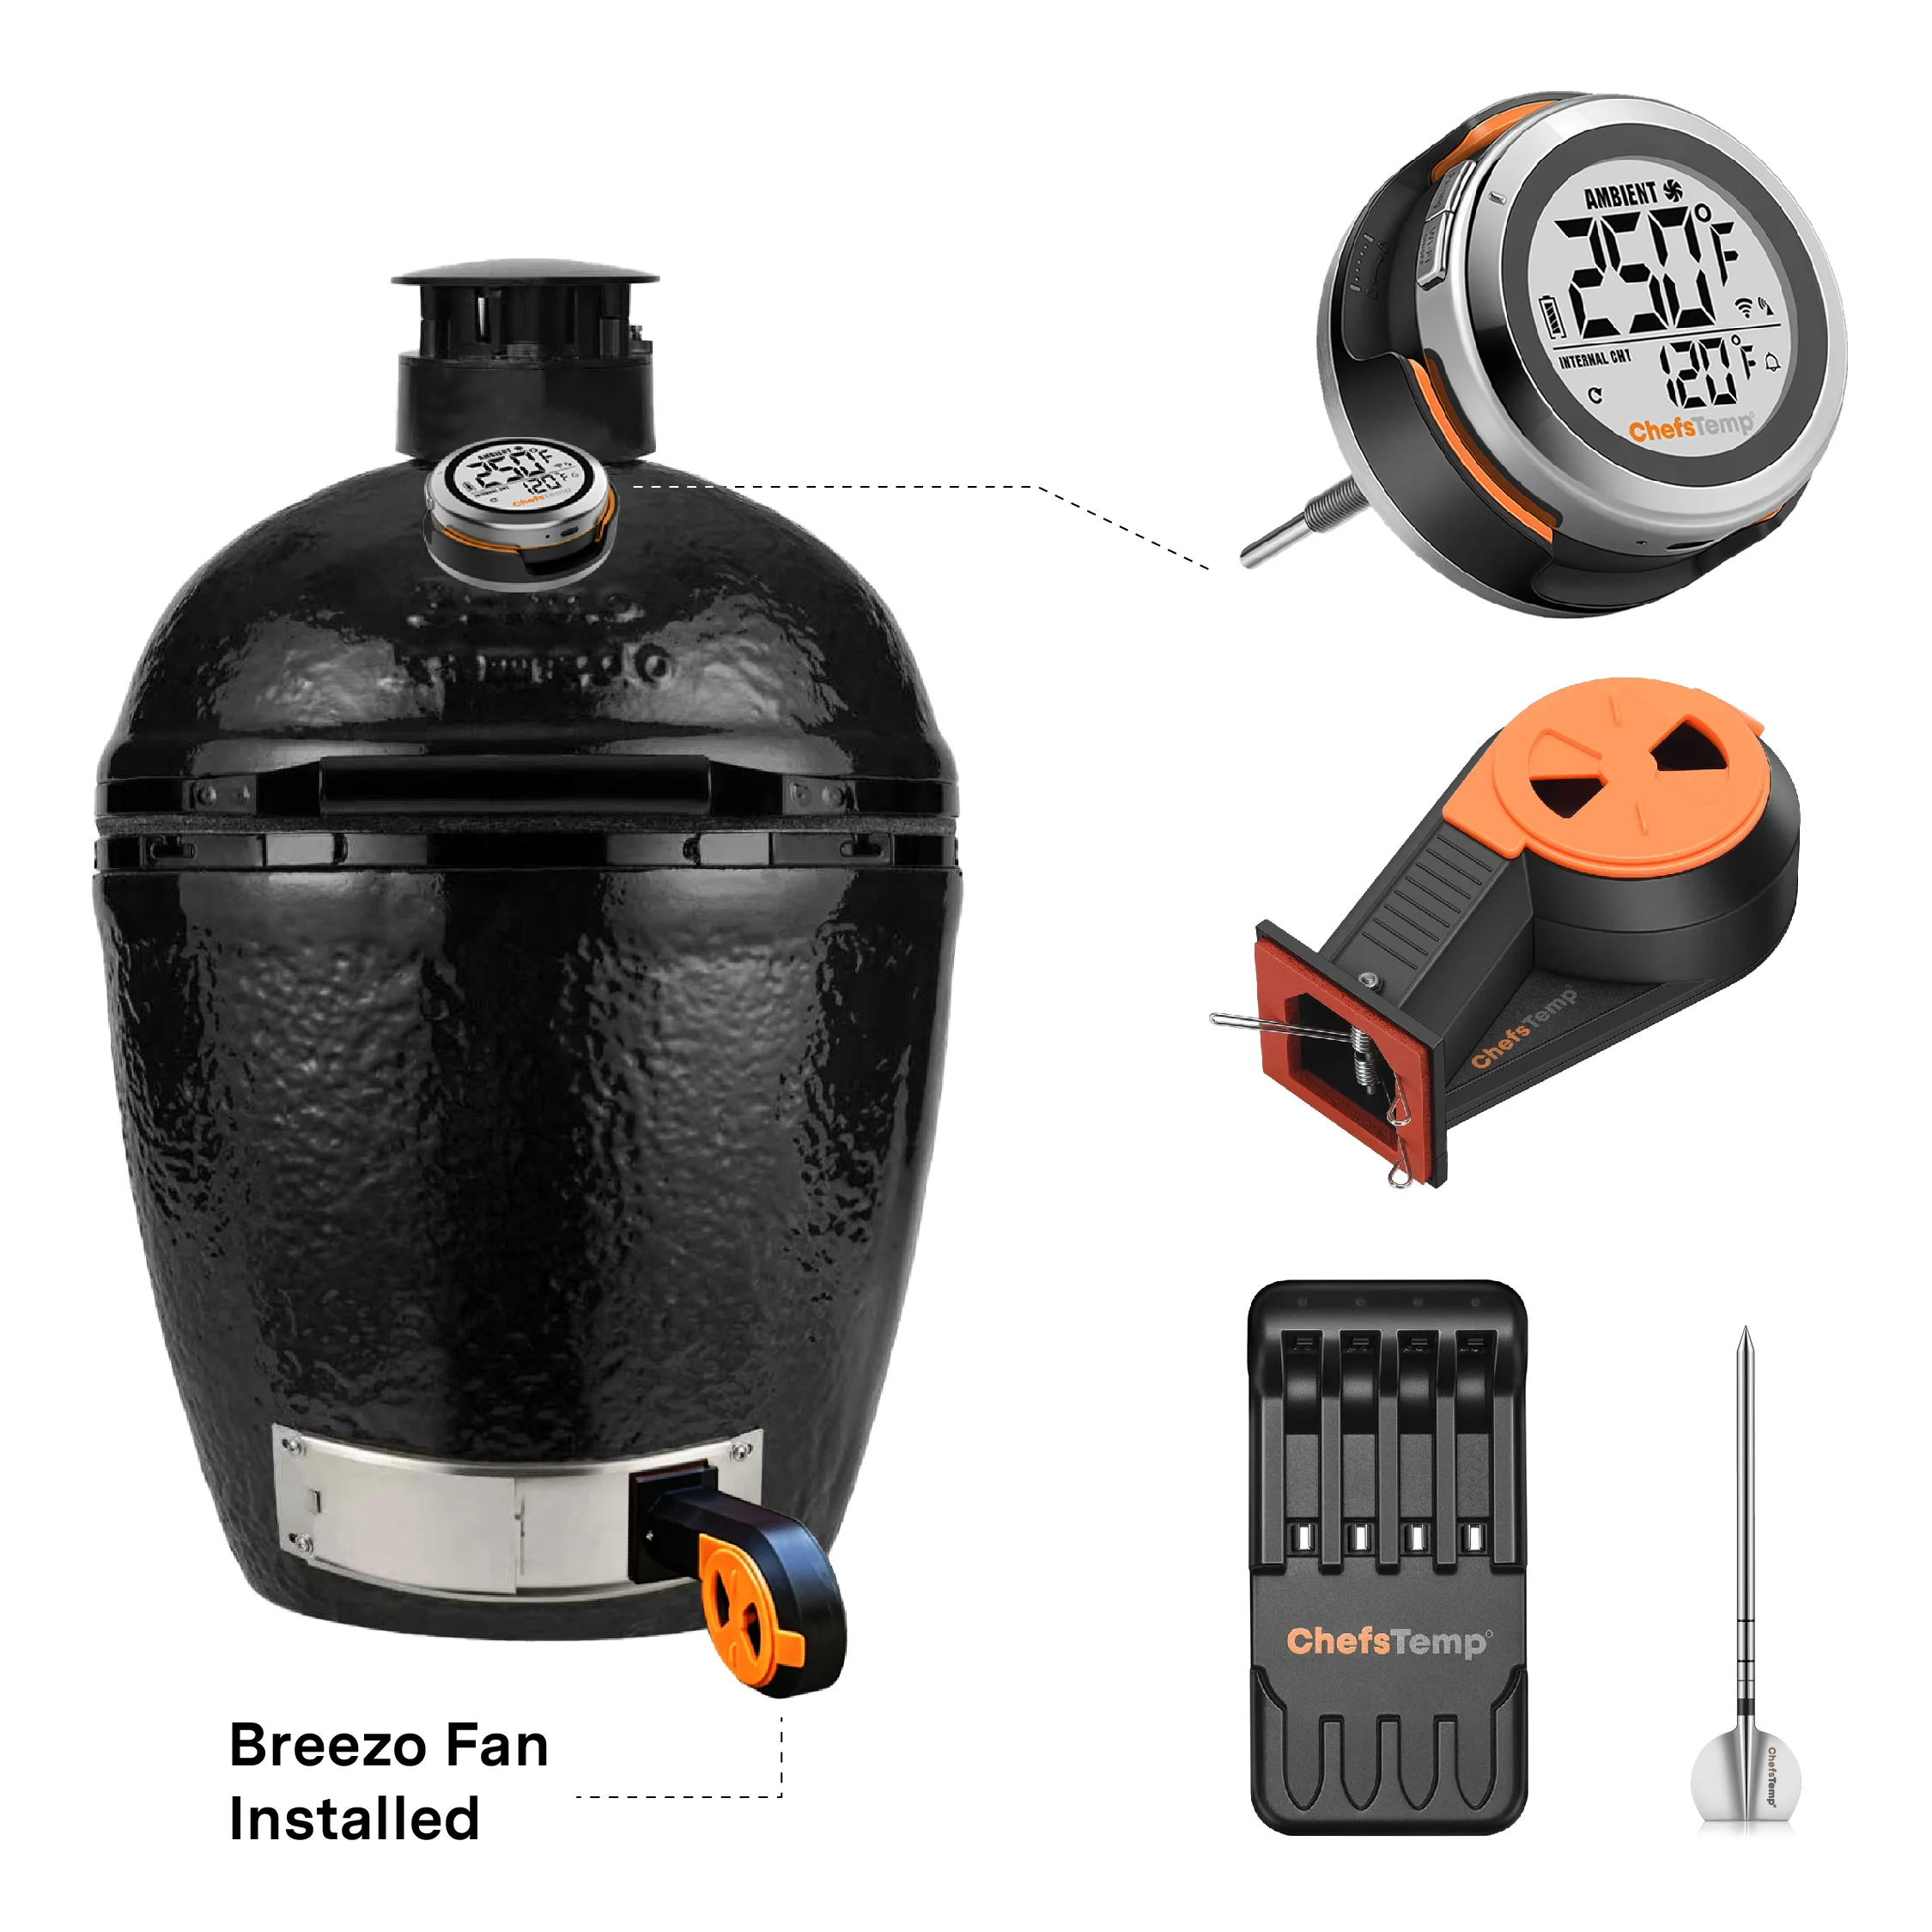
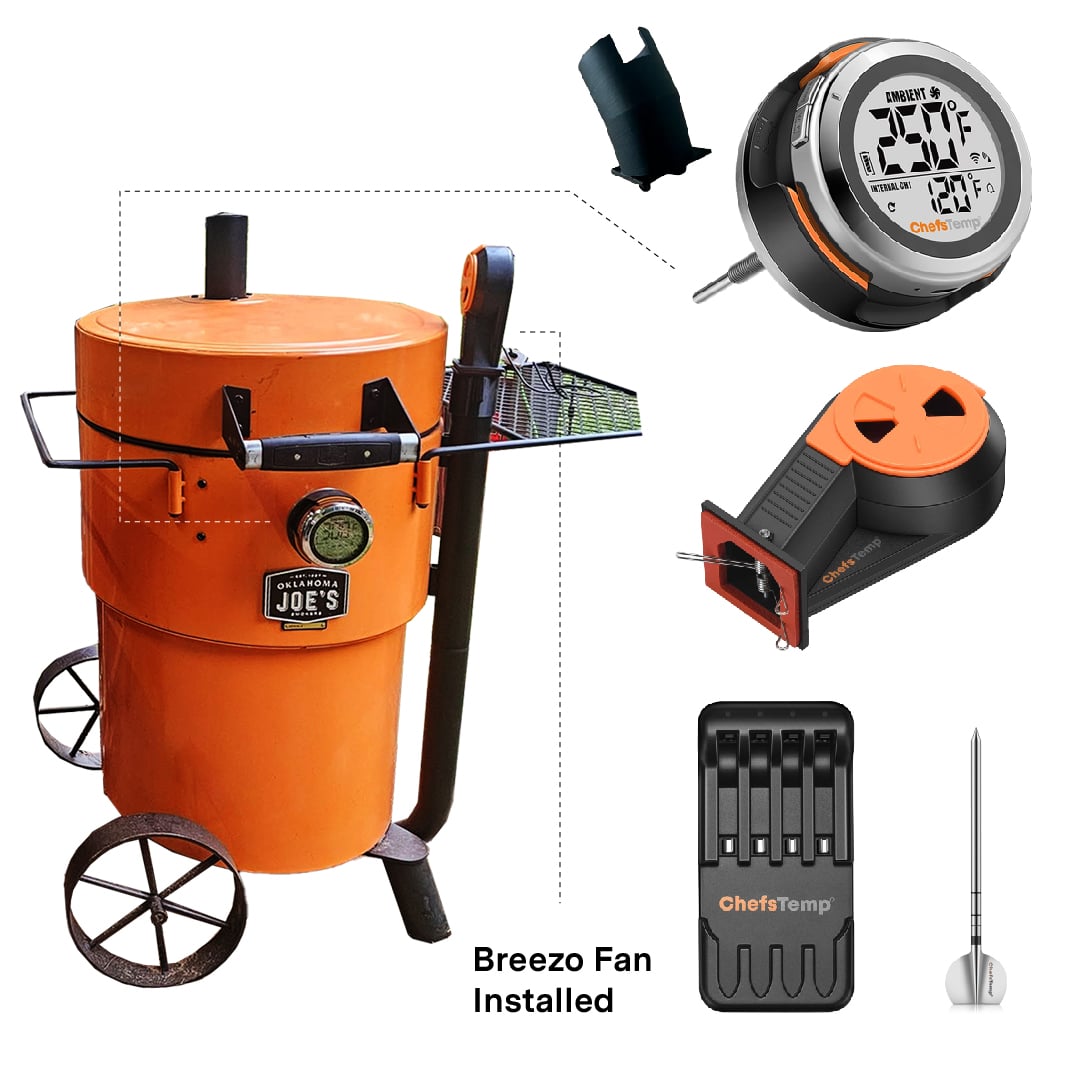
At 260°F (127°C), we found that you need about 25 minutes per pound, meaning a 15# turkey will take about 6.5 hours to cook. Have your smoker preheated to 260°F (12°C), place a water pan underneath the turkey with 3 cups of chicken stock in it, then place your turkey on the grates above the pan. As the turkey cooks, the stock will evaporate, so you will need to replenish it from time to time. It will also catch all the turkey drippings and become an incredible base for the turkey gravy. Insert your Quad XPro meat thermometer into the thickest part of the breast, making sure not to hit bone, and the thickest part of the thigh. It is also wise to place the ambient thermometer near the centre of the turkey’s base to give you an accurate reading of the heat. Close the smoker and start working on your sides and desserts for the big day.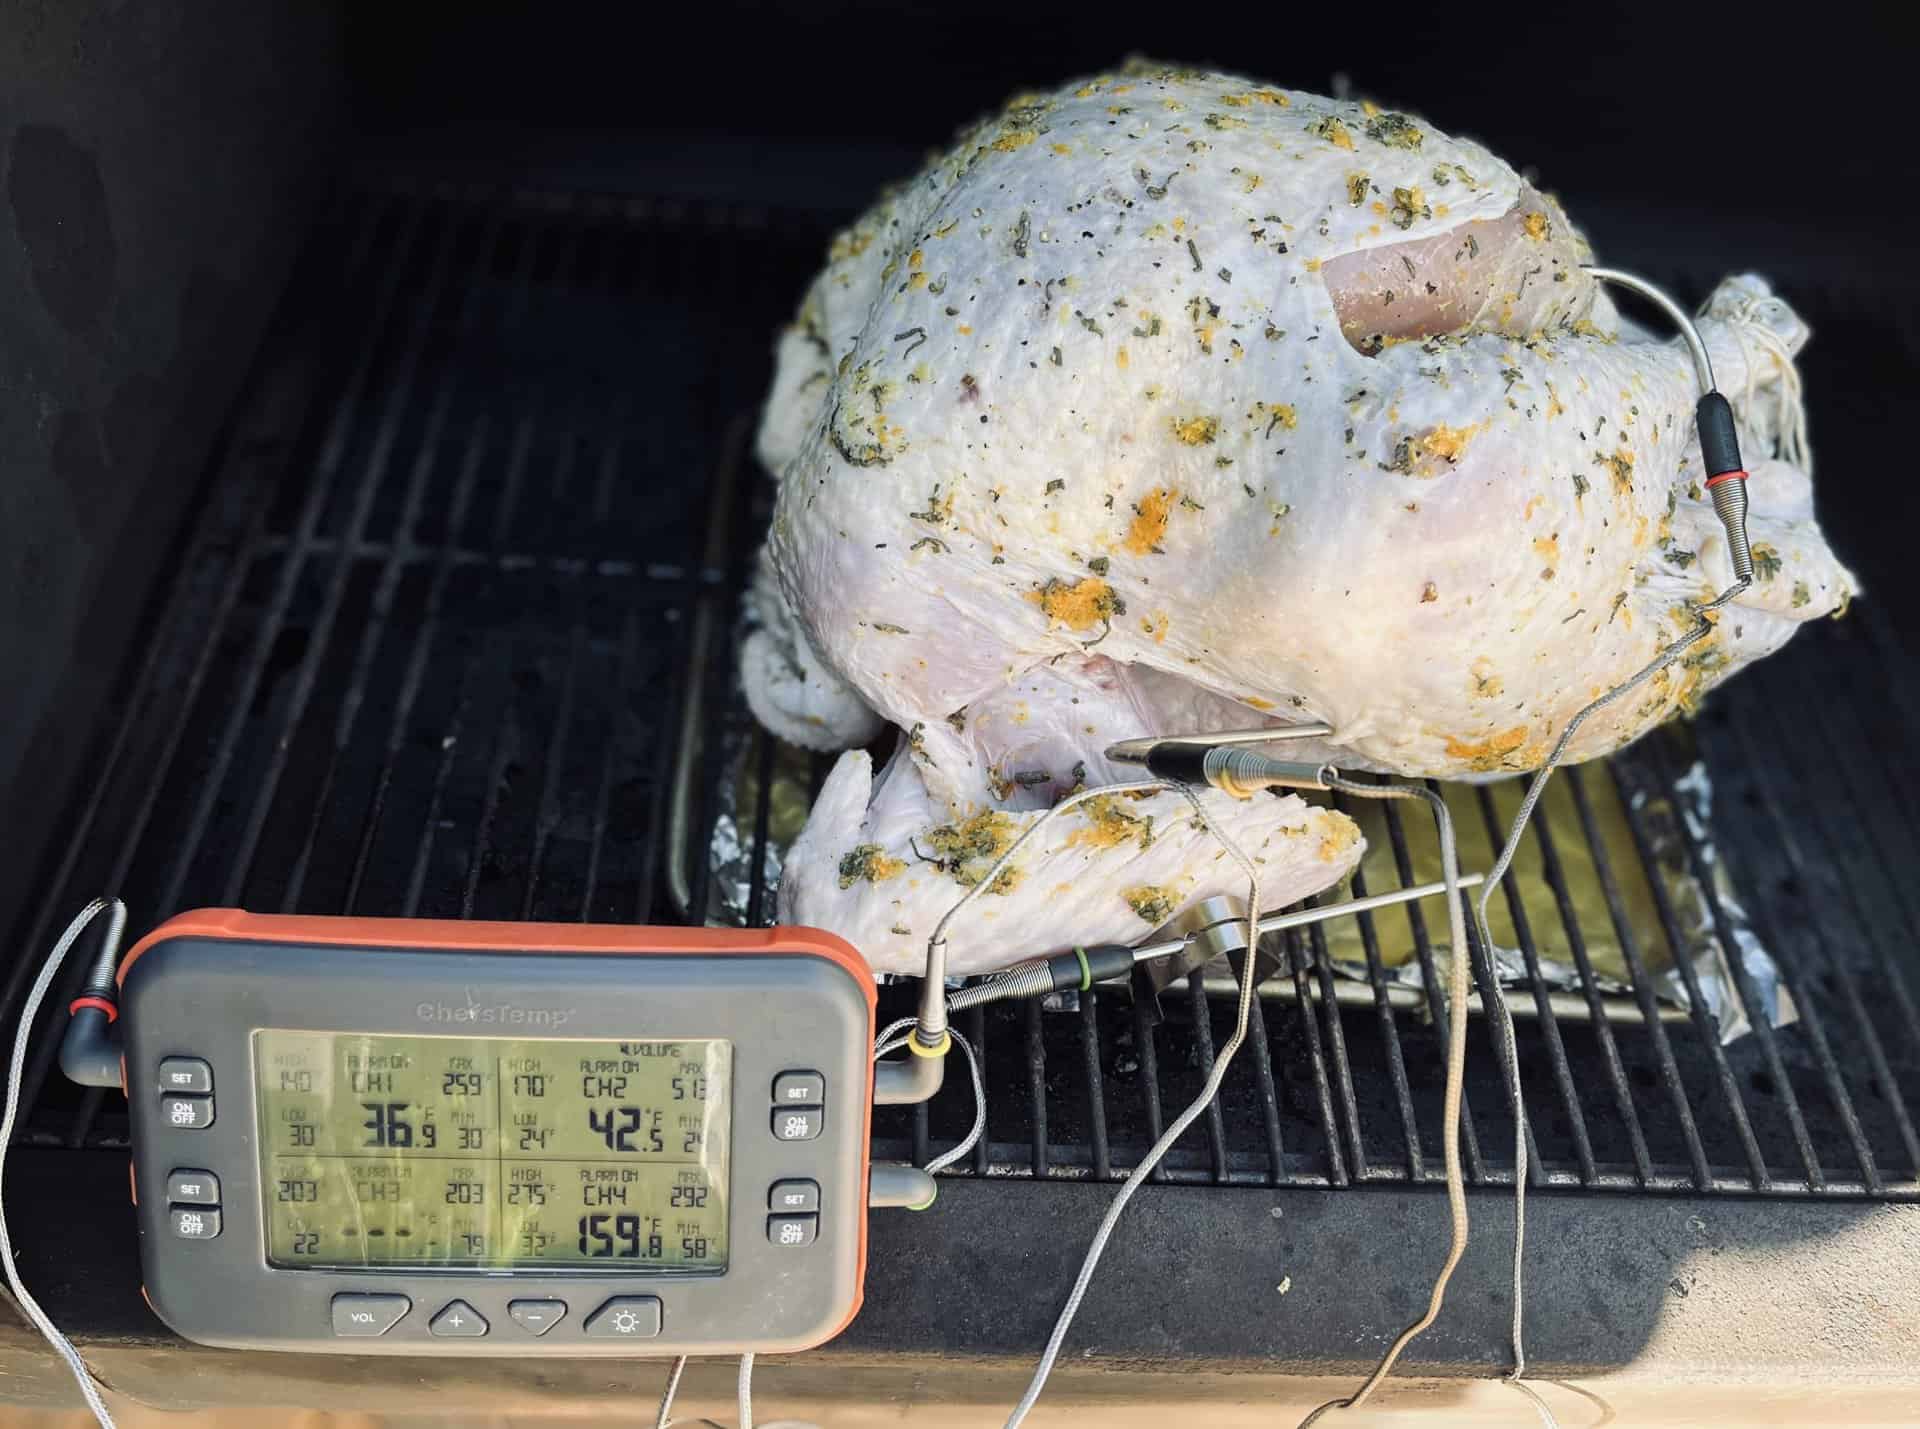
Glazing and Finishing the Turkey
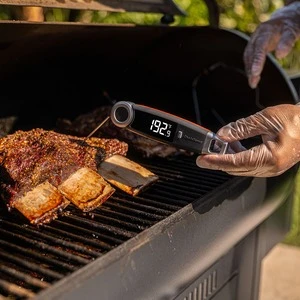
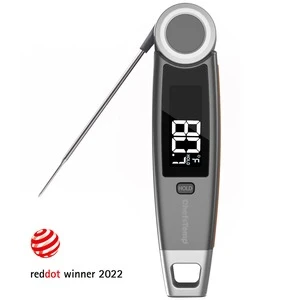
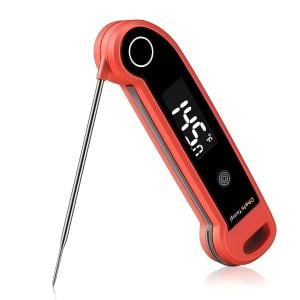
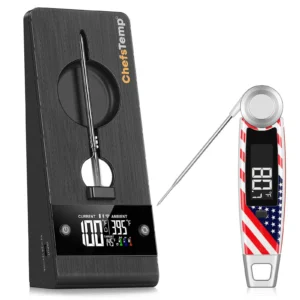
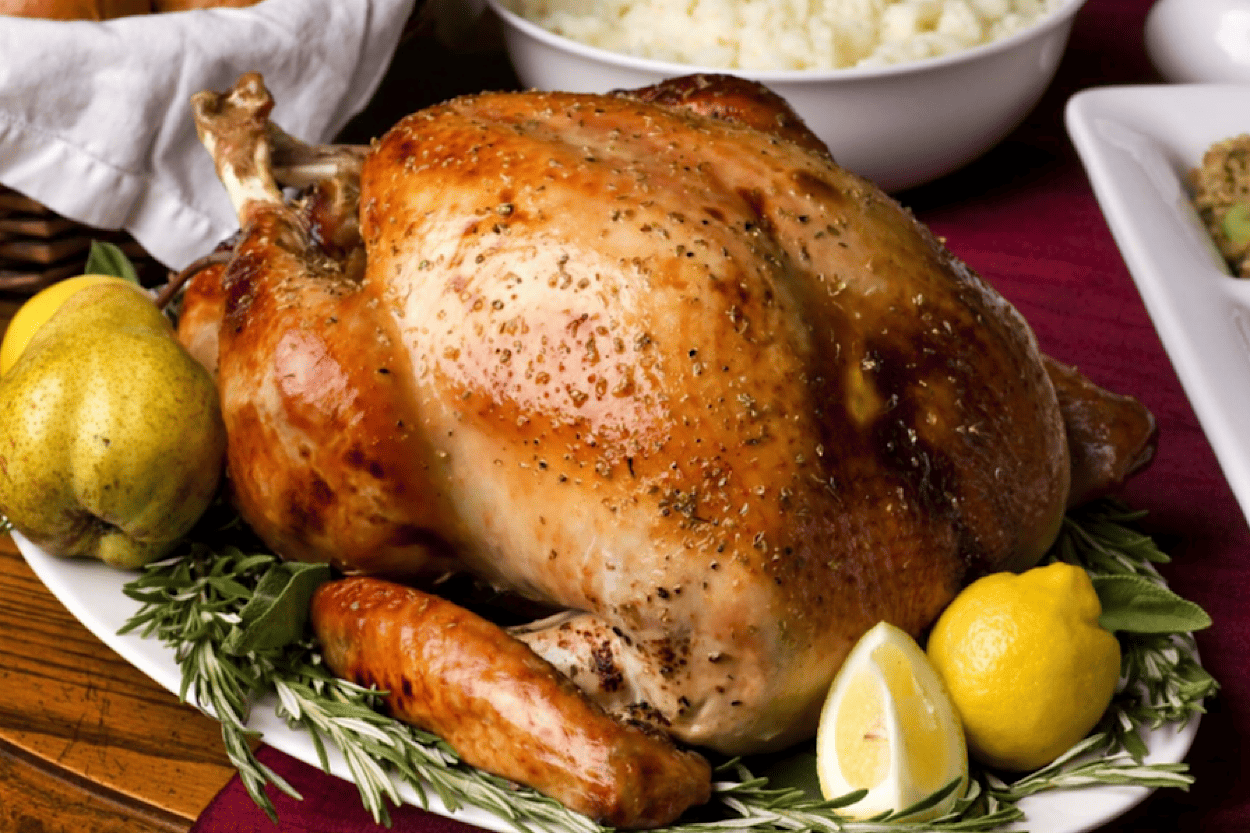
Once the turkey breast reaches 145°F (63°C), it is time to start basting with the glaze. Turkey tends to stall at 145-155°F (63-68°C), so do not be worried if the temperature is not moving. Use a pastry brush for a nice even coating, you will be doing this every 15 minutes until the turkey reaches a final temperature of 160°F (60°C) in the breast and 170°F (76°C) in the dark meat, always double-check your temperatures with the Finaltouch X10 meat thermometer for added safety. Remove the bird and let it rest for 20 minutes before removing the probes and carving. Bring the drip pan inside and pour it into a tall vessel to separate the fat. You can use this fat, combined with butter, to create a rich, dark roux for your gravy.Ingredients
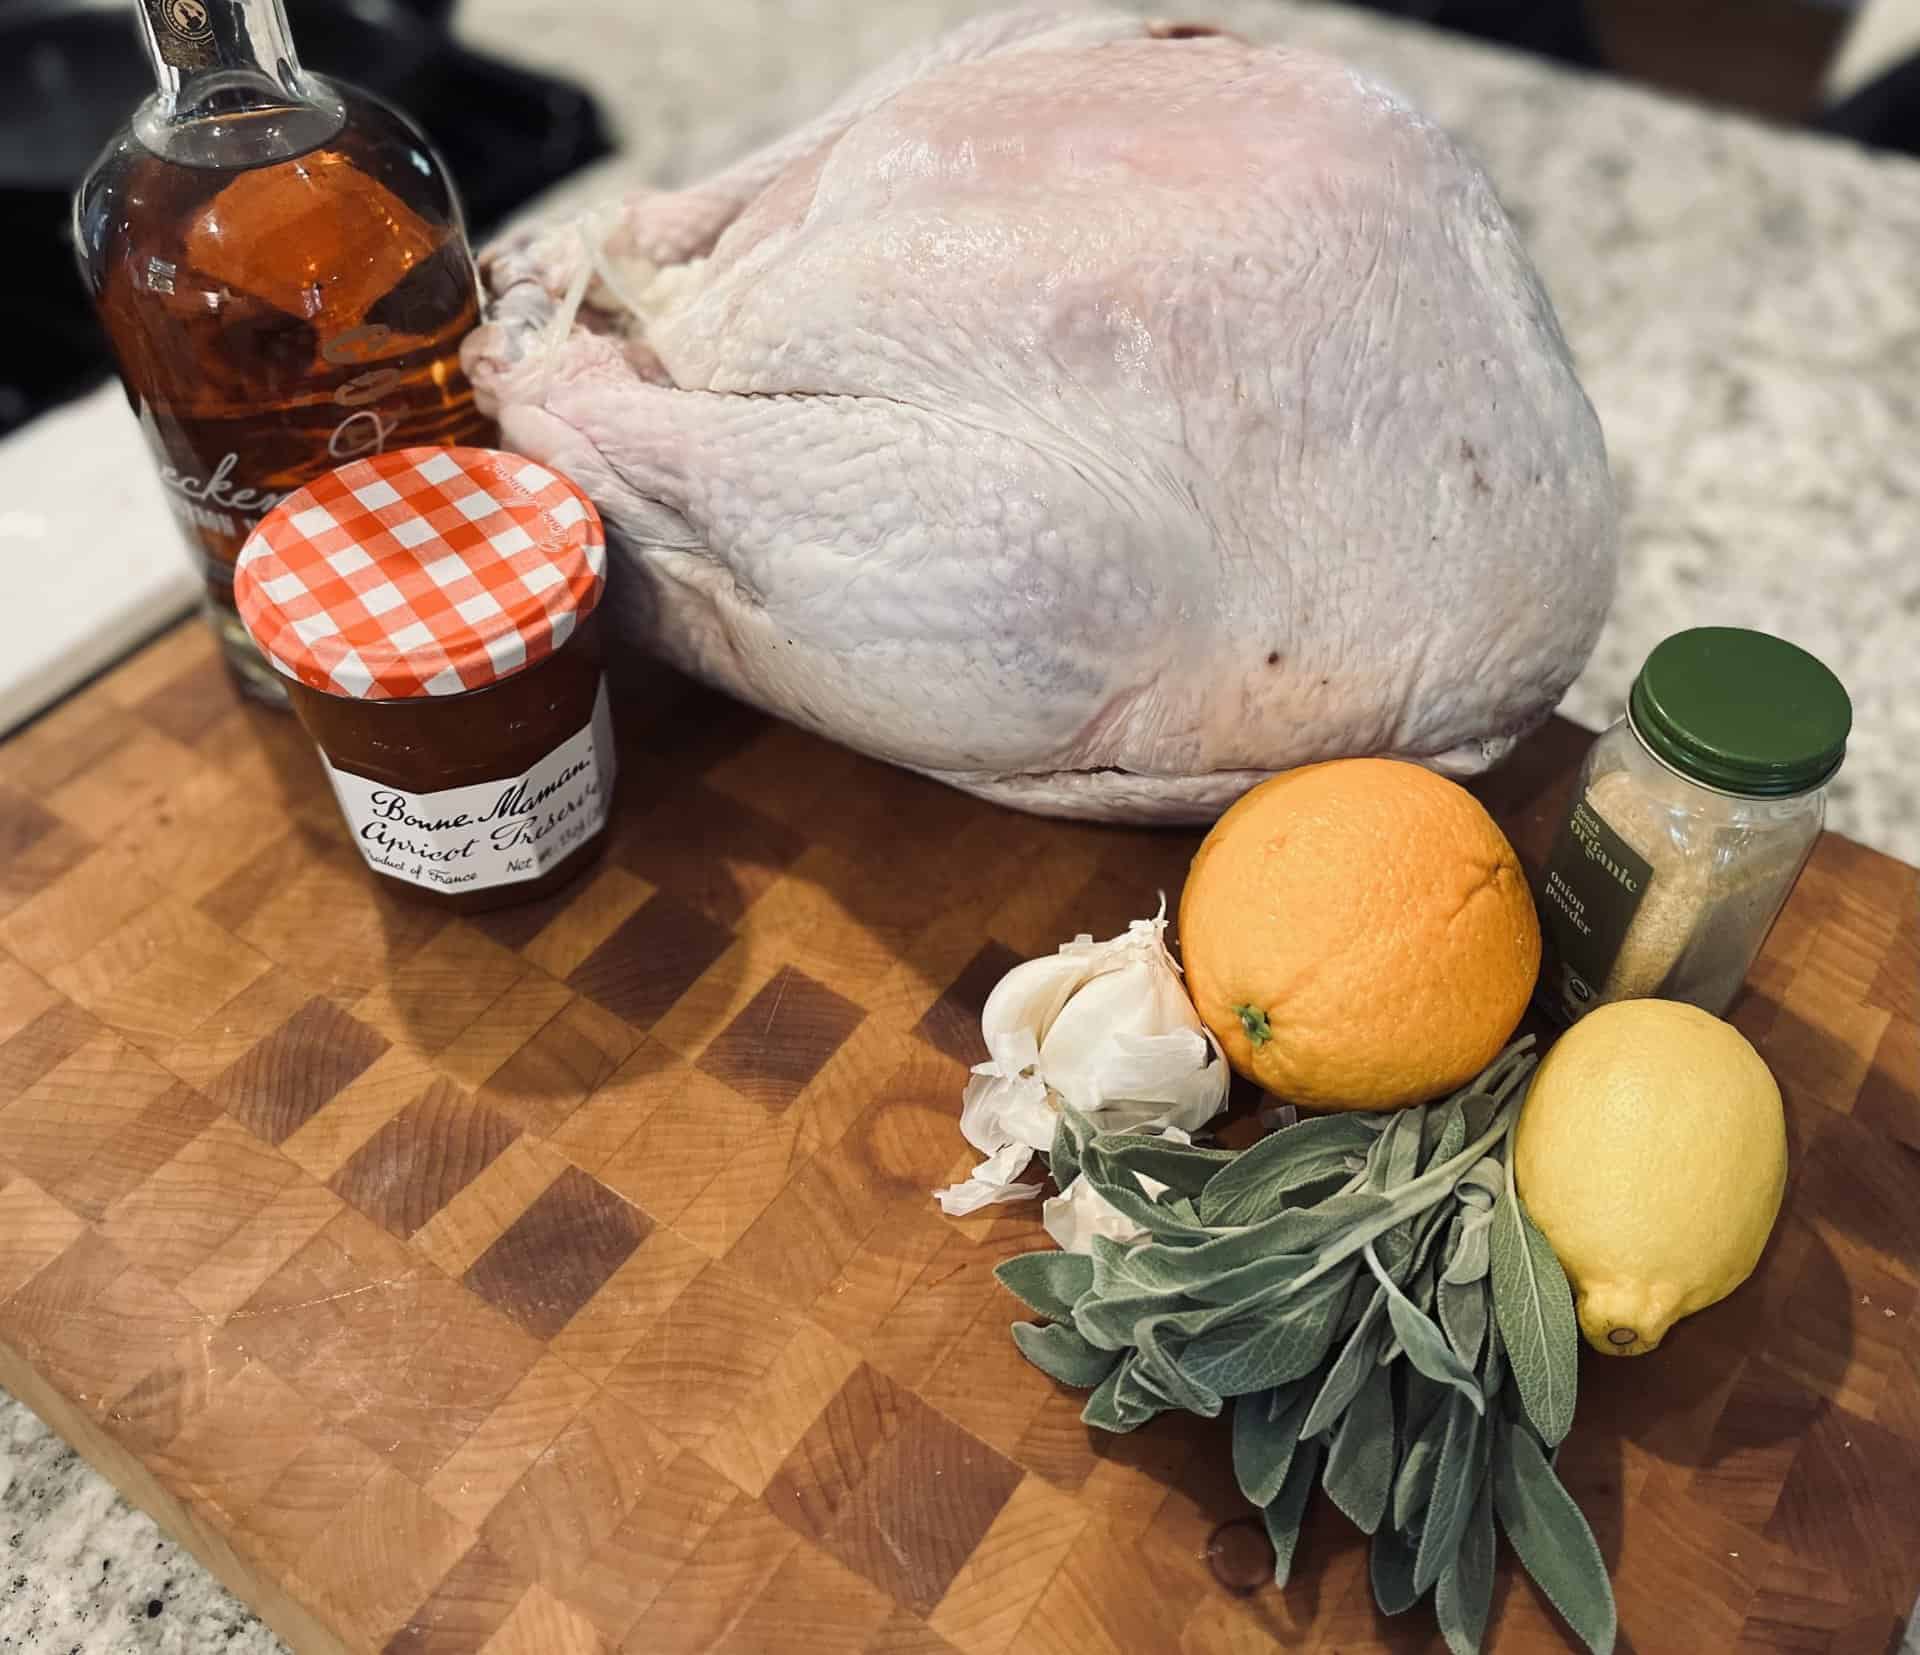
- 1-15# Turkey
- ¼ C Kosher Salt
- 3T Minced Sage
- 1 tsp Cracked Black Pepper
- 1 orange zested
- 1 lemon zested
- 1 T onion powder
- 1 T sugar
Stuffing
- All ingredients quartered
- 1 apple
- 1 yellow onion
- 1 lemon
- 1 orange
- Small bunch of sage
- 5 cloves of garlic smashed
Glaze
- 1 Cup Apricot Jam
- 1/3rdC Bourbon
- 1 stick of butter
- 1 quart chicken stock
Instructions
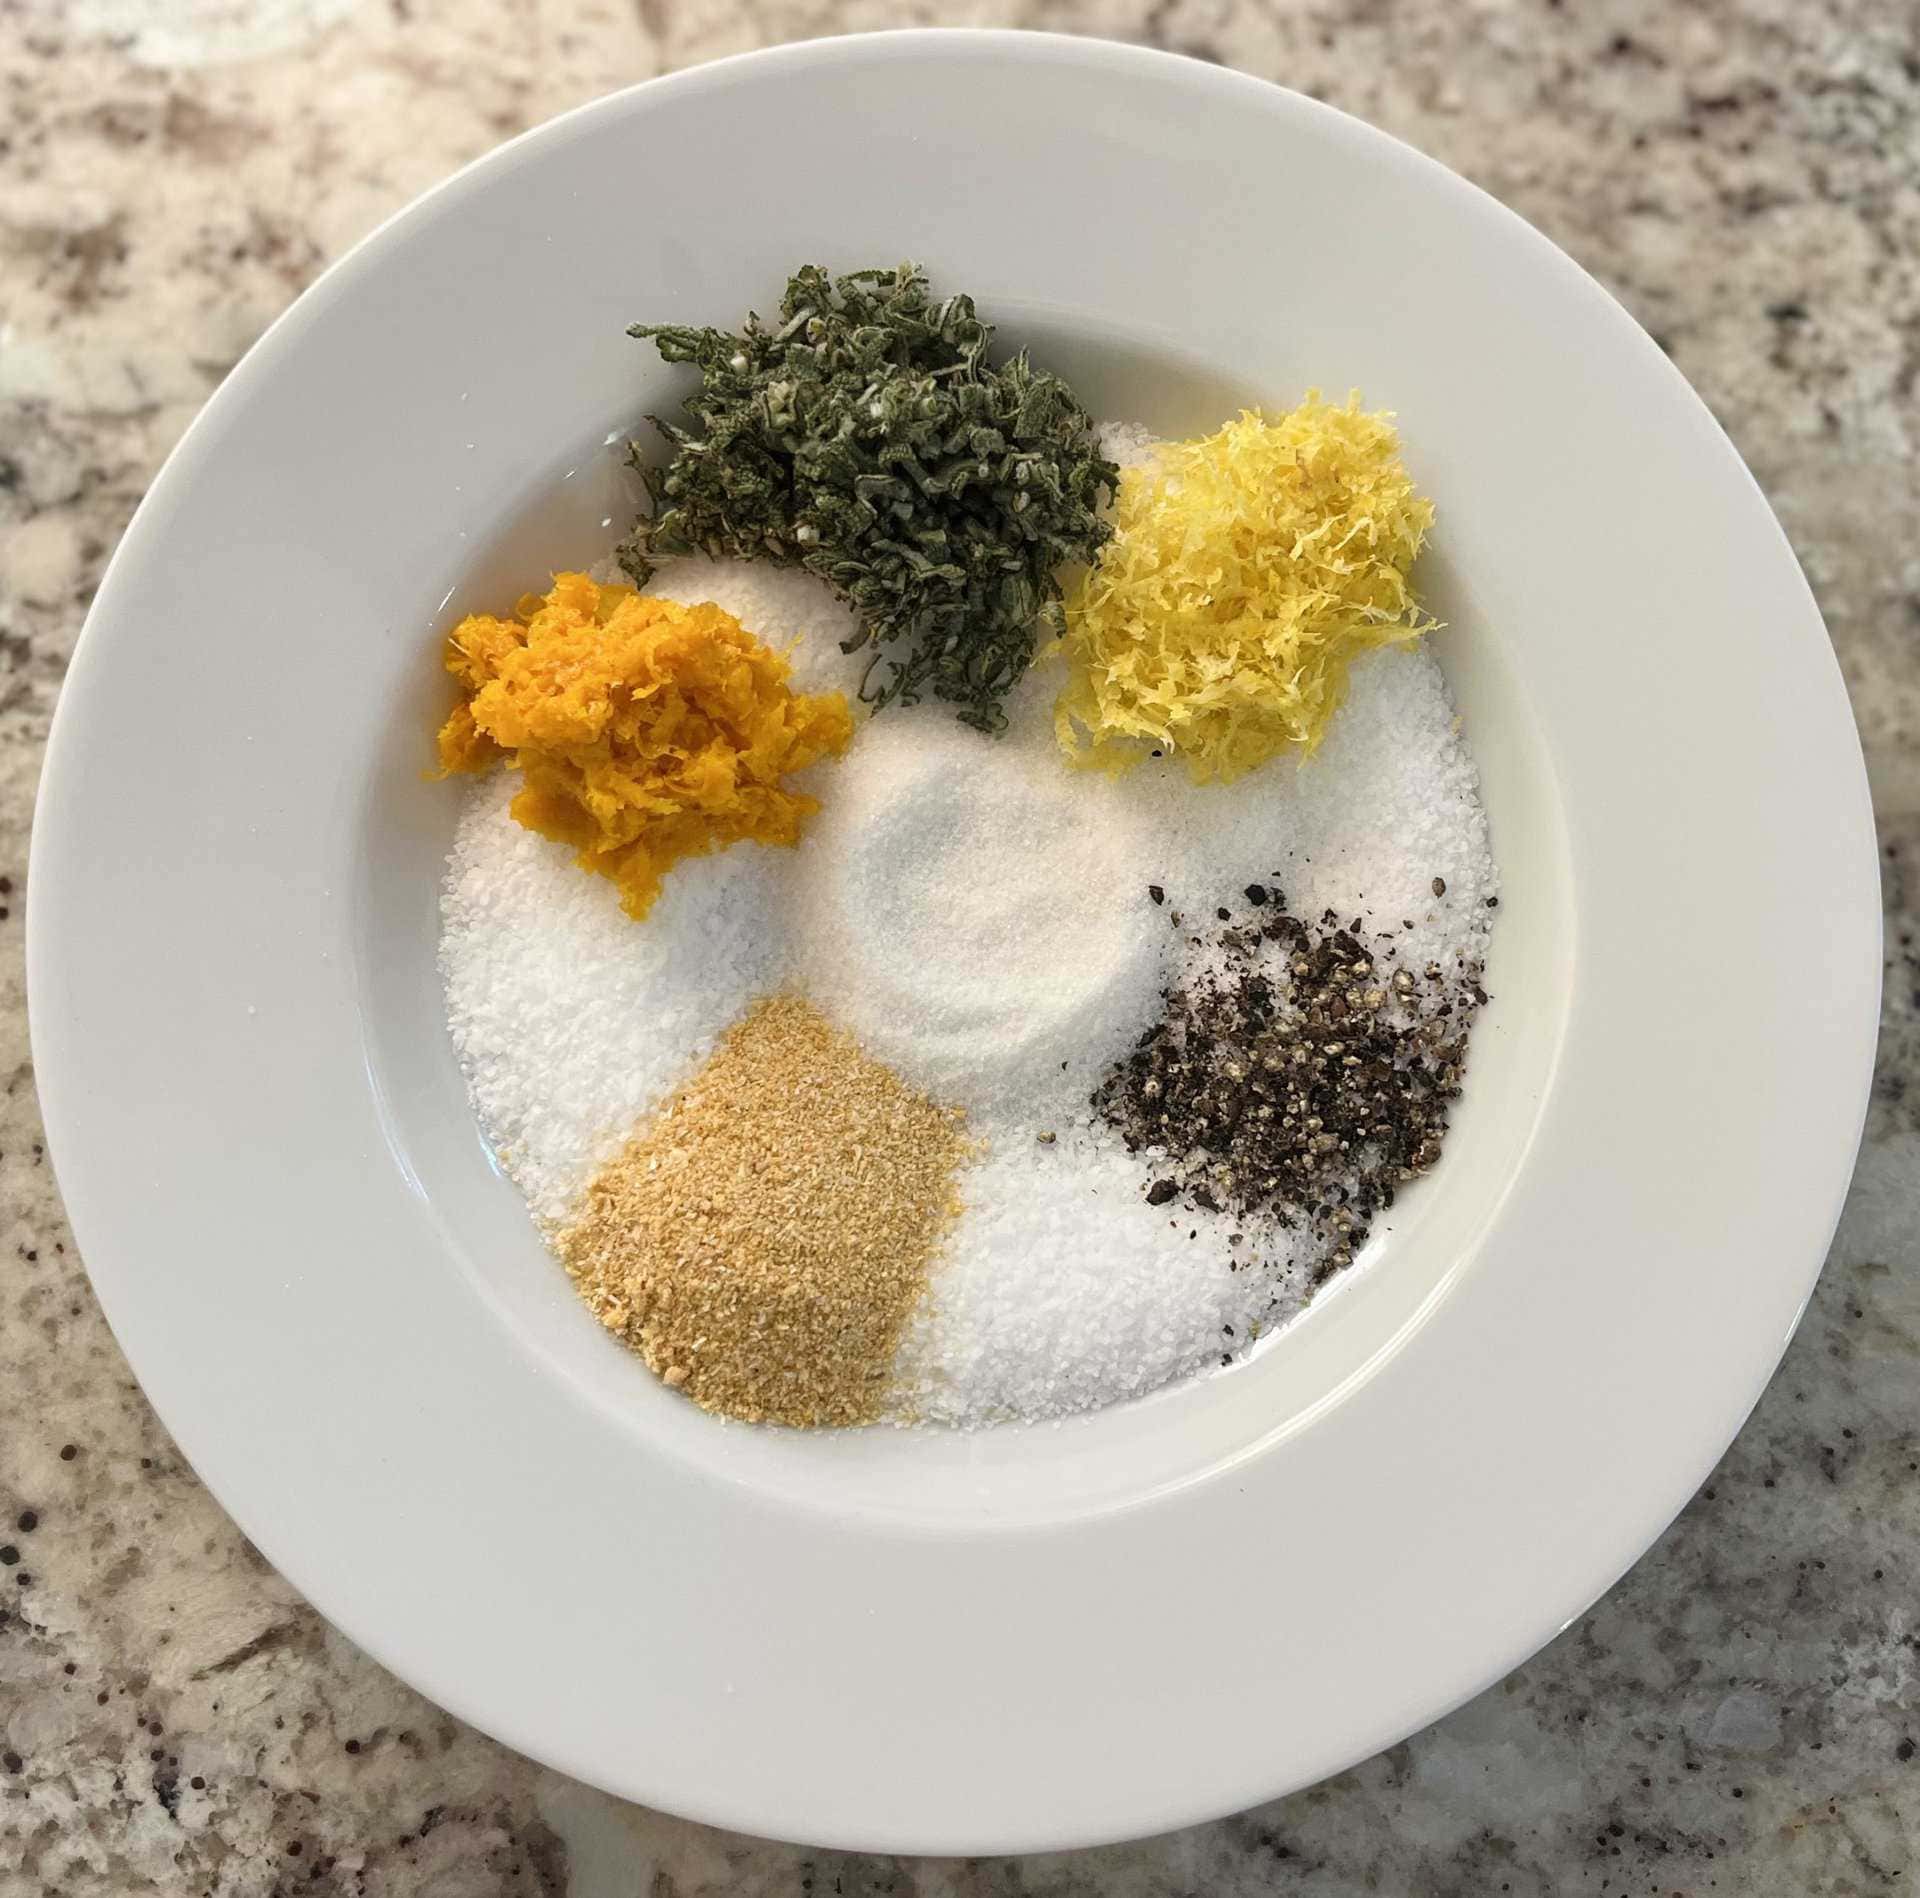 Remove the giblets from the cavity and pat the turkey dry inside and out. Use your fingers to separate the skin from the meat by breaking the membrane between the two. Mix the dry brine ingredients together in a bowl.
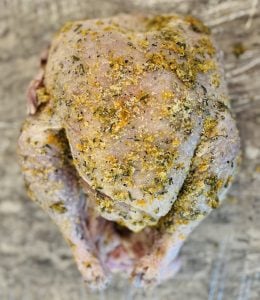
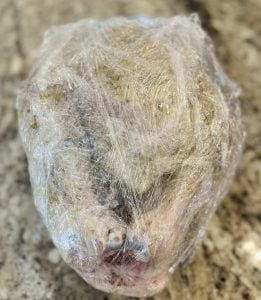 Season the inside of the cavity with 2T of the dry brine. Use the remaining brine to coat the rest of the bird, making sure to cover the legs and breast. Tightly wrap the turkey in plastic wrap and place in your cooler on a bag of ice. Use your Quad XPro food thermometer to monitor the turkey’s ambient and internal temperatures. Let this sit for 1 day; the best results are after 2.
Preheat your smoker to 260°F (127°C). Unwrap the turkey, tuck the wing tips back behind the bird, and stuff the aromatics into the cavity. Place the leg tips on top of each other, then tie them with butcher twine.
Place a foil pan under the smoker grates and add 3 cups of chicken stock. Place the grill grate back in place, and then place the turkey on the grill. Insert the Quad XPro meat thermometer probes into the thickest parts of the breast and thigh, and place the ambient probe at the base of the turkey.
Smoke for about 25 minutes per pound, replenishing the liquid in the drip pan as needed.
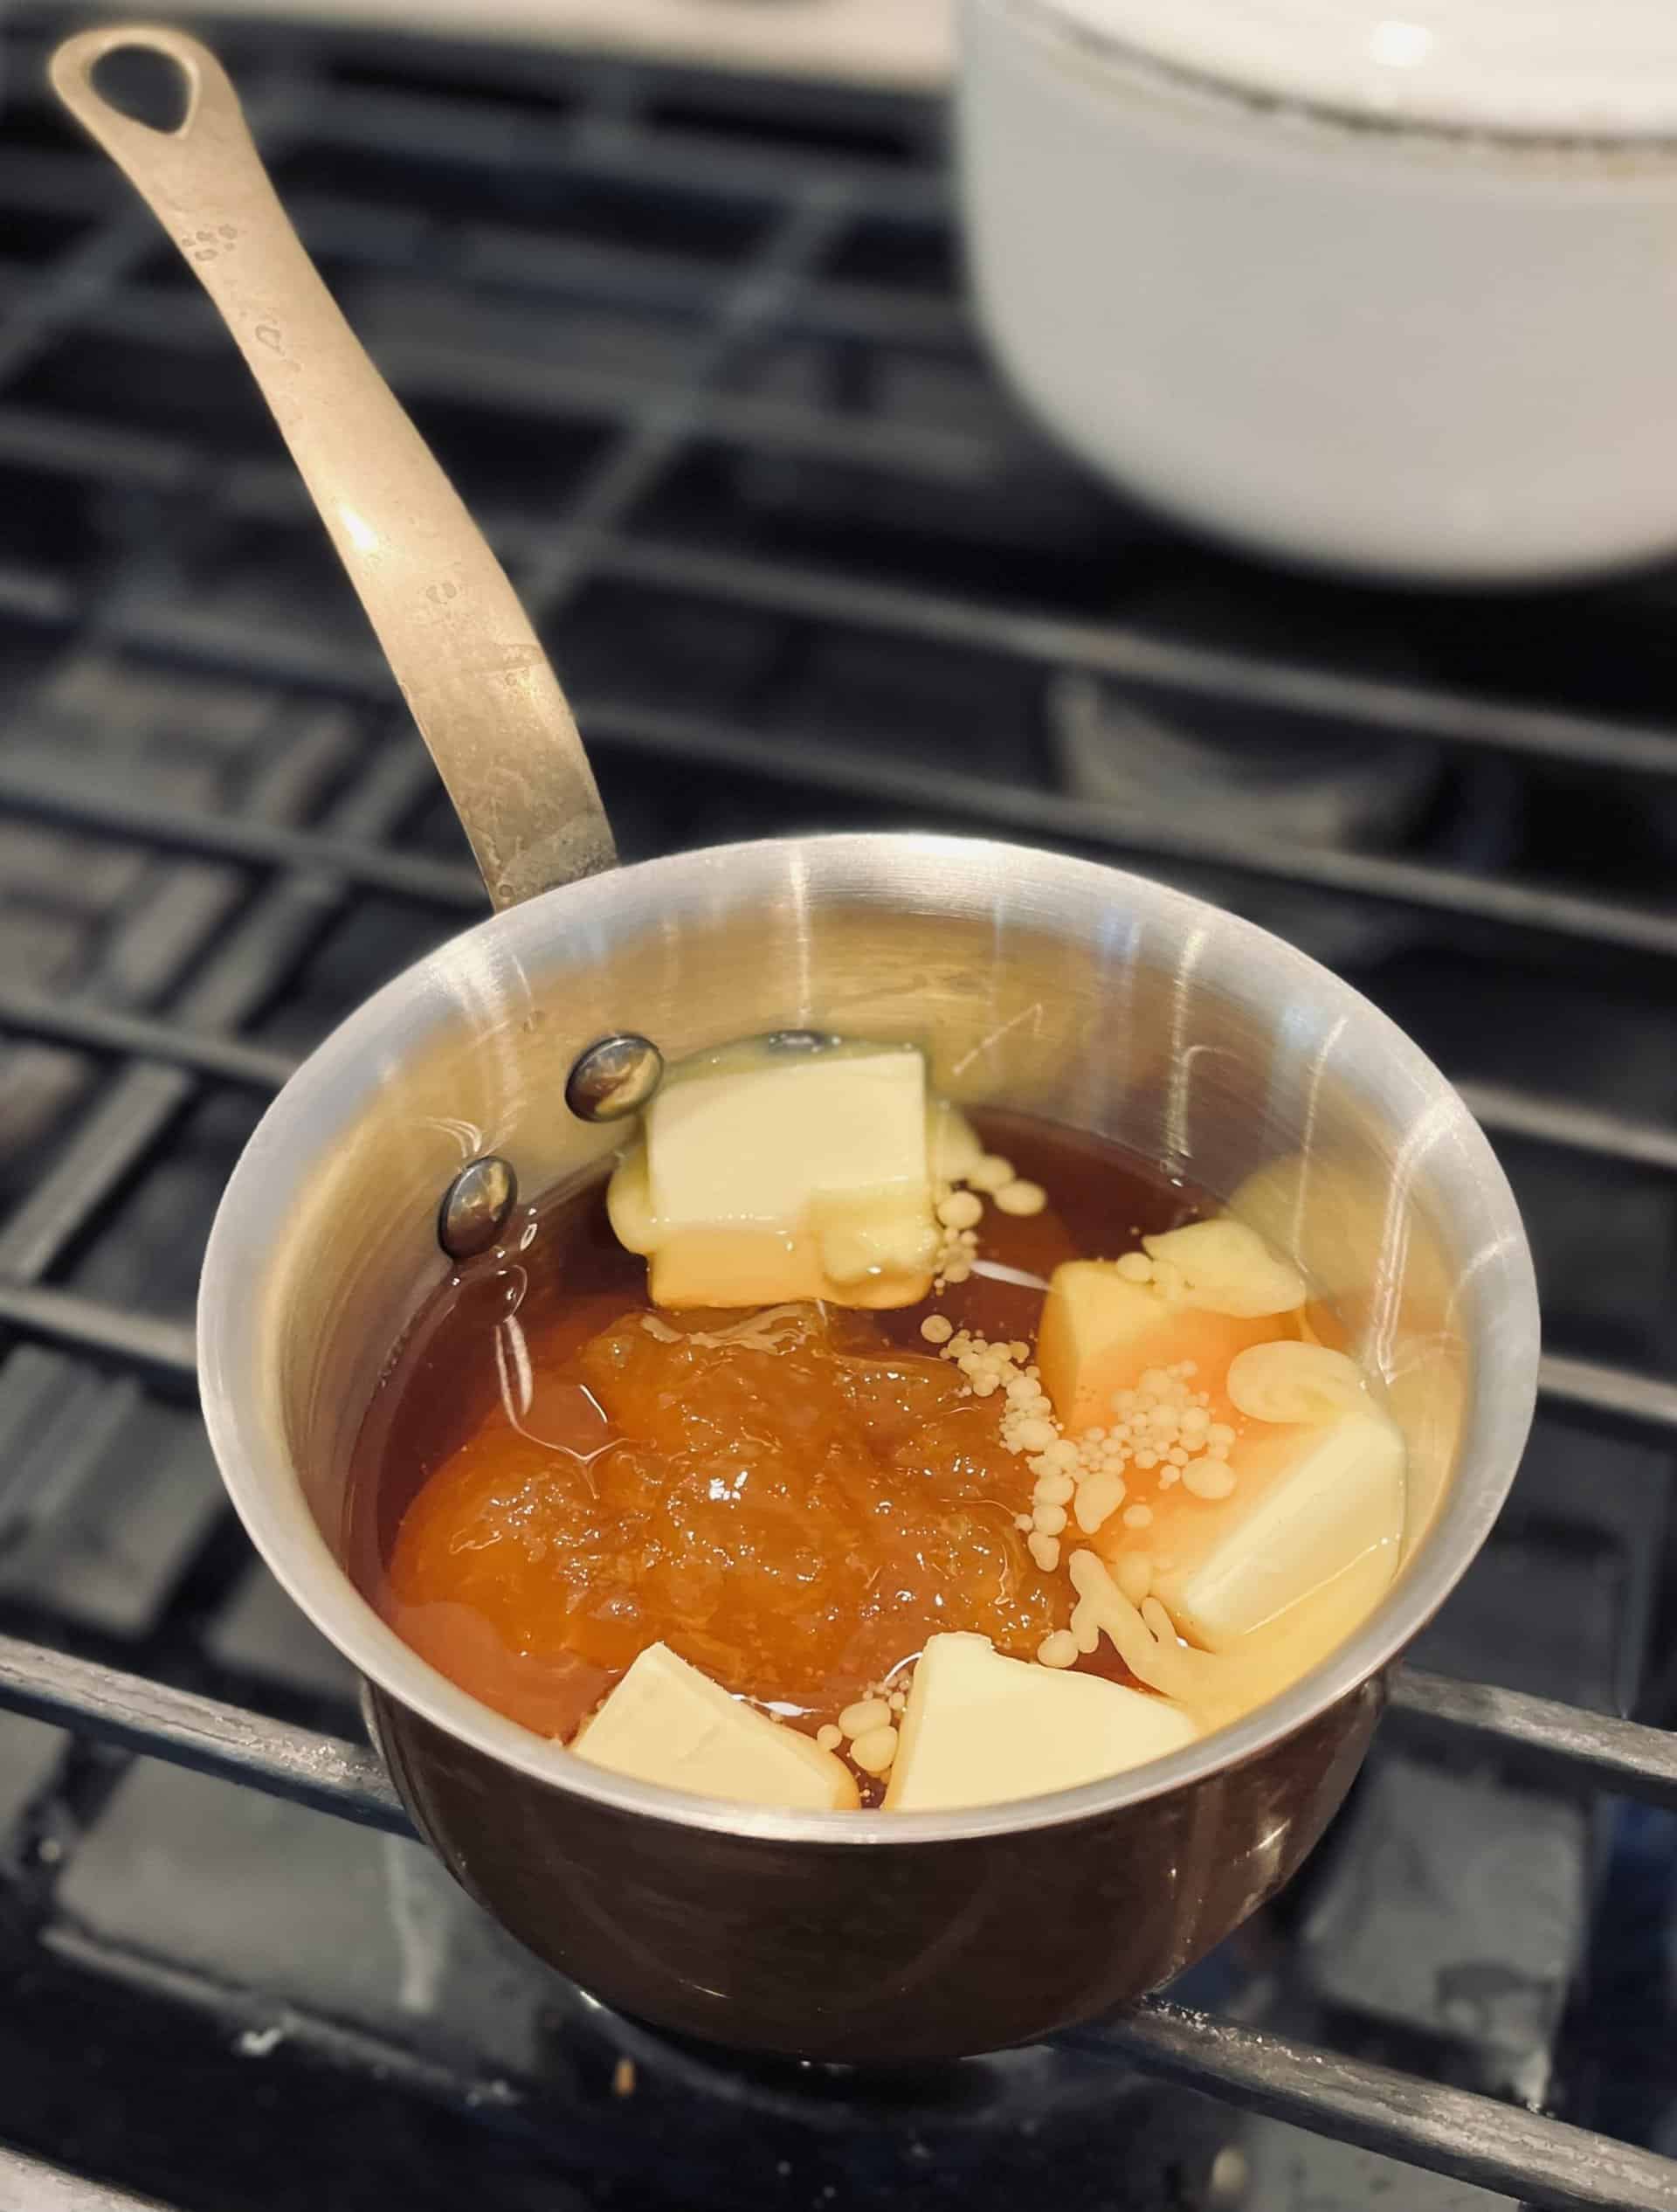
Combine the jam, bourbon, and butter in a saucepan. Bring this to a simmer and mix till combined.
When the white meat temperature reaches 145°F (63°C), start brushing the glaze onto the bird with a pastry brush. Do this every 15 minutes until the white meat reaches an internal temperature of 160°F (71°C) and the dark meat hits 170°F (76°C). Remove the turkey from the smoker and let it rest for 20 minutes before carving.
Season the inside of the cavity with 2T of the dry brine. Use the remaining brine to coat the rest of the bird, making sure to cover the legs and breast. Tightly wrap the turkey in plastic wrap and place in your cooler on a bag of ice. Use your Quad XPro food thermometer to monitor the turkey’s ambient and internal temperatures. Let this sit for 1 day; the best results are after 2.
Preheat your smoker to 260°F (127°C). Unwrap the turkey, tuck the wing tips back behind the bird, and stuff the aromatics into the cavity. Place the leg tips on top of each other, then tie them with butcher twine.
Place a foil pan under the smoker grates and add 3 cups of chicken stock. Place the grill grate back in place, and then place the turkey on the grill. Insert the Quad XPro meat thermometer probes into the thickest parts of the breast and thigh, and place the ambient probe at the base of the turkey.
Smoke for about 25 minutes per pound, replenishing the liquid in the drip pan as needed.
Combine the jam, bourbon, and butter in a saucepan. Bring this to a simmer and mix till combined.
When the white meat temperature reaches 145°F (63°C), start brushing the glaze onto the bird with a pastry brush. Do this every 15 minutes until the white meat reaches an internal temperature of 160°F (71°C) and the dark meat hits 170°F (76°C). Remove the turkey from the smoker and let it rest for 20 minutes before carving.
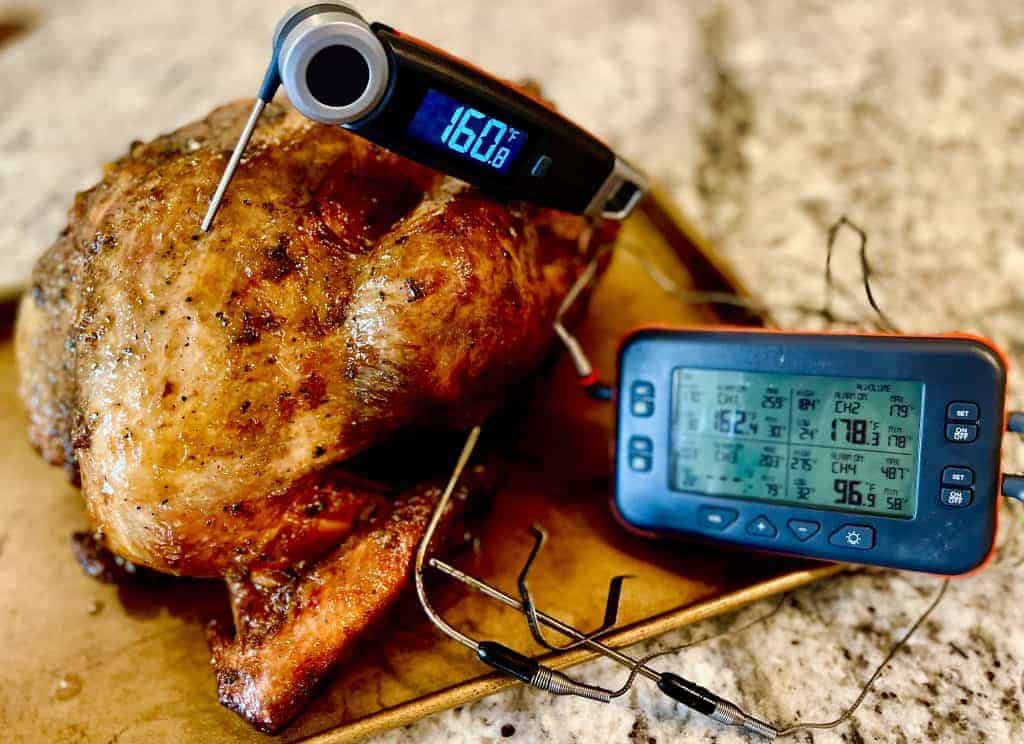 While you wait, pour the drippings from the pan into a tall vessel. To separate the fat from the liquid, you can add more stock to bring the total to 4 cups. Combine the fat with enough butter to make 2/3rd C. Add an equal amount of flour to a skillet, stirring until it becomes incorporated and forms a smooth paste. Cook over low heat, stirring often, till the roux is nice and dark. Strain the liquid from the drip pan, then whisk constantly until incorporated. Simmer your gravy for 20-30 minutes, adjust seasonings and then serve.
Related Posts
Is Your Steak Properly Done? Get it Right with a Remote Thermometer
Many passionate grillers began where you are now. Their first attempts were unsuccessful and disappointing. Th...
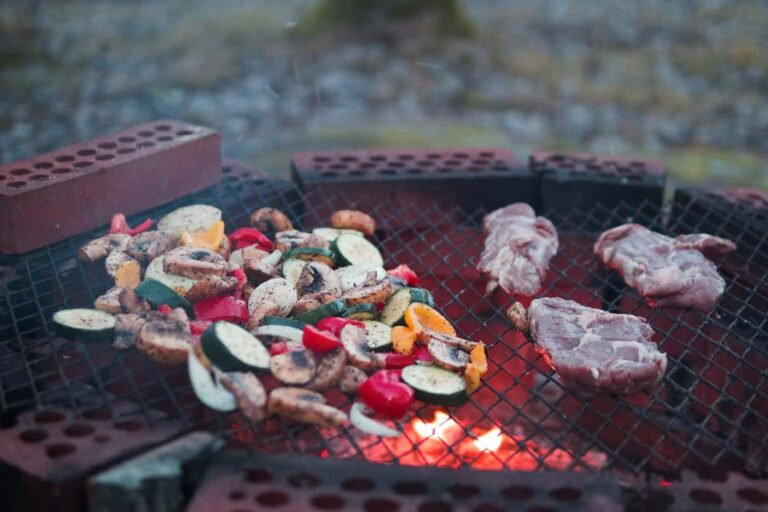
Things You Should Never Do with an Instant Read Meat Thermometer
An instant-read meat thermometer is needed to tell if your meat is cooked to the proper internal temperature. ...
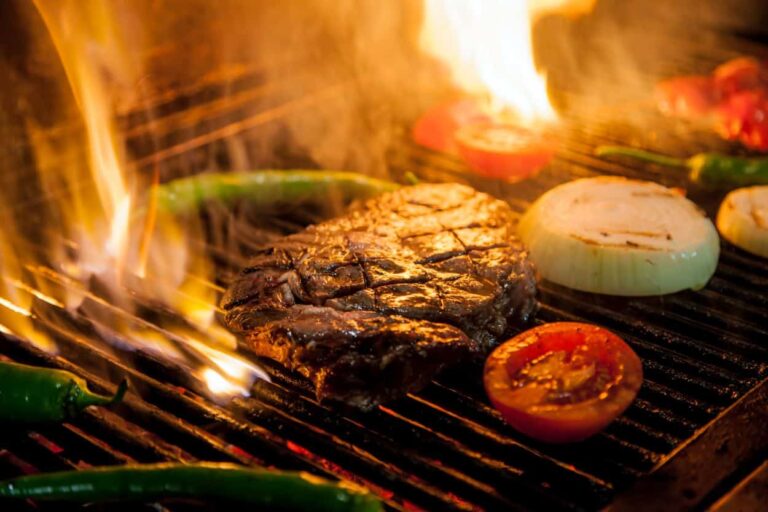
Steak Temperature Guide: All Information You Need for a Perfect Steak
Steaks are not your everyday meal. They are the most costly cuts of meat you can order at a restaurant of any ...
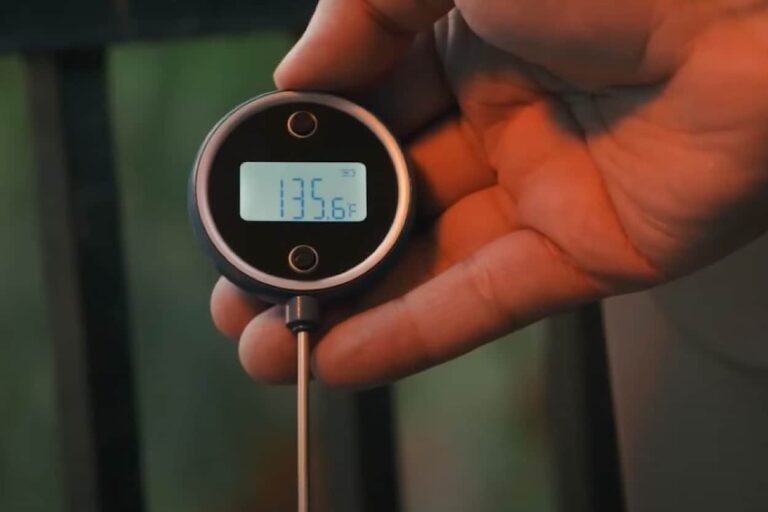
What is the Range of Accuracy for Food Temperature?
Any business that handles, prepares, and cooks food must follow proper guidelines to ensure food safety. Food ...
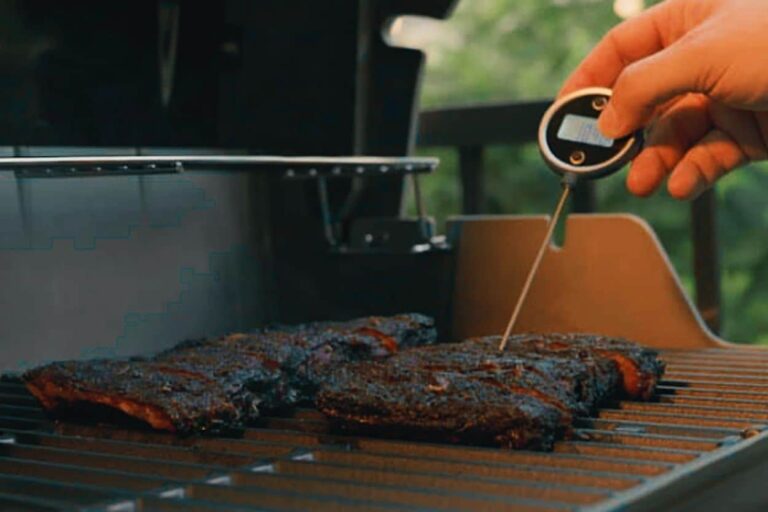
How to Properly Reheat BBQ Leftovers with the Best Meat Thermometer?
Reheating BBQ leftovers is something many people struggle with. This article covers the ins and outs of doing ...
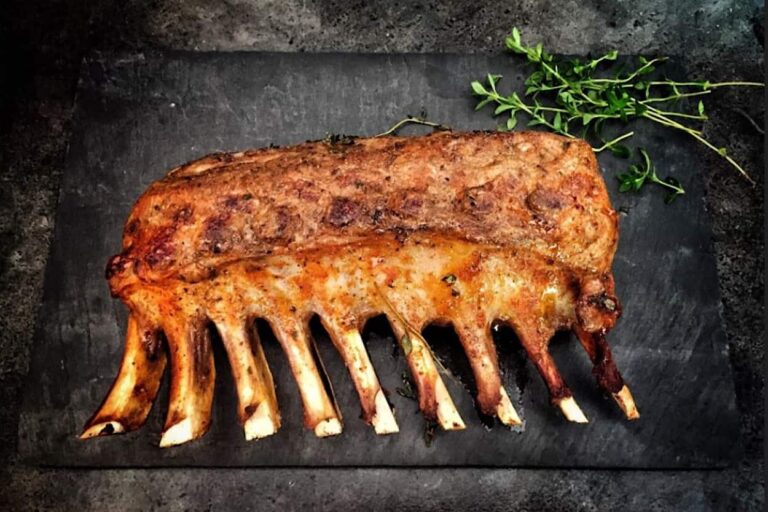
Letting Meat Rest Myth Debunked: Find Out the Truth
Whether it's your first time cooking meat or not, you might have heard one common piece of advice: always rest...
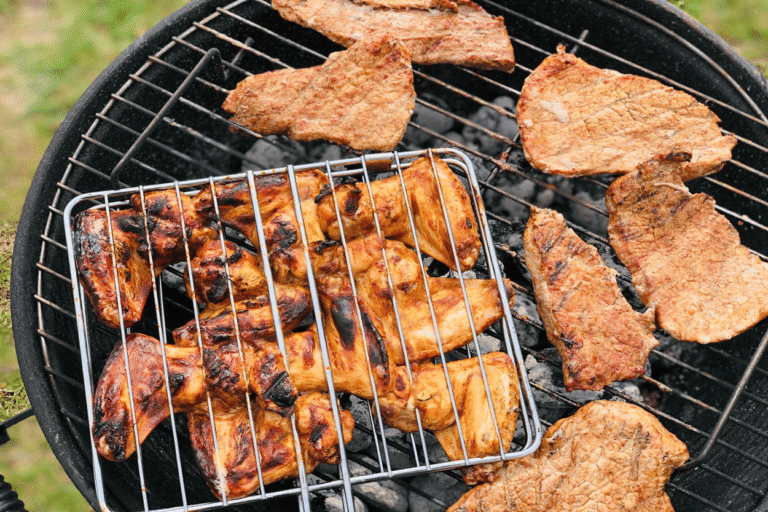
Care and Maintenance: Tips for Using Your Kitchen Thermometer Accurately
Kitchen thermometers take the guesswork out of cooking and ensure our food is cooked to perfection. There are ...
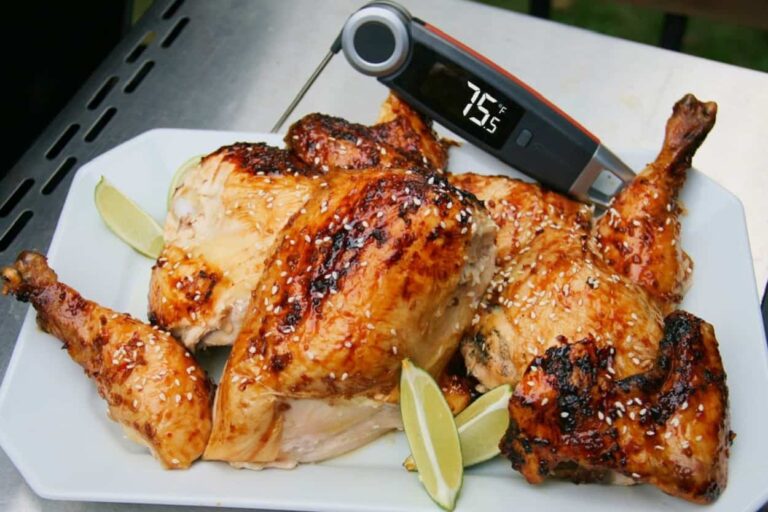
What Is the Best Meat Thermometer for Every Meat Cut?
Cooking food for our loved ones is always delightful. Cooking food, especially when it comes to cooking meat, ...
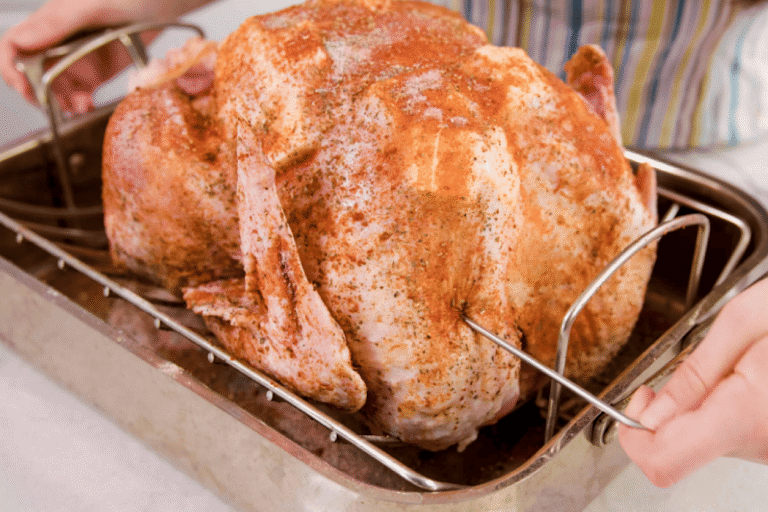
Proper Probe Placement in Your Turkey
On the auspicious occasion of Thanksgiving, every dinner table is decorated with several dishes, with Turkey a...
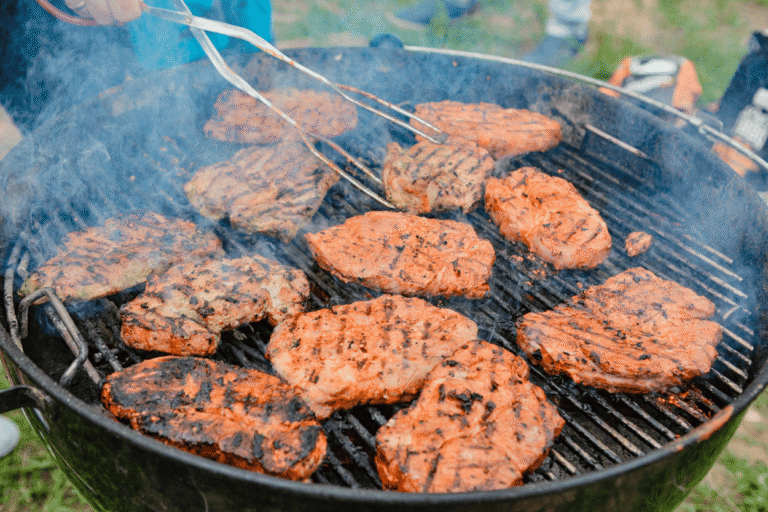
Versatility of Grill Thermometer Where Else Can I Use It?
The grill thermometer will tell you when your meat is perfectly roasted, whether you are looking for medium-ra...
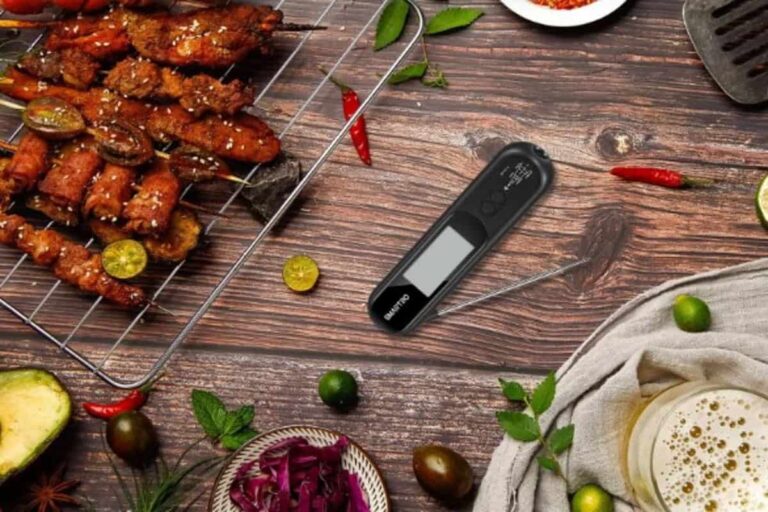
Best Infrared Thermometer for Kitchen Use
Cooking is both an art and a science. It requires knowledge of food preparation, different cooking methods, un...
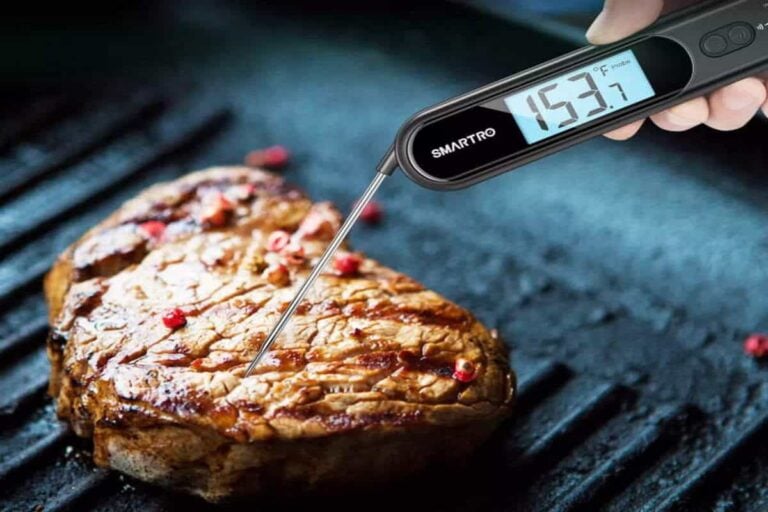
Best Uses for Infrared Thermometers
Infrared technology has been around for ages and used in different industries. There is a wide range of infrar...