Before the first brisket or rack of ribs, a new grill needs its first firing. That session also lets you learn how the cooker heats up and how to interpret the temperatures it reports.
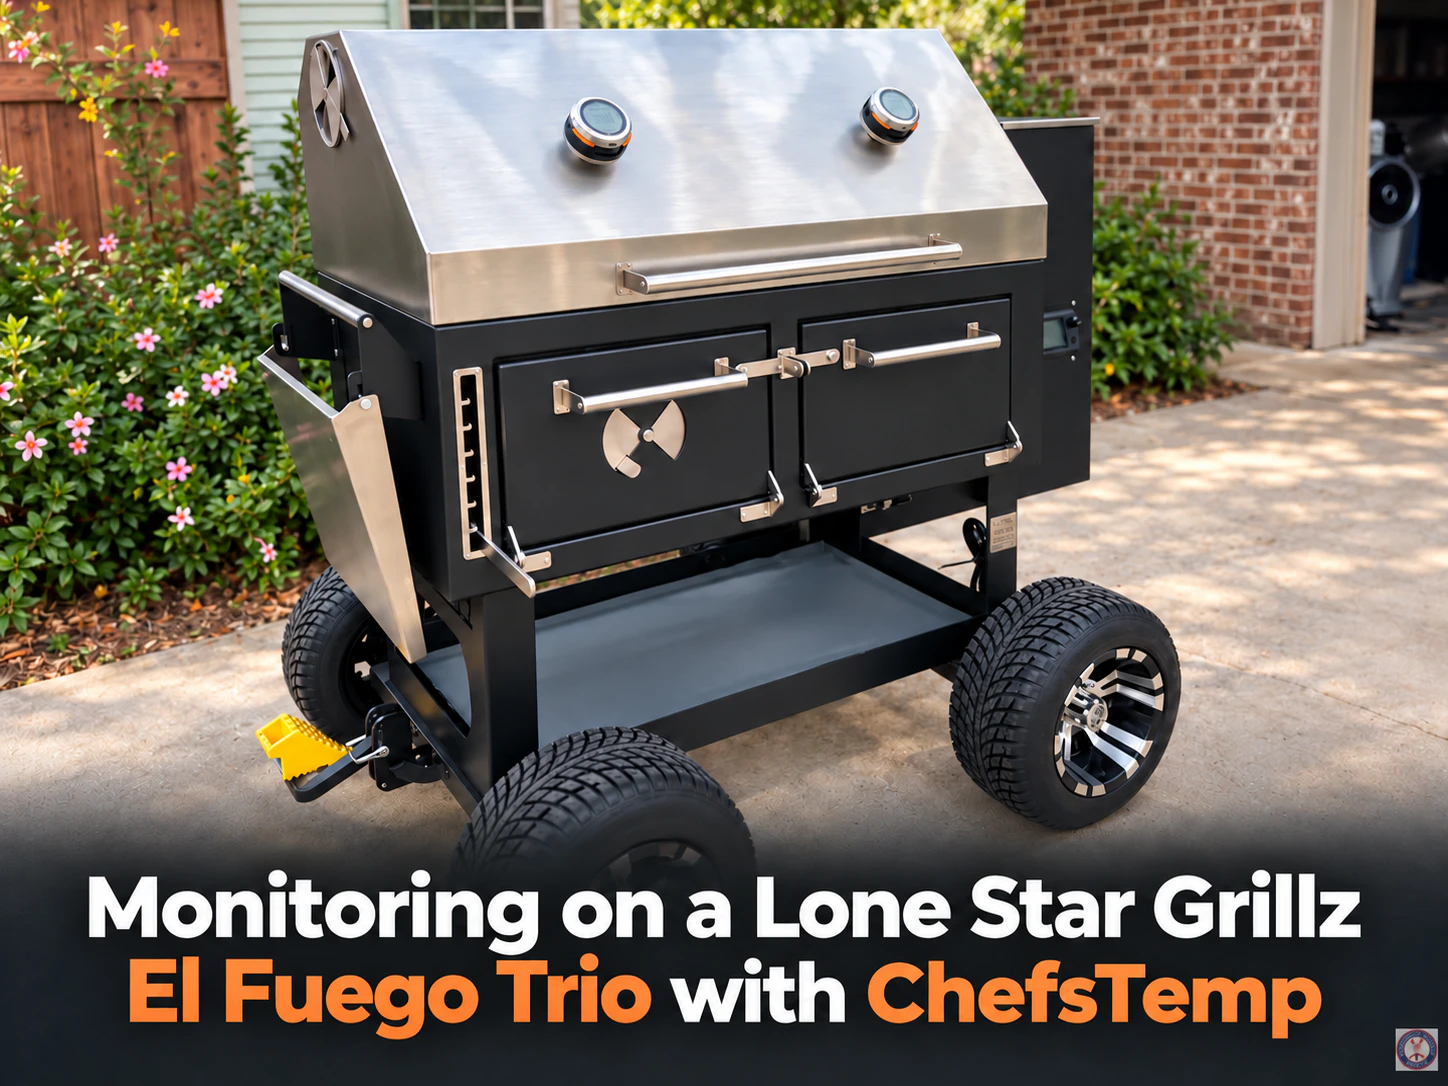
In Southern Coastal Cooking’s introduction to the Lone Star Grillz El Fuego Trio, ChefsTemp thermometers are already part of the setup before the first burn-in. The video covers the initial firing and grate seasoning, showing why temperature monitoring matters even when there is no food on the grill.
🎬: Watch the original video by Southern Coastal Cooking.
Part 1. Getting the new grill ready for its first firing
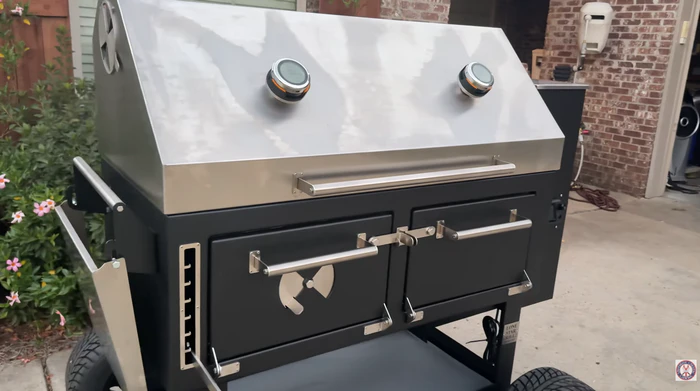
The El Fuego Trio is introduced as a cooker that can use pellets, wood, charcoal, or a combination of fuels. The host walks through its cooking areas, including the pellet side, space for a wood split, a diffuser, and an adjustable fire basket. Raising or lowering that basket changes the distance between the fire and the cooking surface.
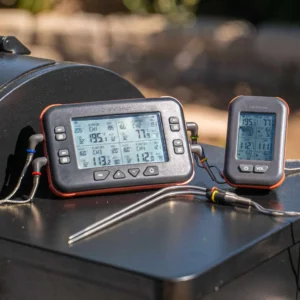
These features give the owner several ways to cook. The immediate task, however, is to heat the new pit and season the grates. At about 0:16, the host points out that his ChefsTemp thermometers are already installed. Temperature measurement is part of getting familiar with the cooker from its first use.
Part 2. Watching the temperature during the first burn
Later in the video, the host says he plans to bring the grill to about 350°F before seasoning the grates. He then reports that it has reached the burn-in temperature. Near the end, he describes spraying the grates with avocado oil and plans to let the session continue for roughly an hour.
Those details describe this owner’s first firing, rather than a universal burn-in procedure. Owners should follow the current instructions supplied with their own grill for the required temperature, duration, and seasoning steps.
For this session, the ChefsTemp thermometers help by providing additional temperature references as the pit warms. A target temperature gives the cook a destination; cooker readings put that target in context. The next step is understanding what each reading represents.
Tip: Click here to learn why your charcoal grill isn’t getting hot enough if interested.
Part 3. Reading the early temperature differences in context
At approximately 3:19–3:35, the host calls out readings of about 355°F, 304°F, and 255°F. He also makes clear that this is his first time lighting the grill and that the entire pit has not yet heated through. He deliberately holds back from judging its temperature uniformity.
That qualification matters. The highest and lowest readings he mentions differ by about 100°F, but he took them during the initial warm-up. The video doesn’t show a lasting 100°F difference after the cooker stabilizes, and it doesn’t document a controlled comparison of sensor positions or thermometer accuracy.
The practical lesson is to interpret temperature alongside its location and the firing stage. When comparing readings on a new pit, let it settle and track where each sensor measures. That gives you a more reliable basis for deciding whether a difference persists.
Part 4. How a smart grill gauge supports this routine
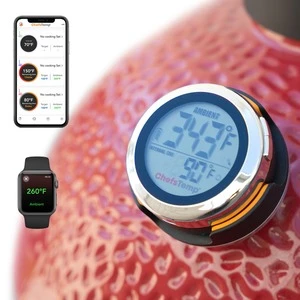
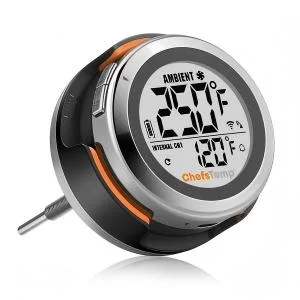
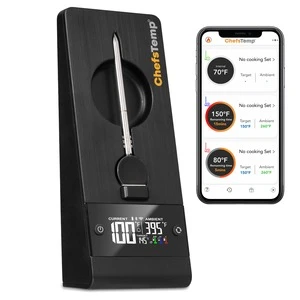
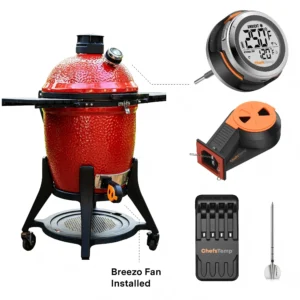
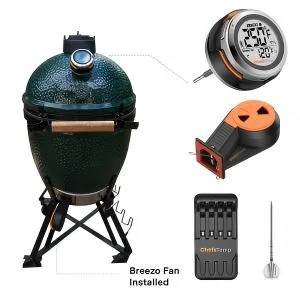
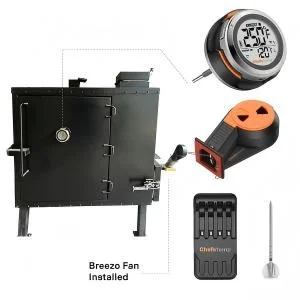
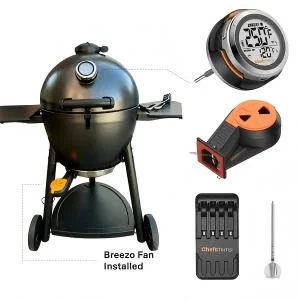
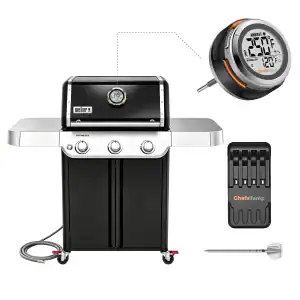
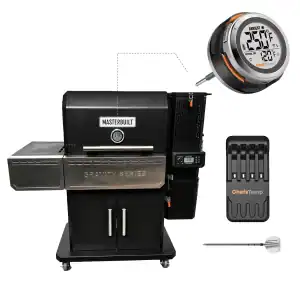
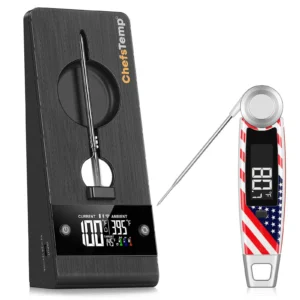
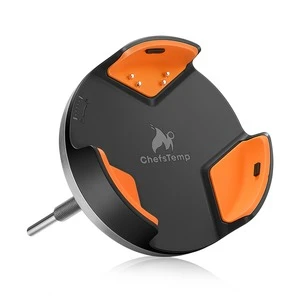
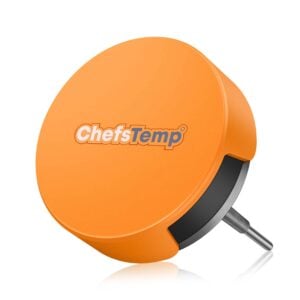
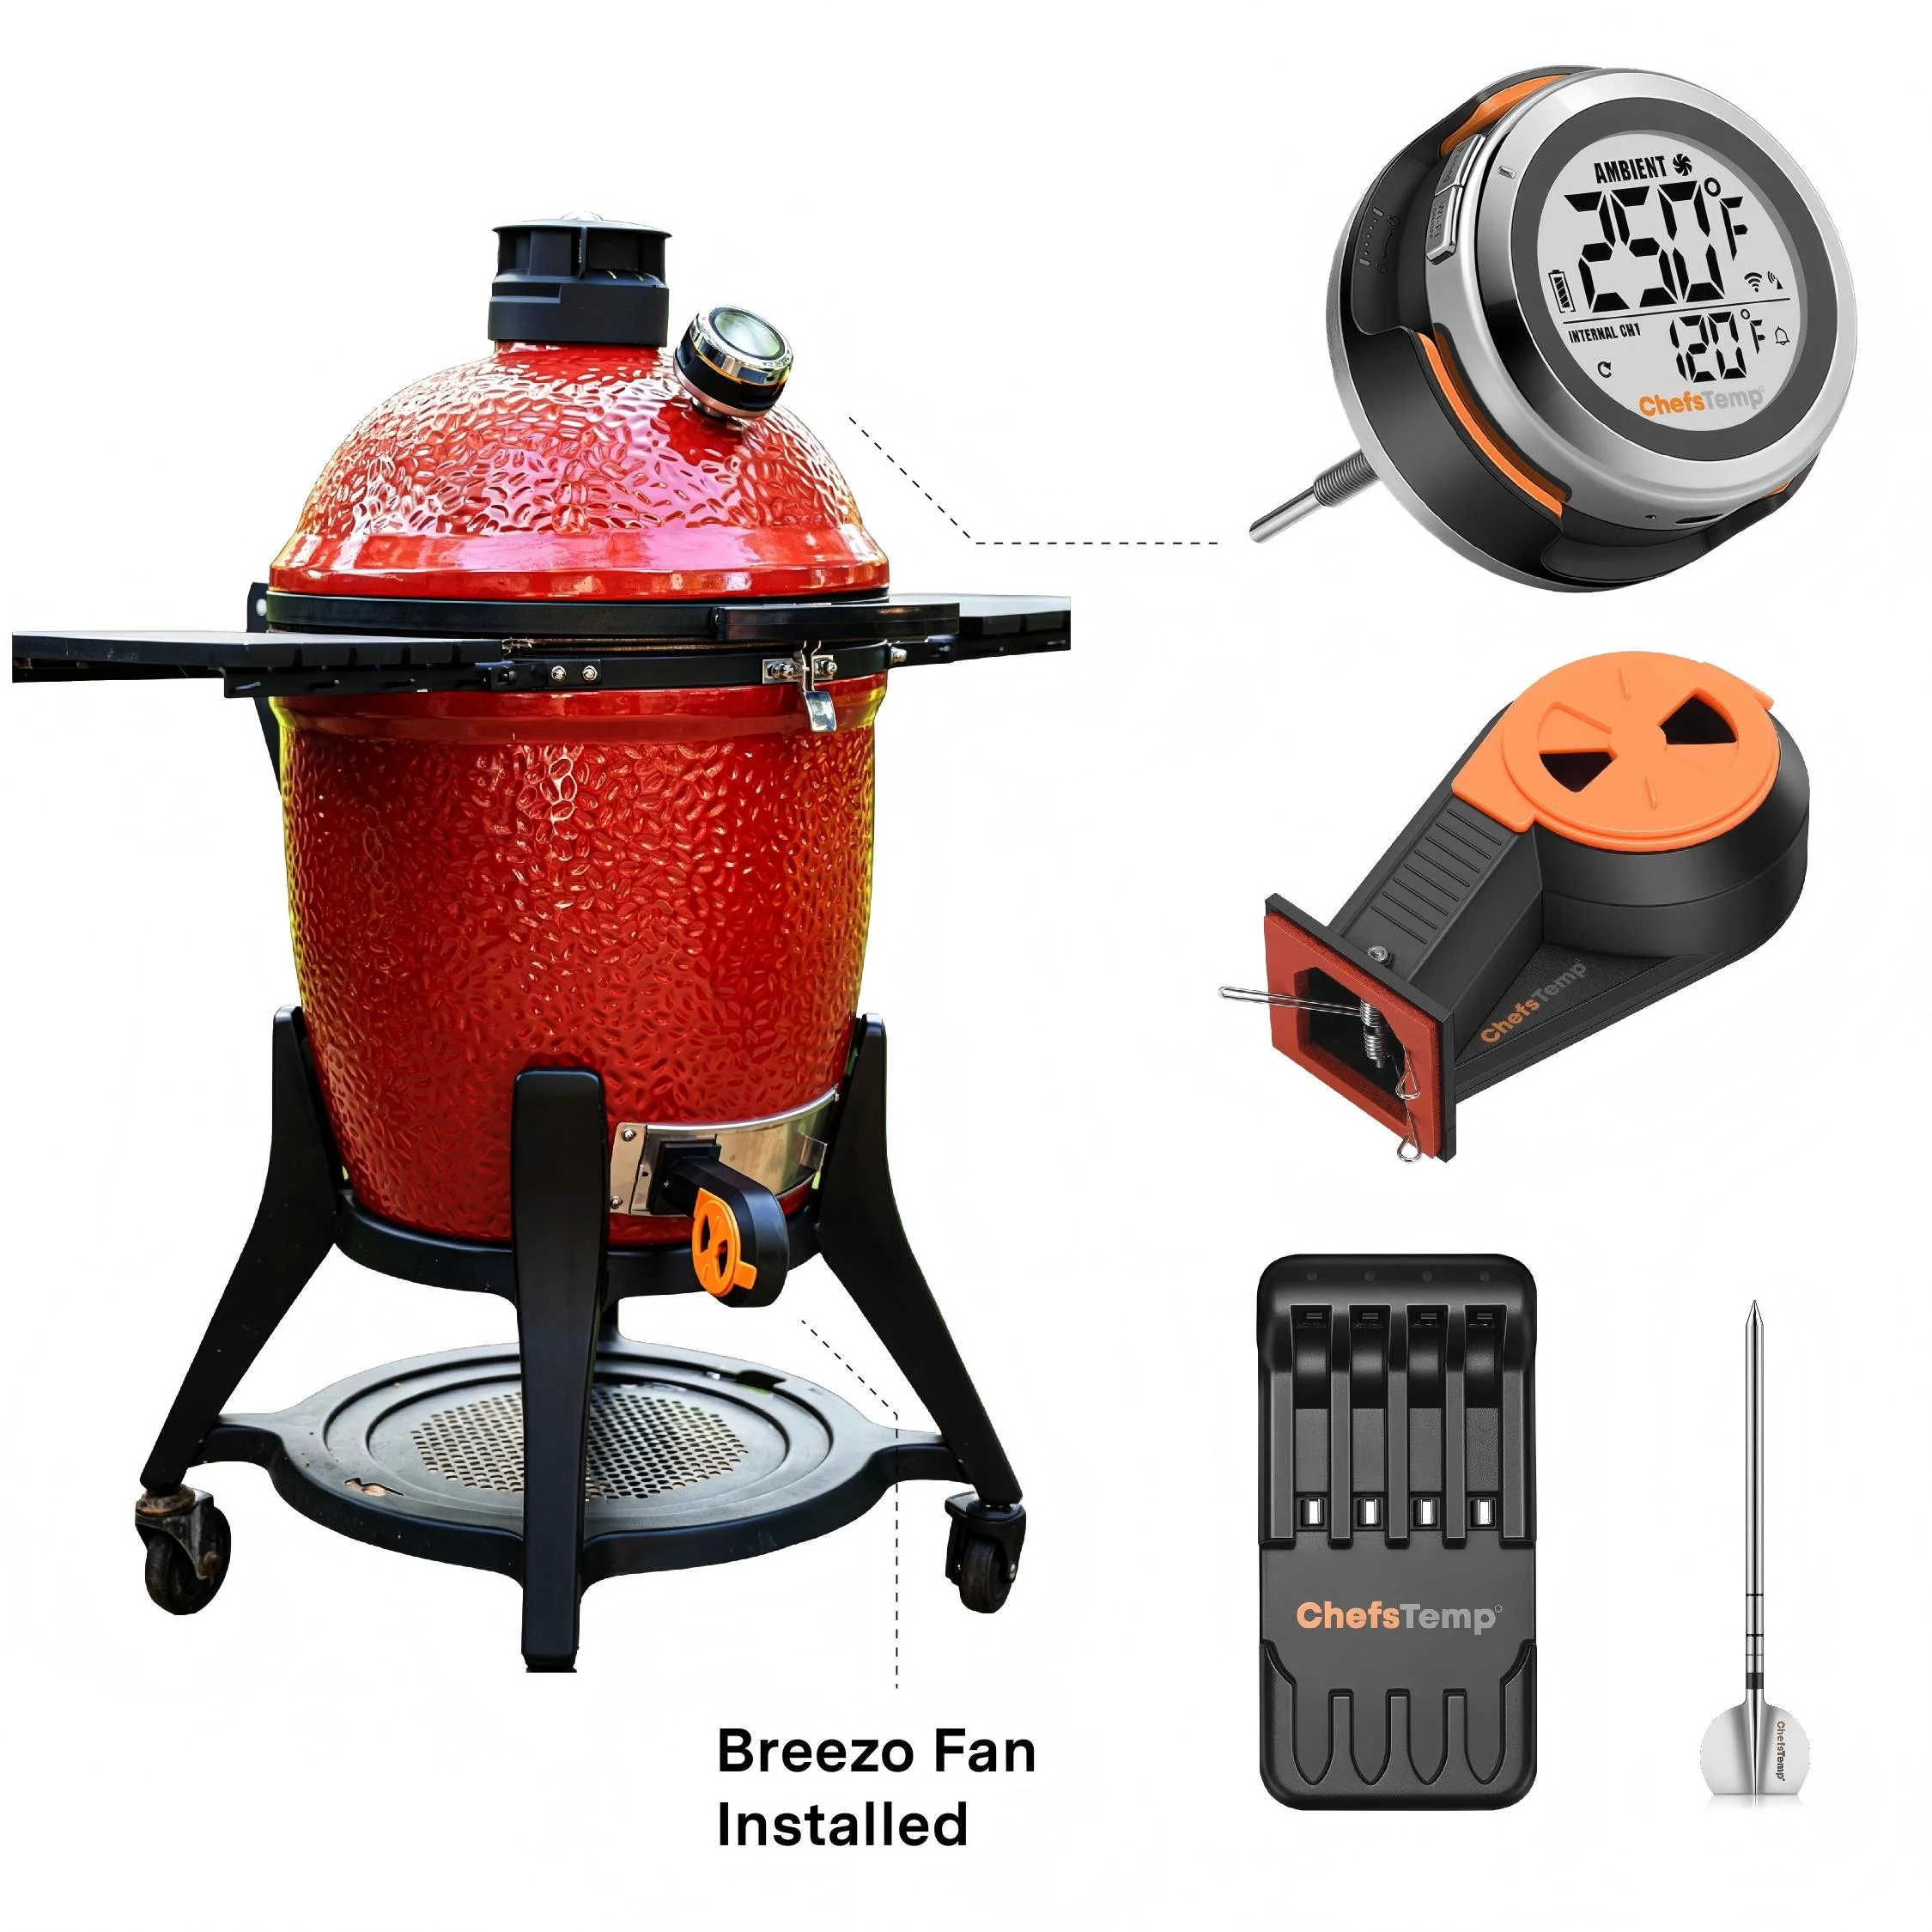
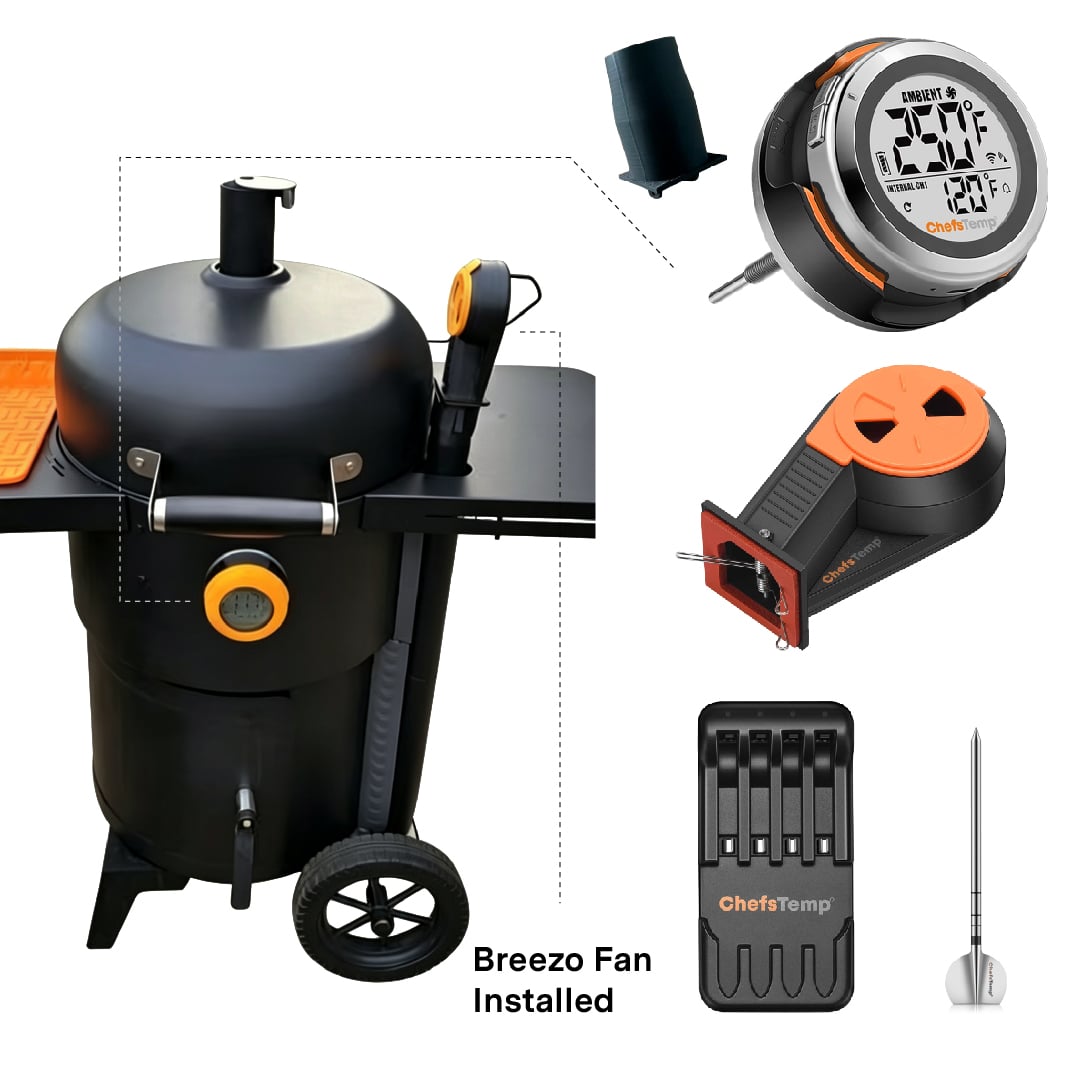
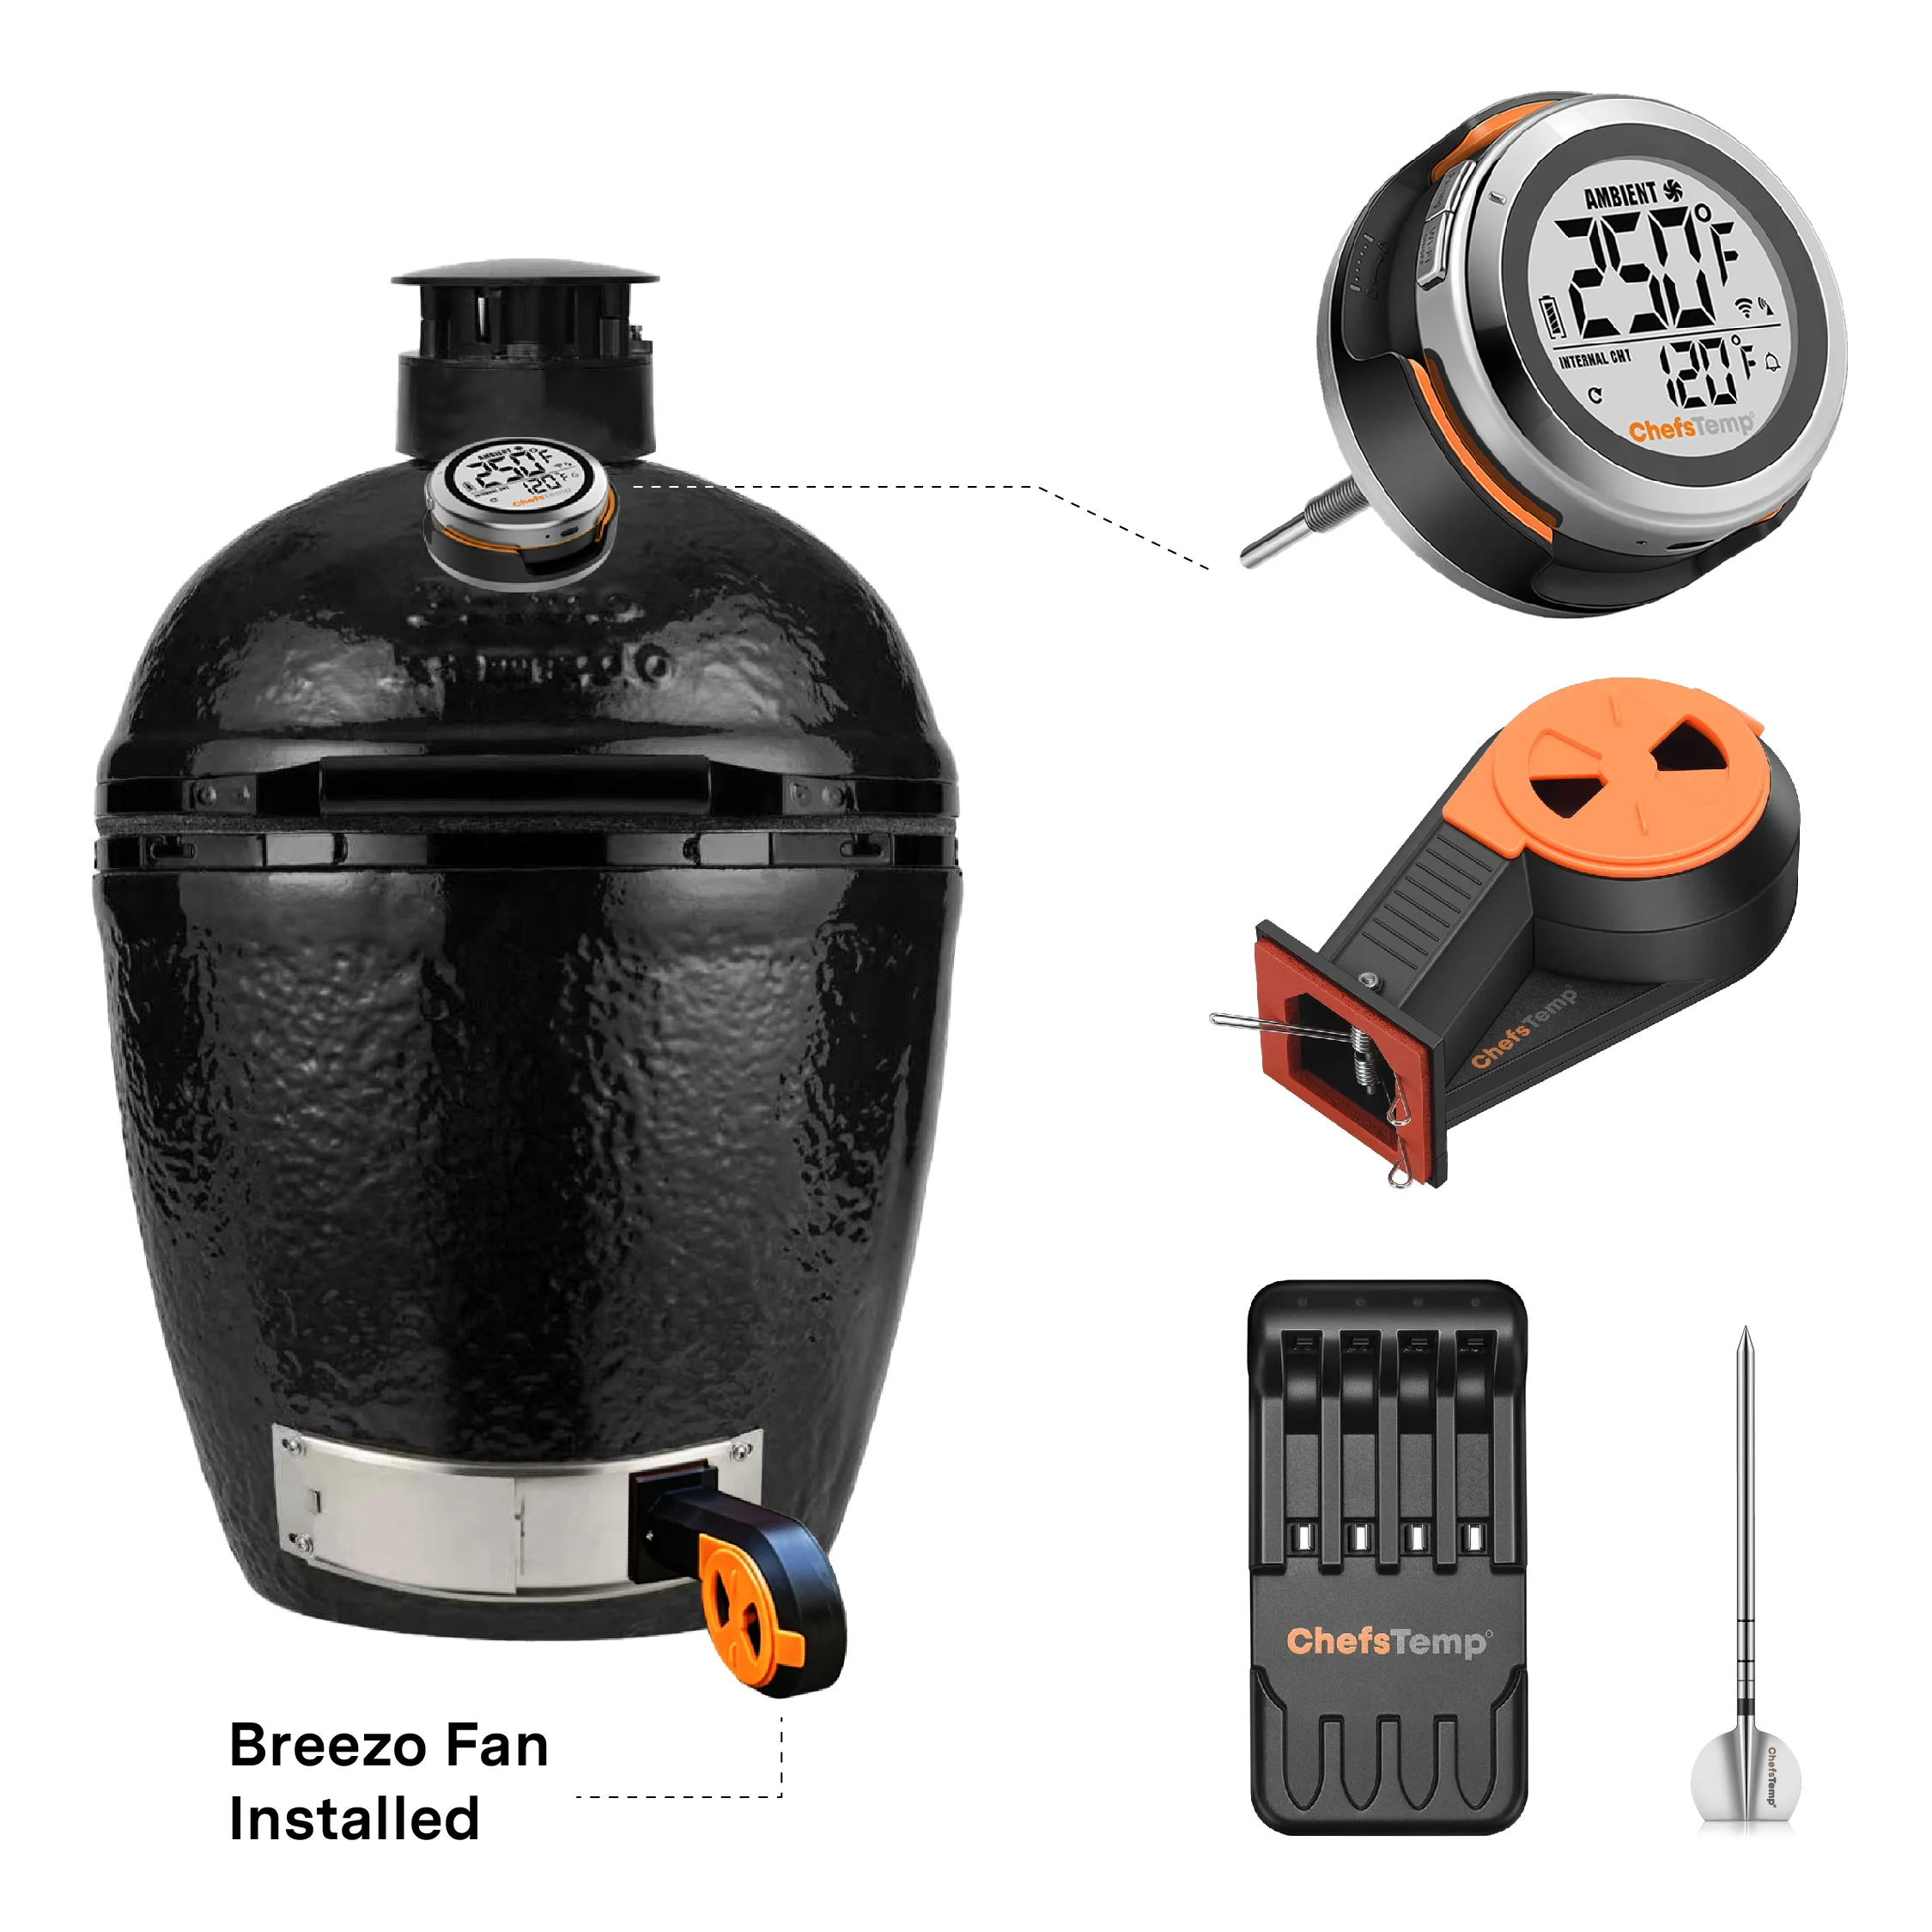
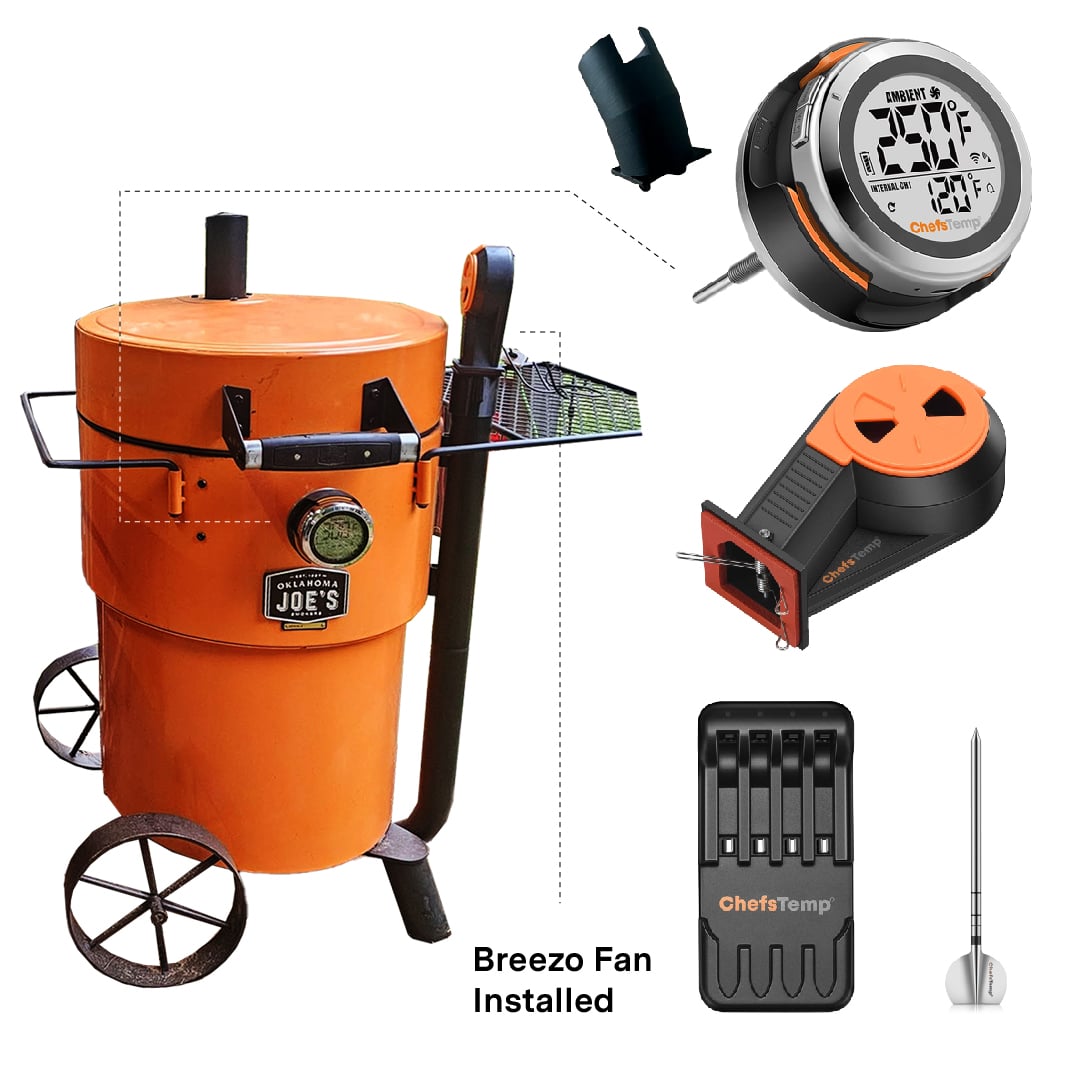
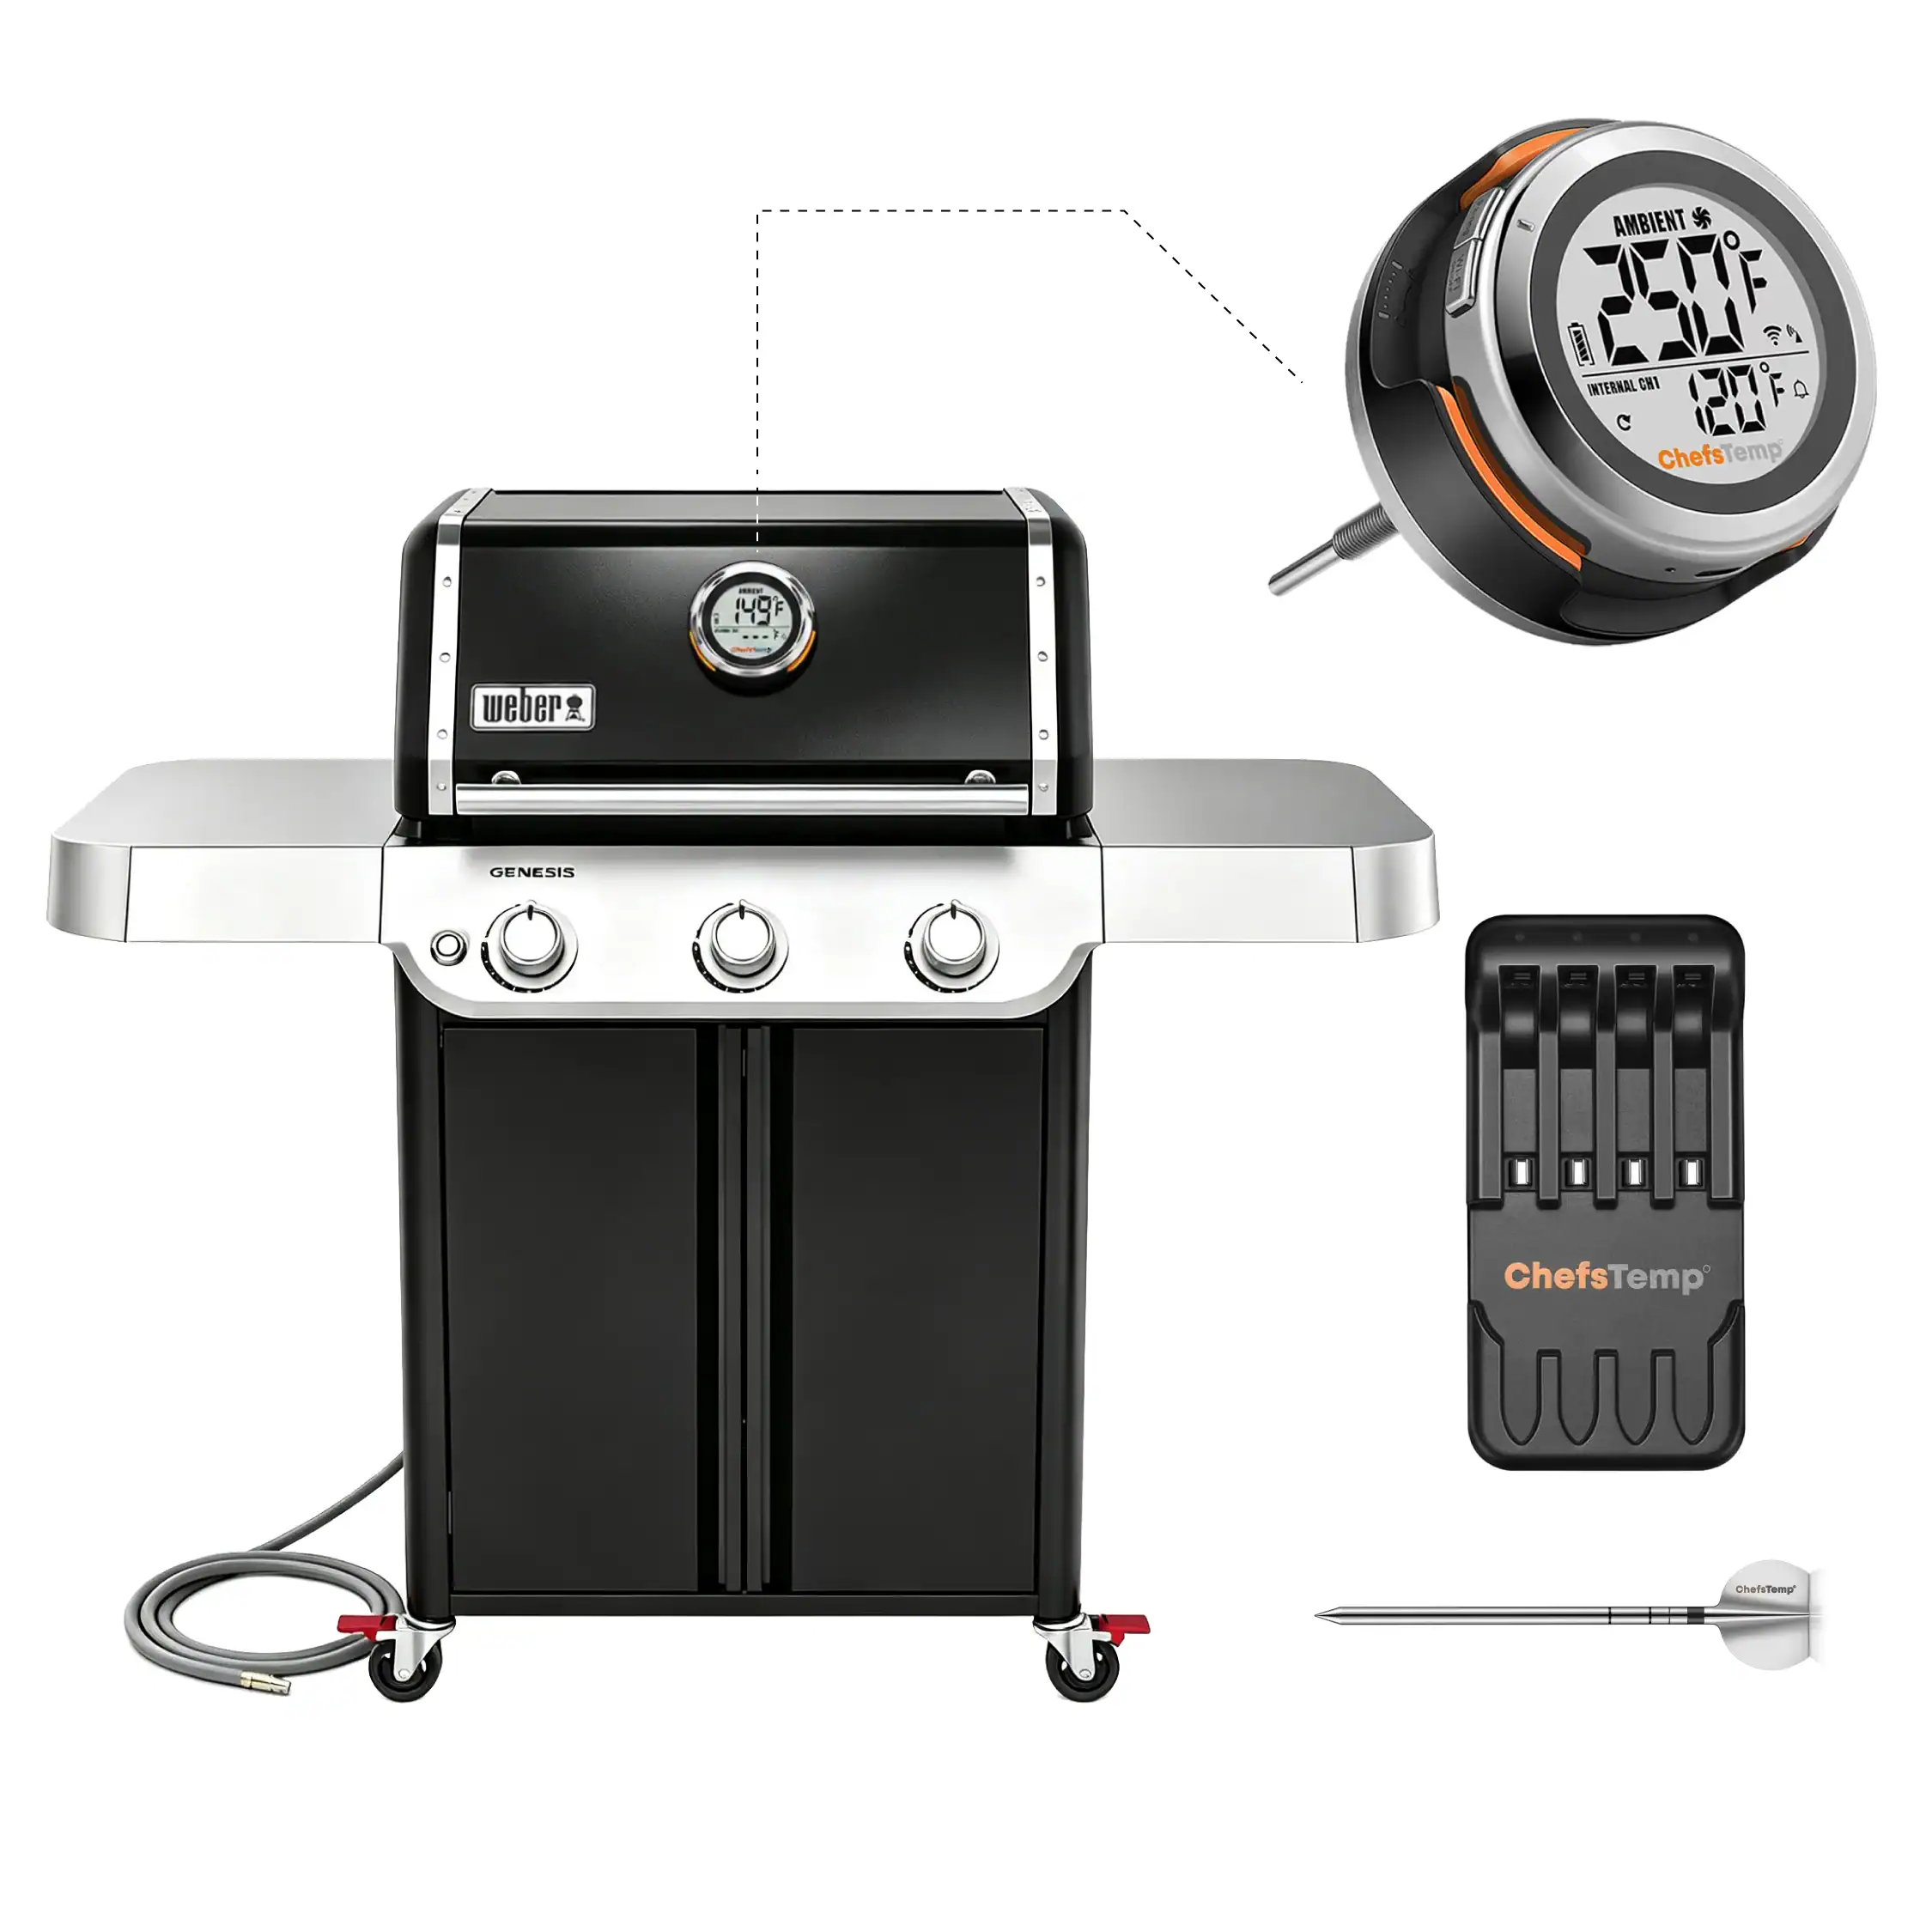
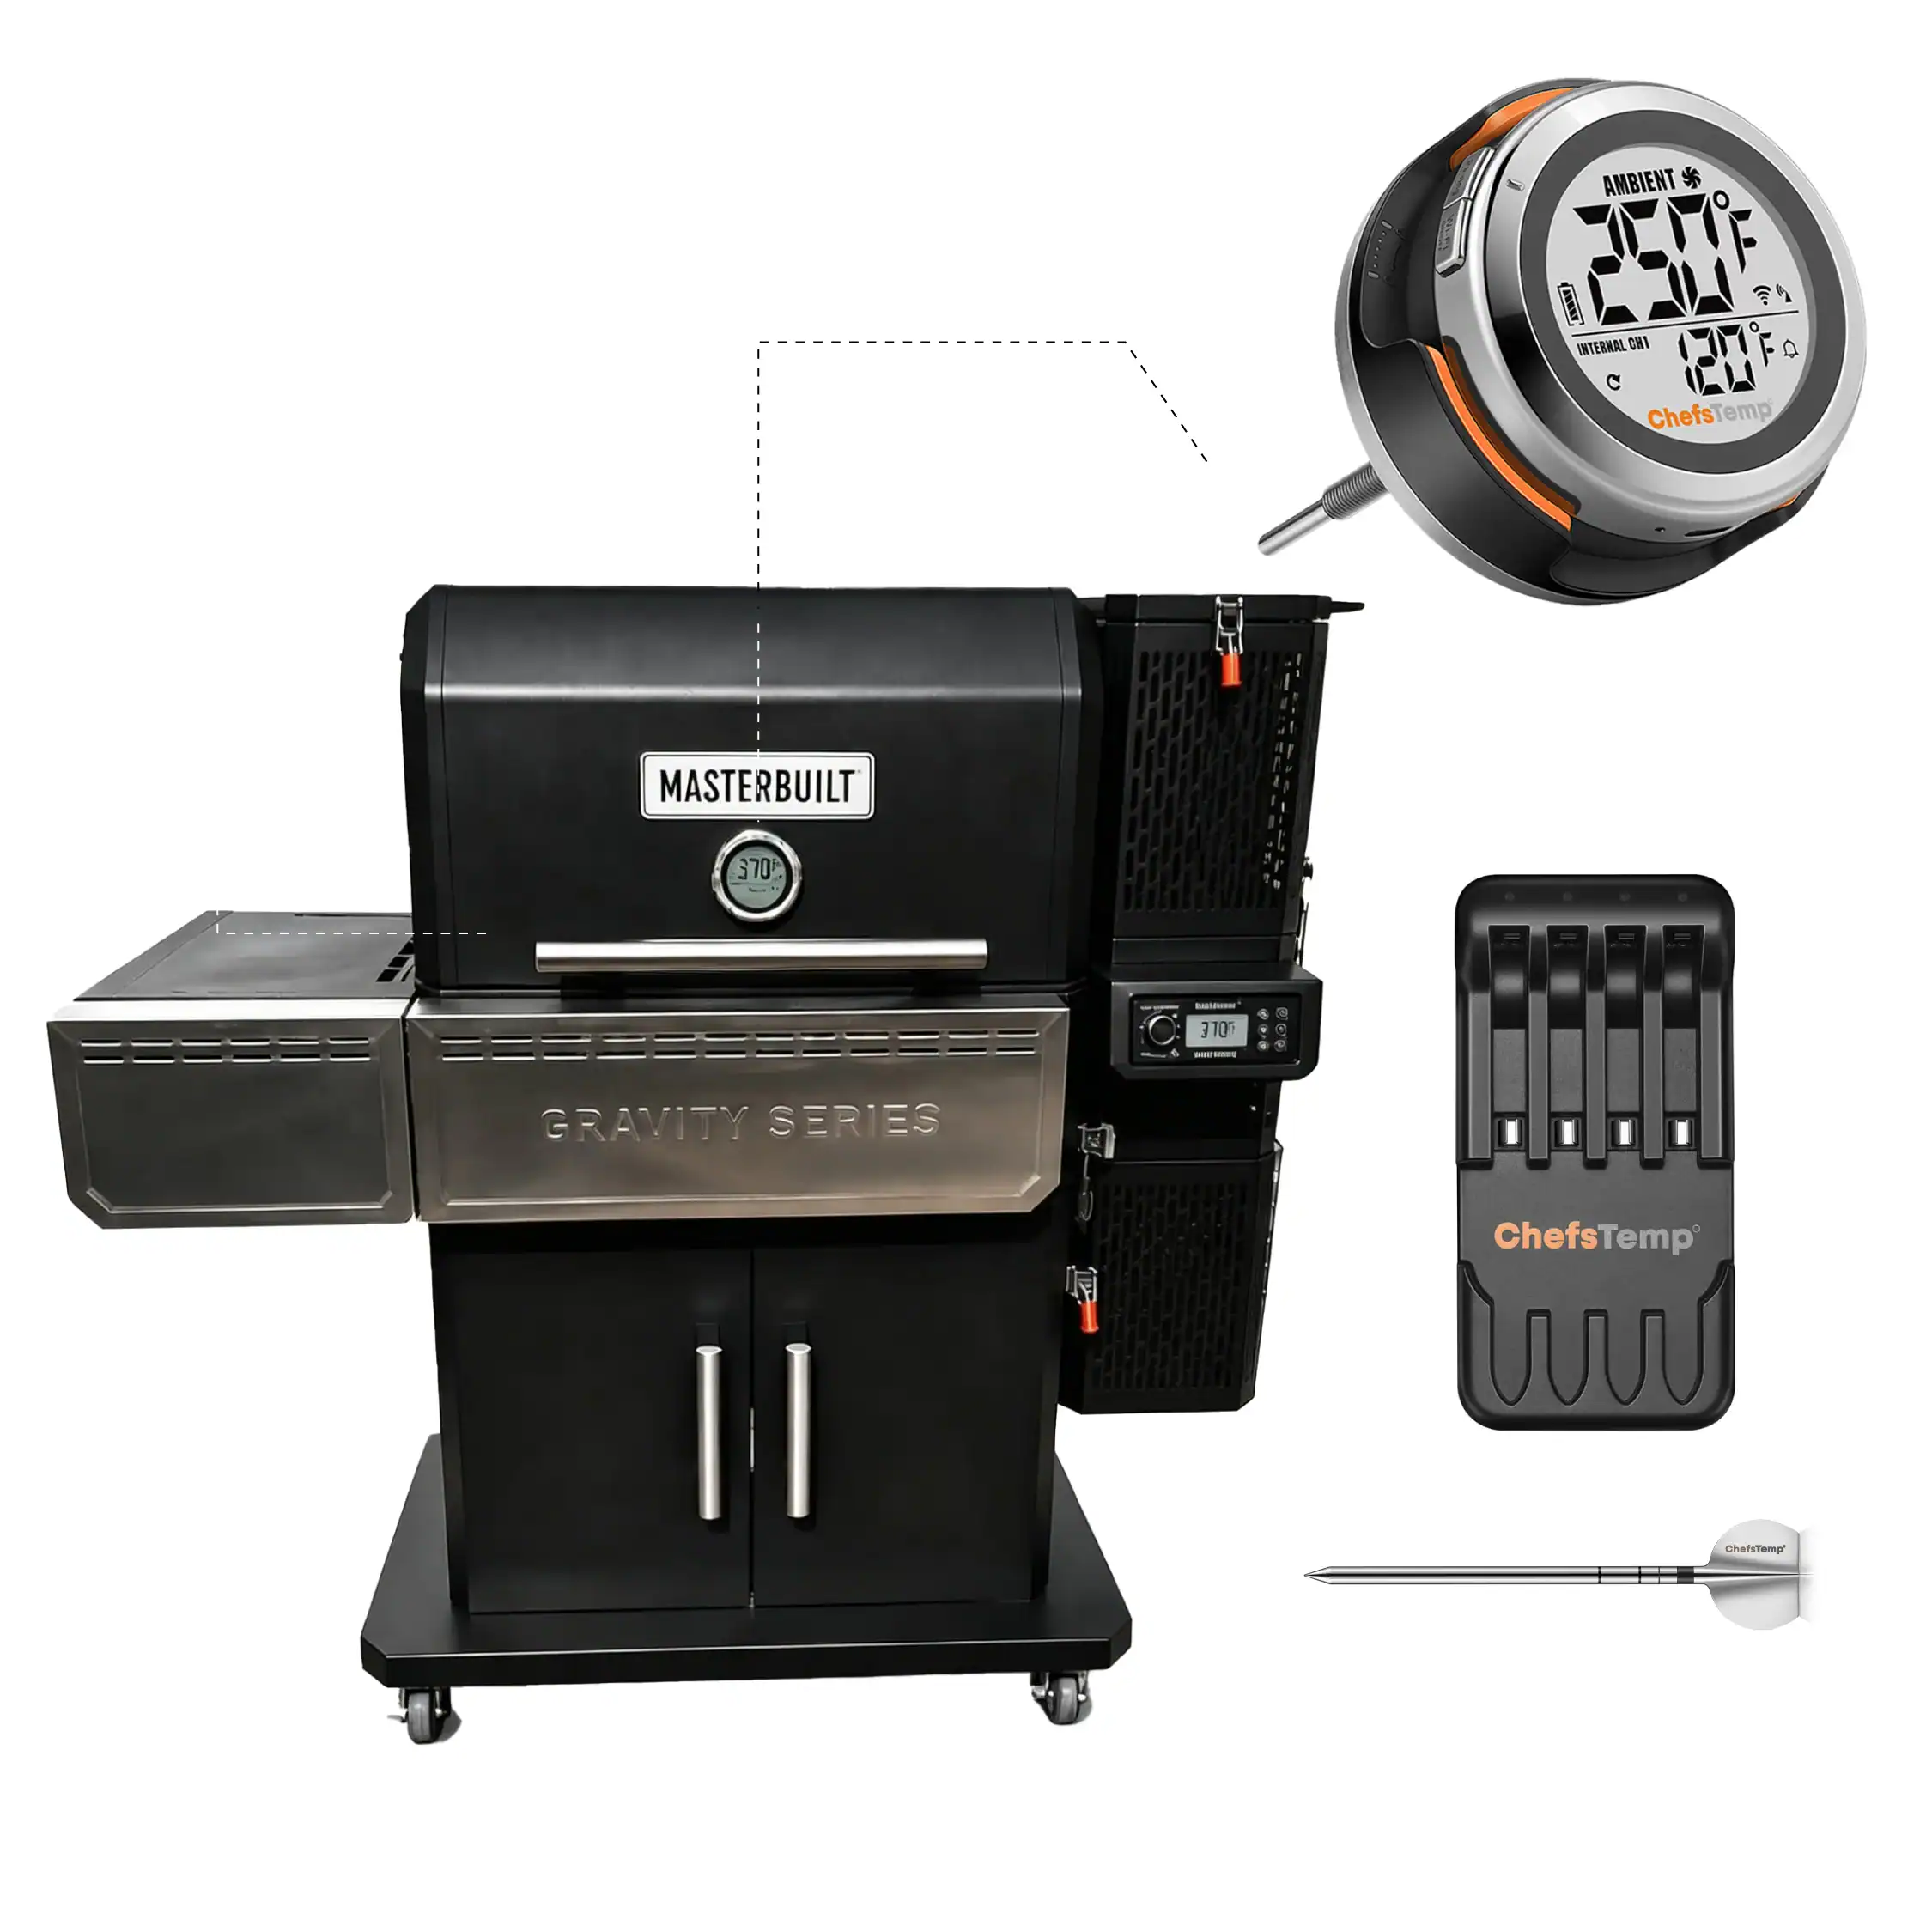
For owners building a similar monitoring setup, the ChefsTemp ProTemp S1 is a smart grill gauge that measures pit temperature and supports monitoring through the ChefsTemp app over Wi-Fi or Bluetooth. High and low temperature alerts can help the cook notice when the measured temperature leaves a chosen range. Fit depends on the grill’s thermometer port and the selected S1 version.
These product capabilities support first firing and later cooks; the video does not demonstrate app monitoring or alerts. Its example is simpler: ChefsTemp thermometers are part of the preparation, and temperature readings become part of the discussion as the new grill heats up.
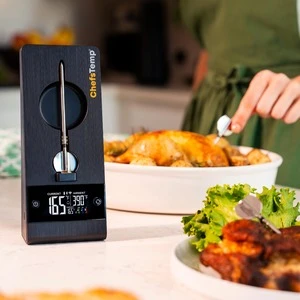
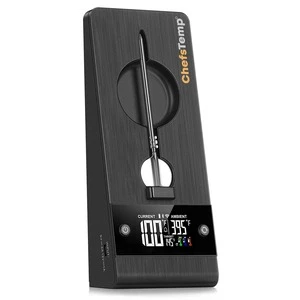
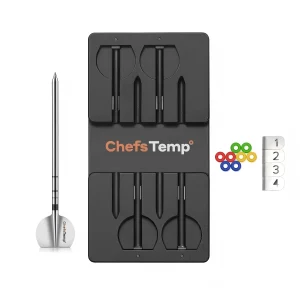
The S1 can also work with compatible optional wireless meat probes. Those become relevant when food goes onto the grill, because pit temperature and internal food temperature answer different questions. No meat probe performance or food doneness result is tested in this burn-in video.
Tip: Click here to read Comparing the Accuracy of the Stock Weber Smokey Mountain Thermometer to ChefsTemp S1 if interested.
Part 5. What this first firing tells a new owner
This introduction ends with the grill being seasoned and future cooking videos still to come. It provides an early look at the owner’s setup and his approach to interpreting the first readings.
ChefsTemp fits naturally into that process: it provides temperature information while you’re learning a new cooker. The readings are most useful when the cook also accounts for warm-up time and sensor position. That habit carries into the first actual cook, when understanding the heat around the food becomes part of deciding how to manage it.
🍳: Explore the ChefsTemp ProTemp S1 and its monitoring features
Related Posts
Smoking a Standing Rib Roast – When Special Occasions Call for Special Cuts of Meat
Preparing the Roast
...
Best Thermapen Alternatives: 6 Instant-Read Thermometers Tested
Thermapen is fast, but is it worth? We tested 6 instant-read Thermapen alternatives for speed, accuracy, and value. Find your best match here.
Improve Your Cooking with ChefsTemp – Master Techniques
Cooking with precision is one of the most essential pillars of the culinary industry. Knowing how to achi...
Roast Pork Internal Temperature
Roasting is one of the best ways to cook pork. This method of cooking gives you soft meat with a crunchy exter...
Top Barbecuing Mistakes You Can Avoid with an Instant Read Thermometer
Smoking is not the same as grilling even if both require an instant read thermometer. When you smoke meat, fol...
7 Best Instant Read Thermometers On the Market
Unless you are an experienced chef who’s been cooking meat for years, you can’t truly rely on pressing the mea...
The Internal Temperature for Tri-Tip When Done
Tri-tip is a type of beef cut that can be prepared in a variety of ways, such as grilling, smoking, and oven-r...
Air Fryer Cooking Guidelines for All Cooking Enthusiasts
The guide provides you with comprehensive information regarding what is an air fryer, how does it work and how...
Yummy Smoked Turkey Breasts – What are the Best Cooking and Pull Temps?
Are you expecting visitors for thanksgiving or a little gathering? Are you thinking of what to prepare? You ca...
The 7 Biggest Mistakes You Make When Baking Potatoes
The humble potato is probably the most common and versatile food you can find in almost any kitchen all over t...
Backyard Cookouts—From Steaks to Chicken to Brats, You Need Fast Temps
As the season changes and the weather warms up, your backyard is the ideal location for supper with your famil...
Ultimate Temperature Guide for Medium Rare Hamburger
If your idea of an ideal summer day is to grill burgers outside, then you really must master how to grill burg...