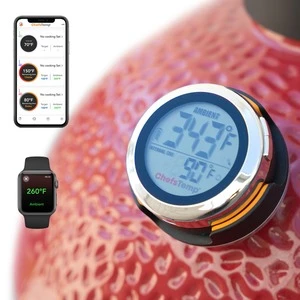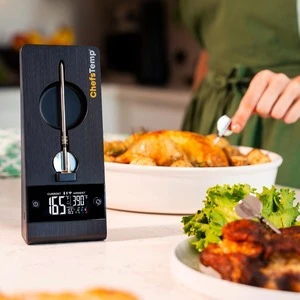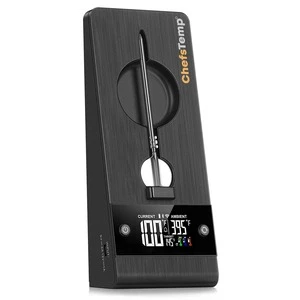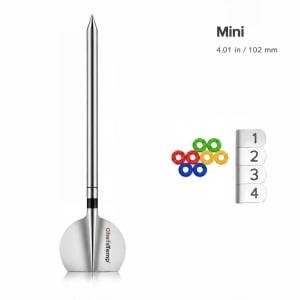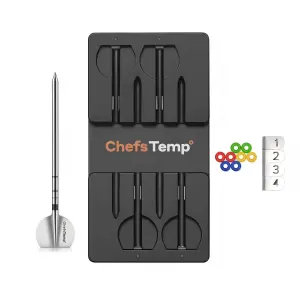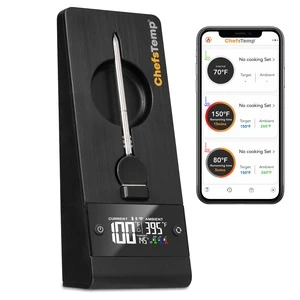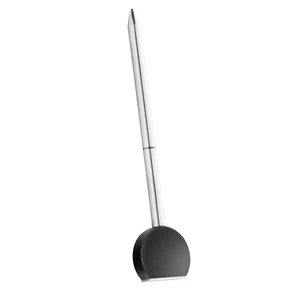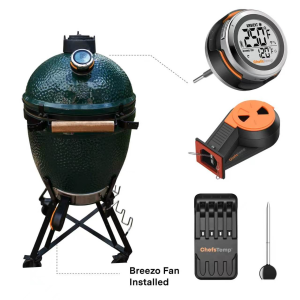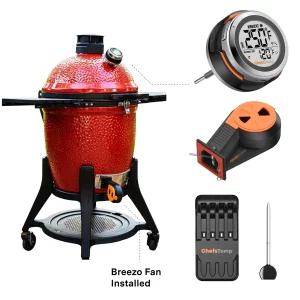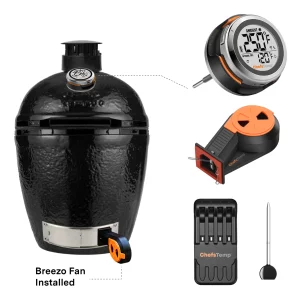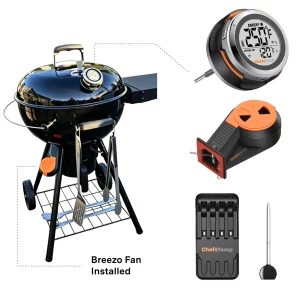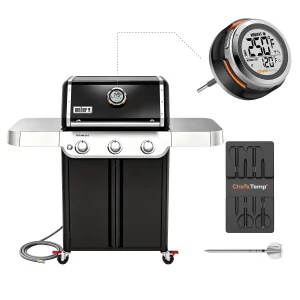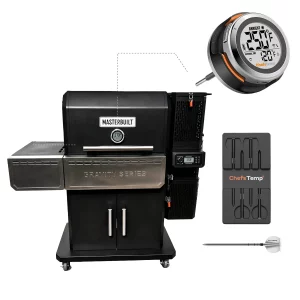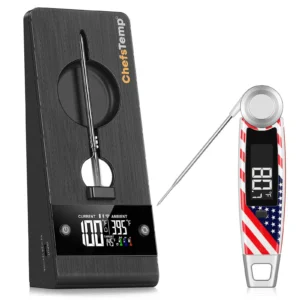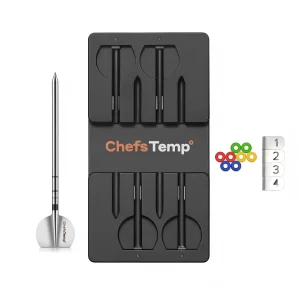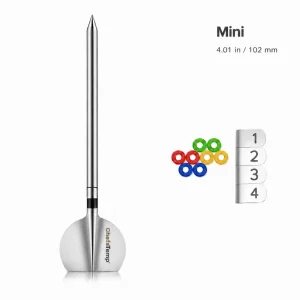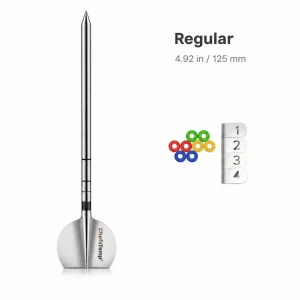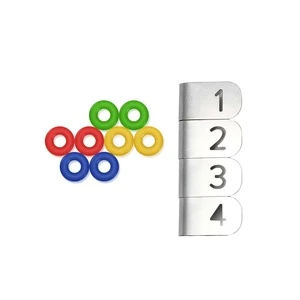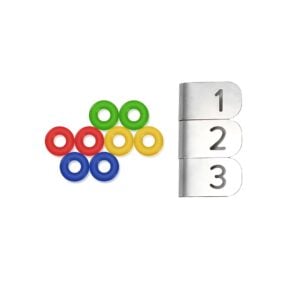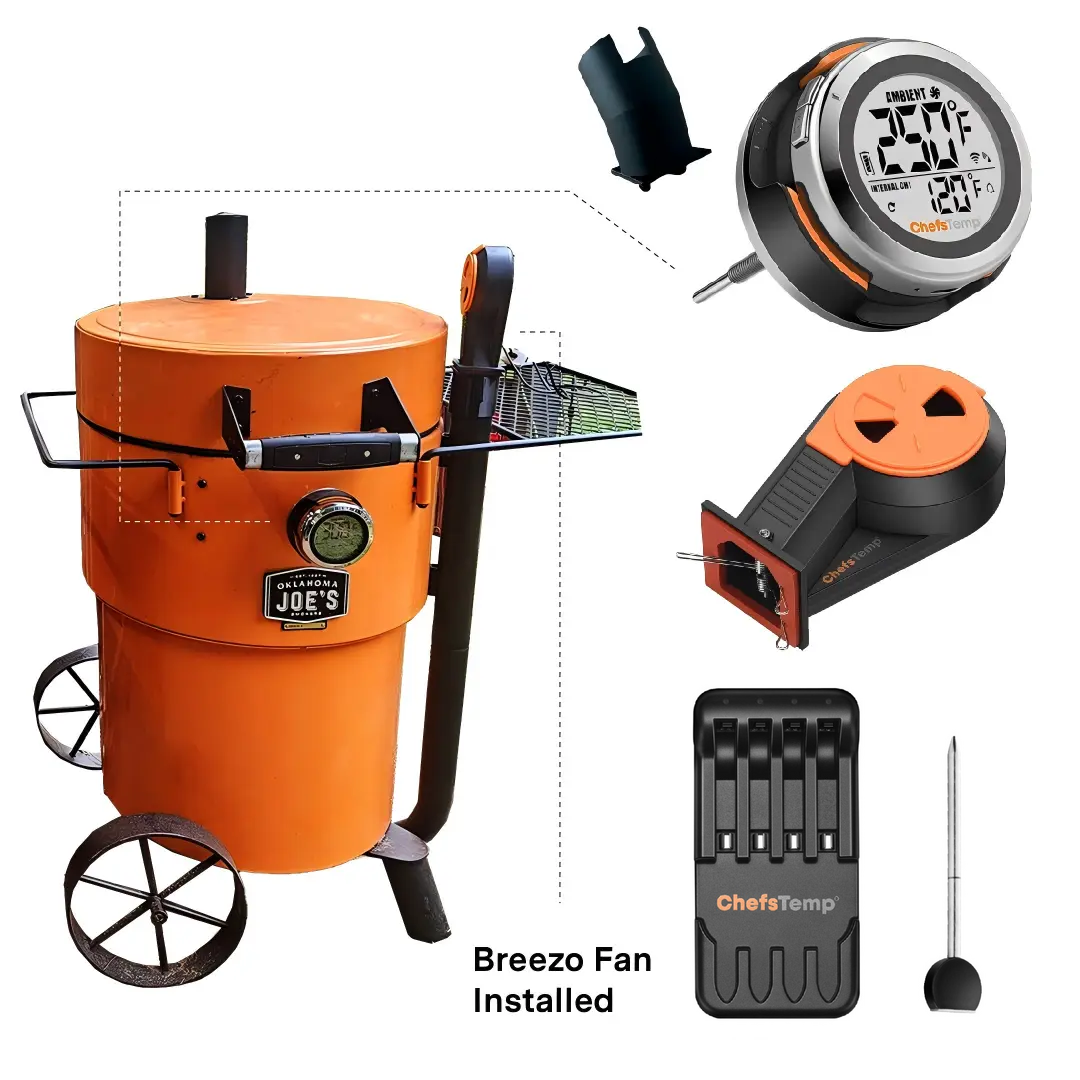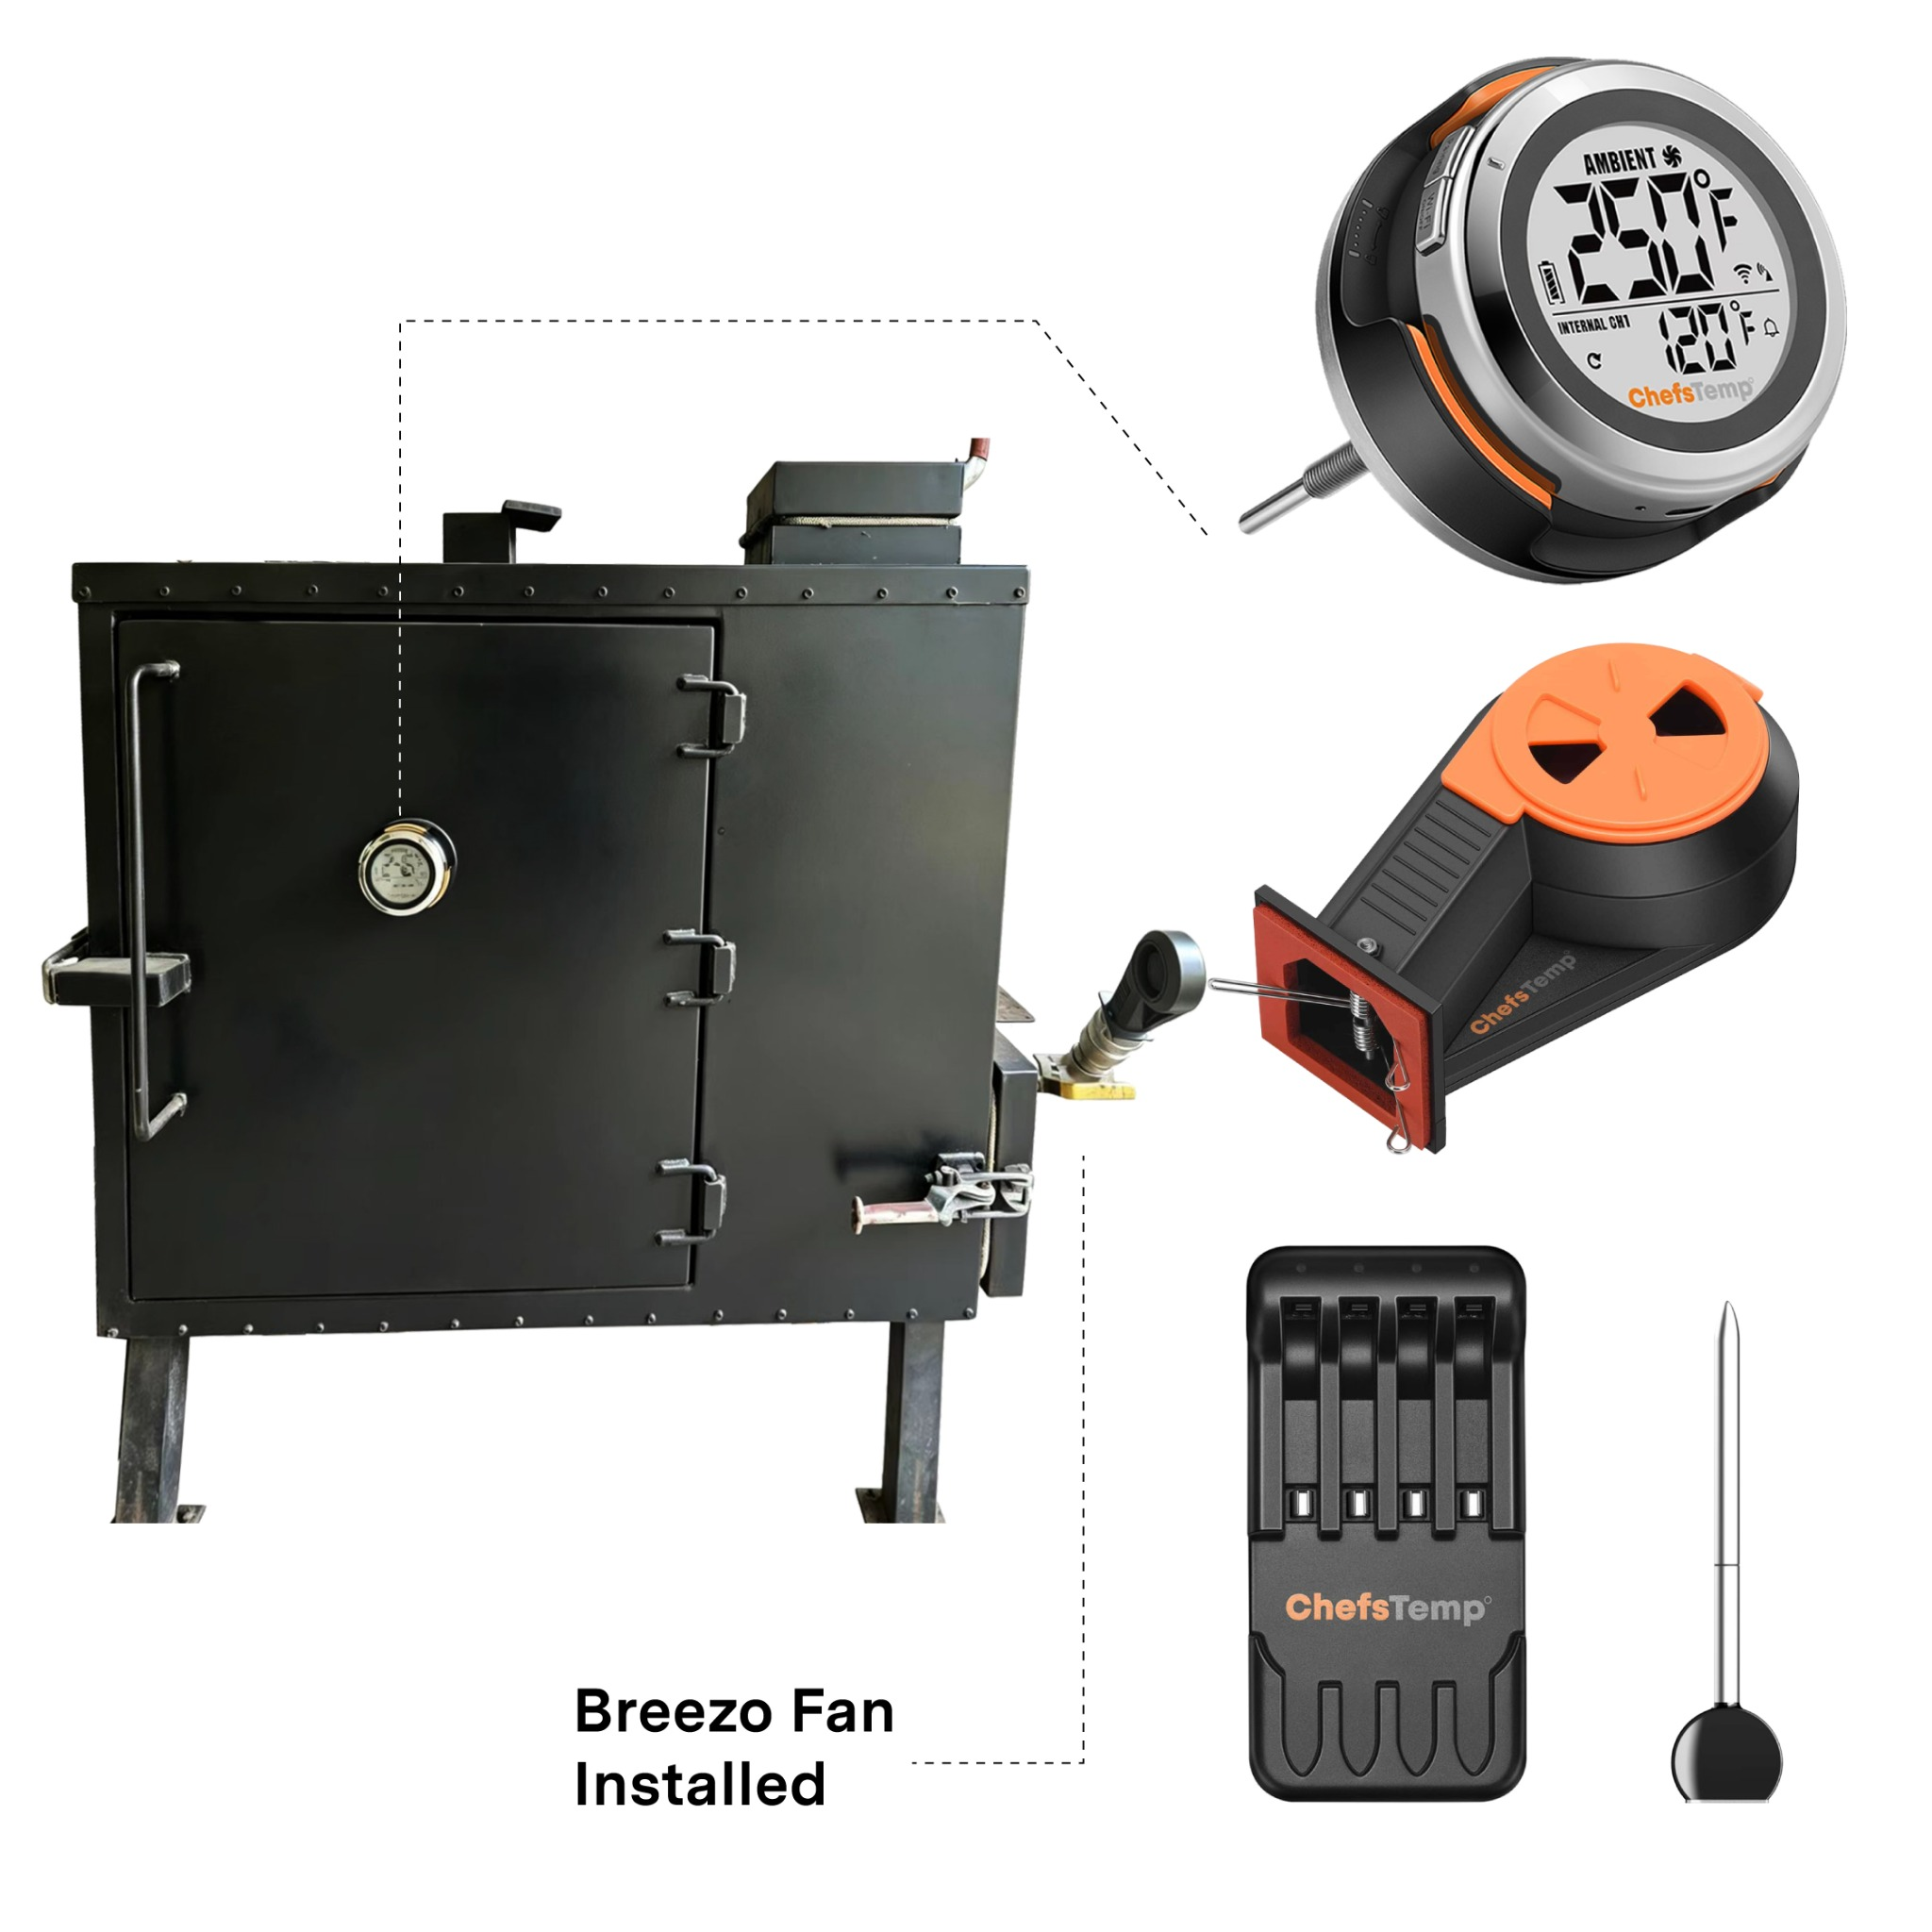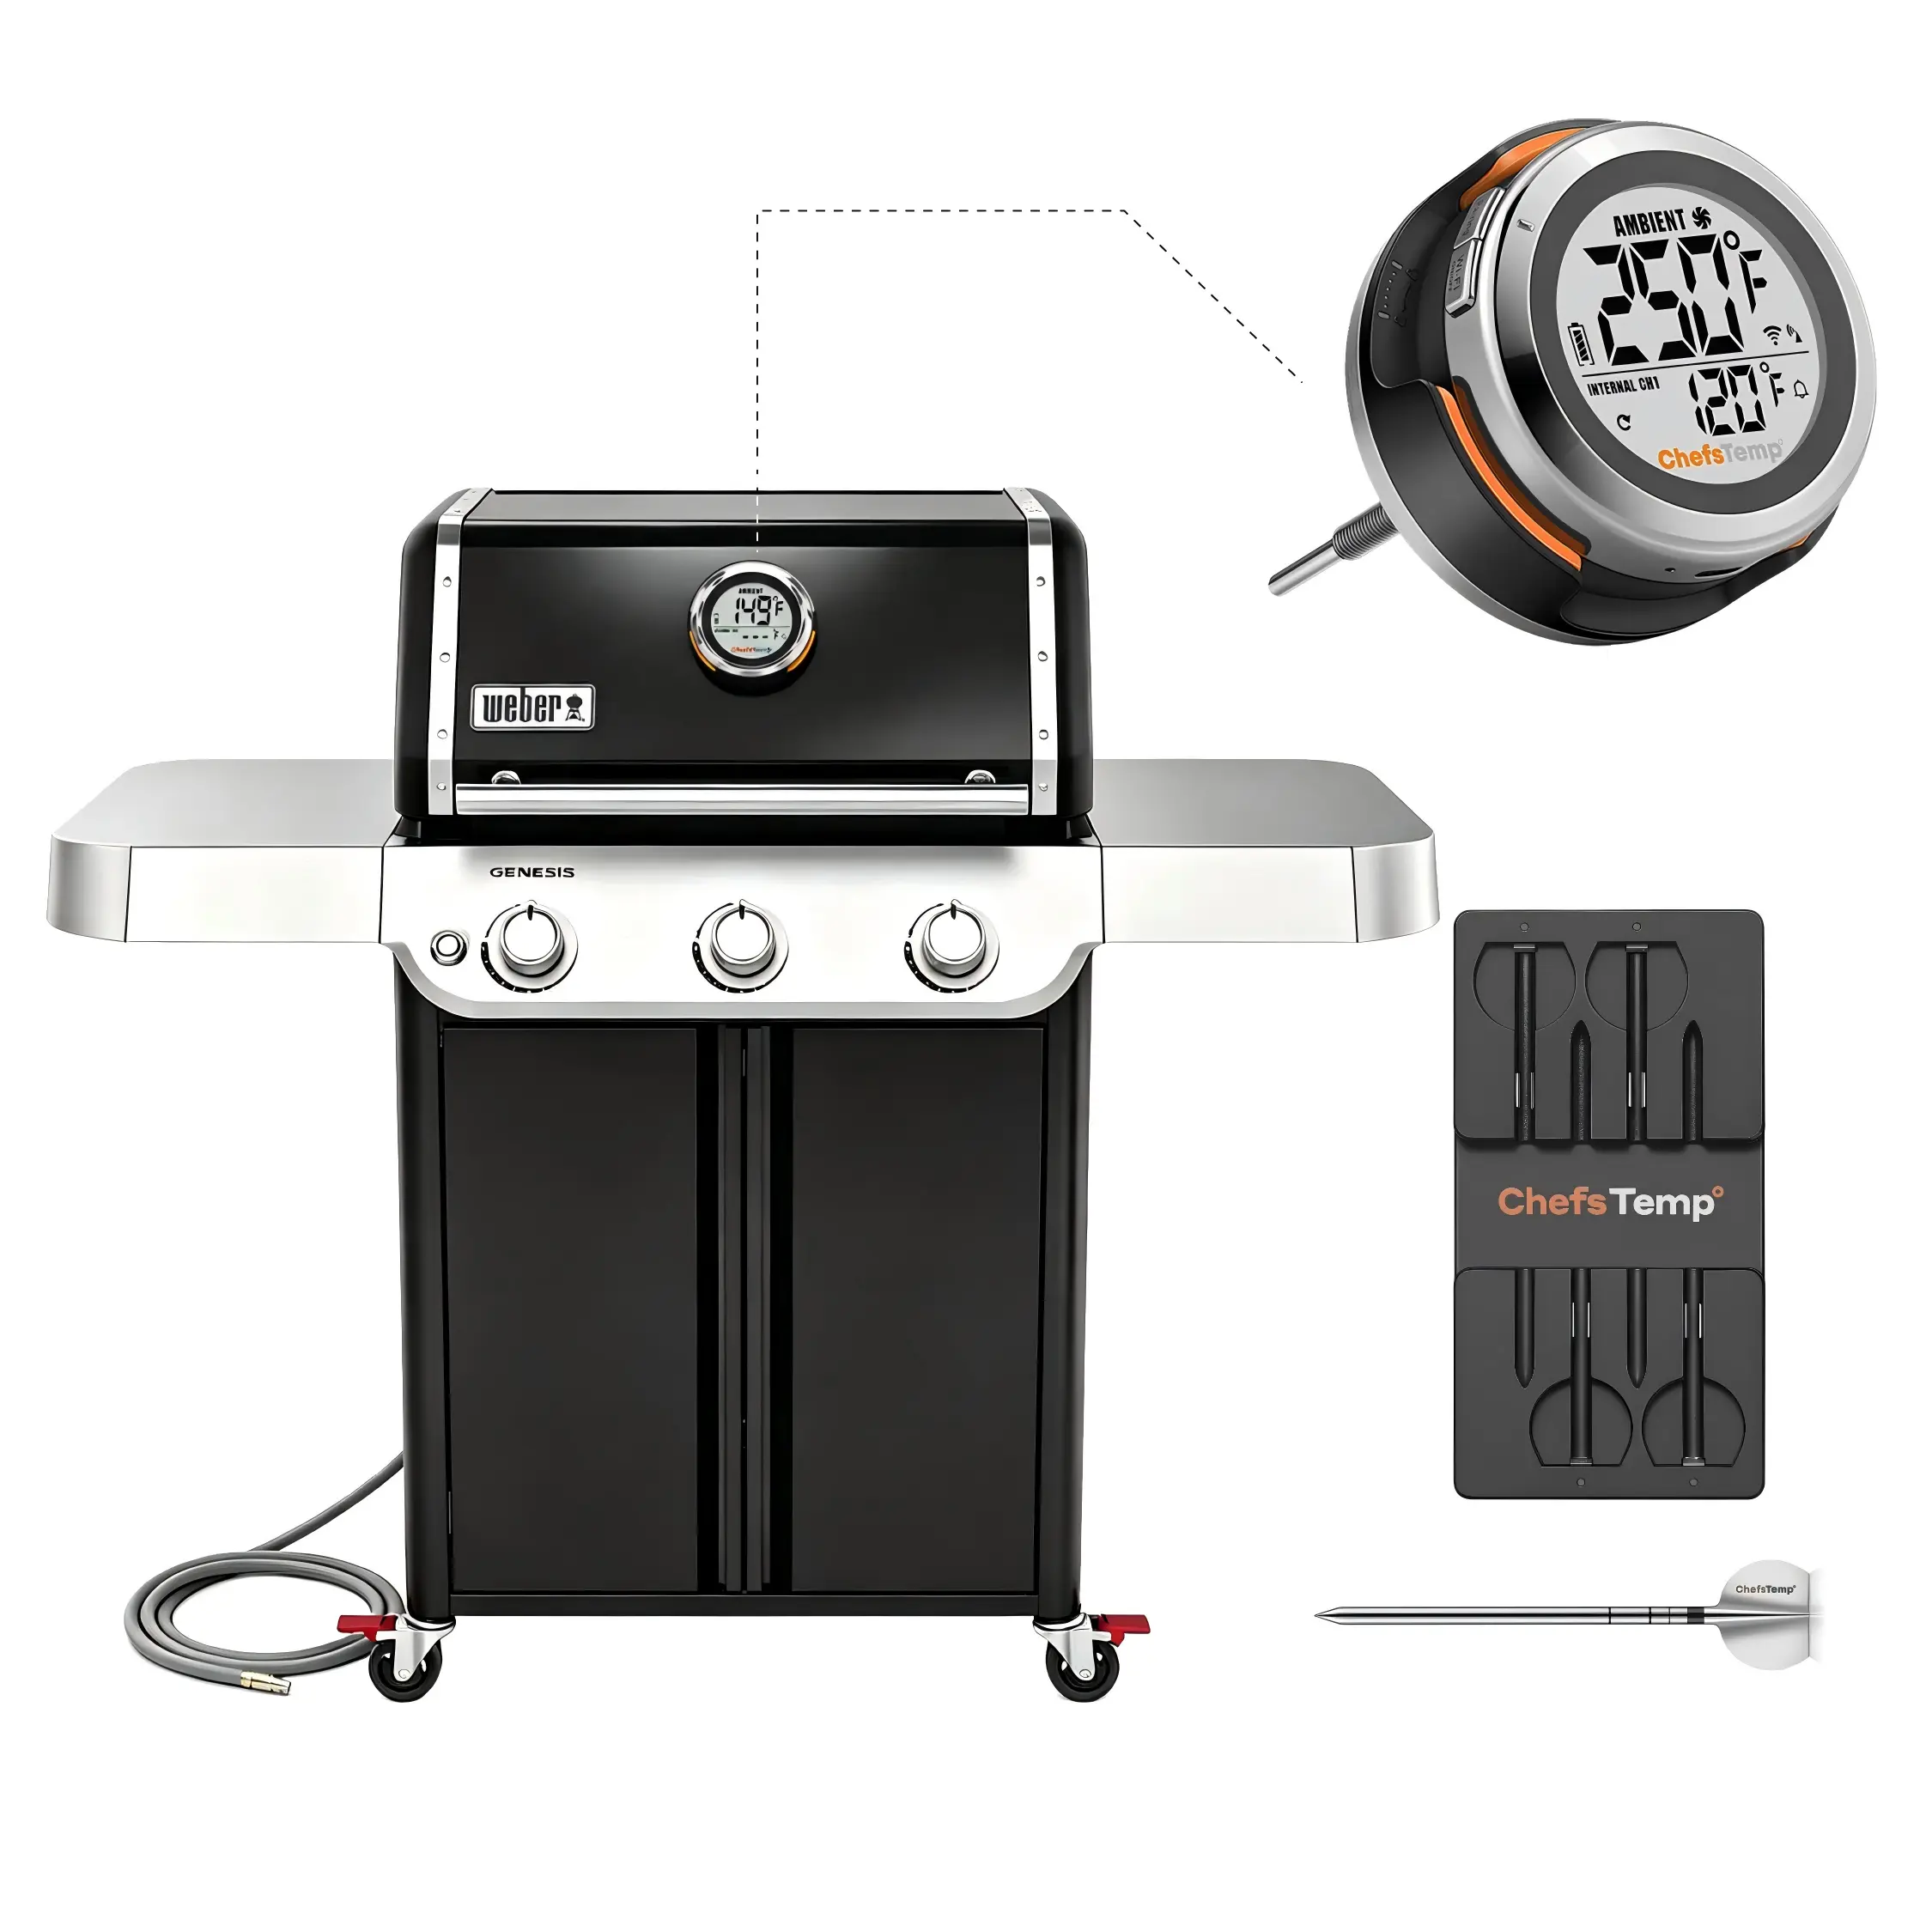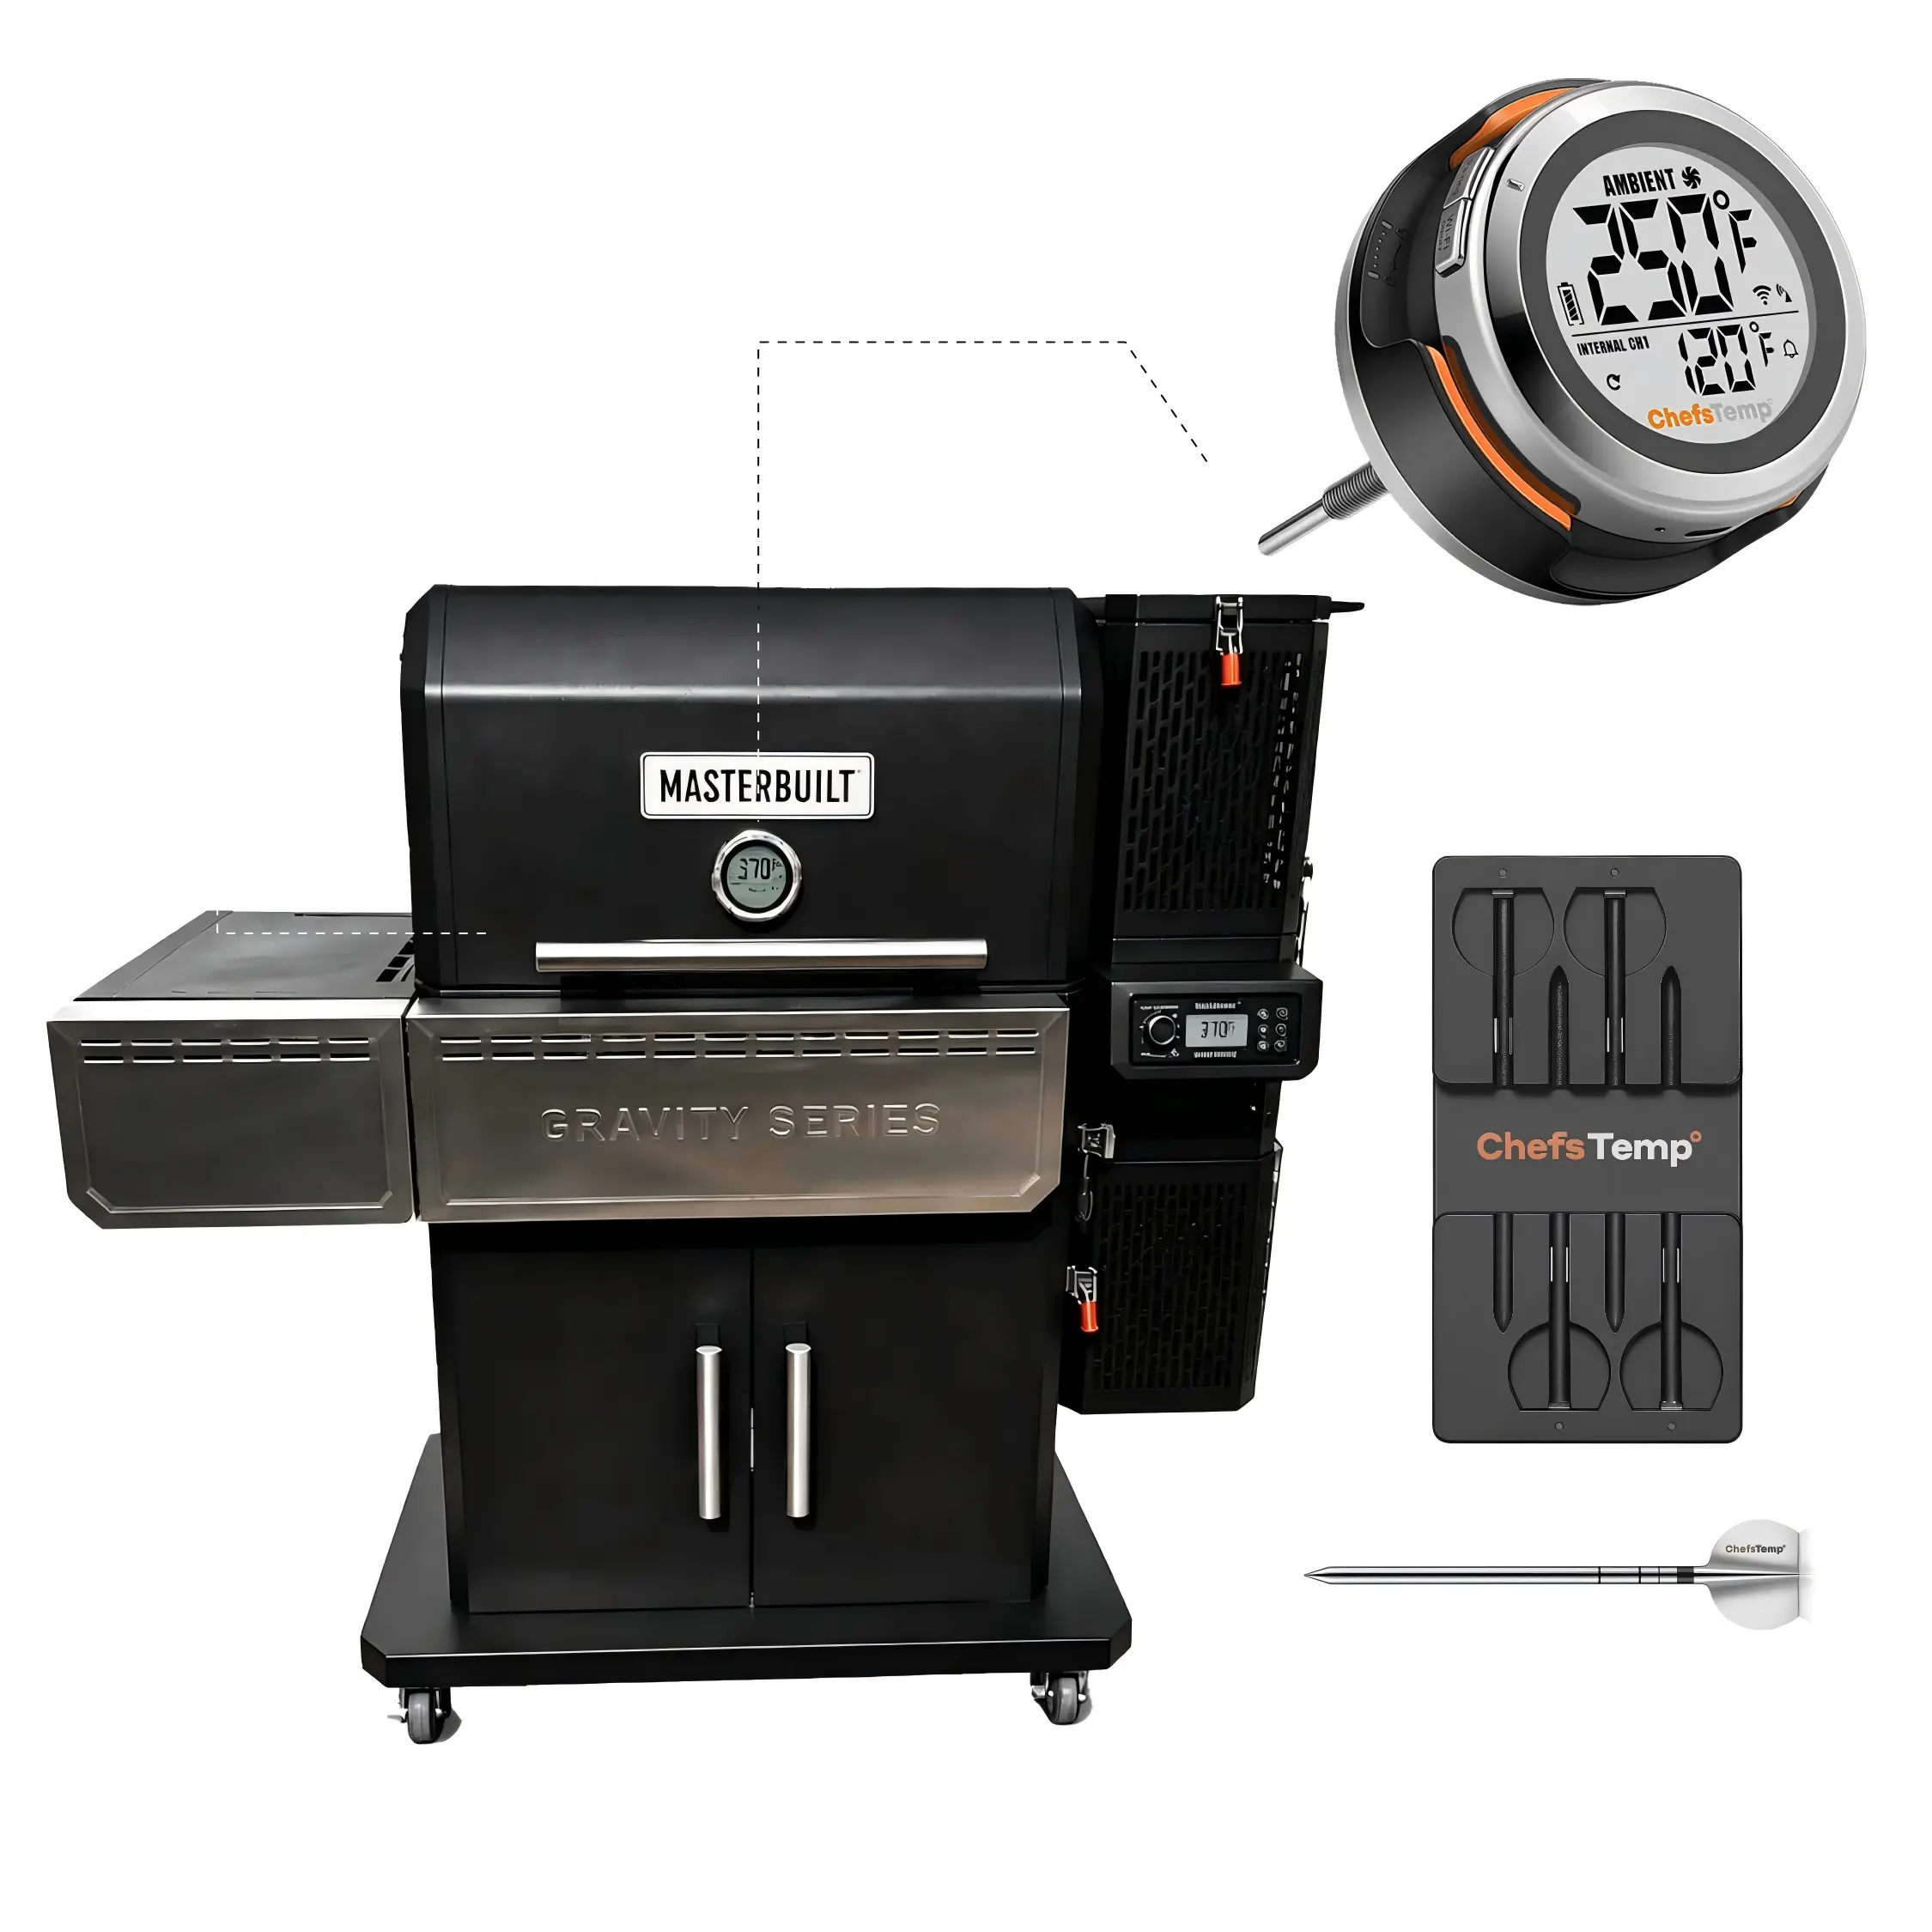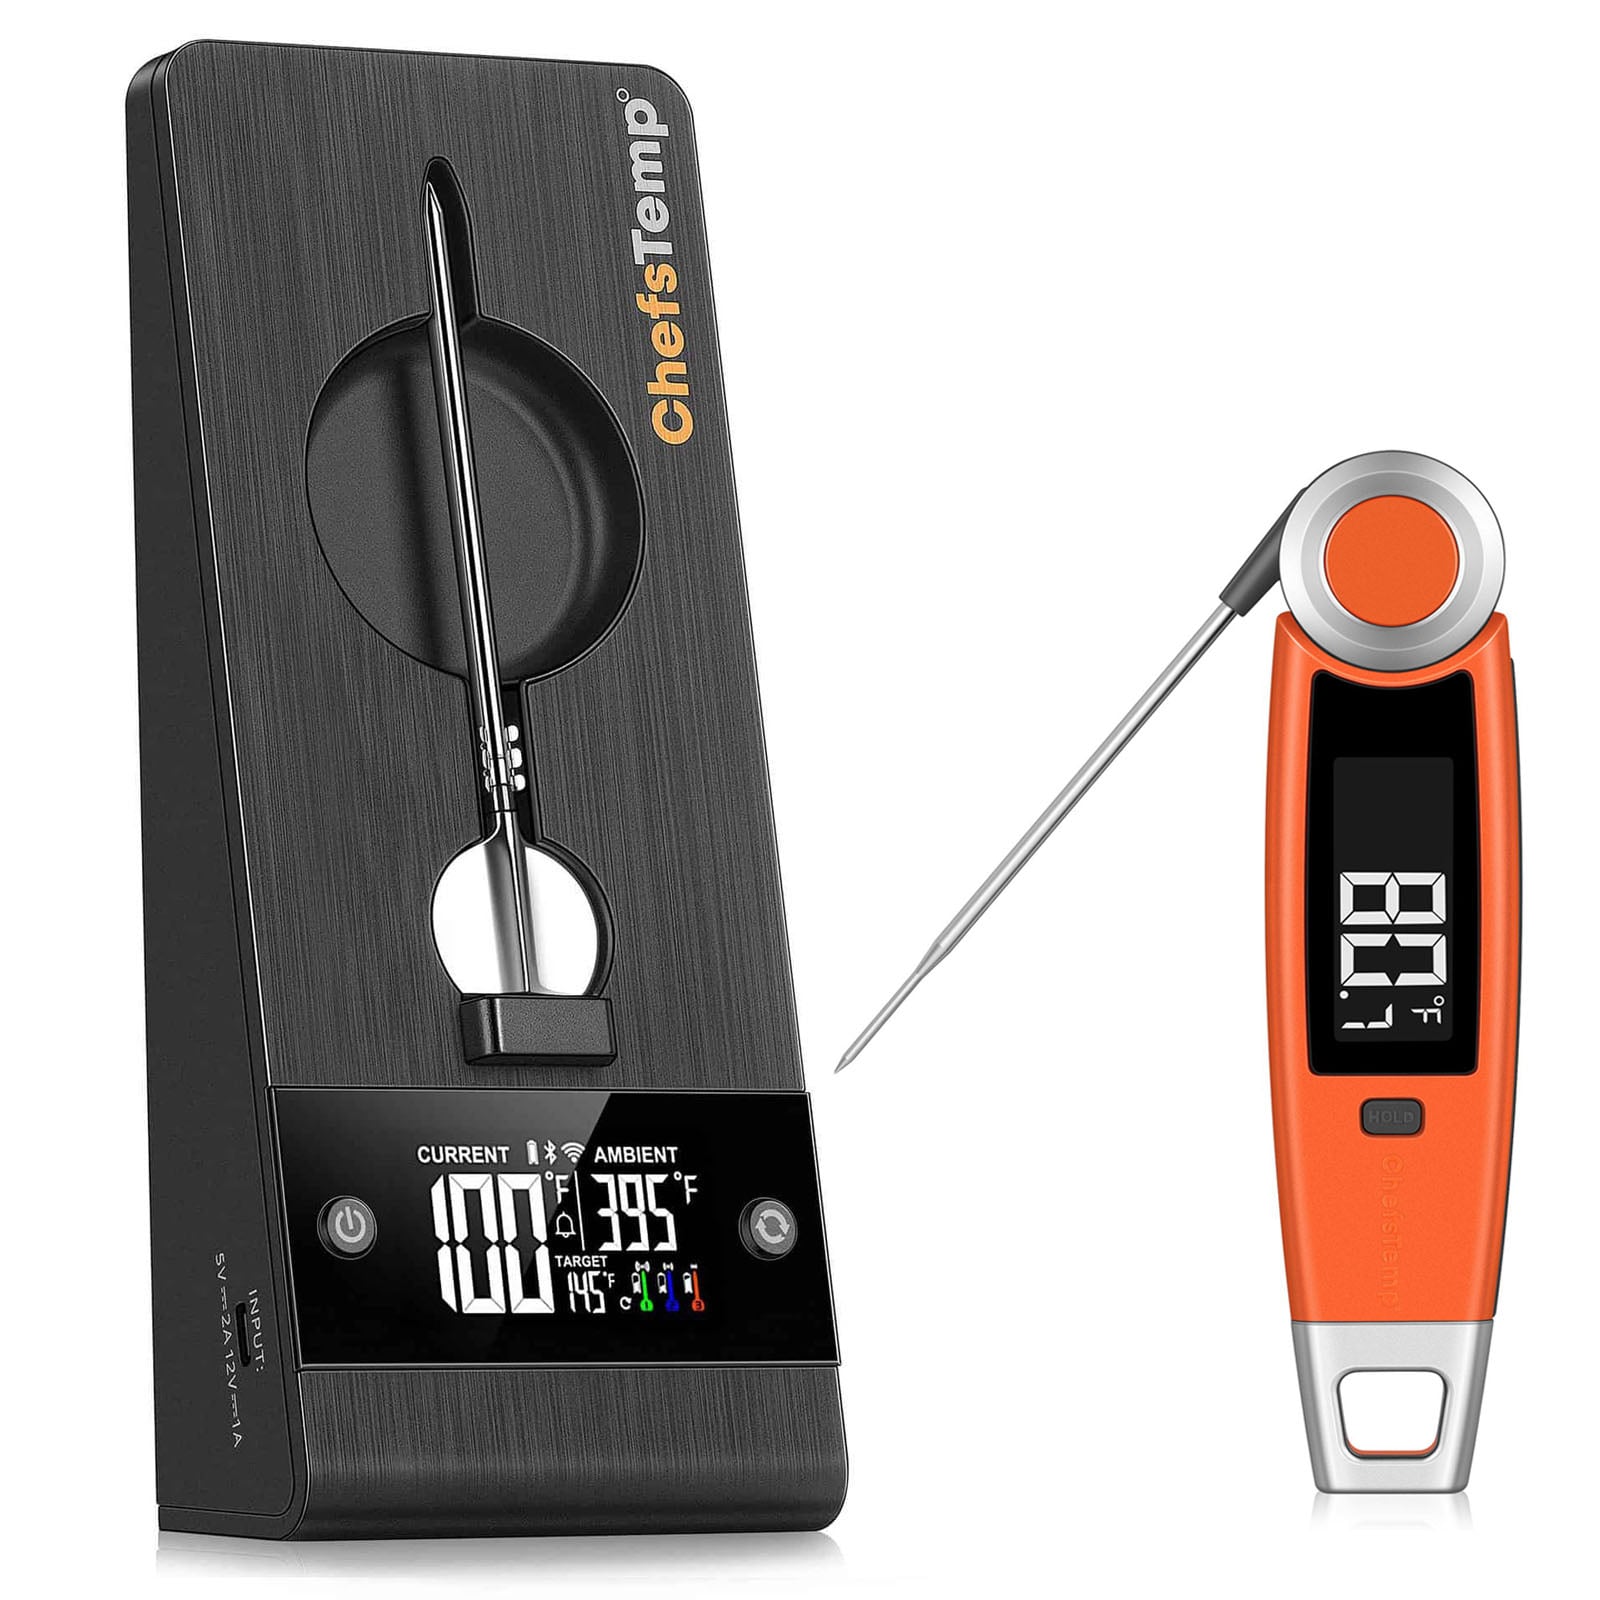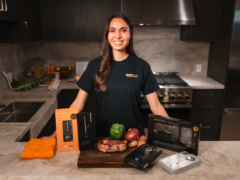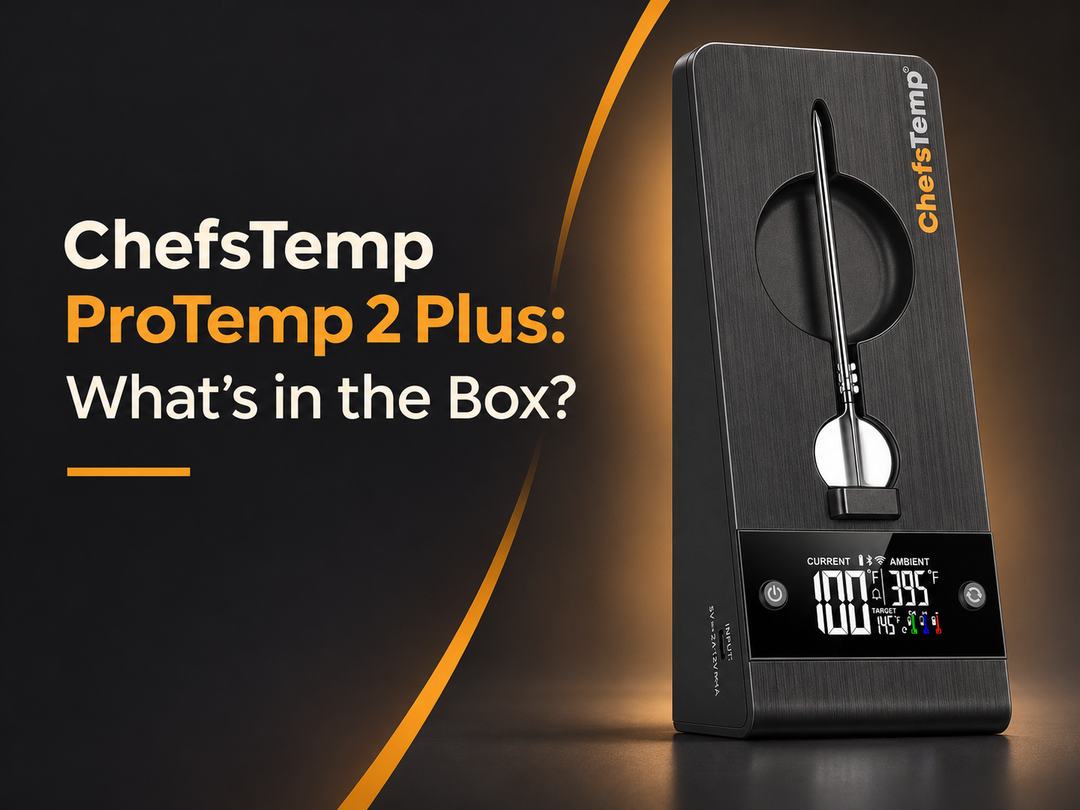
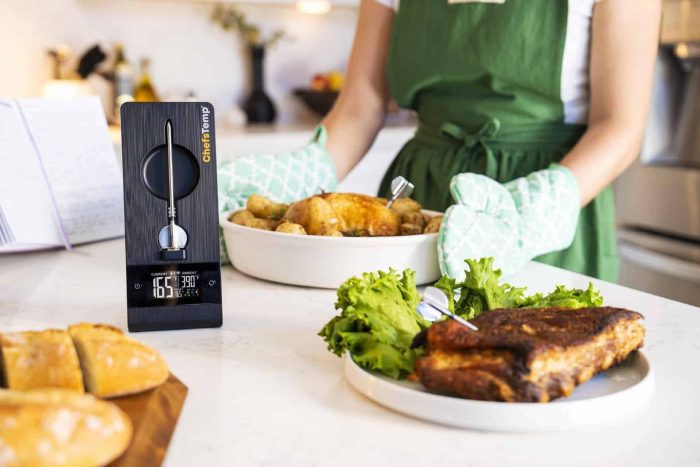
The ChefsTemp ProTemp 2 Plus pairs a wireless meat probe with a charging stand that also displays your temperatures. In PitmasterX’s single-probe unboxing, the box contains the stand, one wireless probe, a charging cable, numbered markers, colored identification rings, and printed instructions. ChefsTemp offers several configurations, so check the selected option for your probe count. Once you’ve unpacked the main pieces, you can charge the probe, check both readings, and set up your first cook in the app.
1. What Comes with the ProTemp 2 Plus?
| What Roel unpacks | What you’ll use it for |
|---|---|
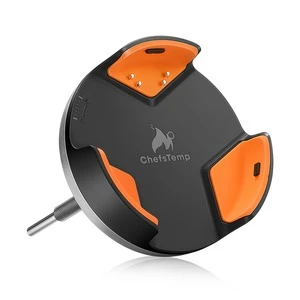
| Display and charging stand | Charge the probe, view temperatures at the grill, and relay readings to the ChefsTemp app. |
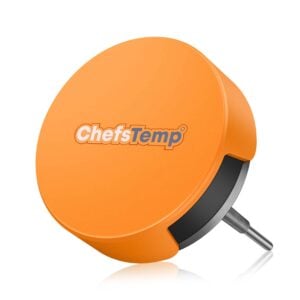
| Wireless meat probe | Follow the internal temperature of the food and the air temperature near the probe’s exposed end. |
| Charging cable | Recharge the stand through its power input. |
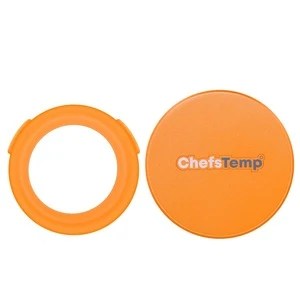
| Numbered markers and colored rings | Identify individual probes when you’re monitoring several items. |
| Printed instructions | Check the hardware layout and find the setup and probe-use instructions. |
The stand has a charging position at the front and two more behind the rear cover. Those are charging positions, so seeing three slots on the stand doesn’t tell you how many probes are included in your order. Check your selected configuration before using the box contents to plan a cook with multiple pieces of meat.

2. Understand the Two Temperature Readings
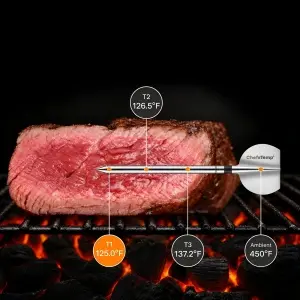
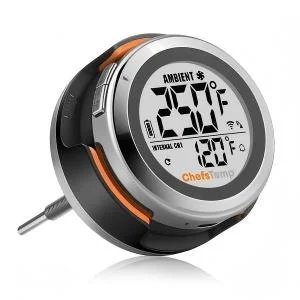
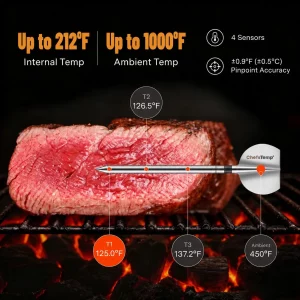
The pointed end goes into the food. The sensors in that section track internal temperature, which tells you how the food is progressing. The exposed handle measures ambient temperature in the air near the food. That local reading can differ from a grill’s lid gauge because the sensors sit in different places.
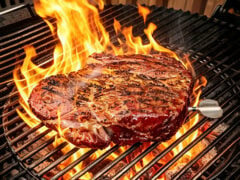
For a thick steak, aim the point toward the center of the thickest section. Inserting from the side can make it easier to reach that center while keeping the handle outside. Push the probe past its safety notch and keep the exposed end clear of the grate and other hot surfaces. If the cut is too thin to cover the notch while positioning the tip correctly, choose a suitable probe or check the food with an instant-read thermometer.
Watch the internal reading to follow the steak. Use the ambient reading to see how the heat around it is changing. If one number climbs faster than the other, first check which number you’re looking at and where its sensor sits.
3. Charge the Probe, Pair the App, and Set Your First Alert
Set things up with the stand and probe on the workbench. That way, you can confirm both readings and get familiar with the app before the grill is hot.
- Charge the stand and probe. Connect the stand to power, then seat the probe in one of the charging slots. On the 2 Plus, the colored probe-battery icon animates while the probe is charging.
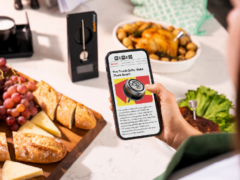
- Pair the stand in the ChefsTemp app. Turn the stand on, take the charged probe out of its slot, and follow the app’s pairing prompts. If you want to monitor from beyond Bluetooth range, connect the stand to a 2.4 GHz Wi-Fi network during setup.
- Add the probe if needed. If the probe isn’t already associated with your stand, open the ProTemp 2 Plus device settings in the app and use Add Probe. When adding multiple probes, pair them individually so you can tell which one you’re adding.
- Confirm the probe shows up on both displays. Check the stand’s probe channel and the matching probe in the app. Verify that the app shows live readings before you begin cooking. Keep the stand near enough to receive the probe signal and away from hot surfaces.
- Set a target temperature. Open the probe in the app and choose a cooking preset or set a custom target. Confirm the selected target before you start. The app can alert you when the food reaches it.
For the on-screen pairing prompts, follow the ChefsTemp ProTemp 2 Plus first-use tutorial.
4. Quick Answers Before Your First Cook
How can I tell if the probe is charging? Look for the animated colored battery icon on the stand after seating the probe. If you missed the animation, check the probe’s battery level in the app under My Connections → My Paired Probes. Reseat the probe or try another slot if the battery level hasn’t changed.
How do I keep multiple probes straight? Give each probe a distinct marker or color. Before putting them in the food, match each one to its channel on the stand and in the app. If you’re cooking two cuts, note which channel goes with which cut before you close the lid.
What if the stand shows a temperature but my phone doesn’t? Start with the app’s connection to the stand. Confirm that you have the right device and probe channel open. If you’re checking remotely, verify that the stand is still connected to its 2.4 GHz Wi-Fi network. A reading on the stand tells you the stand is receiving data from the probe, so check that app connection before resetting the probe.
Related Posts
ChefsTemp ProTemp S1 Installation, Features & First Look
If you’re replacing the dial thermometer on your grill with the ChefsTemp ProTemp S1, start with the lid. The ...

Monitoring the First Burn on a Lone Star Grillz El Fuego Trio with ChefsTemp
Before the first brisket or rack of ribs, a new grill needs its first firing. That session also lets you learn...
Best Thermapen Alternatives: 6 Instant-Read Thermometers Tested
Thermapen is fast, but is it worth? We tested 6 instant-read Thermapen alternatives for speed, accuracy, and value. Find your best match here.
Improve Your Cooking with ChefsTemp – Master Techniques
Cooking with precision is one of the most essential pillars of the culinary industry. Knowing how to achi...
Roast Pork Internal Temperature
Roasting is one of the best ways to cook pork. This method of cooking gives you soft meat with a crunchy exter...
Top Barbecuing Mistakes You Can Avoid with an Instant Read Thermometer
Smoking is not the same as grilling even if both require an instant read thermometer. When you smoke meat, fol...
7 Best Instant Read Thermometers On the Market
Unless you are an experienced chef who’s been cooking meat for years, you can’t truly rely on pressing the mea...
The Internal Temperature for Tri-Tip When Done
Tri-tip is a type of beef cut that can be prepared in a variety of ways, such as grilling, smoking, and oven-r...

Air Fryer Cooking Guidelines for All Cooking Enthusiasts
The guide provides you with comprehensive information regarding what is an air fryer, how does it work and how...
Yummy Smoked Turkey Breasts – What are the Best Cooking and Pull Temps?
Are you expecting visitors for thanksgiving or a little gathering? Are you thinking of what to prepare? You ca...
The 7 Biggest Mistakes You Make When Baking Potatoes
The humble potato is probably the most common and versatile food you can find in almost any kitchen all over t...

Backyard Cookouts—From Steaks to Chicken to Brats, You Need Fast Temps
As the season changes and the weather warms up, your backyard is the ideal location for supper with your famil...