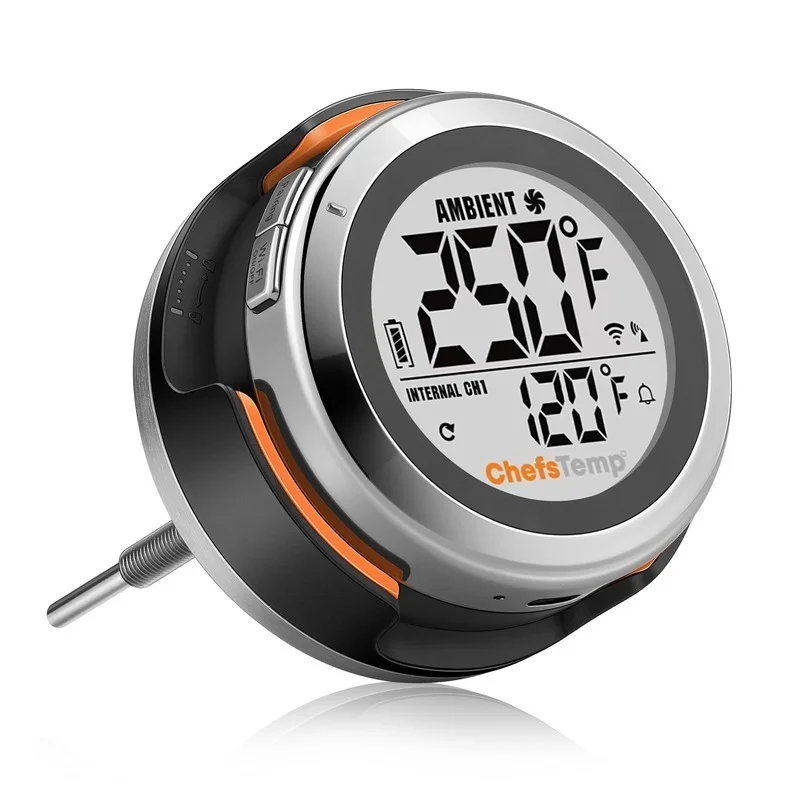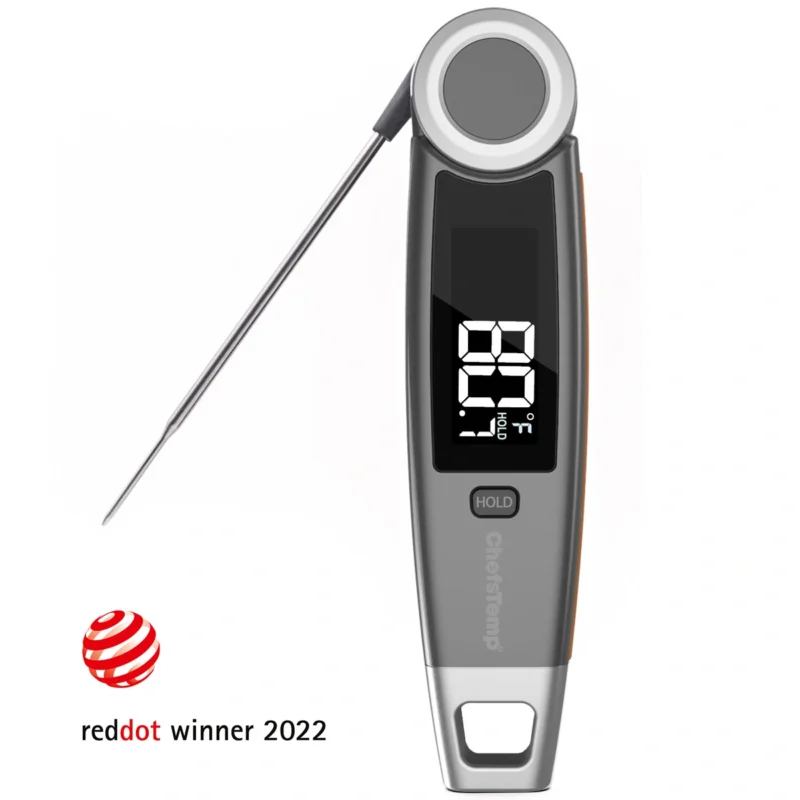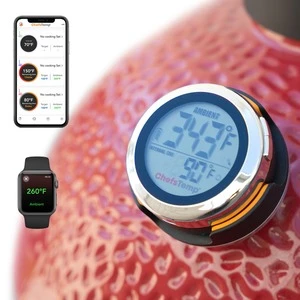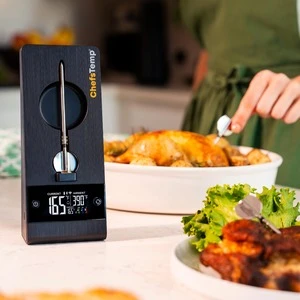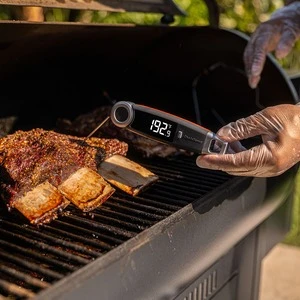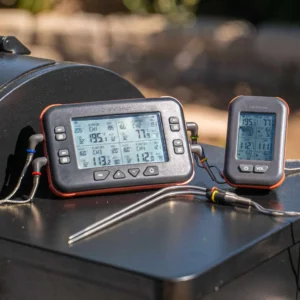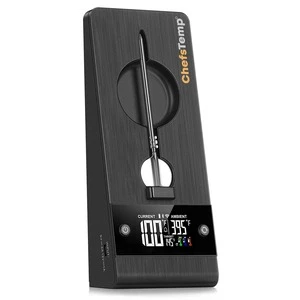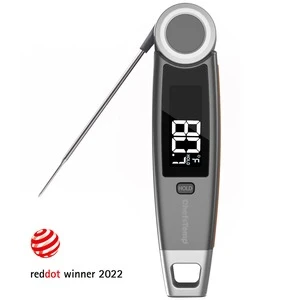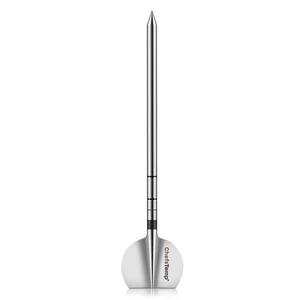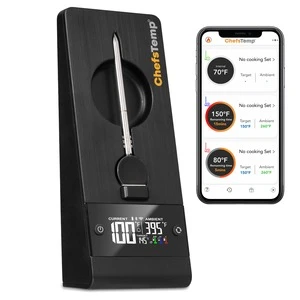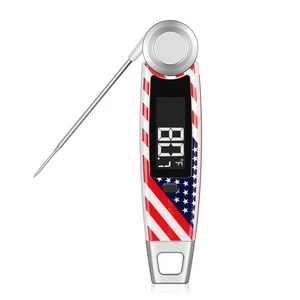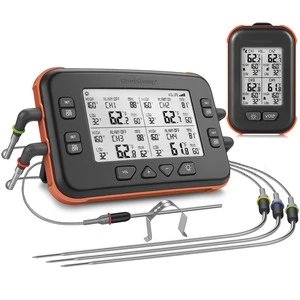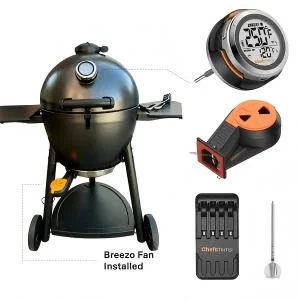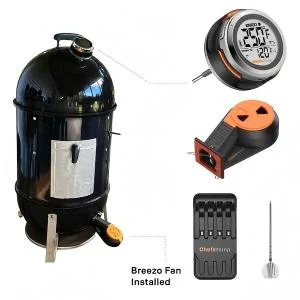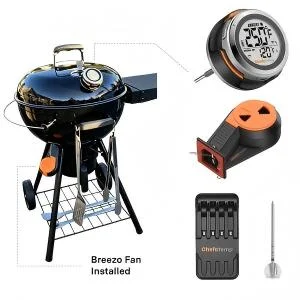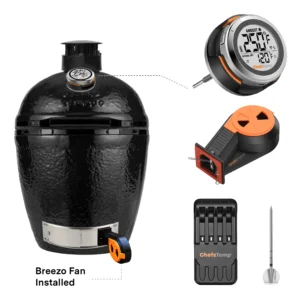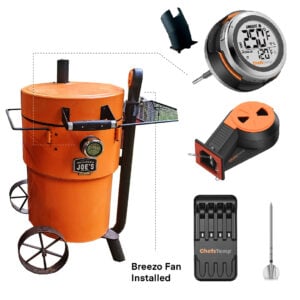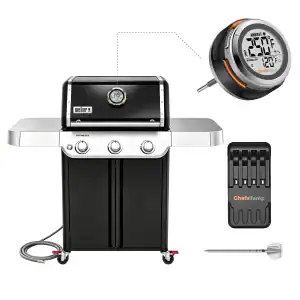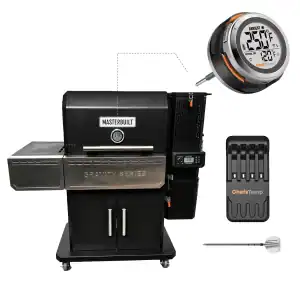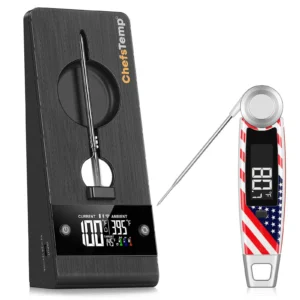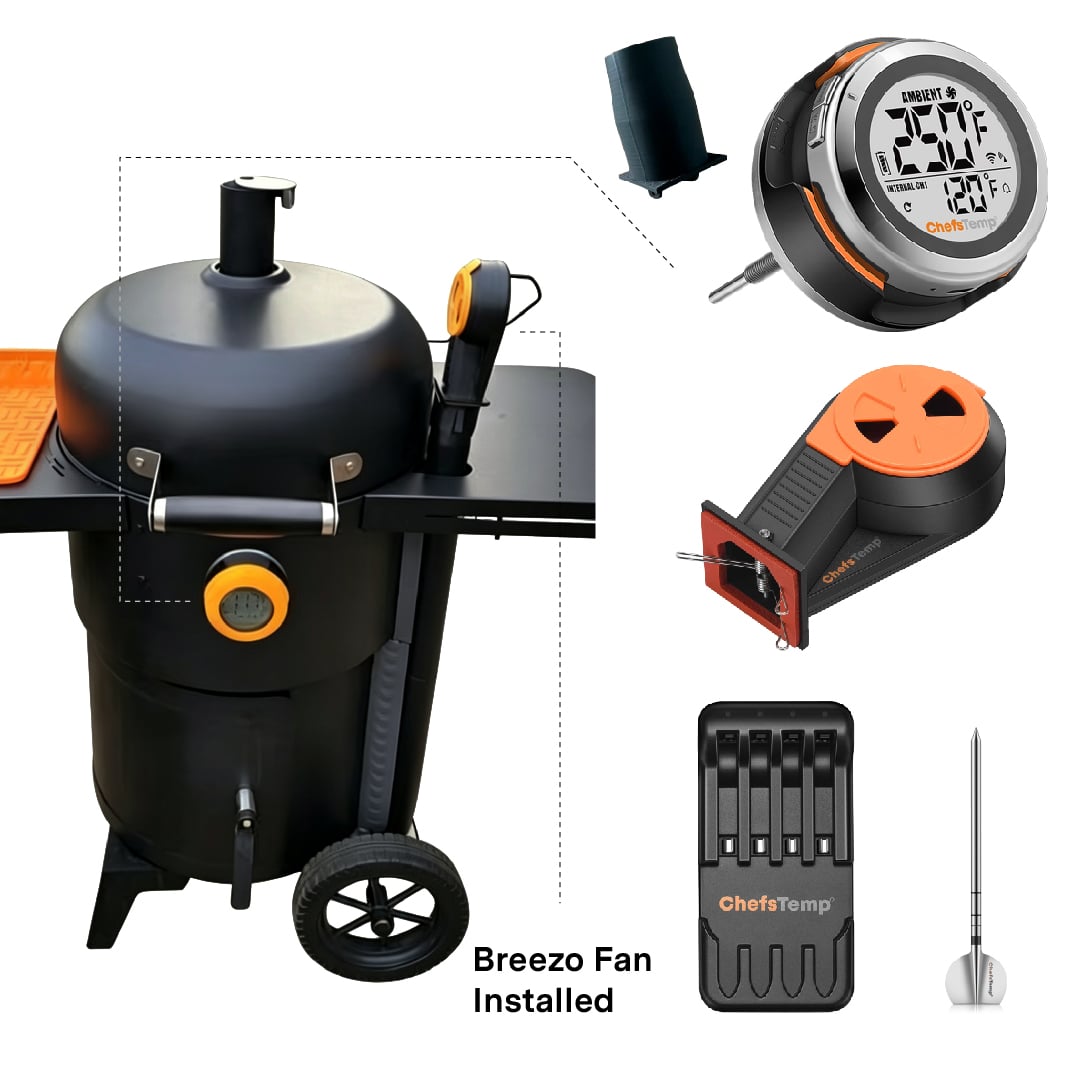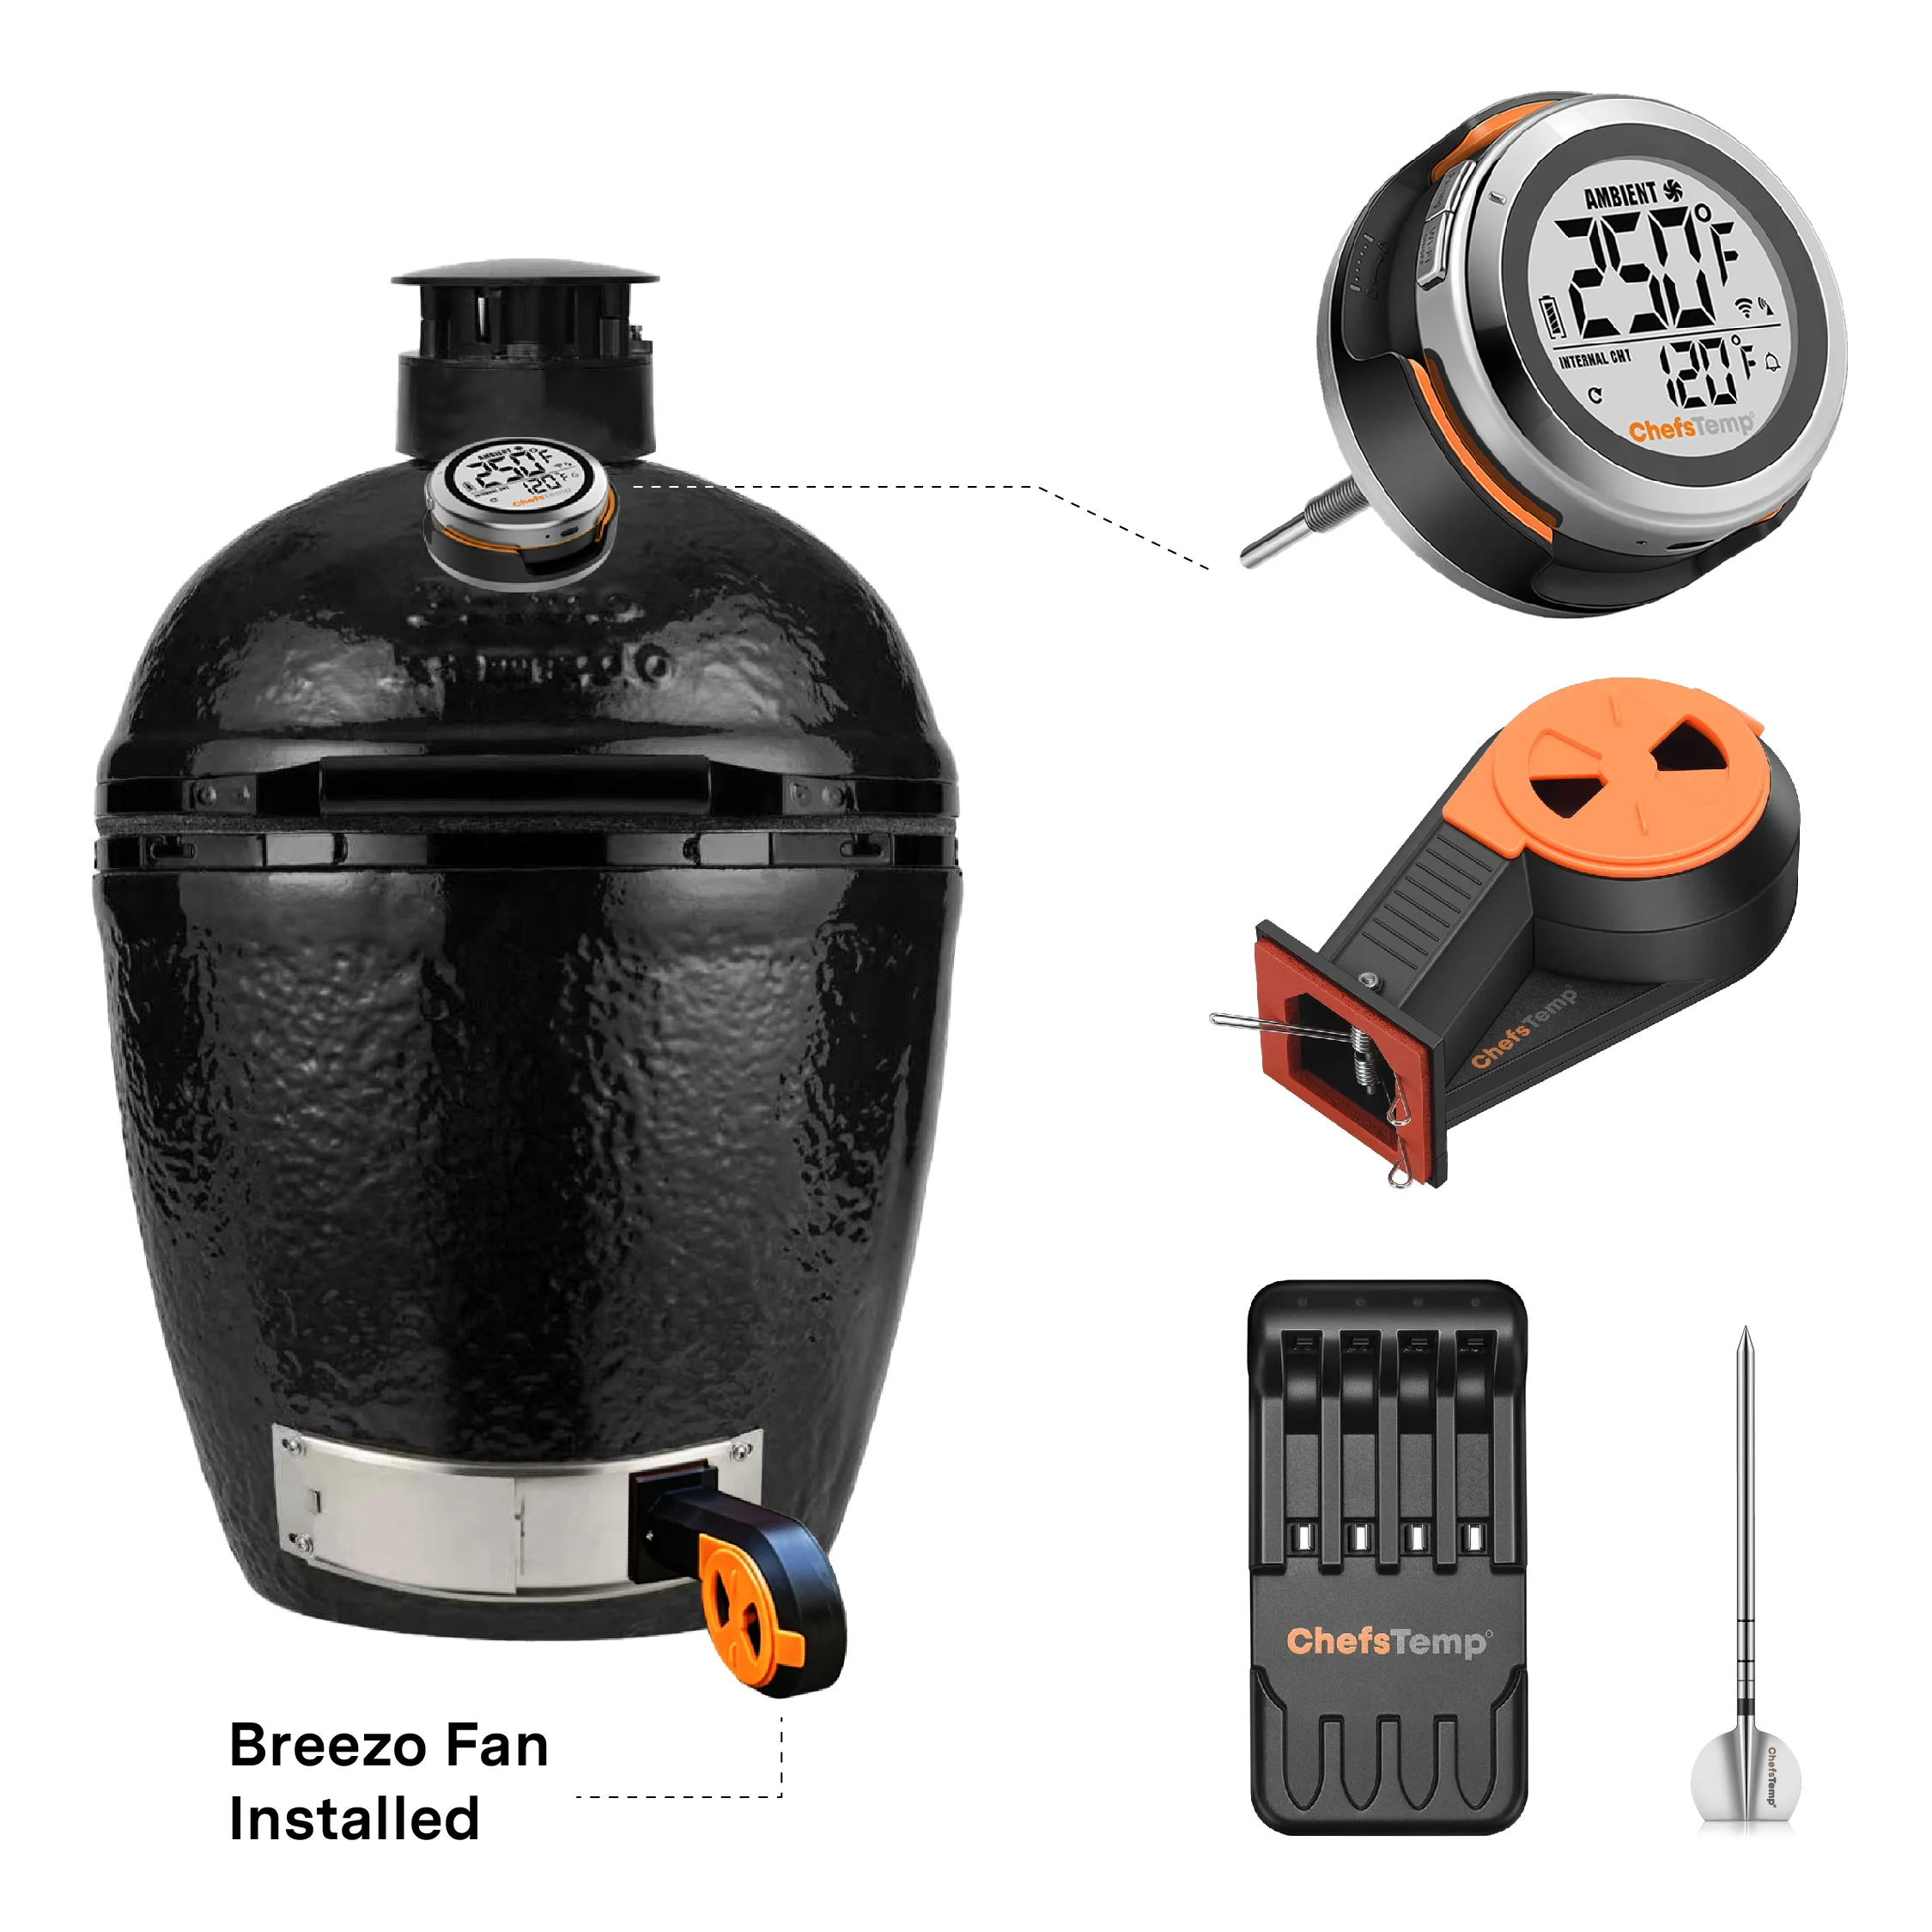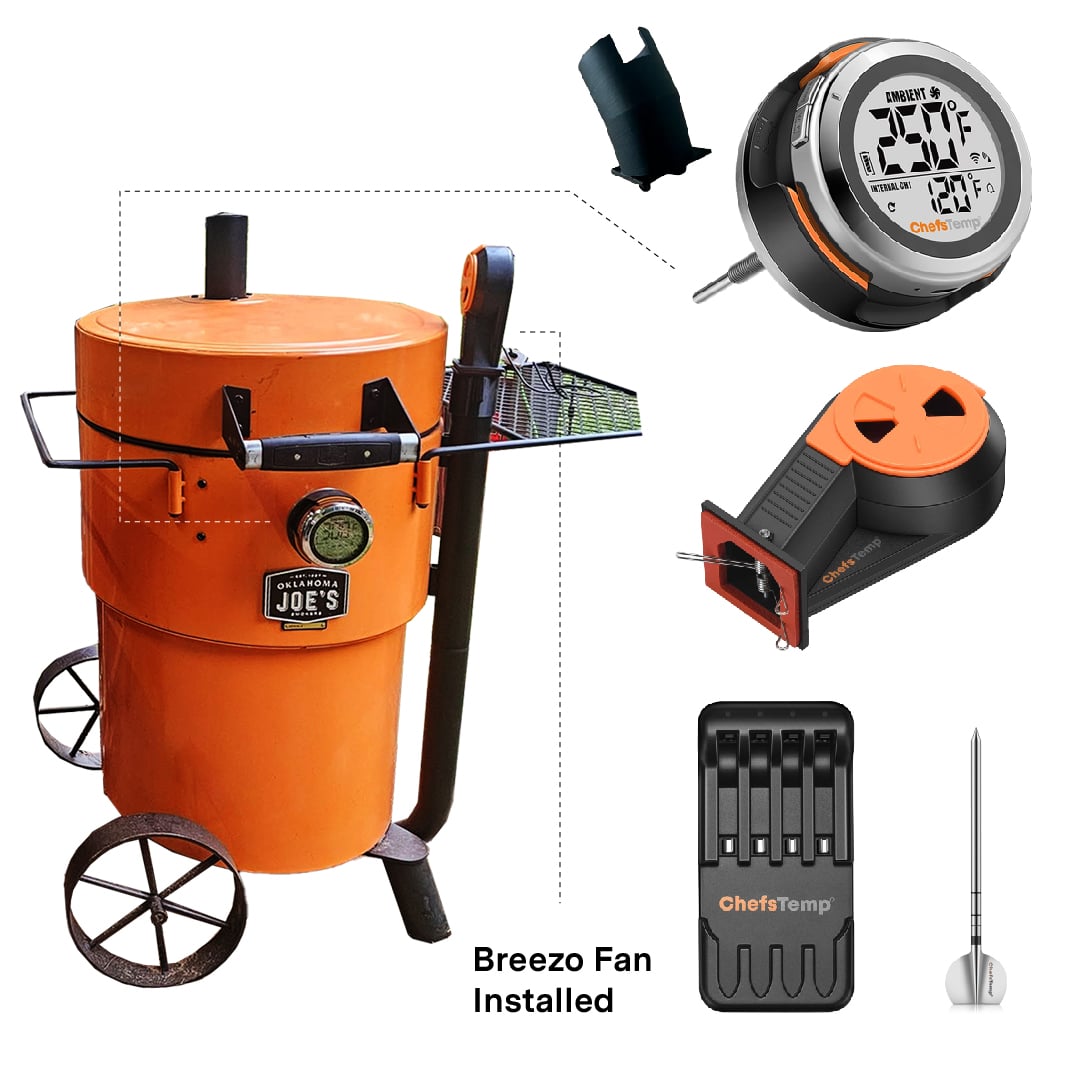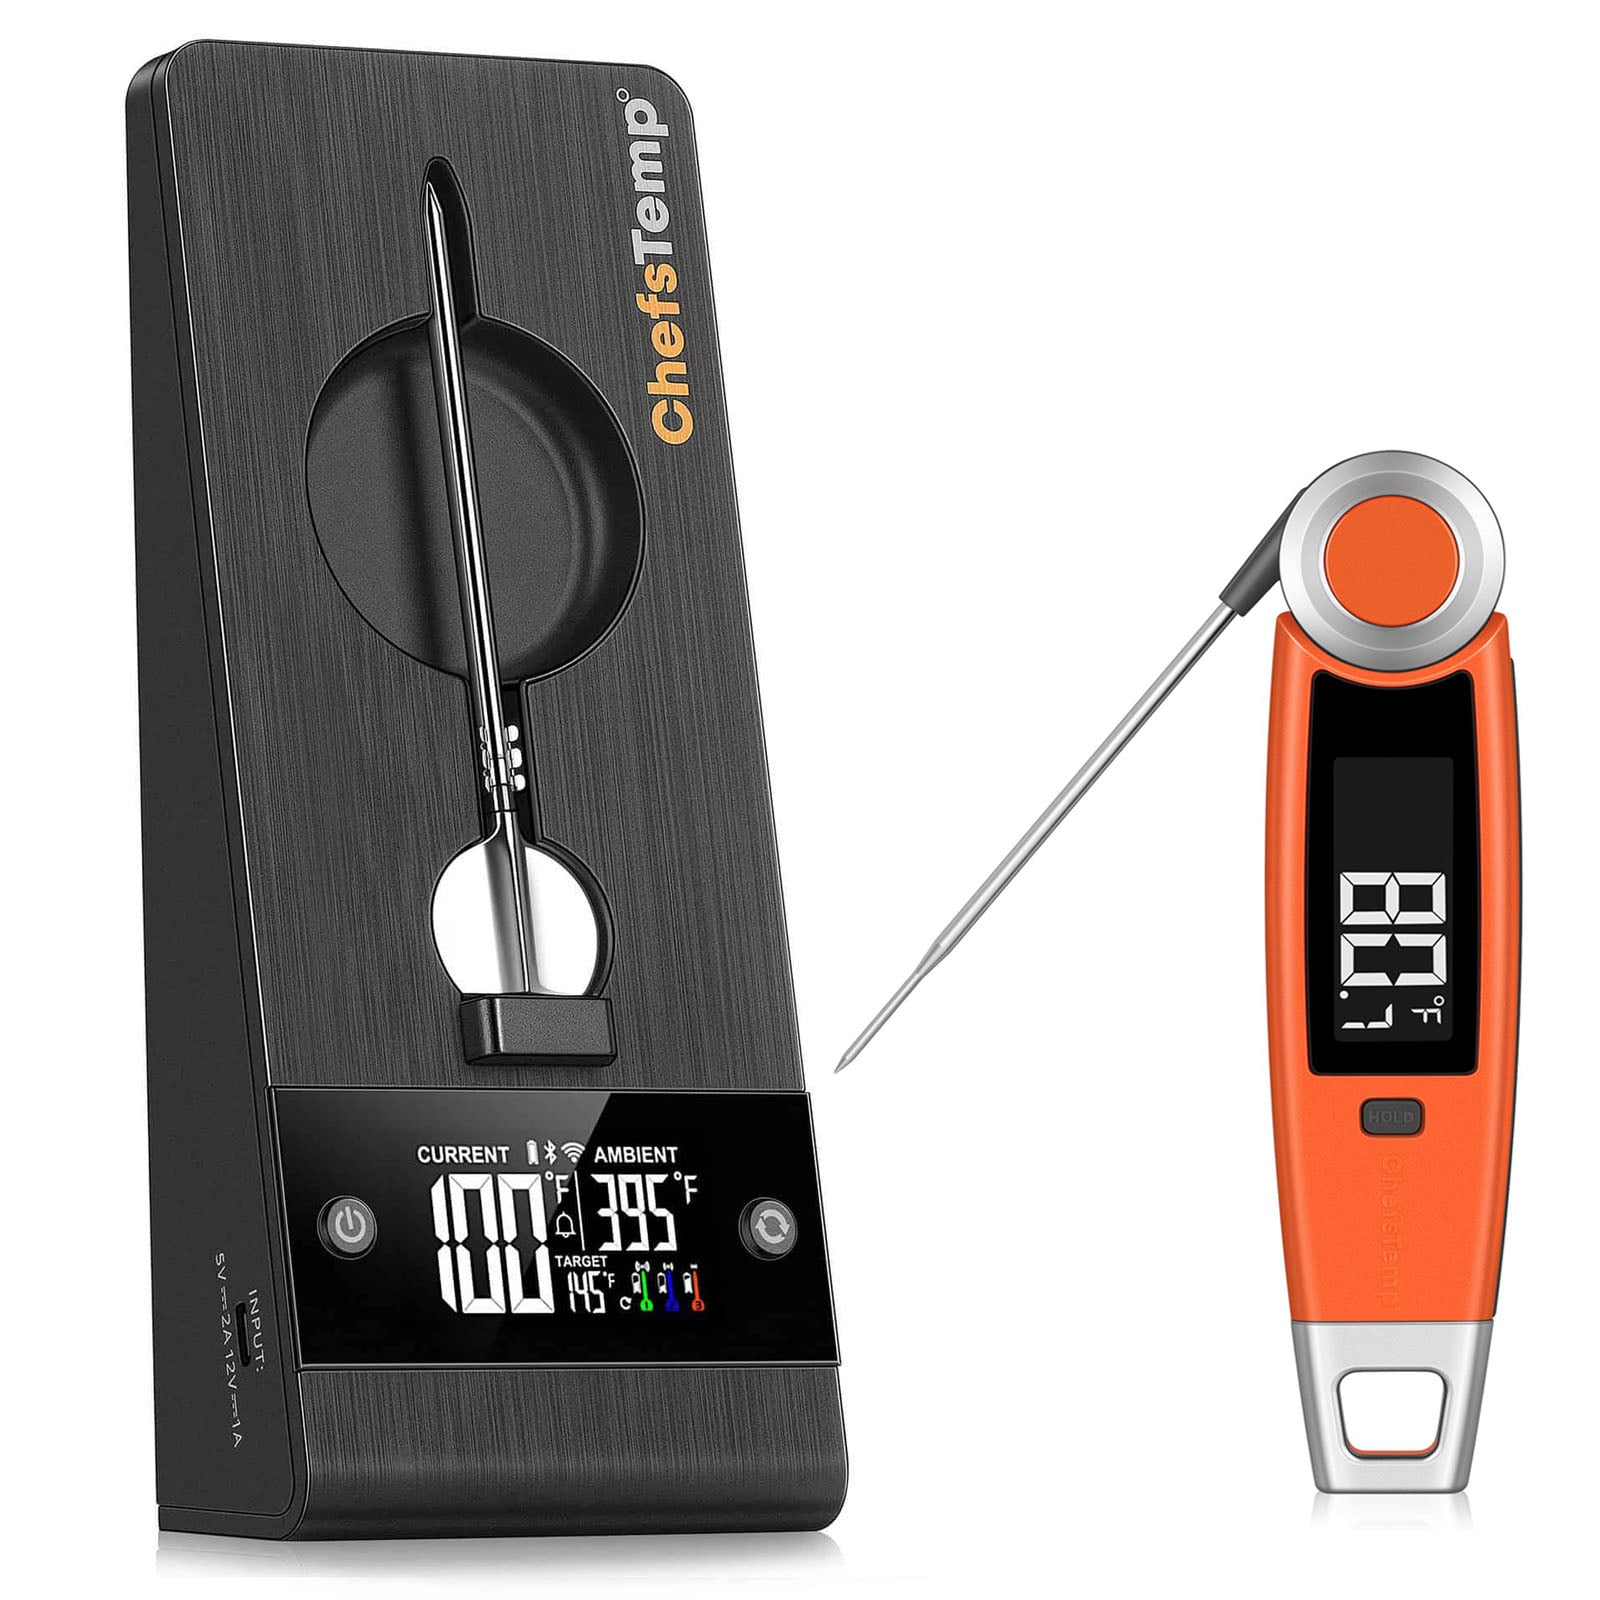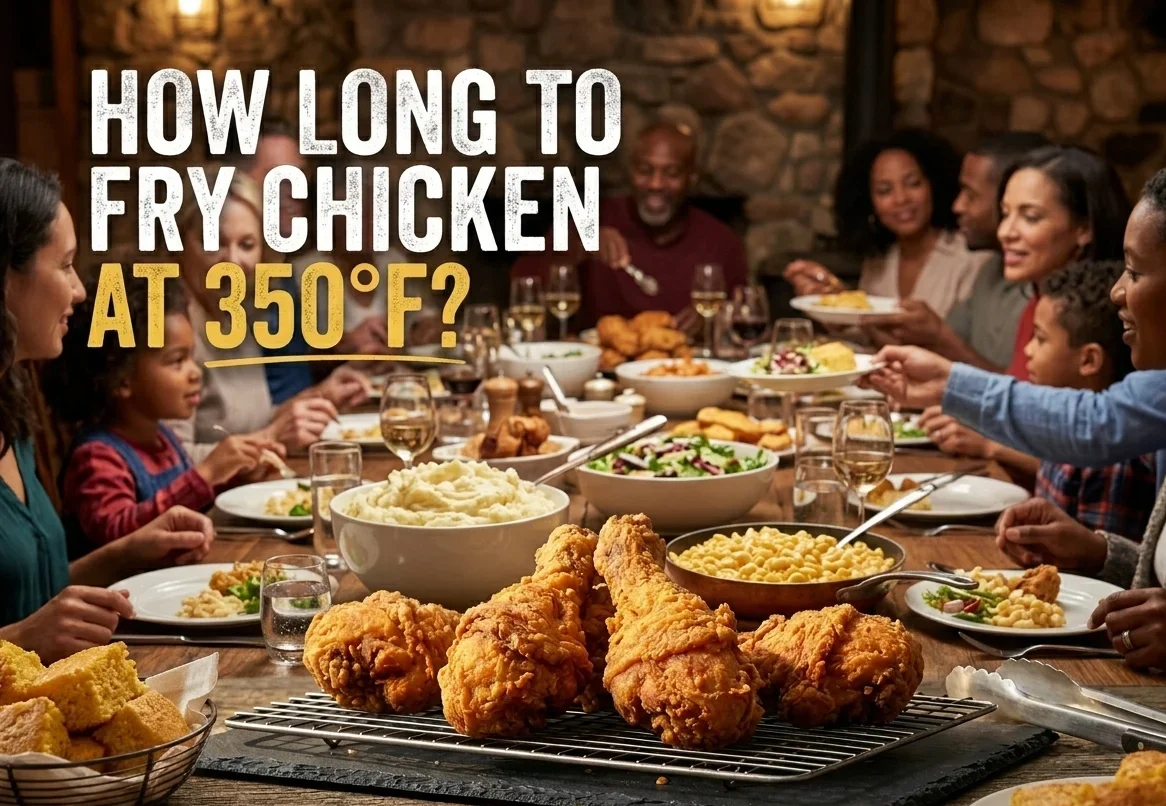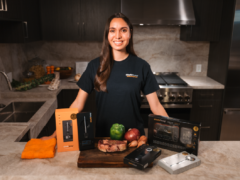
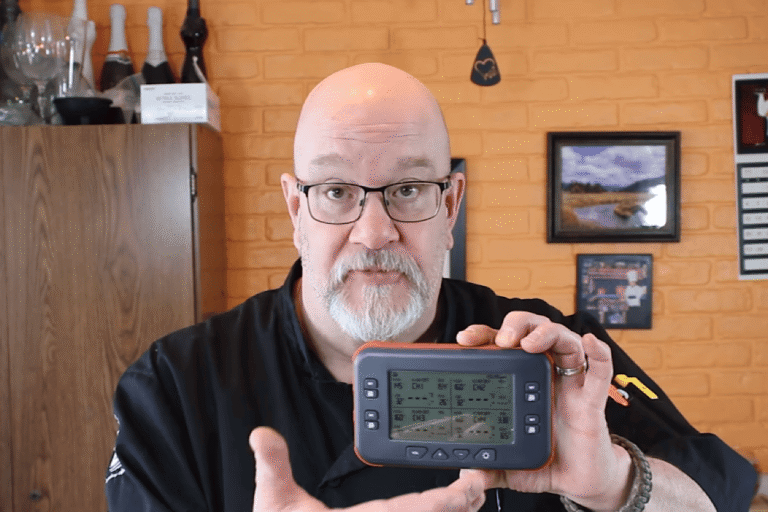
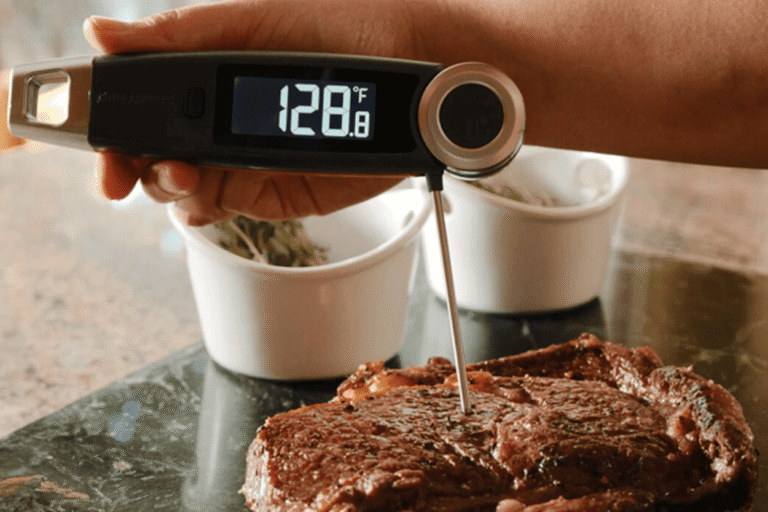
Turkey is one of the best meat dishes you can eat, but it comes with some unique processes that you must follow to cook a perfect turkey. We will be discussing this in depth and detail so that when your big holiday arrives and you are serving turkey, you can prepare the best turkey ever and all your guests will remember the turkey for being moist, succulent, and tender.Before we get into the specifics of the turkey itself, we need to look at some things you should have on hand before you start. First on my list is good meat thermometers, both an instant read thermometer and a leave-in roasting thermometer. I use the ChefsTemp Final Touch X10 digital instant read thermometer for spot checking temperatures during the thawing process and cooking processes, and I use the Smartro ST54 digital cooking thermometer to monitor the thawing process and during the cooking process. This thermometer is a leave in dual probe thermometer with leads long enough to have the unit outside of your oven so that you can instantly monitor the temperature of the turkey as it roasts.Now that we have our thermometers, what else do we need? A roasting pan with a roasting rack in it, this will elevate your turkey and allow you to have access to the cooking liquid in the pan so that you can baste the bird as it cooks. You will need a turkey baster, word to the wise with turkey basters, look for and procure a turkey baster with a glass barrel, the plastic ones are good for one use, you can buy a new one every time you prepare a turkey, or you can spend a little more and get a quality baster. Your other option is to get a heavy-duty meat injector and use it to baste with.You will also need aluminum foil, your seasonings for your turkey, and if you get a fresh turkey, you will need a container large enough to brine it in.Items needed: Always double-check your temperature readings. It takes a minimum of three days to thaw a turkey from frozen solid to thawed completely. The rule of thumb is approximately 3 hours per pound, the larger the turkey, the longer it will take. You can take up to five days to complete the thawing process. Word of caution, never attempts to cook a partially frozen turkey. Either cook it from a completely frozen state or fully thawed, never in between. The turkey will not get done and you will end up with a turkey that is half cooked and half raw. Follow the thawing process fully, no shortcuts, because there are no shortcuts to thawing a turkey.Now that we have our turkey fully thawed, we must determine what we are going to do next, some form of brining is recommended. Either wet brining, or dry brining. If you are using a butterball turkey, it has been injected by the processor and reaps no benefit from wet brining. The wet brining will draw out the injected butter and turkey broth. That means we will need to dry brine it, and that is a simple process. First, remove the giblets and neck from the turkey and any ice you may find inside the body cavity. Rinse the bird thoroughly, and then pat it dry with paper towels. Then you will take your seasoning, I like to mix mine together and put them into a shaker with large holes in the top to get my seasoning evenly balanced and coat my bird evenly. Remember, dry brines contain kosher salt, and this will draw out any surface liquids, which is good. Place the bird back into the refrigerator uncovered for a minimum of 12 hours. If you are wet brining, you will want it in a container to deep enough and large enough to immerse the bird into your brining solution breast down, and it needs to remain in the brine for 1-3 days.Turkey Brining SolutionNow that we have our turkey thawed, brined, and prepared, now we will talk about how to roast the turkey to produce the best tasting, most moist turkey you can cook. First, set your oven to 450⁰F, once it is preheated, then place your seasoned turkey on a roasting rack into the oven and cook the turkey uncovered for exactly 30 minutes. Once you have roasted your turkey for 30 minutes, cover your turkey with foil and turn the oven down to 325⁰F. You are going to cook your turkey from this point forward until it reaches a minimum of 160⁰F, this is the pull temp, not the finished temp, you are going to pull your turkey from the oven and let it rest for a minimum of 20 minutes. Carry over cooking will get it to 165⁰F. Remember, you will pull it when the breast reaches the desired temp, the high will be 20⁰F-30⁰F higher and this is okay, the thigh has a lot of fat and is dark meat and can take the heat.Before we cover some other things to go with the turkey, we should look at some alternate cooking methods for turkey and understand some rules about how to cook the turkey by smoking, deep frying, and grilling it on your barbecue grill.Smoked turkey done right is moist, succulent, tender, and probably much more flavorful than the traditional roasted turkey. When smoking a turkey, you will follow all the same procedures, the difference is you need to get your smoker hot, just like pre-heating your oven, before you place the turkey into the smoker. You want it on a rack with a drip pan underneath. You will smoke it for at least 7 hours and cook time is going to be 9-14 hours depending on how much it weighs. To get it to the state you want it at, first set your temperature on your smoker to 225⁰F, get your turkey in to the smoker and start the smoking. After 6 hours turn the smoker up to 275⁰F and cook it at this temperature until it reaches the correct pull temperature of 160⁰F in the breast portion at the bone. I recommend you use a Smartro ST54 for this, the probes can be inserted into the bird in the thigh and the breast and will allow you to monitor the temperature without opening the door. Always verify the temperature with an instant read thermometer, and then pull the bird.Another method you can use is deep frying. This is the most dangerous and people have burned down their houses when the pan of oil on the turkey fryer exploded when the turkey was lowered into the oil. Water and hot oil do not mix. Make sure that no ice is left in the turkey anywhere, make sure that you have completely dried the turkey inside and out, and then season it with a dry rub. Once you get it into the fryer, you will need to fry it for 20 minutes per pound and then pull it from the fryer and let it rest. At this point you will take your temps to make sure the turkey is done, if it isn’t, you will take into the house and cook it in the oven to get it to temp.The last way to do your turkey is to do it on your grill. For this, you really should spatchcock the turkey, that is a technique where you leave the skin intact and remove the backbone. You will then apply some sharp pressure to the breastbone forcing the turkey to become flat. Once you have this done, then season your turkey. Get your grill hot, and then place the turkey in the center of your grill with an aluminum foil pan underneath it with the heat source on the ends, you do not turn or flip your bird, maintain as close to 300⁰F temperature for your grill and cook your bird until it reaches the desired temperature of 160⁰F. Remember with a spatchcocked bird, the cooking time is cut down tremendously because you have removed the backbone and made the bird laydown flat, decreasing the surface cooking area by half.Now that we have discussed all the different ways you can cook a turkey, and how to cook them. What are you going to serve with this perfectly cooked bird? Well, we will think about Thanksgiving, a truly American Holiday, and what we serve with our turkey. First, in the United States, where Thanksgiving is our national holiday, we are serving pumpkin pie, stuffing, mashed potatoes, candied yams, green bean casserole, turkey gravy, yeast bread rolls, and cranberry sauce or jelly. Every family has their Thanksgiving traditions, some are going to add a variety of pies, like Pecan Pie, Cream Pies, Fruit pies, and meringue pies, like lemon meringue, chocolate and coconut pies topped with meringue. Everyone has their own traditions, but the potatoes, sweet potatoes, dressing, gravy and rolls, everyone eats.Timing is everything doing a meal like this and knowing already that you must dedicate your oven for at least four hours just for your turkey. That means we are doing some prebaking and precooking so that when it comes time to roast the turkey it is the only, only item we are cooking except possibly boiling our potatoes to make mashed potatoes with.I start my meal preparation by baking off all my pies and getting them cooled and stored. Fruit pies, nut pies, pumpkin pies and meringue pies can all be baked and left out on the counter overnight the cream pies must be refrigerated. I am going to share my pumpkin pie recipe it is the most traditional.John’s Pumpkin PieI use the same recipe that my mom did, right off the back of the can of Libby’s Solid Pack Pumpkin, I do not use the pie filling mix. I follow this recipe to the letter with the exception that I exchange the ground cloves with ground nutmeg. I like the flavor better, but that is a personal taste preference.Mixing the pie is easy, first mix the sugar and spices in a bowl, then in a separate bowl, beat your four eggs, add the evaporated milk to the eggs. Add the pumpkin to the sugar and spices and slowly add the milk and eggs, whip it in the bowl with a wire whip until it is completely smooth, takes about 3 minutes. Then take your prepared pie crusts, whether you make them yourself or buy them, make two 9-inch-deep dish pie shells. Preheat your oven to 425⁰F and place your pies with the shells still frozen on a cookie sheet. I cannot stress to you how important that you have your pie shells frozen. If you use a thawed or fresh pie crust, the edges will burn and break before your pie sets. You can use foil or rings to try and protect the edge of the crust but having the crust frozen when you fill it works so much better and there is no need to try and wrap the edge in foil or use an edge protector for your pie. Bake it for 20 minutes and 425⁰F for fifteen minutes and then turn down the oven to 350⁰F and cook it until the filling sets, usually 35-45 minutes. Once the pies are done, remove them from the oven and place them on cooling racks and let them cool for at least 3 hours. Serve with whipped cream and enjoy the pies.Mashed PotatoesCandied YamsGreen Bean CasseroleThis is one of my favorite casseroles and is great anytime of the year.
- 14–16-pound turkey, fresh or frozen
- Wide aluminum foil
- An instant read thermometer
- Smartro ST54 dual probe cooking thermometer
- Salt
- Black pepper
- Garlic powder
- Onion powder
- Poultry seasoning
- Chicken broth
- Whole unsalted butter
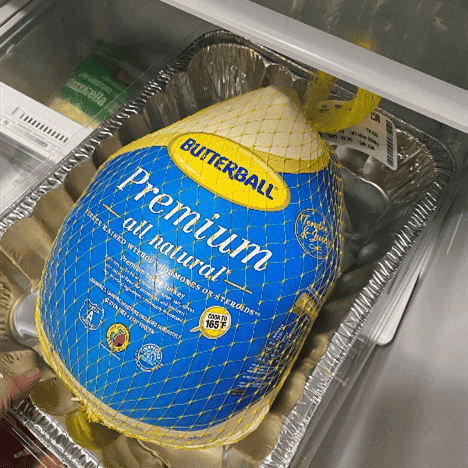
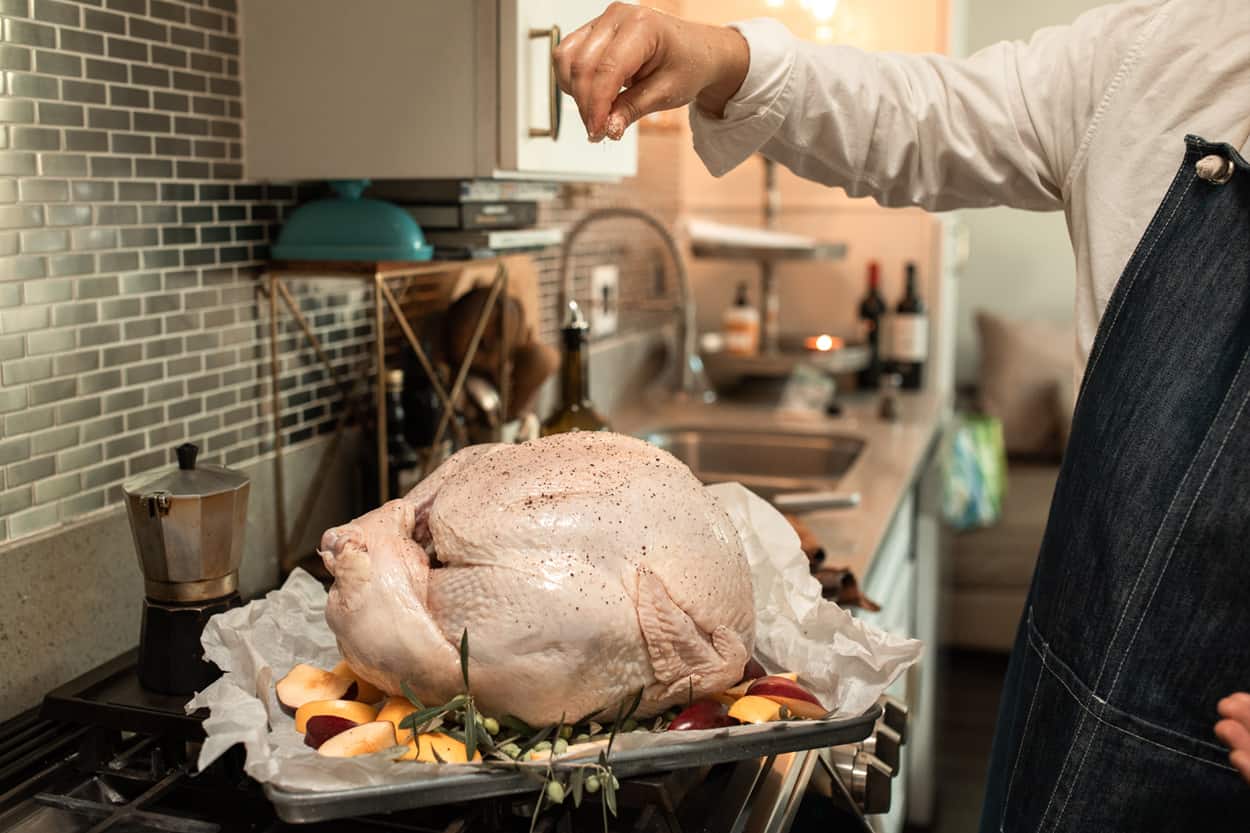
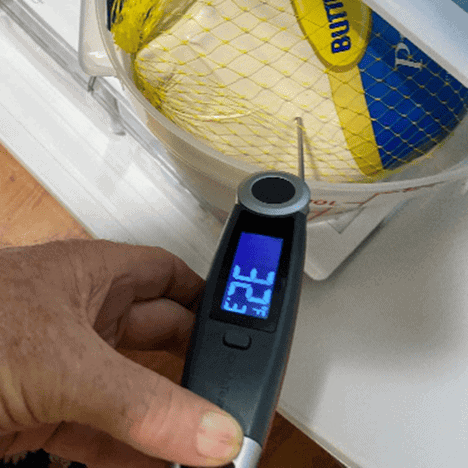 Always double-check your temperature readings. It takes a minimum of three days to thaw a turkey from frozen solid to thawed completely. The rule of thumb is approximately 3 hours per pound, the larger the turkey, the longer it will take. You can take up to five days to complete the thawing process. Word of caution, never attempts to cook a partially frozen turkey. Either cook it from a completely frozen state or fully thawed, never in between. The turkey will not get done and you will end up with a turkey that is half cooked and half raw. Follow the thawing process fully, no shortcuts, because there are no shortcuts to thawing a turkey.Now that we have our turkey fully thawed, we must determine what we are going to do next, some form of brining is recommended. Either wet brining, or dry brining. If you are using a butterball turkey, it has been injected by the processor and reaps no benefit from wet brining. The wet brining will draw out the injected butter and turkey broth. That means we will need to dry brine it, and that is a simple process. First, remove the giblets and neck from the turkey and any ice you may find inside the body cavity. Rinse the bird thoroughly, and then pat it dry with paper towels. Then you will take your seasoning, I like to mix mine together and put them into a shaker with large holes in the top to get my seasoning evenly balanced and coat my bird evenly. Remember, dry brines contain kosher salt, and this will draw out any surface liquids, which is good. Place the bird back into the refrigerator uncovered for a minimum of 12 hours. If you are wet brining, you will want it in a container to deep enough and large enough to immerse the bird into your brining solution breast down, and it needs to remain in the brine for 1-3 days.Turkey Brining Solution
- 4 quarts water
- 1 cup kosher salt
- 1 cup brown sugar
- 1 TBSP whole black peppercorns
- 1 TBSP whole allspice berries
- 1 TBSP chopped dried parsley, or 3 TBSP fresh chopped parsley
- 1 large container with a lid
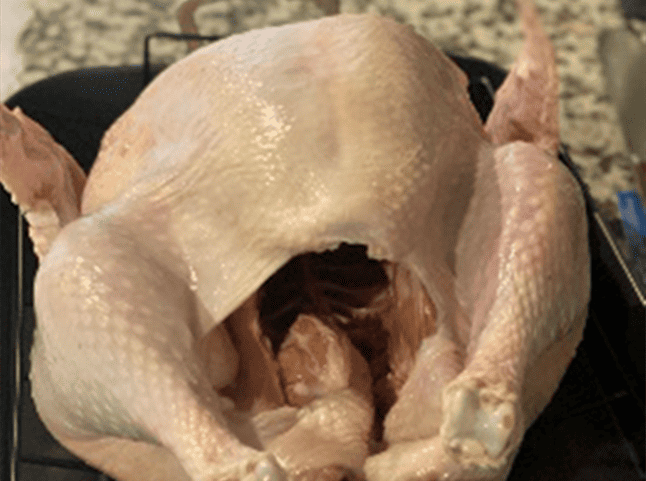
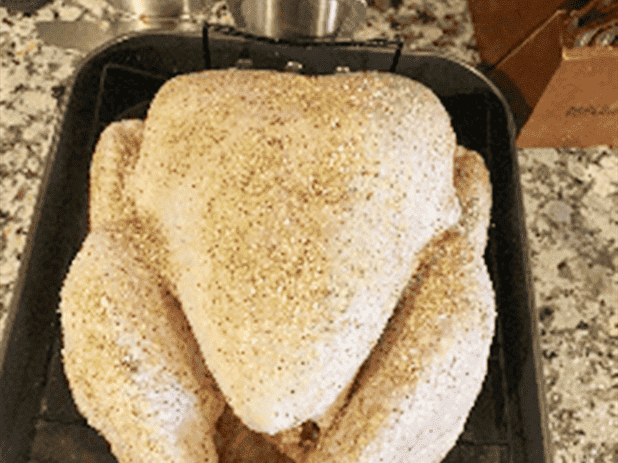
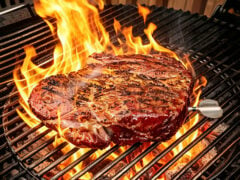
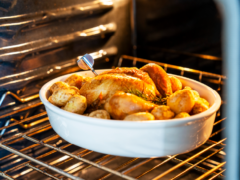
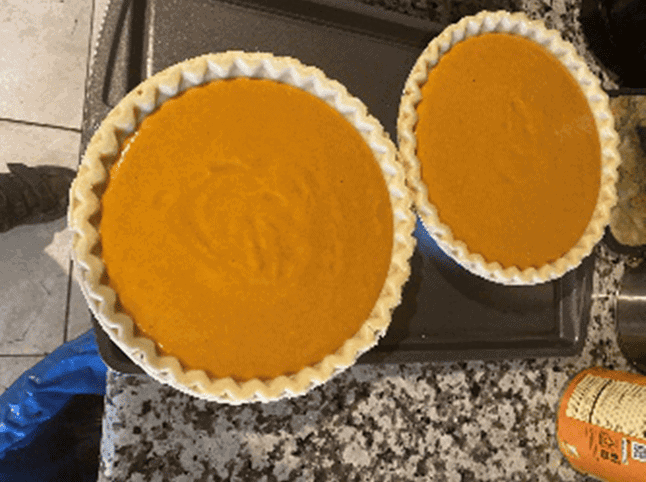
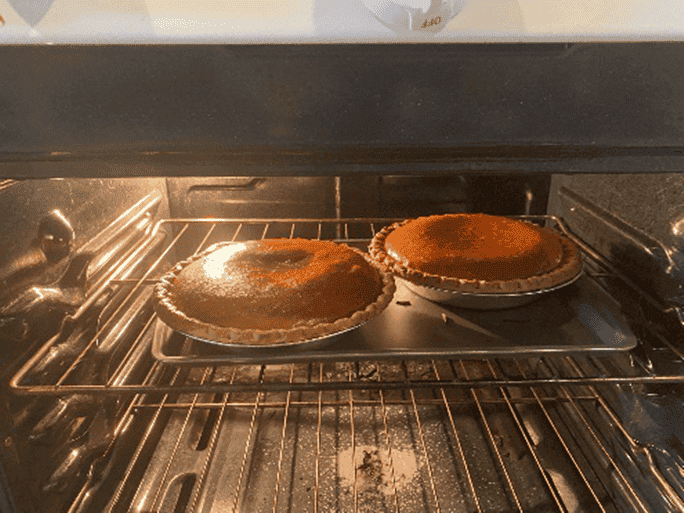
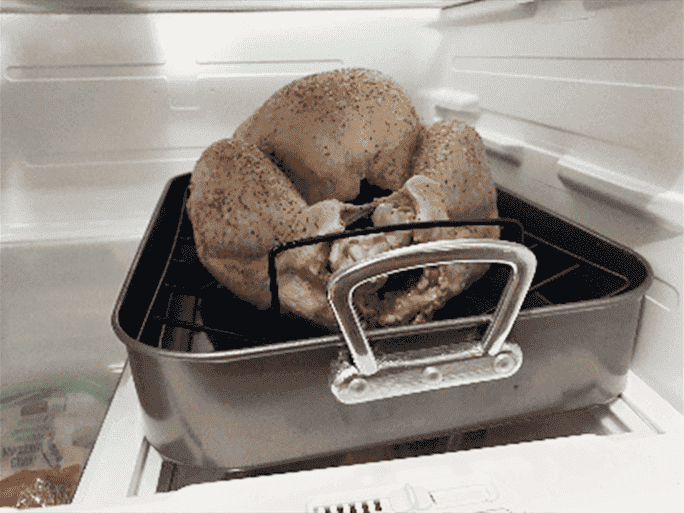 Now that we have our turkey thawed, brined, and prepared, now we will talk about how to roast the turkey to produce the best tasting, most moist turkey you can cook. First, set your oven to 450⁰F, once it is preheated, then place your seasoned turkey on a roasting rack into the oven and cook the turkey uncovered for exactly 30 minutes. Once you have roasted your turkey for 30 minutes, cover your turkey with foil and turn the oven down to 325⁰F. You are going to cook your turkey from this point forward until it reaches a minimum of 160⁰F, this is the pull temp, not the finished temp, you are going to pull your turkey from the oven and let it rest for a minimum of 20 minutes. Carry over cooking will get it to 165⁰F. Remember, you will pull it when the breast reaches the desired temp, the high will be 20⁰F-30⁰F higher and this is okay, the thigh has a lot of fat and is dark meat and can take the heat.Before we cover some other things to go with the turkey, we should look at some alternate cooking methods for turkey and understand some rules about how to cook the turkey by smoking, deep frying, and grilling it on your barbecue grill.Smoked turkey done right is moist, succulent, tender, and probably much more flavorful than the traditional roasted turkey. When smoking a turkey, you will follow all the same procedures, the difference is you need to get your smoker hot, just like pre-heating your oven, before you place the turkey into the smoker. You want it on a rack with a drip pan underneath. You will smoke it for at least 7 hours and cook time is going to be 9-14 hours depending on how much it weighs. To get it to the state you want it at, first set your temperature on your smoker to 225⁰F, get your turkey in to the smoker and start the smoking. After 6 hours turn the smoker up to 275⁰F and cook it at this temperature until it reaches the correct pull temperature of 160⁰F in the breast portion at the bone. I recommend you use a Smartro ST54 for this, the probes can be inserted into the bird in the thigh and the breast and will allow you to monitor the temperature without opening the door. Always verify the temperature with an instant read thermometer, and then pull the bird.Another method you can use is deep frying. This is the most dangerous and people have burned down their houses when the pan of oil on the turkey fryer exploded when the turkey was lowered into the oil. Water and hot oil do not mix. Make sure that no ice is left in the turkey anywhere, make sure that you have completely dried the turkey inside and out, and then season it with a dry rub. Once you get it into the fryer, you will need to fry it for 20 minutes per pound and then pull it from the fryer and let it rest. At this point you will take your temps to make sure the turkey is done, if it isn’t, you will take into the house and cook it in the oven to get it to temp.The last way to do your turkey is to do it on your grill. For this, you really should spatchcock the turkey, that is a technique where you leave the skin intact and remove the backbone. You will then apply some sharp pressure to the breastbone forcing the turkey to become flat. Once you have this done, then season your turkey. Get your grill hot, and then place the turkey in the center of your grill with an aluminum foil pan underneath it with the heat source on the ends, you do not turn or flip your bird, maintain as close to 300⁰F temperature for your grill and cook your bird until it reaches the desired temperature of 160⁰F. Remember with a spatchcocked bird, the cooking time is cut down tremendously because you have removed the backbone and made the bird laydown flat, decreasing the surface cooking area by half.Now that we have discussed all the different ways you can cook a turkey, and how to cook them. What are you going to serve with this perfectly cooked bird? Well, we will think about Thanksgiving, a truly American Holiday, and what we serve with our turkey. First, in the United States, where Thanksgiving is our national holiday, we are serving pumpkin pie, stuffing, mashed potatoes, candied yams, green bean casserole, turkey gravy, yeast bread rolls, and cranberry sauce or jelly. Every family has their Thanksgiving traditions, some are going to add a variety of pies, like Pecan Pie, Cream Pies, Fruit pies, and meringue pies, like lemon meringue, chocolate and coconut pies topped with meringue. Everyone has their own traditions, but the potatoes, sweet potatoes, dressing, gravy and rolls, everyone eats.Timing is everything doing a meal like this and knowing already that you must dedicate your oven for at least four hours just for your turkey. That means we are doing some prebaking and precooking so that when it comes time to roast the turkey it is the only, only item we are cooking except possibly boiling our potatoes to make mashed potatoes with.I start my meal preparation by baking off all my pies and getting them cooled and stored. Fruit pies, nut pies, pumpkin pies and meringue pies can all be baked and left out on the counter overnight the cream pies must be refrigerated. I am going to share my pumpkin pie recipe it is the most traditional.John’s Pumpkin PieI use the same recipe that my mom did, right off the back of the can of Libby’s Solid Pack Pumpkin, I do not use the pie filling mix. I follow this recipe to the letter with the exception that I exchange the ground cloves with ground nutmeg. I like the flavor better, but that is a personal taste preference.Mixing the pie is easy, first mix the sugar and spices in a bowl, then in a separate bowl, beat your four eggs, add the evaporated milk to the eggs. Add the pumpkin to the sugar and spices and slowly add the milk and eggs, whip it in the bowl with a wire whip until it is completely smooth, takes about 3 minutes. Then take your prepared pie crusts, whether you make them yourself or buy them, make two 9-inch-deep dish pie shells. Preheat your oven to 425⁰F and place your pies with the shells still frozen on a cookie sheet. I cannot stress to you how important that you have your pie shells frozen. If you use a thawed or fresh pie crust, the edges will burn and break before your pie sets. You can use foil or rings to try and protect the edge of the crust but having the crust frozen when you fill it works so much better and there is no need to try and wrap the edge in foil or use an edge protector for your pie. Bake it for 20 minutes and 425⁰F for fifteen minutes and then turn down the oven to 350⁰F and cook it until the filling sets, usually 35-45 minutes. Once the pies are done, remove them from the oven and place them on cooling racks and let them cool for at least 3 hours. Serve with whipped cream and enjoy the pies.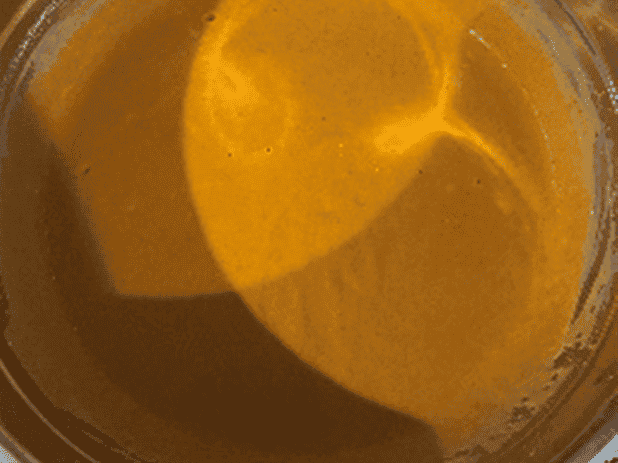
 Mashed Potatoes
- 3 pounds of potatoes, white, russets, Yukon gold, or red, boiled
- ½ stick or 8 TBSP whole unsalted butter
- 4 ounces, ½ cup of milk, half and half, or heavy cream
- Salt to taste
- White pepper to taste
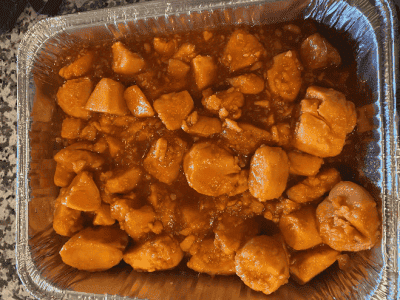 Candied Yams
- 3 pounds fresh, sliced cooked sweet potatoes or three cans of drained sweet potatoes
- Juice from one small jar of maraschino cherries
- 2 cups of brown sugar
- ½ stick or 8 TBSP whole unsalted butter
- Half package of marshmallows, either mini or jumbo
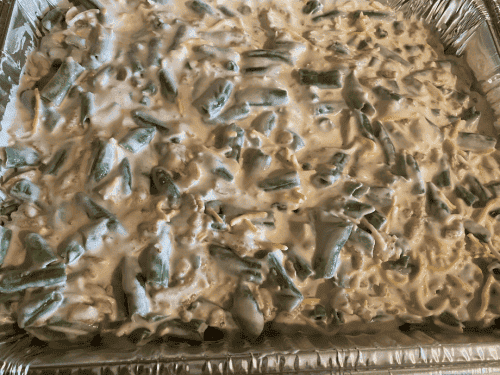 Green Bean CasseroleThis is one of my favorite casseroles and is great anytime of the year.
- 2 pounds fresh or frozen cut green beans
- 1 family size can cream of mushroom soup
- 2 containers of French-fried onions
- 2 TBSP Worcestershire sauce
- Salt to taste
- Black pepper to taste
- 1 ½ cups shredded cheese
- 2 TBSP unsalted butter
- 2 TBSP all-purpose flour
- 2 cups of separated turkey pan drippings
- Salt and pepper to taste.
- 3 ¼ cups bread flour
- 1 cup warm water
- ¼ cup white sugar
- 1 large egg
- 2 tablespoons butter, softened
- 1 tablespoon active dry yeast
- 1 teaspoon salt
- 2 tablespoons butter, melted
- Prep time: 15 minutes Cook time: 45 minutes
- One package of seasoned bread cubes
- 4 cups of chicken broth
- 8 TBSP whole unsalted butter
- 1 white onion diced fine
- 4 stalks of celery sliced
- 1 tsp poultry seasoning
- 1 TBSP kosher salt
- 1 TBSP Black Pepper
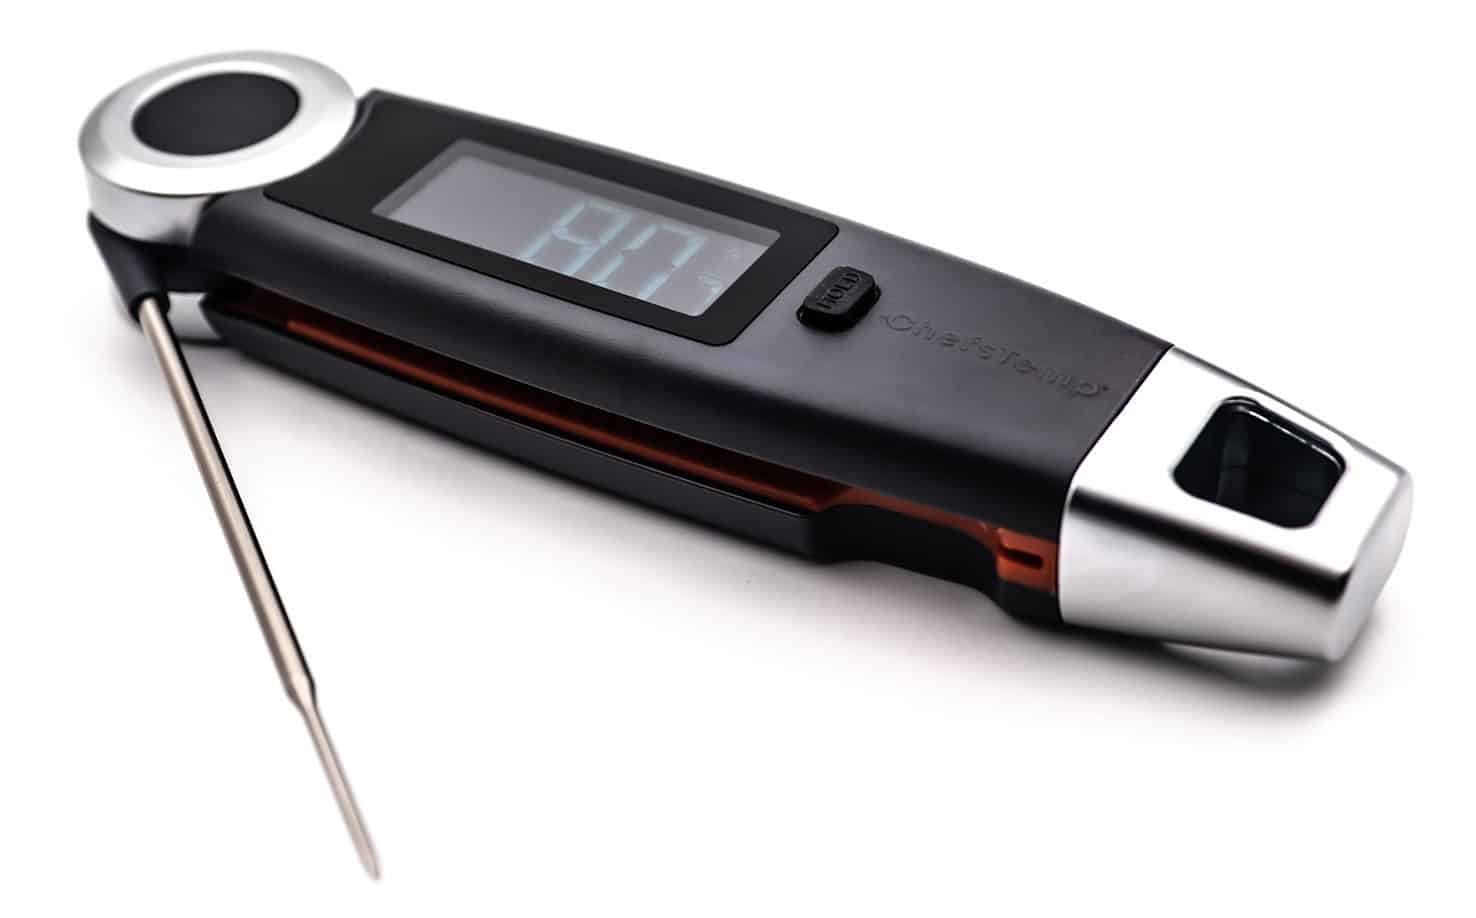
Finaltouch X10
The Finaltouch X10 thermometer from ChefsTemp gives an accurate reading not only for the inside of food but for surface temperatures as well. The diversity of the thermometer’s usage is second to none compared to other thermometers. By getting a reading within 1 second, the Finaltouch X10 from ChefsTemp is prepared to take on any task it is given.Click Here To Get Your ChefsTemp Finaltouch X10 Now!
Related Posts
Can Salmon Be Undercooked? The Real Risks and How to Stay Safe
Can salmon be undercooked? Learn the exact temperature rule, spot the warning signs fast, and fix an undercooked fillet before it ruins dinner.
Best Thermapen Alternatives: 6 Instant-Read Thermometers Tested
Thermapen is fast, but is it worth? We tested 6 instant-read Thermapen alternatives for speed, accuracy, and value. Find your best match here.
From Traditional to Digital Thermometers – What Is the Future of Meat Thermometers?
Is an electronic meat thermometer a reality? Yes, it is a reality. Meat thermometers ensure the safety of cook...
Reasons Why You Should Upgrade to the Best Instant Read Thermometer
A kitchen without an instant-read thermometer is incomplete. When it comes to creating a succulent pot roast o...
How Do You Know Your Ribs Are Done?
The summers are on the way, and we know many of you are planning to make this Memorial Day or Independence Day...
Is Your Steak Properly Done? Get it Right with a Remote Thermometer
Many passionate grillers began where you are now. Their first attempts were unsuccessful and disappointing. Th...
Things You Should Never Do with an Instant Read Meat Thermometer
An instant-read meat thermometer is needed to tell if your meat is cooked to the proper internal temperature. ...
The Safest and Correct Chicken Internal Temp for a Juicy and Tasty Meat
Chicken meat is delicious and nutrient-dense, but only if it's cooked to a specific internal temperature. Go b...
Instant Read Thermometer: Why It’s a Must-Have Kitchen Tool
How do you ensure your meat is perfectly cooked? Even if you’ve been cooking for years, it’s not uncommon to m...
How to Properly Reheat BBQ Leftovers with the Best Meat Thermometer?
Reheating BBQ leftovers is something many people struggle with. This article covers the ins and outs of doing ...
What Is the Best Meat Thermometer for Every Meat Cut?
Cooking food for our loved ones is always delightful. Cooking food, especially when it comes to cooking meat, ...
Best Infrared Cooking Thermometer
The best infrared cooking thermometer lets you check your food's temperature from a safe distance. It is a cru...