

How to Cook Brisket on a Kamado Grill with a Thermometer Upgrade
Any grilling expert knows that mastering brisket on a Kamado grill takes years of trial and error. Even if you’ve cooked plenty of meat before, cooking a brisket is boss-level. Depending on how it comes out, it could either break your heart or earn you bragging rights. This guide shows you the best Kamado accessories to guarantee you get the latter result.
Table of Contents
How to Cook Brisket on a Kamado Grill
Follow this step-by-step guide to learn how to cook brisket perfectly on a Kamado grill. Later on, find out about the best Kamado grill upgrade to ensure you can consistently achieve the best brisket.
Step 1: Choosing the Brisket
Timing and temperature control are critical to cooking the best brisket. However, the quality of the meat also plays a role. Set yourself up for success by selecting the highest-quality brisket.
Choose a brisket with good marbling. You want to see visible streaks of fat (marbling) on the meat, as these represent the intramuscular fat that will melt during cooking. As the fat melts, it enhances the flavor and juiciness of the meat. Steer clear of briskets that are too lean, as they may dry out during cooking.
Additionally, opt for a more flexible cut. It also means the cut has a good fat distribution, ensuring tender meat through the low-and-slow cooking process.
When purchasing, look for the USDA seal. Choose a Prime or Choice grade cut. Prime cuts have more marbling, which is best for grilling and smoking. Choice is a more affordable alternative, offering good-quality brisket at a lower cost.
Next, consider the fat cap. Make sure the brisket’s fat cap is approximately a quarter of an inch thick. If there’s too much fat, it won’t be as smoky. However, if there isn’t enough fat, it can be dry. Be sure to trim off any excess fat from the brisket as well.
Lastly, choose a brisket cut with even thickness. It allows for consistent cooking on the Kamado grill.

Step 2: Preparing the Brisket
Once you have selected and trimmed the brisket, it’s time to season!
Use a dry rub made with salt, pepper, and your favorite spices. Coat the brisket with the seasoning blend, then massage it onto the meat to allow the flavor to seep in. Most grilling pros use an injection to boost flavor and tenderize the meat. However, you can skip this one as long as you let the seasoning blend marinade for the recommended time frame.
Once seasoned, let the brisket sit at room temperature for 30 to 45 minutes before grilling.

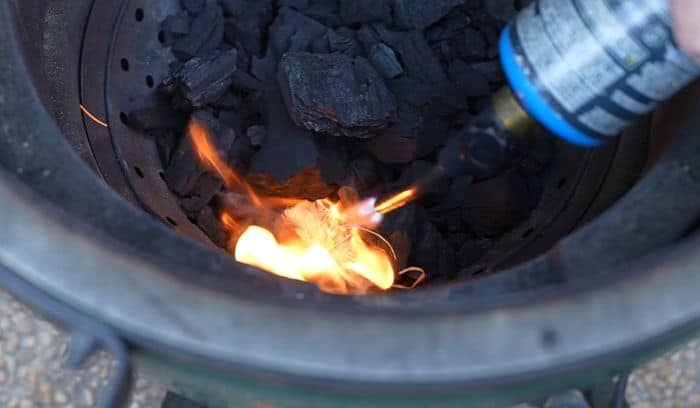
Step 3: Set Up the Kamado Grill
Choose a lump of charcoal for the Kamado grill. This charcoal type burns hotter, making it ideal for low-and-slow cooking.
Next, place a heat deflector, such as a pizza stone or plate setter. Using indirect heat is essential when cooking brisket on the Kamado grill. It ensures that no single part of your brisket cooks faster than the rest.
At this point, focus on stabilizing the grill’s temperature. It should maintain a steady range of 225 to 250 degrees F. Since the Kamado grill effectively retains heat, you can gradually adjust the vents to reach the desired temperature faster.
Step 4: Smoking and Cooking Process
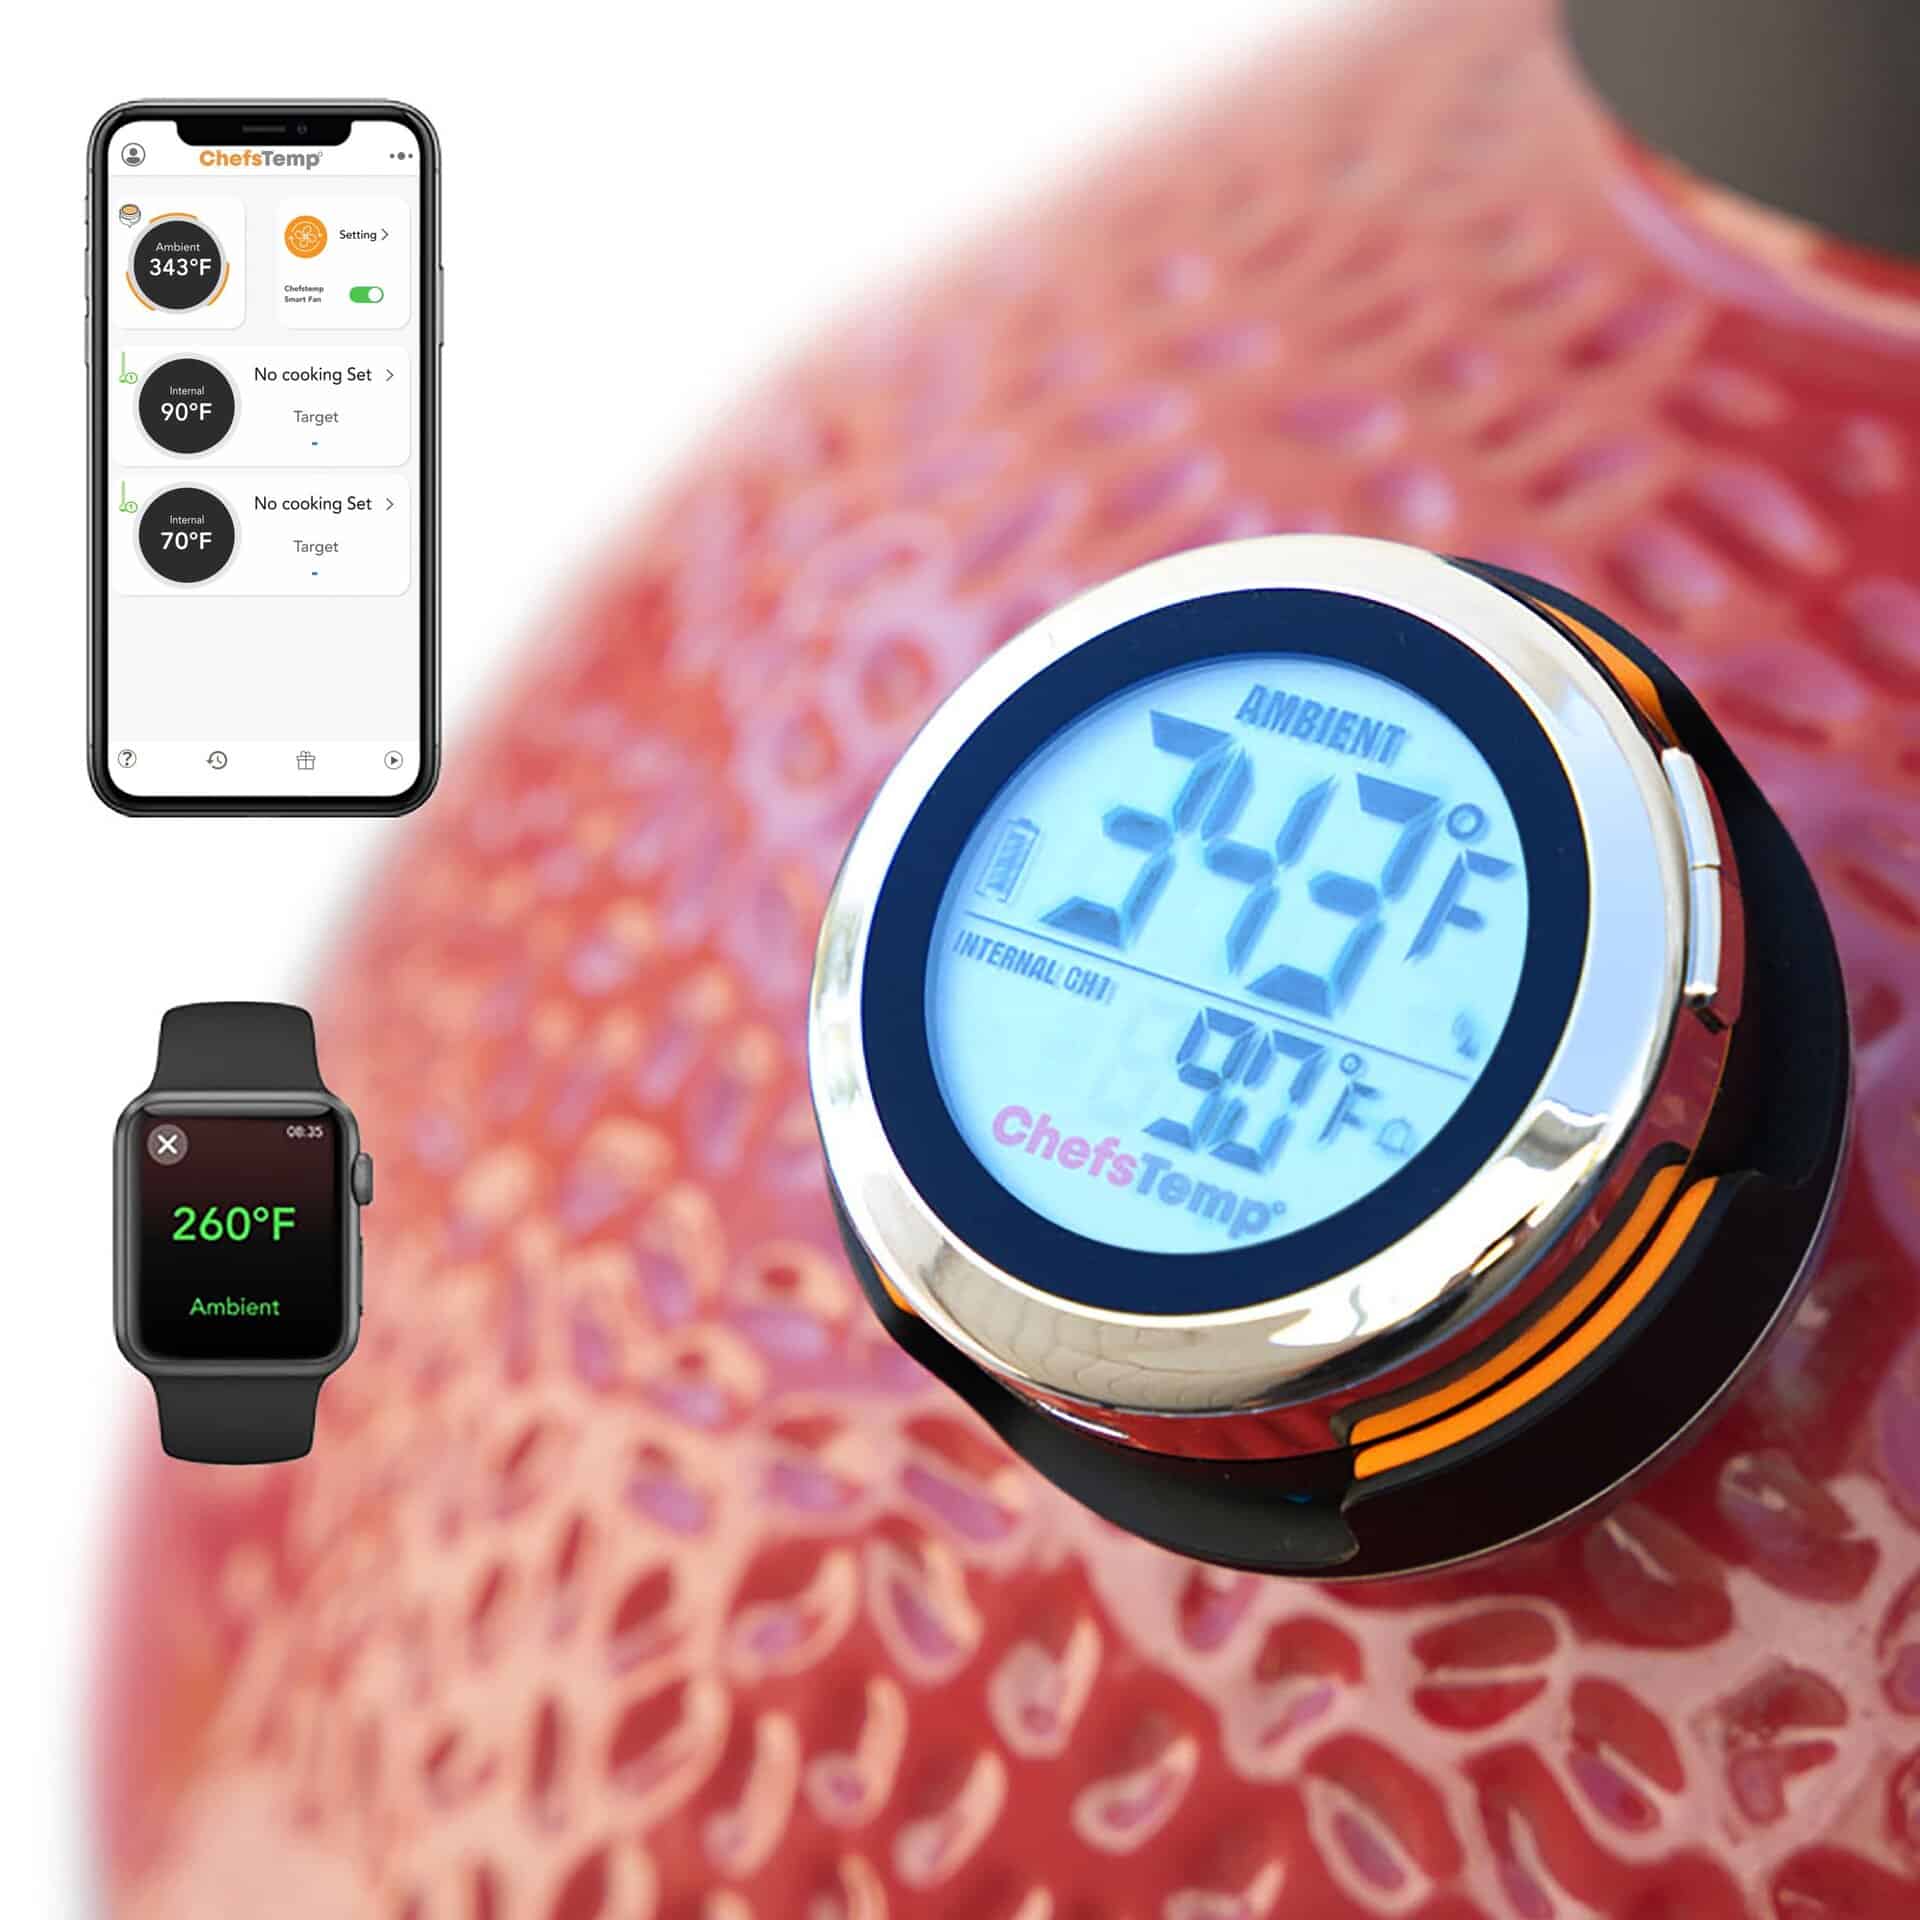
Use a wireless thermometer, such as the ProTemp S1. It is made with platinum sensors for higher sensitivity and more stable readings than traditional thermometers that use NTC sensors. It also has a long stem, which allows it to read close to the cooking surface, providing more accurate readings.
Verify that the temperature reading is accurate before closing the lid.

Step 5: Low and Slow Cooking
If you prefer, you can spritz the brisket with an apple cider vinegar mixture to prevent it from drying out. And once you’ve reached 150 to 165 degrees F, it’s what is referred to as the stall. You must wrap the brisket in foil to accelerate cooking and lock in moisture.
From the app on your phone, you should closely monitor the temperature readings. It should be ready once the meat reaches 195 to 203 degrees F.
Don’t slice the brisket right away. Let it sit for an hour without removing the foil. Sitting the meat redistributes the juices and keeps it tender.

Mastering the Art of Low and Slow Cooking
There are two critical elements for the perfect brisket: time and temperature. If you know how to master these two, then you can expect the most tender, juicy brisket.
A few moments in grilling rival the satisfaction of cutting that first slice of brisket. The meat is so tender that it falls apart, and every bite is filled with smoky goodness. Cooking with the low-and-slow method is the secret to perfect brisket, and the Kamado grill is made for it.
Thanks to the Kamado grill’s insulation and temperature precision, it’s easier than ever to cook BBQ and brisket consistently. It helps lock in moisture, keeping the meat juicy and never dry.
Mastering the “low and slow” cooking method does not happen overnight, though. You need the best grill accessories to achieve precise, consistent temperature control.
Low-and-slow cooking means cooking meat for an extended period at 225-275 degrees F (107-135 degrees C). Using low heat helps to dissolve the meat’s connective tissues. It also provides a smokiness, as the flavor can penetrate the meat and create a fantastic, slightly charred bark.
The ceramic Kamado grill is built for low-and-slow cooking. Its insulation keeps it warm for extended periods without needing to add charcoal or fuel.
Temperature control is also crucial in cooking the perfect brisket. Always start low. It is easier to raise the temperature later in the cooking process. Add a few coals until you’ve reached the desired temperature. If you add too many at the start, it could overshoot your target and make it hard to bring it back down.
Temperature monitoring will be necessary throughout the cooking process. Grill accessories, such as a wireless meat thermometer, are helpful for this. Platinum sensors in the ProTemp S1 offer greater stability and higher accuracy across a broader temperature range, up to 1000°F. Also, this model provides temperature compensation to ensure that external factors won’t affect your reading, so you don’t end up with overcooked or undercooked brisket.
- Accurate Temperature Control
Wireless thermometers provide accurate and real-time readings. That’s why platinum sensors are the new standard for high-precision settings, including grilling meat in a low-and-slow method. Otherwise, you’re just waiting for the brisket to dry out, which also means you lose the flavor.

- No Need to Open the Lid
A wireless meat thermometer prevents such problems by allowing you to monitor temperature without opening the lid. You can even run errands or entertain friends, as the WiFi or Bluetooth connectivity lets you check the temperature on your device. You can even monitor the cooking of different meats simultaneously.
- Prevent Guesswork
Cooking brisket is a science. You need the right temperature and time. Relying on visual cues alone won’t result in a consistently perfect brisket every time. Getting exact temperature readings with a wireless thermometer is the only way to know the brisket is done.
- Consistent Results
Brisket requires precision. You can track every stage of the cooking process with a wireless thermometer. It ensures you can achieve repeatable results because you know the correct temperature to aim for, and you have the tool to measure it accurately.
Once you master these temperature variations and your grill’s behavior, you can expect more consistent results. You must also embrace patience. Trust that you’ve invested in the best meat and Kamado Joe accessories, and the results will follow.
Don’t despair if you don’t perfect your brisket the first time. Mastering the art of cooking a brisket requires a grasp of the grill and its temperature, as well as the ability to control variables. With the right thermometer upgrade, you can tackle these challenges with better precision every single time.
Discover Other ChefsTemp Products


Discover more recipes and learn kitchen tricks by joining our cooking family on Facebook.
You may also like:


