FAQs
If you have any questions about your preferred items that aren't covered here or your order, you can start a chat using the message icon in the lower‑left corner for faster assistance. You're also welcome to contact our Customer Support Team at [email protected].
Why should I choose the ProTemp 2 Plus over other wireless thermometers?
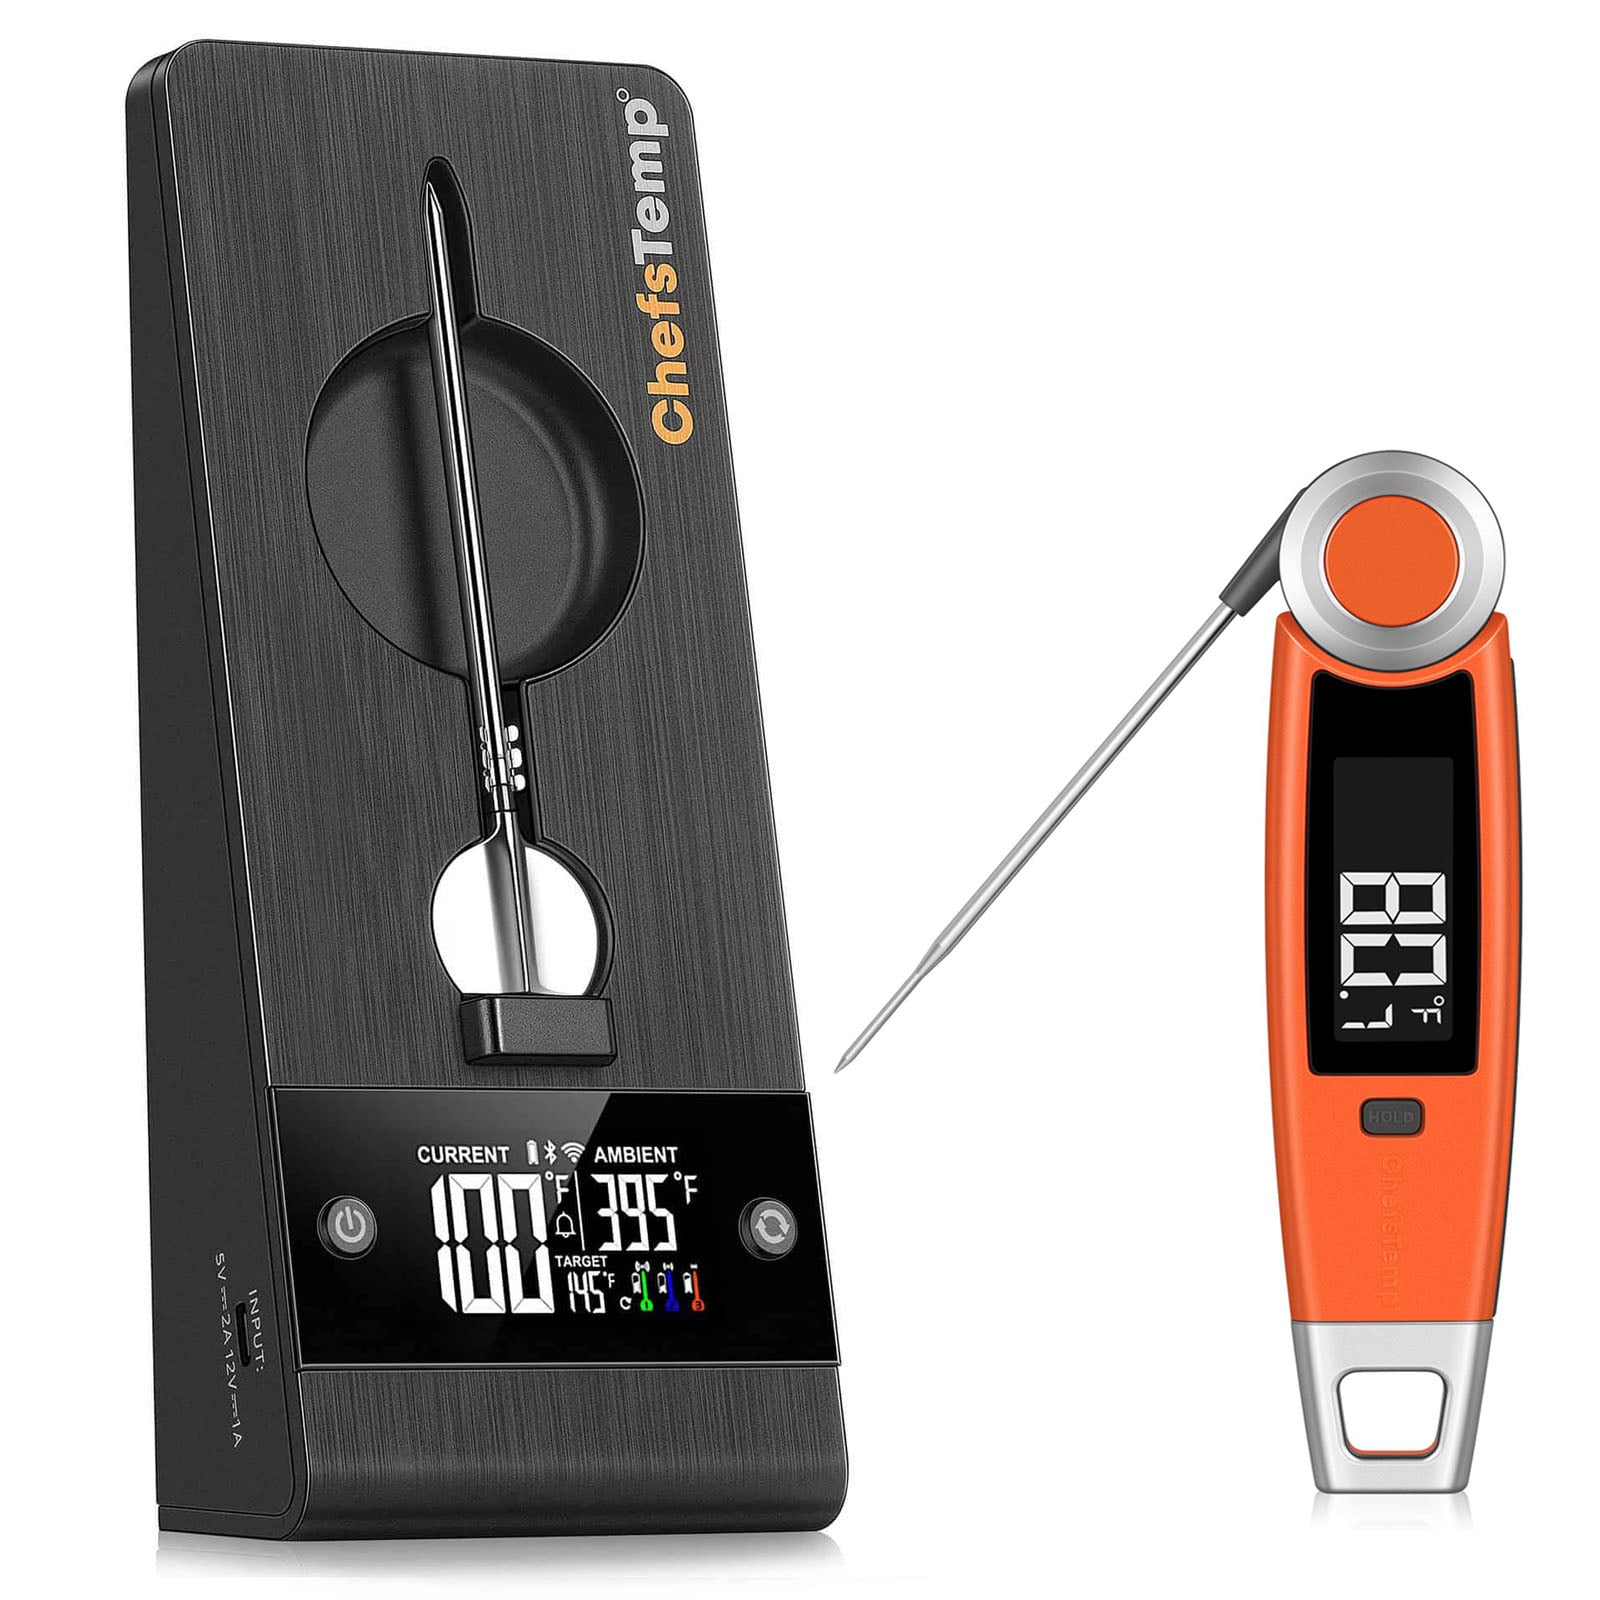
Unlike Bluetooth-only models with limited range or thicker probes that damage food, the ProTemp 2 Plus stands out with its thinnest-in-class probe, unlimited Wi-Fi range, multi-sensor accuracy, and smart integrations like fan control. It provides unmatched convenience by sending real-time alerts to your phone or watch, so you can multitask confidently. Ultimately, it empowers you to cook like a pro, minimizing errors, enhancing flavors, and making every meal a success—saving money on spoiled food and boosting your culinary skills.
Does Breezo Fan waterproof?
Breezo Fan is not waterproof. Please ensure it stays dry at all times. Water exposure may cause malfunction or permanent damage, so handle with care around liquids.
Why do I need the Breezo Fan for my S1? I have a pellet grill or gas grill. Do I need the Breezo Fan?
The Breezo Fan is specifically designed for charcoal grills. If you are using a pellet or gas grill, you likely don’t need it. The temperature-controlling fan works by automatically managing air intake, saving you the time and effort of frequent adjustments. Additionally, it helps maintain a steadier ambient temperature and keeps it closer to your target temperature for more consistent cooking results.
Is it waterproof? Can I wash them in a dishwasher?
The Base Unit of ProTemp S1 is fully waterproof. However, the Main Unit has an IP54 rating, which provides limited protection against dust and splashing water. Please avoid exposing the unit to water. For enhanced protection, we recommend installing the optional ProTemp S1 Waterproof Silicone Protective Cover (sold separately).
Although the probe is waterproof, it cannot be washed in a dishwasher, as this can cause damage to the internal sensors of the probe (as mentioned in the manual).
Can the Breezo Fan be installed on my cooking device?
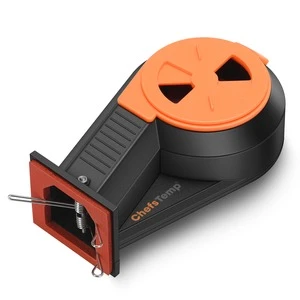
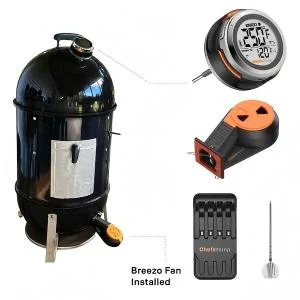
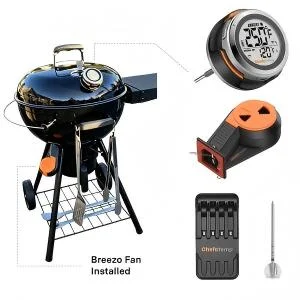
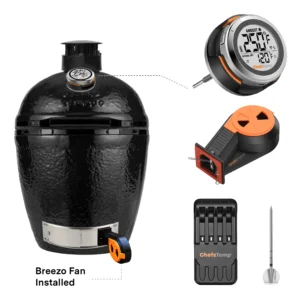
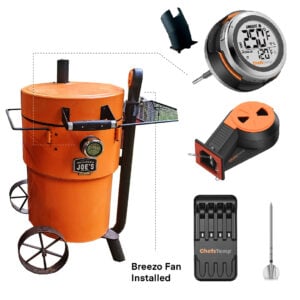
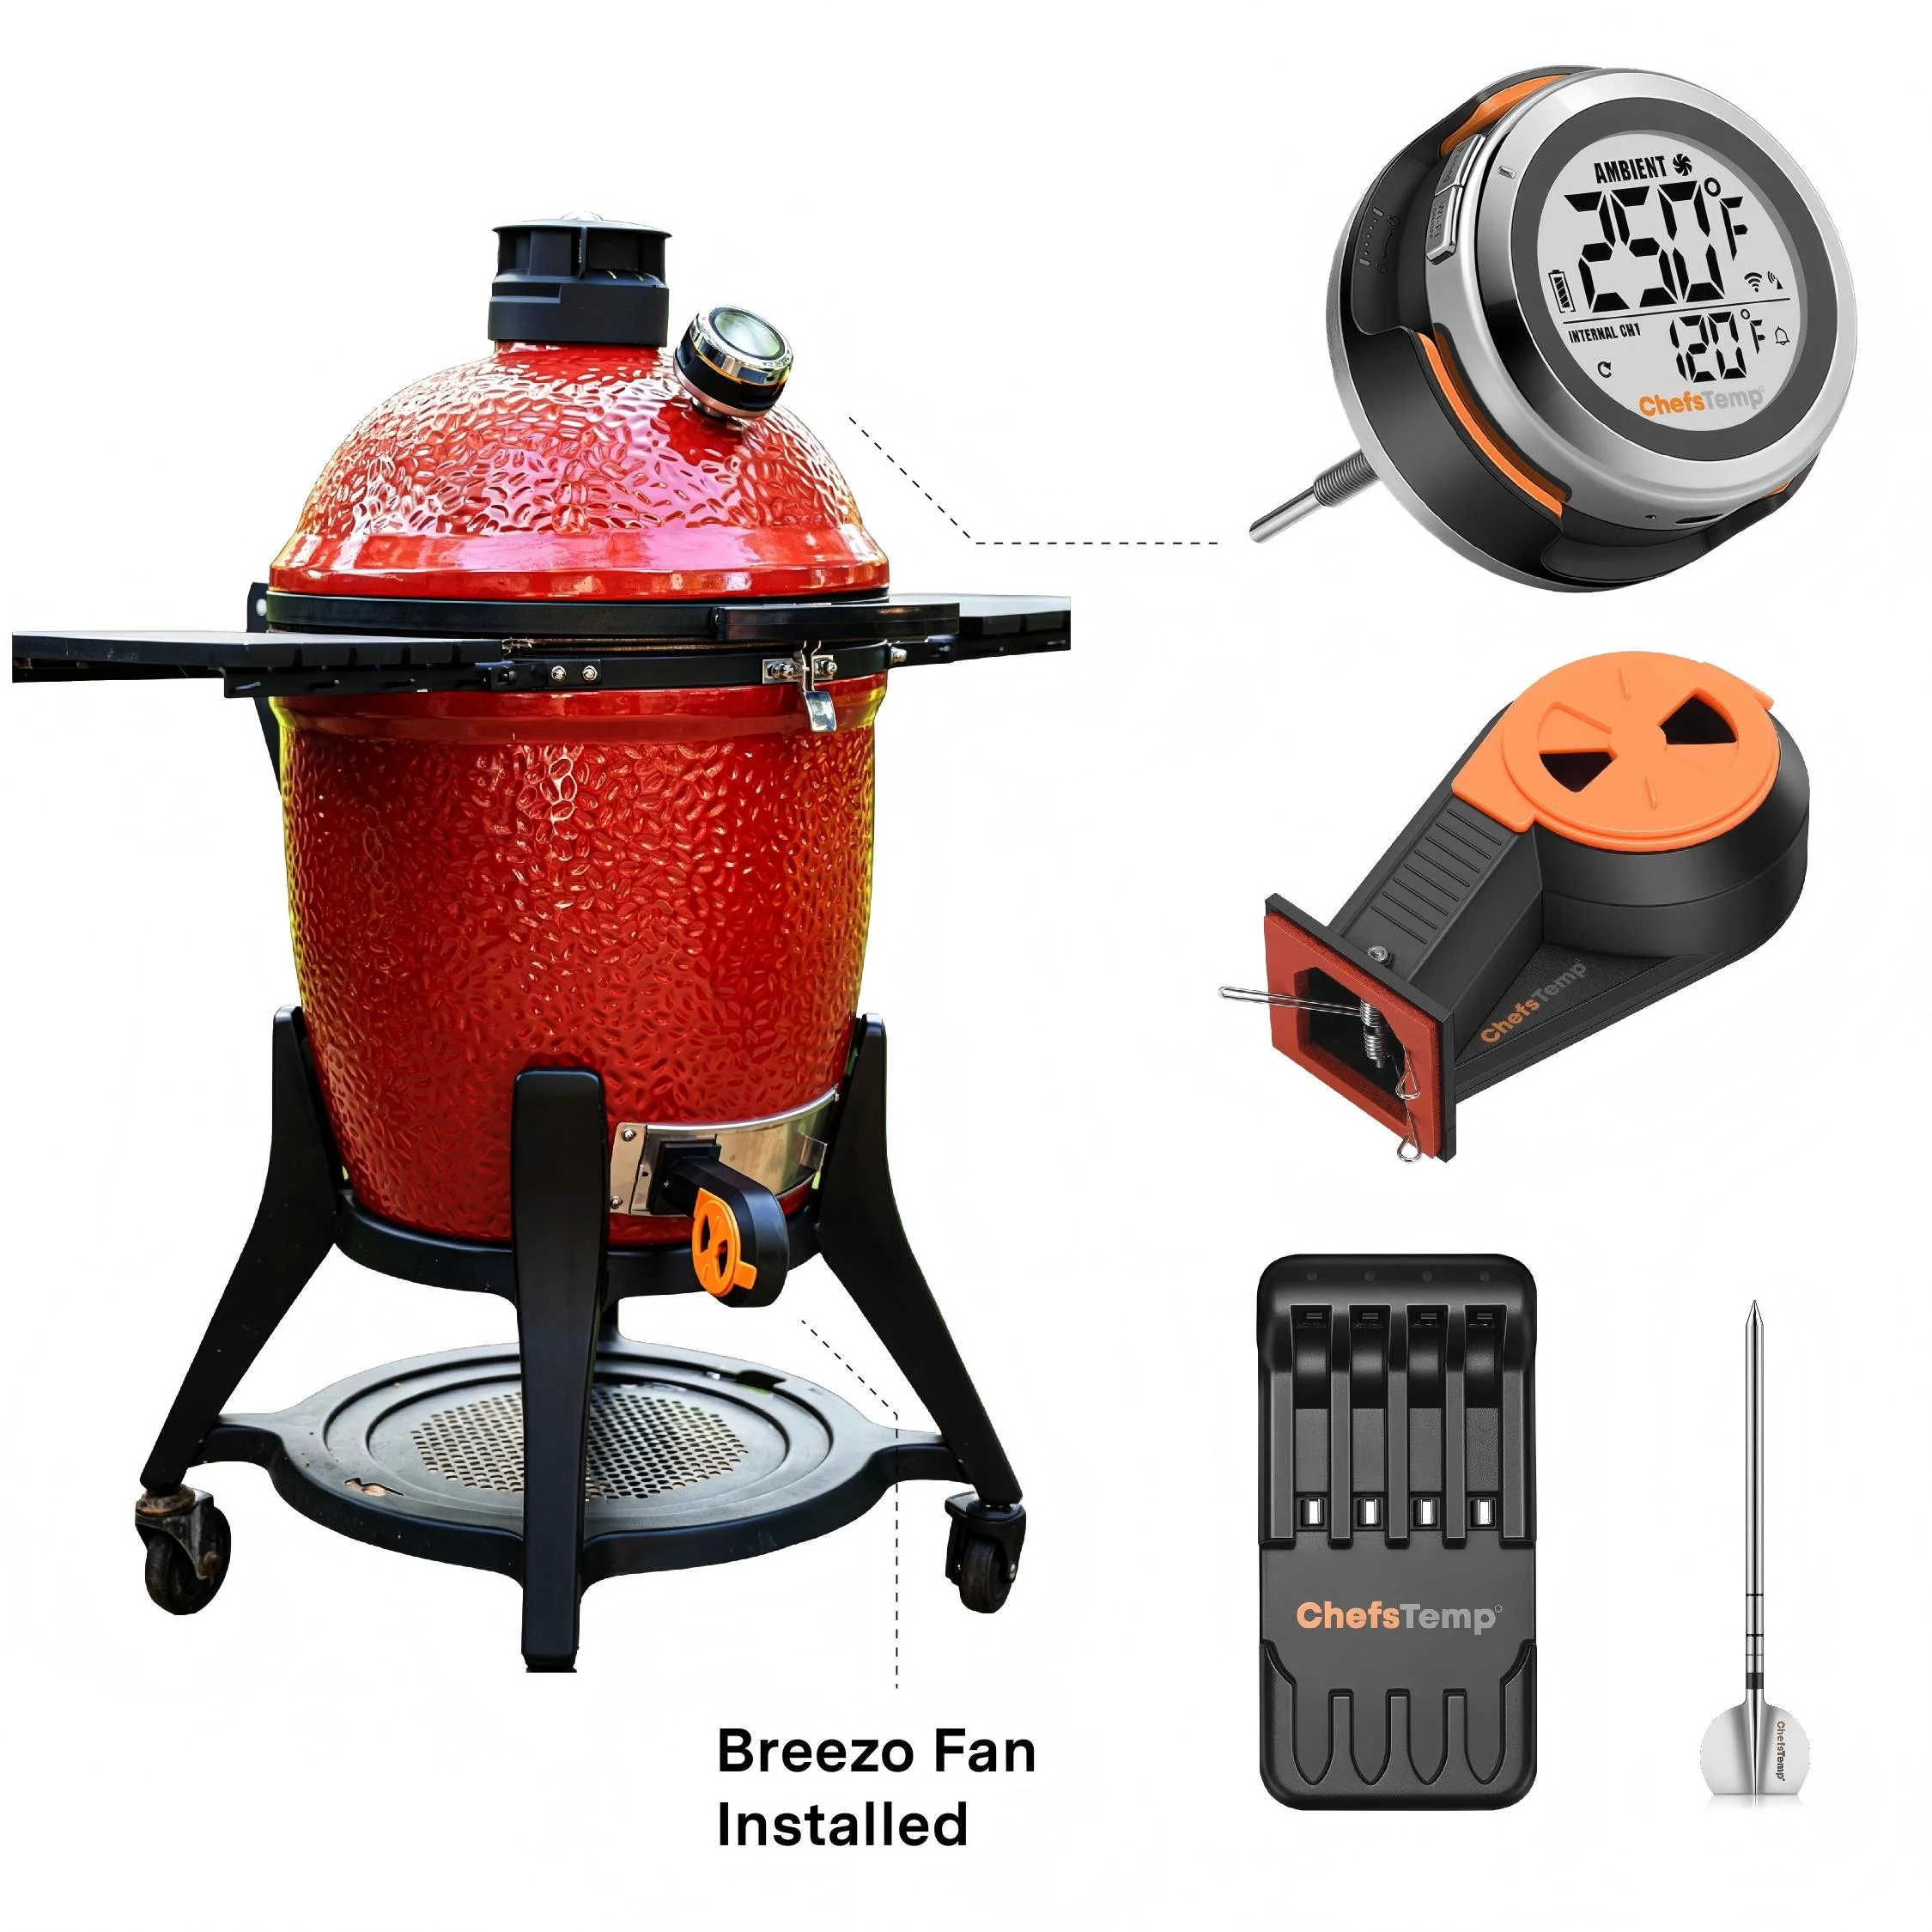
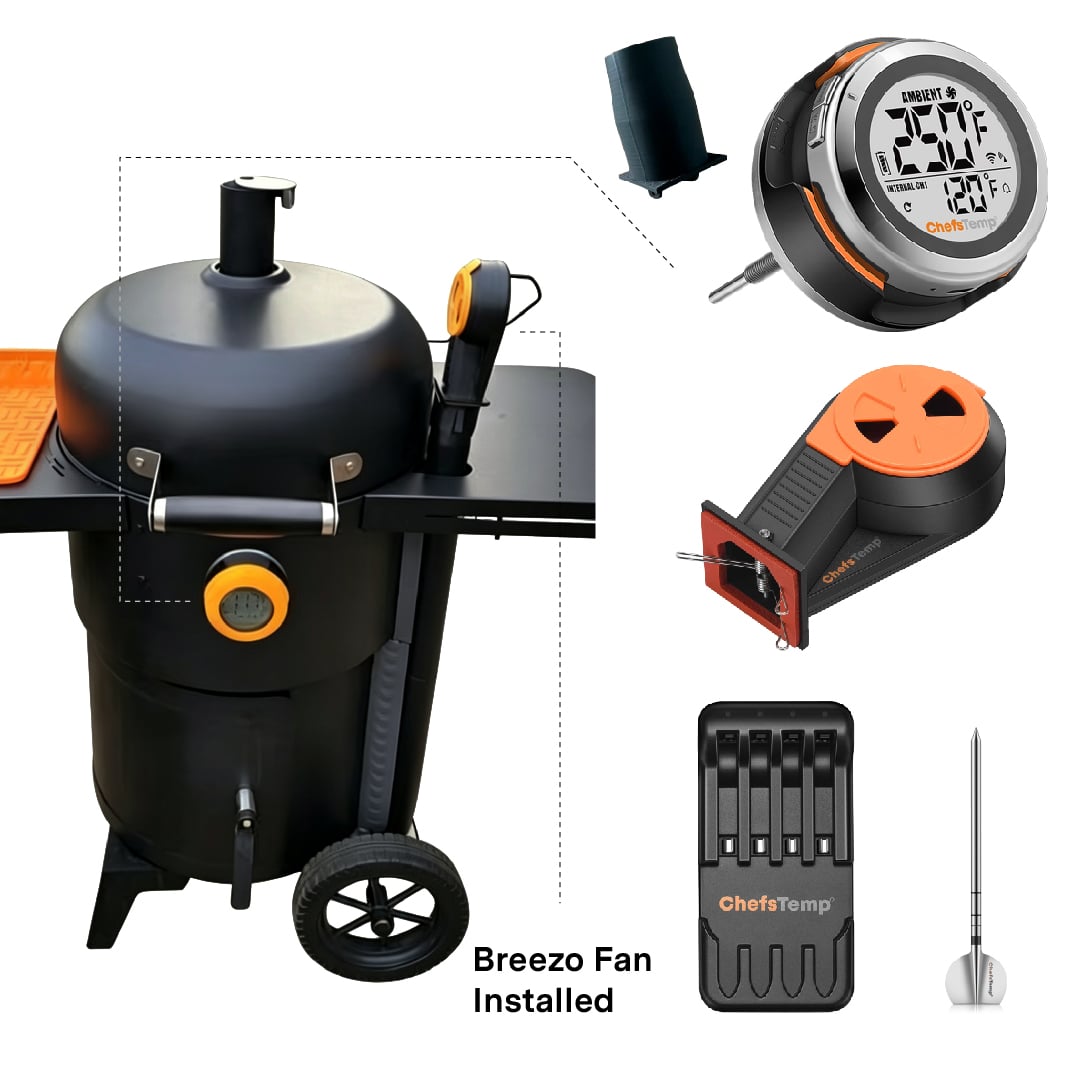
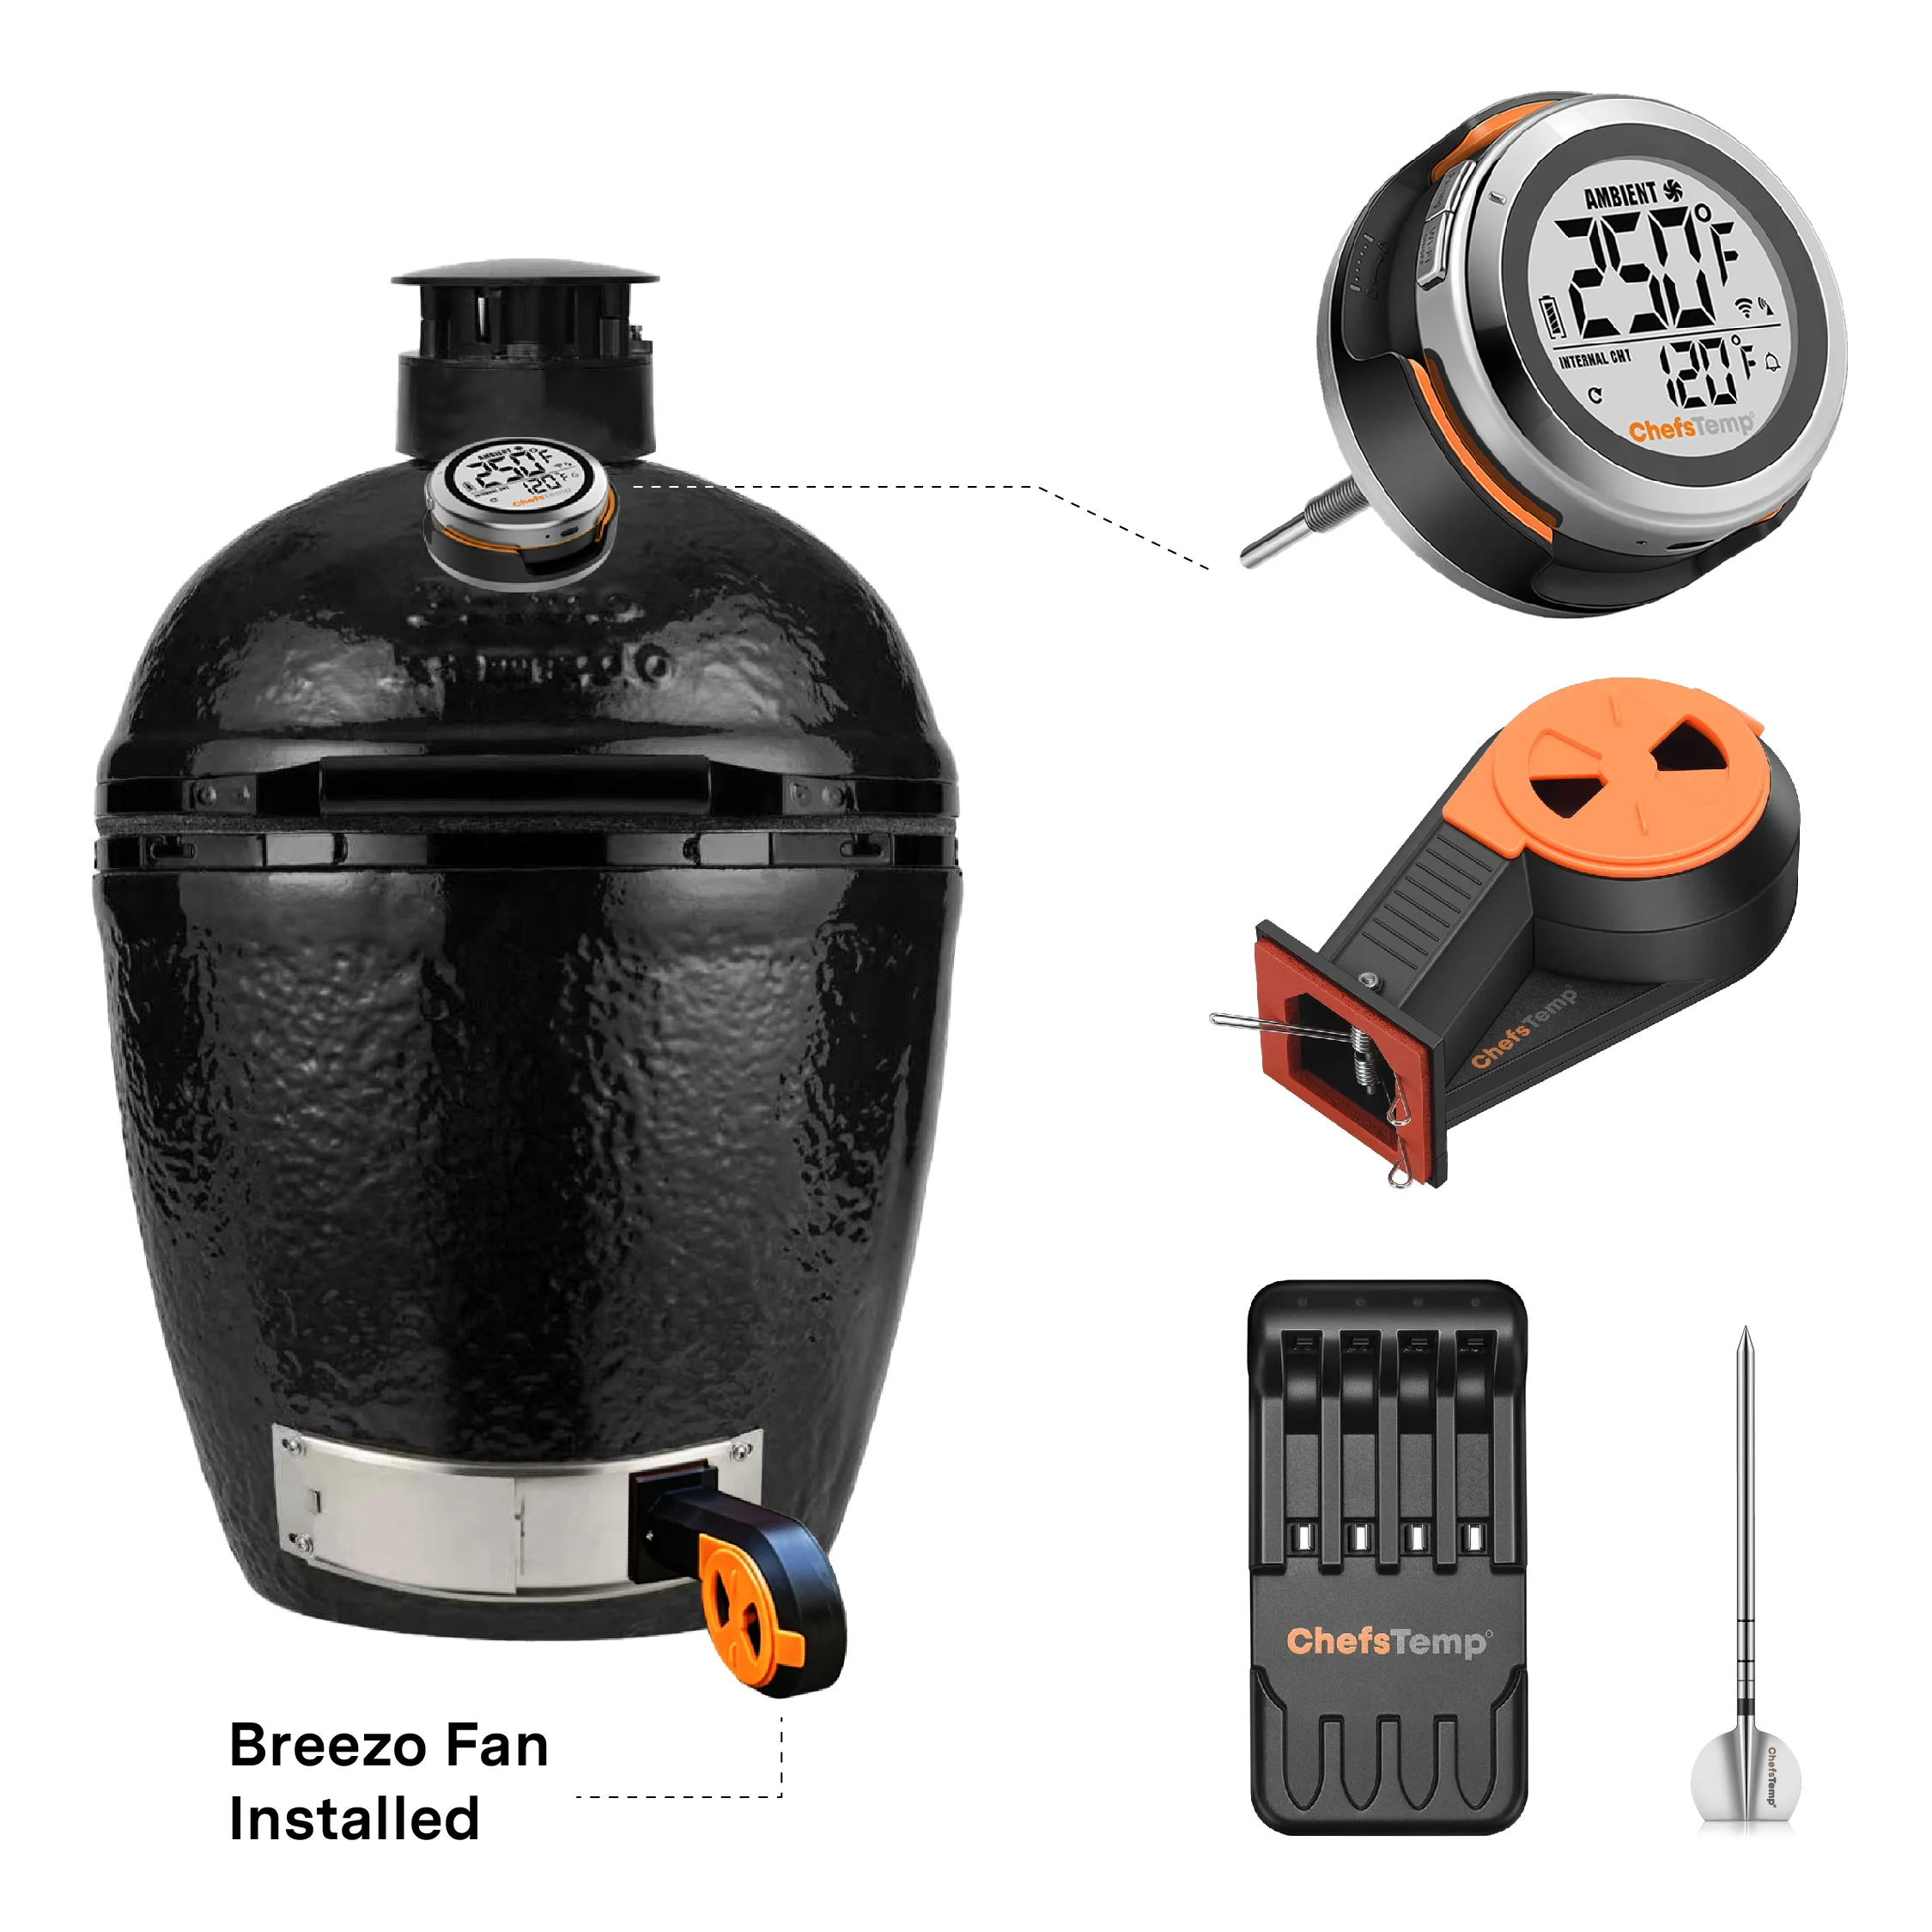
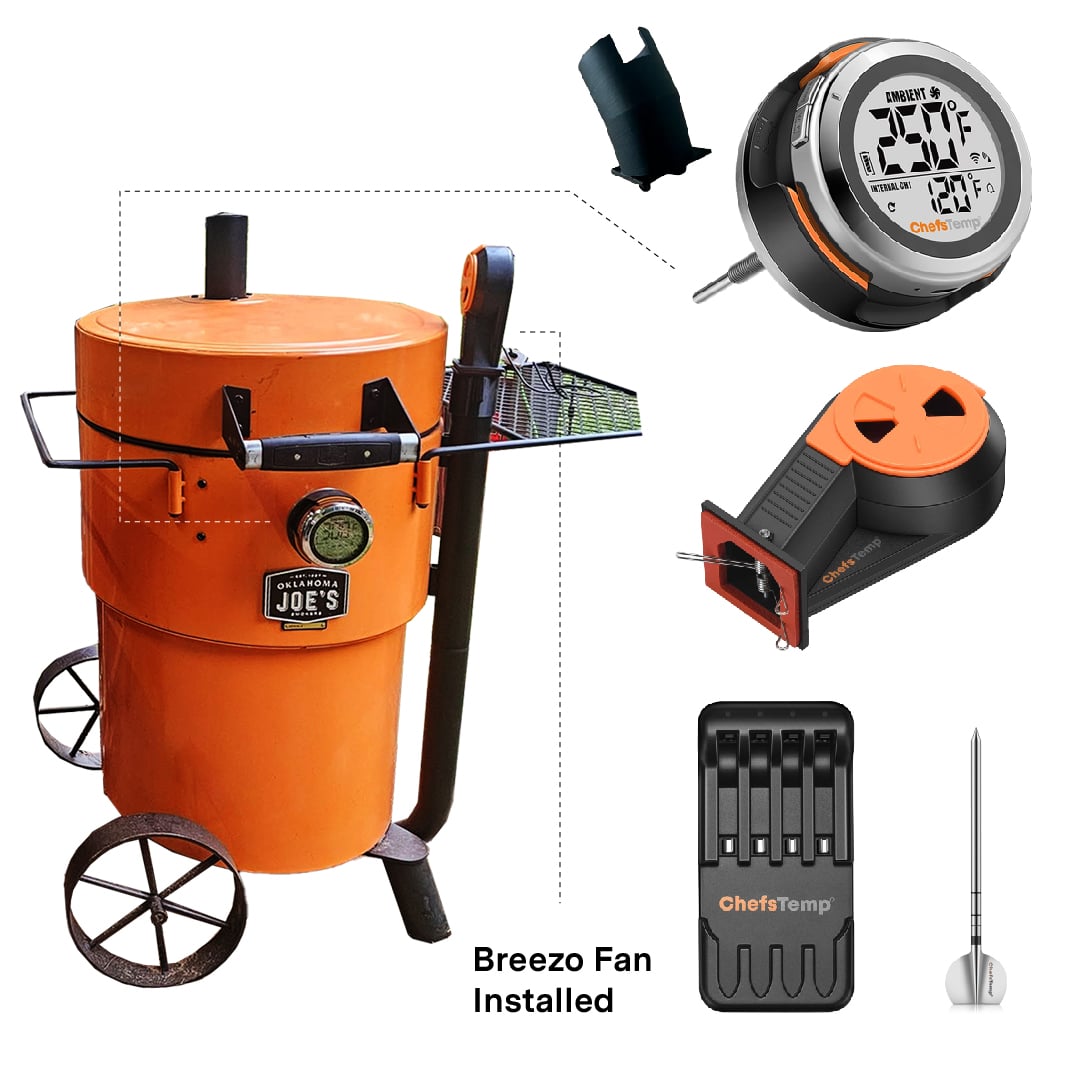
The Breezo Fan should replace your smoker’s vent system. Locate the vent on your smoker and, if it has an existing opening or hole, position the Breezo Fan to block it, sealing any gaps with high-temperature tape. You can also check the product description above for common models and recommended mounting methods.
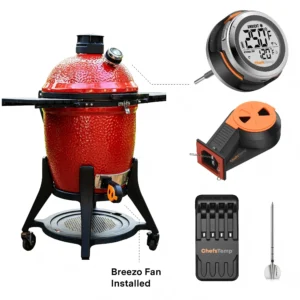
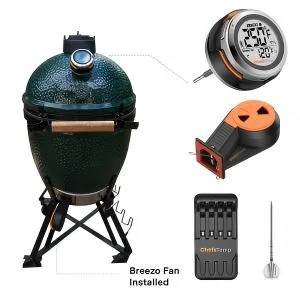
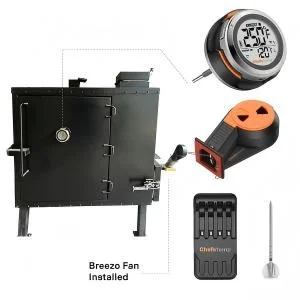
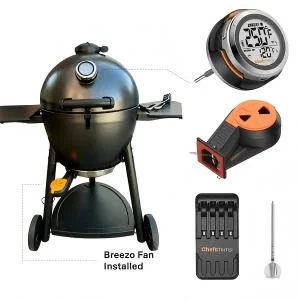
The Breezo Fan is designed for precise temperature control in charcoal grills, smokers, and cookers, automating airflow to maintain your desired cooking temperature. It is not necessary for pellet or gas grills, as it is specifically tailored for charcoal-based systems. The Breezo Fan is highly versatile and compatible with most charcoal grills and smokers. Below is a list of common models and installation methods:
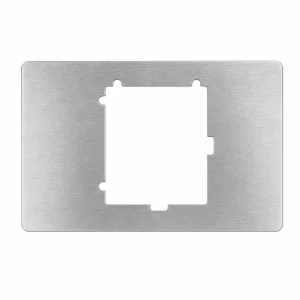
1. Models with Included Mounting Plates (No Additional Mounting Kit Required): For these models, the Breezo Fan can be installed directly using the two Kamado-style mounting plates included in the package. Simply replace the existing vent system by positioning the Breezo Fan over the vent and sealing any gaps with the provided high-temperature flue tape. Including:
Kamado Joe Classic II, Kamado Big Joe III
Primo XL 400 Grill, Primo Oval Large, Primo Smoker
Pit Barrel Cooker
Pit Boss Kamado, Pit Boss Ceramic Kamado
Cypress Ceramic Kamado Bayou Classic Grill
Big Green Egg
Vision Grills Series Classic
Broil King Keg 2000
2. Models with Direct Fit (No Adapters Needed): For these models, the Breezo Fan can be inserted directly into the existing vent opening, and any additional vent holes should be sealed with high-temperature flue tape (included). Including:
Weber Summit Kamado
Weber Smokey Mountain
Backwoods Chubby 3400
3. Smokers with Round Vent Holes: For these models, simply insert the Breezo Fan into one of the round vent holes and cover any remaining holes with the included high-temperature flue tape. Including:
Komodo Kamado
Char-Griller Offset Smoker
Broil King Keg 5000
Char-Griller Akorn Cooker
4. Other Solutions:
- For grills or smokers without a suitable vent opening, you can drill a 1.25-inch hole to attach the Breezo Fan directly, then seal any gaps with high-temperature flue tape.
- For large offset smokers, consider cutting a stainless steel plate to fit your smoker’s opening, then drill a 1.25-inch hole to attach the Breezo Fan.
- For Weber Kettle grills, a 1.25-inch hole must be drilled for installation. You can refer to our instructional video for guidance: https://www.youtube.com/watch?v=s_JR379c4-c&t.
5. Mounting Kit Requirements: In most cases, the included Kamado-style mounting plates and high-temperature flue tape are sufficient for installation. If your device is listed above under direct-fit or Kamado mounting plate-compatible models, no additional mounting kit is necessary. However, for specific setups, an optional Breezo Fan Mounting Kit may be required.
- 1.18″ Universal Mounting Kit: Fits factory-installed ports measuring 1.18″ (30 mm) dia.
- 3/4″ Threaded Breezo Fan Mounting Kit: Designed to screw into a 3/4″ ball valve
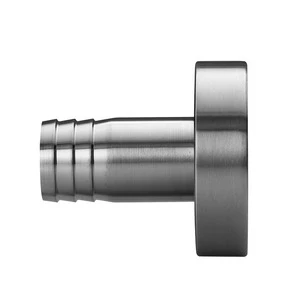
- 1.5″ Threaded Breezo Fan Mounting Kit: Designed to screw into a 1.5″ ball valve (Suitable for OCGF Smoker)
- 2″ Threaded Breezo Fan Mounting Kit: Designed to screw into a 2″ ball valve
If the listed answers haven’t addressed your concerns, please join our Facebook community group and post your questions there—we’re confident they’ll be addressed quickly!
https://www.facebook.com/groups/chefstempofficial
Can I buy several ProTemp S1 units and monitor them with the same app?
Yes, you can monitor up to 3 ProTemp S1 units within one app. With just a simple swipe on the screen, you can easily switch between different devices.
Can I buy one ProTemp S1 and an additional base unit to use the main display unit with both?
Yes, this is one of our best features! You can use one main display unit to mount with different base units. If you have a large grill and want to mount the base units in different locations, this feature helps you save money.
Breezo: Why does the app show my Breezo Fan as disconnected, or why won’t the fan run?
An app connection indicator alone doesn’t confirm the Breezo Fan is physically running. For cable-powered Breezo models, check power, manual operation, and app control separately.
1. Check power and connections. Use the supplied adapter and cable. If using a power bank, follow the recommended Type-C-to-Type-C cable setup. Confirm that your ProTemp S1 displays temperature readings normally.
2. Check the software. Update the ChefsTemp app and S1 firmware. Update the fan firmware if your Breezo model supports updates.
3. Test manual operation. Turn off fan control in the app. With Breezo connected to power, press its button once to start the fan, then twice to stop it.
4. Test app control. If manual operation works, try starting the fan through the app. If it does not respond, repeat the pairing procedure: with Breezo powered and S1 on, hold the fan button for approximately four seconds until the fan briefly turns. Press it twice to stop, then test app control again.
If manual operation fails despite correct power, or app control still fails after pairing, send your order number and a short video showing power connection, button operation, and the app status to [email protected].
Note:
● Confirm that your Breezo and S1 are connected correctly. You can watch this video: How to Wirelessly Connect the Breezo Fan to ProTemp S1?
● Check that your S1 and Breezo firmware are up to date. You can watch this video: How to Update Firmware on ProTemp S1 & Breezo Fan | Step-by-Step Guide.
Probe: What should I do if my wireless probe won’t charge on the ChefsTemp 4-in-1 Charger?
Check charger power, probe contact, battery level, and wireless communication separately. An illuminated charging indicator alone doesn’t confirm the probe’s battery and wireless functions are working correctly.
1. Check charger power. Use the recommended 5V 2A adapter and Type-C cable. The red indicator near the charging port shows that the charger is receiving power.
2. Check probe contact. Clean any grease or residue from the probe’s metal tail, dry it, and place it correctly so the tail contacts the charging plate. Try another charging slot.
3. Check the blue indicator. It normally illuminates during charging and turns off when charging finishes. If it never lights, do not assume the probe is fully charged; check power and contact first.
4. Check battery level. In the app, go to My Connections → My Paired Probes and select the probe.
5. Check wireless detection. After charging, remove the probe from the charger. If it still cannot connect, use the LightBlue app to check whether a “Probe” entry appears.
If the problem persists, email [email protected] with your order number, battery screenshot, and a charging video showing the red and blue indicators. Perform additional contact or reverse-orientation tests only under Customer Support’s guidance.
My fan does not respond when pressing the Power Button.
If the fan button does not respond, please confirm you are using the included power adapter and cable. For power banks, please use Type-C to Type-C cable, and avoid fast-charging adapters or those exceeding 20W.
If it still fails, please shoot a short video of the issue and reach our support team: [email protected]