FAQs
If you have any questions about your preferred items that aren't covered here or your order, you can start a chat using the message icon in the lower‑left corner for faster assistance. You're also welcome to contact our Customer Support Team at [email protected].
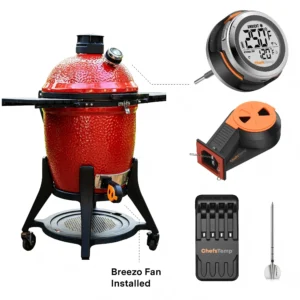
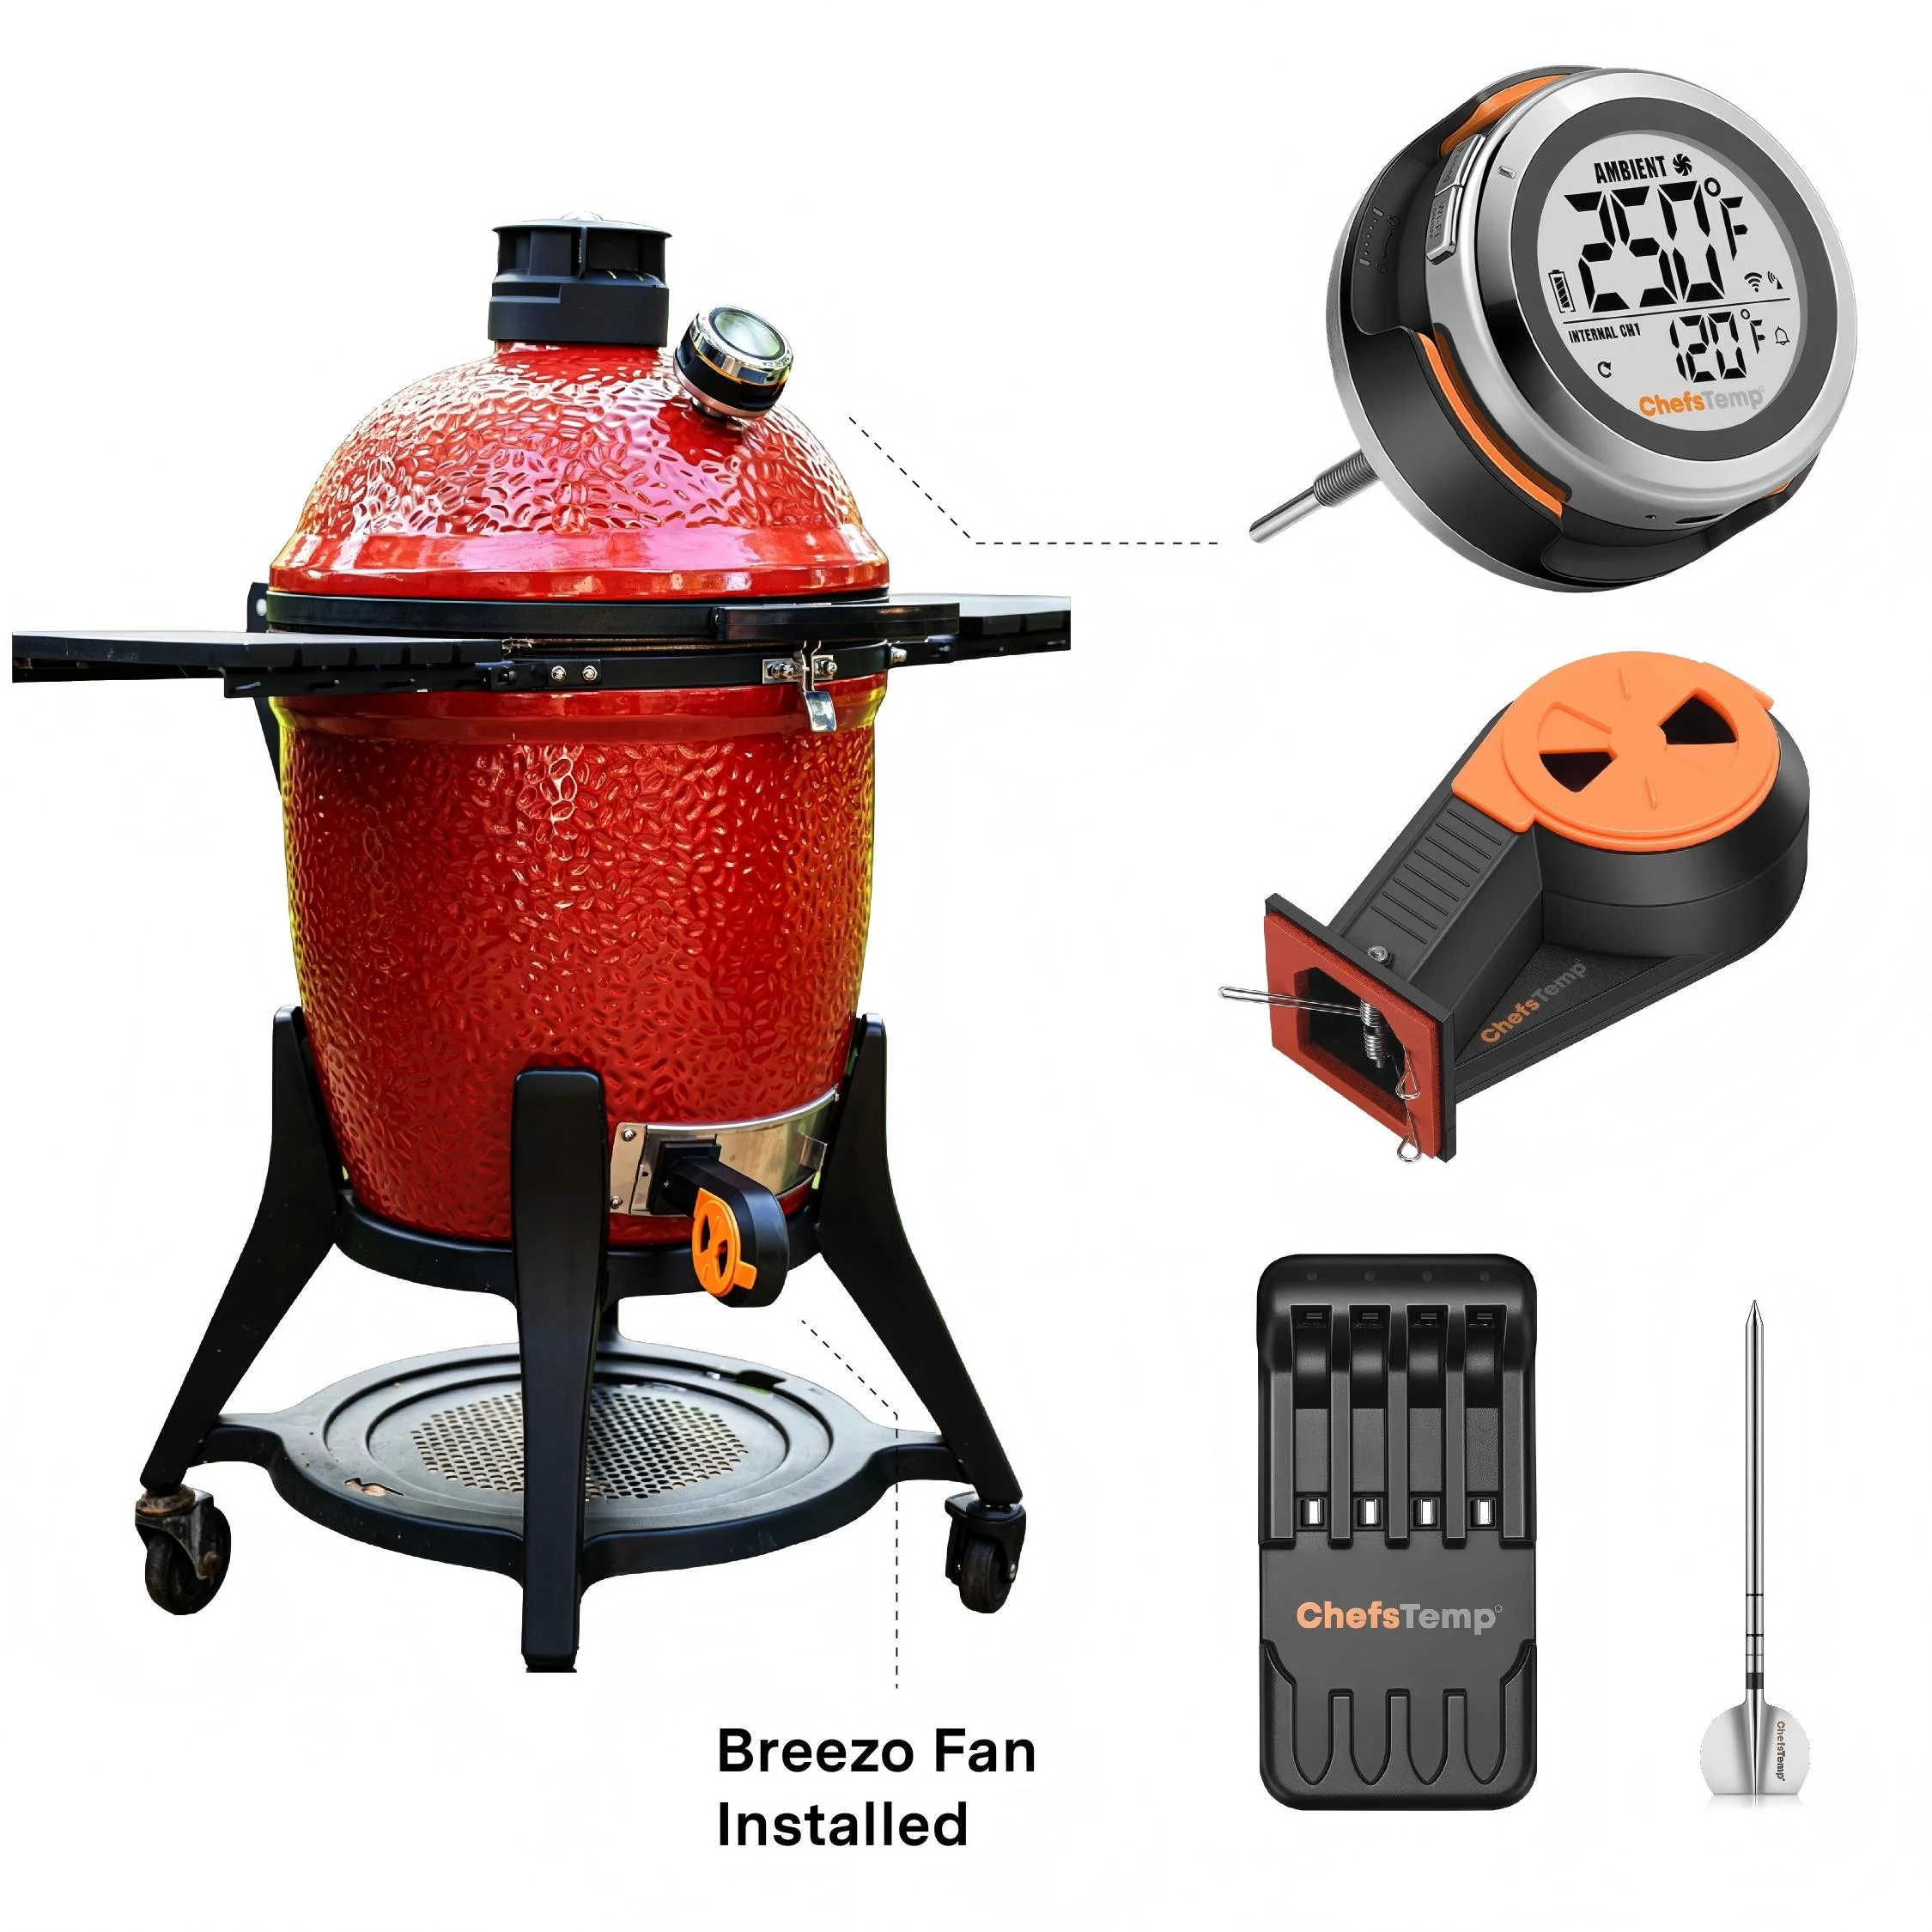
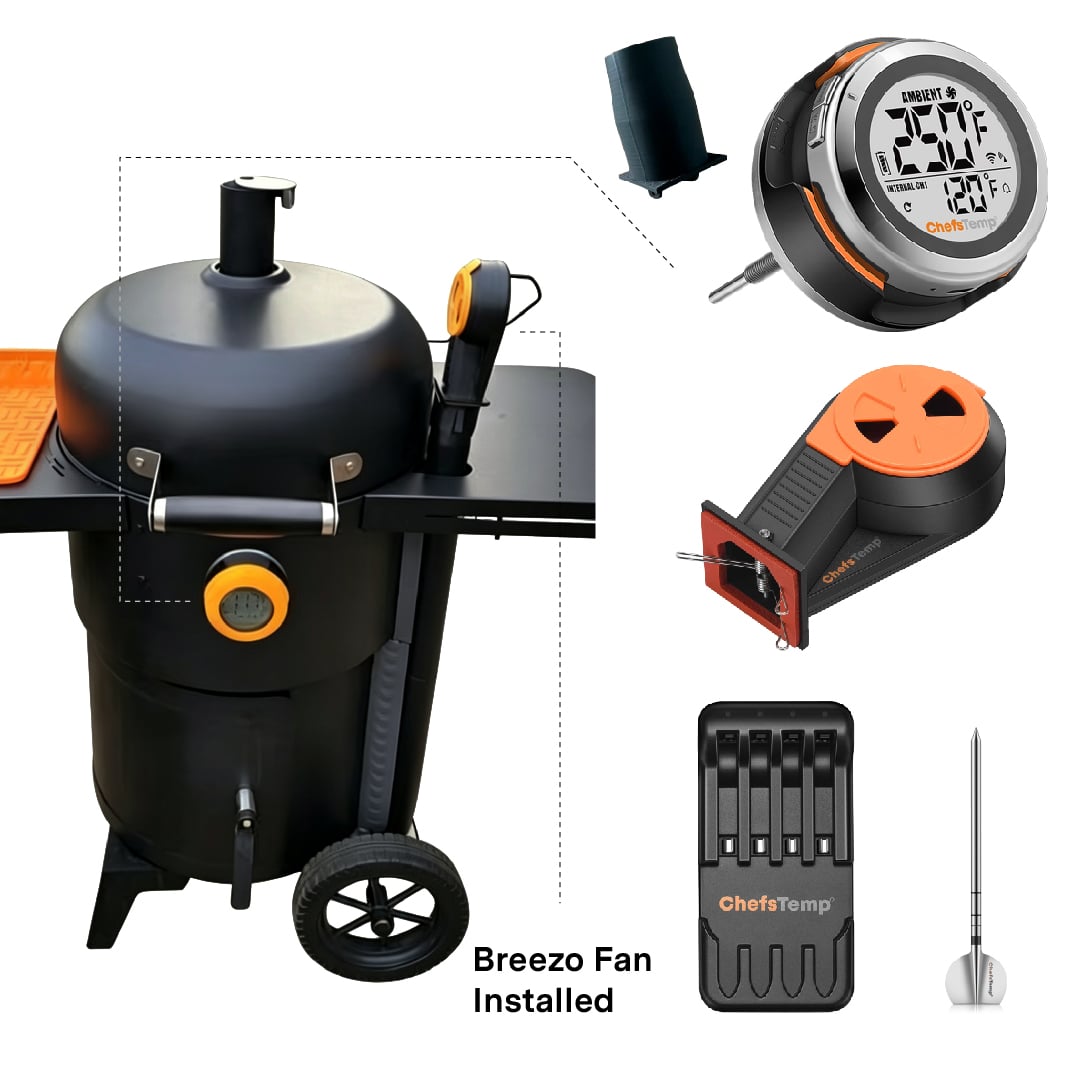
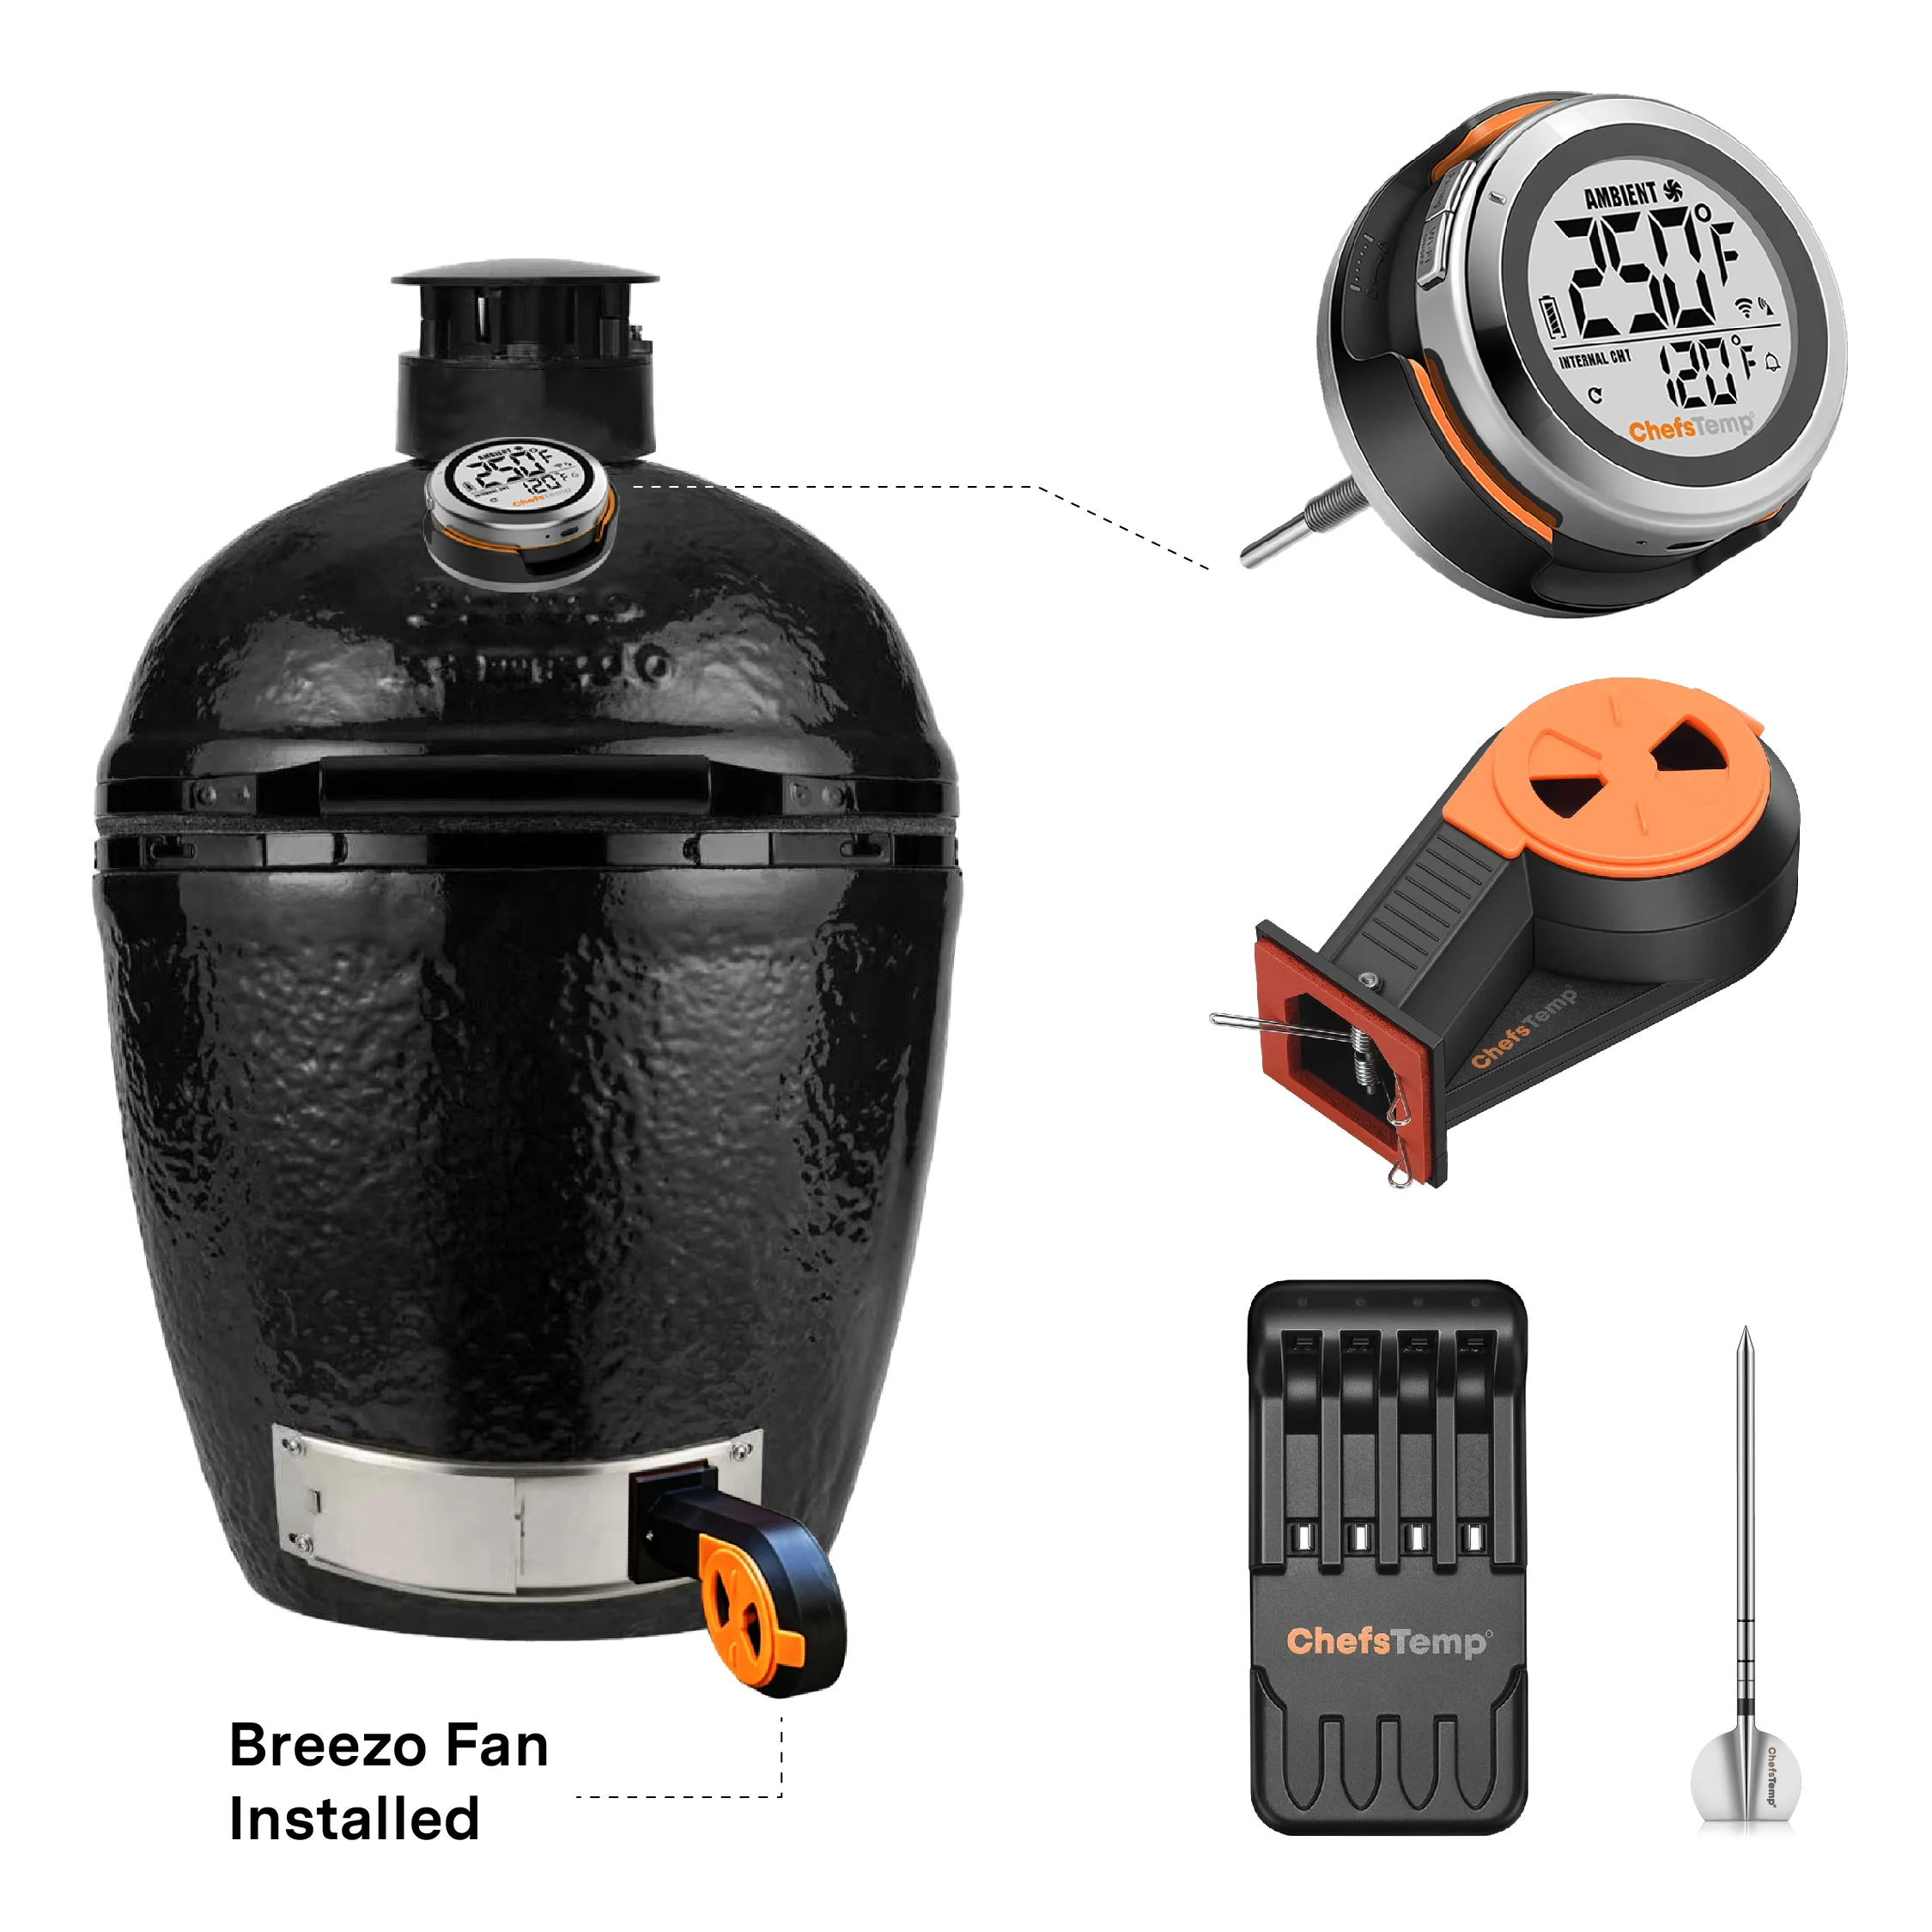
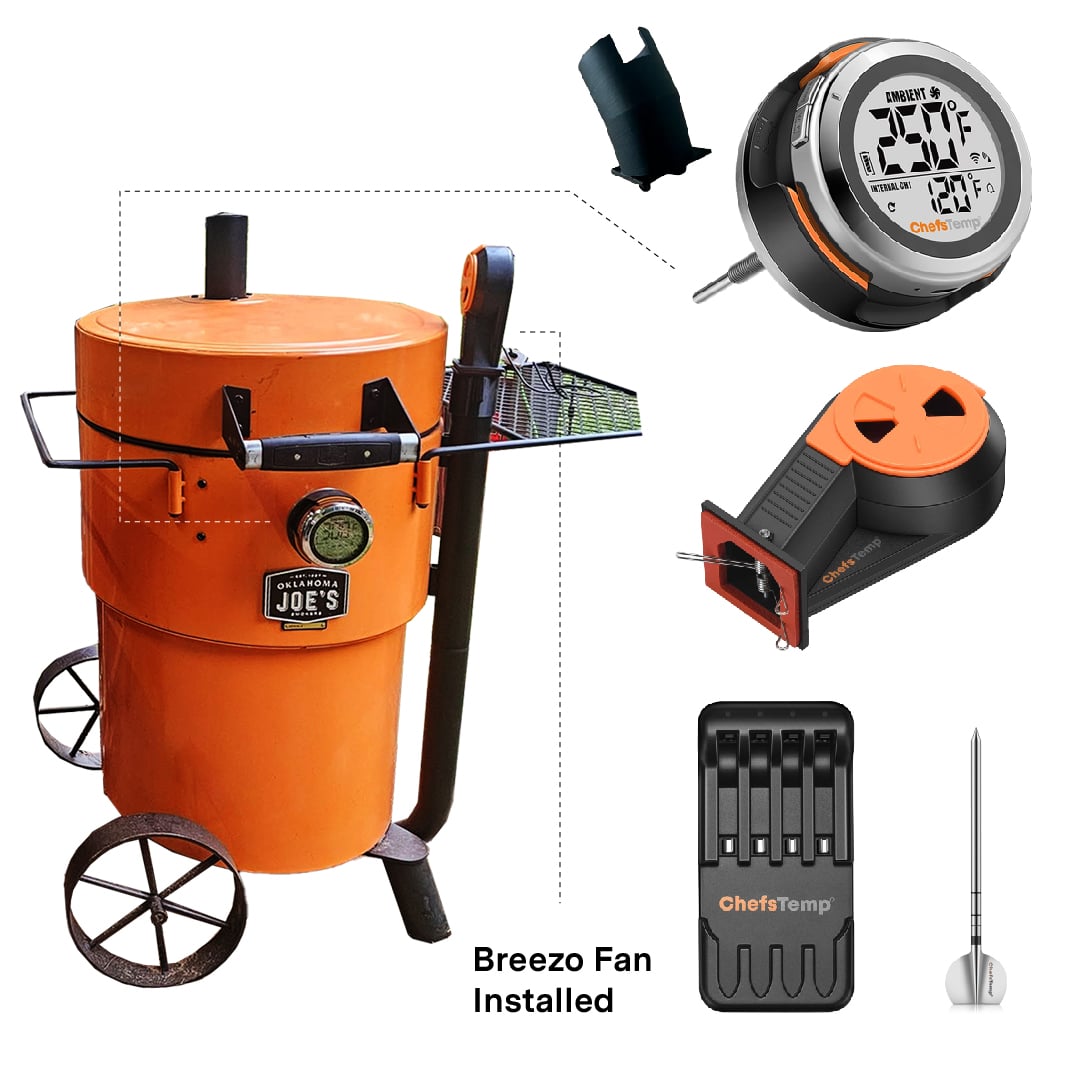
The target temperature has been reached, the Breezo has paused, but the temperature keeps rising.
Reduce the opening of the Breezo’s damper and air outlet. This allows the temperature to naturally decrease when the Breezo is not blowing air. When using the Breezo, you need to close the top vent much smaller than you normally do without it.
My Breezo is running but the cooking equipment will never reach the target temperature.
Fully open the Breezo’s damper, and open the air outlet a bit wider to ensure unrestricted airflow.
My ProTemp S1 cannot turn off, the backlight does not disappear.
If you cannot turn off by holding down the power button, you can perform a reset operation:
1. Prepare a thin needle, toothpick, or paper clip.
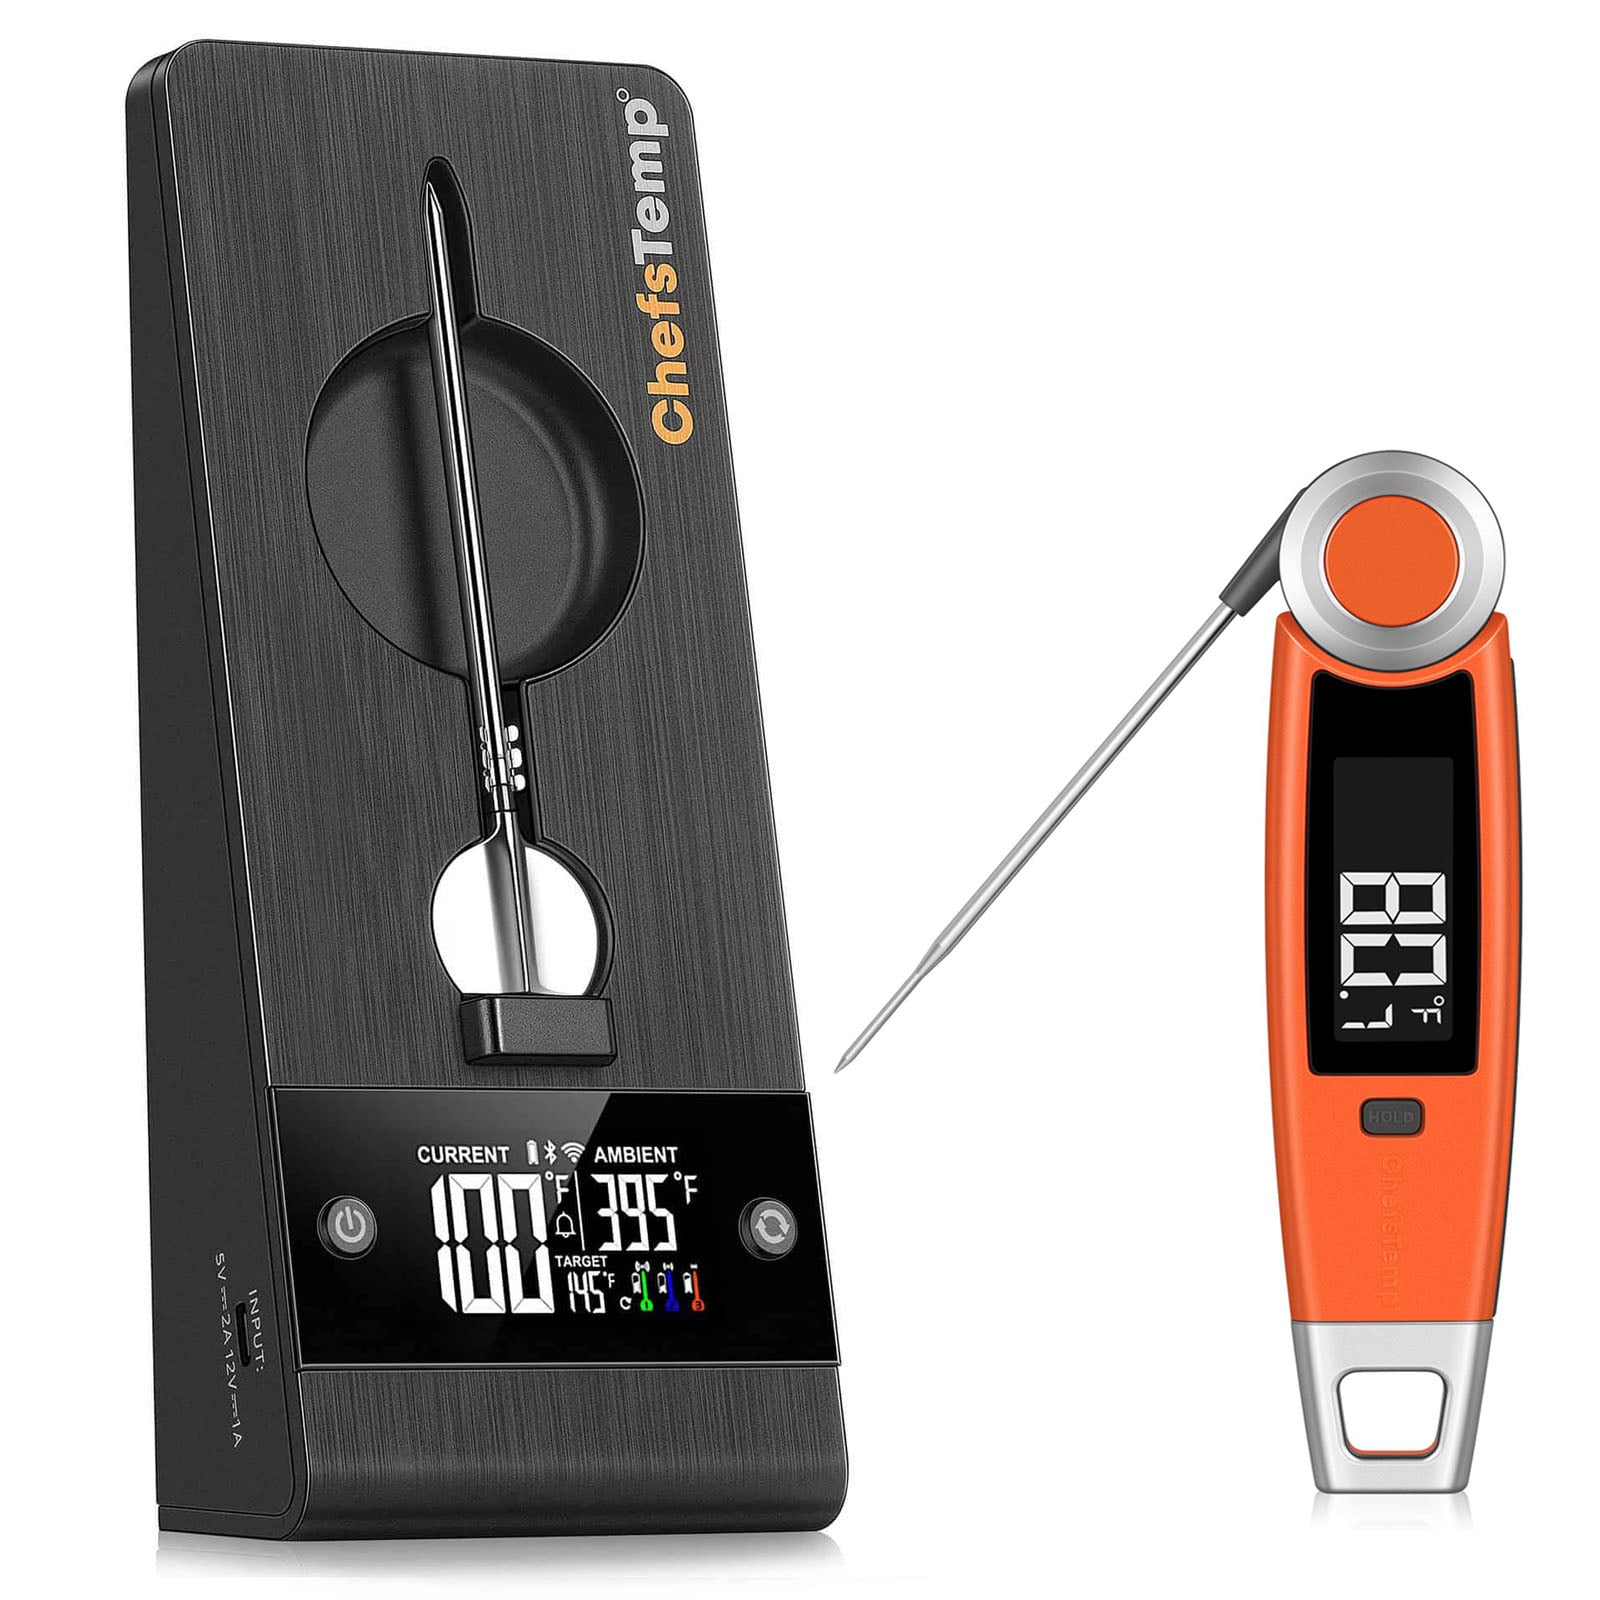
2. Find the RESET hole next to the charging port of S1 Main Unit.
3. Insert the fine needle into the RESET hole and gently press until the screen briefly disappears and lights up to indicate that the reset is complete.
If it still cannot be resolved, please contact our customer service email [email protected] Please provide your order number and instructional video. We will provide further diagnosis and support.
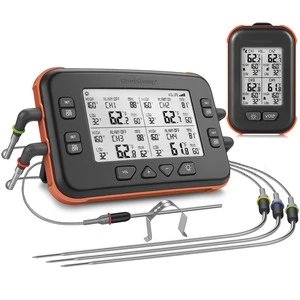
My wireless probes can not connect to ProTemp S1/ My probes keep disconnecting with the ProTemp S1.
If you experience connection issues with your probes (can not connect the probes to ProTemp S1/ProTemp Plus Series, or the probe is disconnected during use), please try the following step-by-step guide:
- Delete all your connection in the app, including ProTemp S1, ProTemp Plus/ProTemp 2 Plus and probes.
- Uninstall the ChefsTemp app and reinstall it, ensure that your app is the latest version.
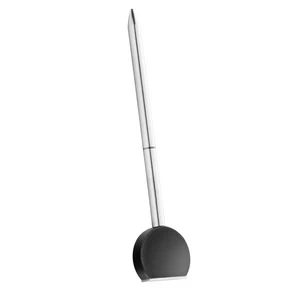
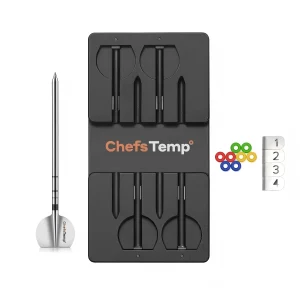
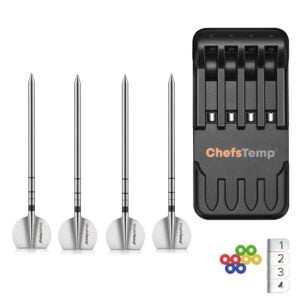
- Fully charge everything: Place all probes in the 4-in-1 Charger or ProTemp Plus/ProTemp 2 Plus Stand for at least 15 minutes.
- Pair probes one at a time: Take only one probe out of the Charger/Stand to pair. Wait for it to connect successfully, then put it back, and repeat with the next probe (Click on “…” in the upper right corner of the app homepage, click on “My Connections”, click on “Add New Probe”, and then click on “Probe” in “SEARCHING FOR NEARBY PROBES”).
- Ensure that your ProTemp S1 and ProTemp Plus/ProTemp 2 Plus Stand are located close to the probe to ensure smooth transmission of probe signals.
This method avoids signal interference between probes and helps the app detect them correctly.
If your probe still cannot connect, you can perform the following confirmation steps:
- Click on the probe icon on the probe page to perform fault diagnosis. You can watch this video to perform the operation: New ChefsTemp App Update Guide | How to Diagnose Disconnection Issues
- After charging the probes, remove them from the Charger/Stand, download and open the LightBlue app, search for “Probe”, and see if you can find them. Each charged and removed probe will display a line of “Probe”.
- Please take a video of your complete connection operation, screenshots of the app homepage and diagnostic information, as well as LightBlue screenshots and send them to us. We will analyze and provide a solution for you.
My router is quite far from ProTemp S1 and the Wi-Fi connection is unstable. How can I fix it?
If your router is far from ProTemp S1, you can install a Wi-Fi extender (such as TP Link Omada EAP610 Outdoor) to ensure that S1 can receive Wi-Fi signals.
S1: Why is there condensation or water mist inside my ProTemp S1 display?
Water mist or droplets inside the ProTemp S1 display may result from condensation during changes in temperature and humidity. The Main Unit is rated IP54 for dust and splash resistance; it is not fully waterproof. A silicone protective cover provides additional protection but does not make the Main Unit fully waterproof or guarantee that condensation cannot occur.
If you notice moisture inside the display:
1. Stop using and charging the Main Unit.
2. Remove it from the grill and place it in a warm, dry, well-ventilated area to dry naturally.
3. Wait until it is completely dry before using or charging it again.
After cooking, remove the Main Unit and store it indoors rather than leaving it on the grill as the grill cools. Always remove the Main Unit from its Base before charging, and do not charge it on hot cooking equipment.
If the moisture persists, returns repeatedly, or the device does not work after drying, contact [email protected]. Include your order number, purchase date, photos or a short video, and whether the protective cover was installed when the issue occurred.