FAQs
If you have any questions about your preferred items that aren't covered here or your order, you can start a chat using the message icon in the lower‑left corner for faster assistance. You're also welcome to contact our Customer Support Team at [email protected].
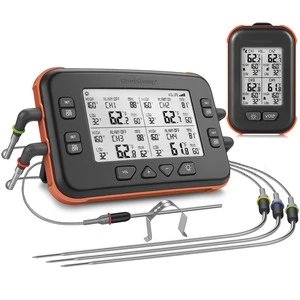
Plus Series: It cannot connect to WiFi.
Please watch our tutorial video to ensure you’re following the correct Wi-Fi setup process: How to Pair Your ProTemp Plus Series with Bluetooth and Wi-Fi | Step-by-Step.
- App Permissions: Make sure the ChefsTemp app has all required permissions—especially location access—enabled on your device. For iOS, please enable “Allow connecting to your nearby devices” in your settings.
- Bluetooth and Wi-Fi Settings: Turn on Bluetooth on your device and ensure the connected Wi-Fi on your phone is on a 2.4GHz network. If your router is an automatic dual-band (or only has the 5GHz Wi‑Fi), simply separate the 2.4GHz and 5GHz bands (or create a guest 2.4GHz Wi‑Fi network) in the router app.
- Password and SSID: Use the orange magnifying glass to auto-detect the SSID, and double-check that the Wi-Fi password is entered correctly, as spell-check may alter it.
- Router Settings: Disable fast roaming (e.g., 802.11r) on your router, as it may prevent the thermometer from connecting.
- Reconnection: After making sure the above settings are correct, delete all your current connections on the app, exit and reopen the app, shut off the Stand to restart it, and connect the thermometer from the beginning.
Plus Series: I’m unable to charge the Stand.
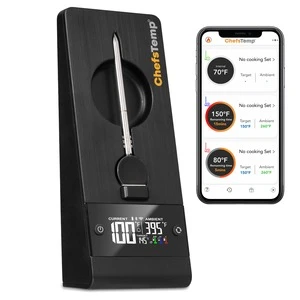
Please note that the port on the left is for charging the stand, while the port on the right allows the stand to charge other devices.
We recommend that you use any 5V2A DC charging block to charge the Stand, and be careful not to let the charging port get wet. You can watch this video: Safely Charge Your ProTemp Plus Series.
When charging the Stand, the white battery icon on the Stand screen will have a charging animation. After being fully charged, the icon will flash. At this time, remove the charging cable, and the fully-charged battery icon should be solid.
If you encounter problems with charging your Stand, please take a video of the charging process and send it to [email protected], and we will analyze and solve it for you.
Plus Series: The meat temperature or ambient measurement on the Stand display is incorrect.
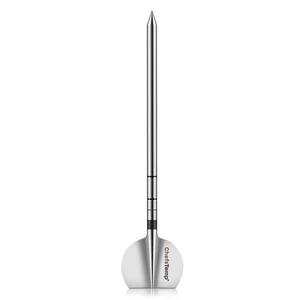
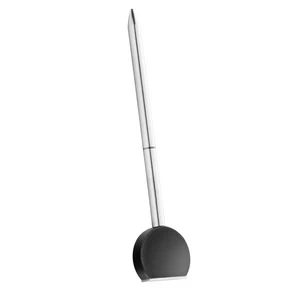
To ensure accurate ambient temperature readings, when inserting the probe into the meat, ensure that it’s inserted past the safety notch on the probe. Make sure the ceramic handle of the probe is at least 1cm away from the meat or grill racks. Placing it too close can cause the meat to absorb heat from around the probe, leading to lower temperature readings. How to Use the ProTemp 2 Plus Probe Correctly for Accurate Readings
The ambient temperature readout on our wireless probe can be influenced by various factors, like the coldness of the meat or moisture levels. Unlike wired probes, the wireless sensor needs time to adjust and provide readings, and different locations can yield different temperatures due to this sensitivity.
Please be careful not to let the probe directly contact high-temperature objects, such as flames and furnaces. Exceeding the maximum reading range may cause damage to the probe, resulting in further inaccurate readings.
Plus Series: The ambient temperature on the Stand is not displayed or is stuck at 122°F.
The device is designed to display the ambient temperature only when it exceeds 122°F (50°C). This is because the thermocouple sensor used in our probe requires a temperature difference between the internal meat temperature and the ambient temperature to operate. If the temperature difference is too close, the thermocouple sensor will not work. Therefore, the device only displays ambient temperatures above 50°C (122°F) due to this technical requirement.
Plus Series: It cannot connect to Bluetooth, or stuck on C-1.
If your ProTemp Plus Series is unable to connect to Bluetooth or is stuck on C-1 during pairing, please follow these steps to resolve the issue:
- Check App Permissions: Make sure the ChefsTemp app has all required permissions—especially location access—enabled on your device. For iOS, please enable “Allow connecting to your nearby devices” in your settings.
- Fully Charge the Probe: Low battery or no power will prevent probe’s Bluetooth detection. Clean the probe to remove any debris and adjust the metal plate in the Stand’s charging slot to ensure contact with the probe properly.
- Check Probe Pairings: A probe can only be connected to one device at a time (including ProTemp S1 and ProTemp Plus Series). Ensure the probe is not already paired with another thermometer.
- Delete and Reconnection: After making sure the above settings are correct, delete all your current connections on the app, exit and reopen the app, shut off the Stand to restart it, and reconnect by following our tutorial video: How to Fix Bluetooth & Wi-Fi Pairing Issues on ProTemp Plus or ProTemp 2 Plus.
- Test with LightBlue App: If it is still not working, please fully charge the Probe and Stand, remove the Probe from the charging slot, and download the LightBlue app to test whether the “Probe” and “ProTemp Stand” are broadcasting Bluetooth signals. Each charged probe should display as a separate entry.
S1:It does not display probe temperature.
If your S1 is not displaying probe temperature data, please verify the following:
- The probe is securely connected to the S1: Add a Wireless Probe to ProTemp S1.
- The probe is fully charged.
- The probe channel displayed on the S1 matches the channel where the probe is connected.
S1: Isn’t ProTemp S1 just for beginners?
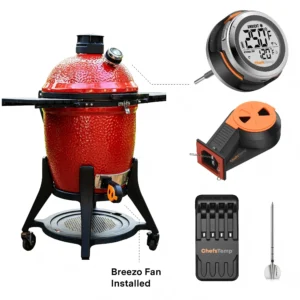
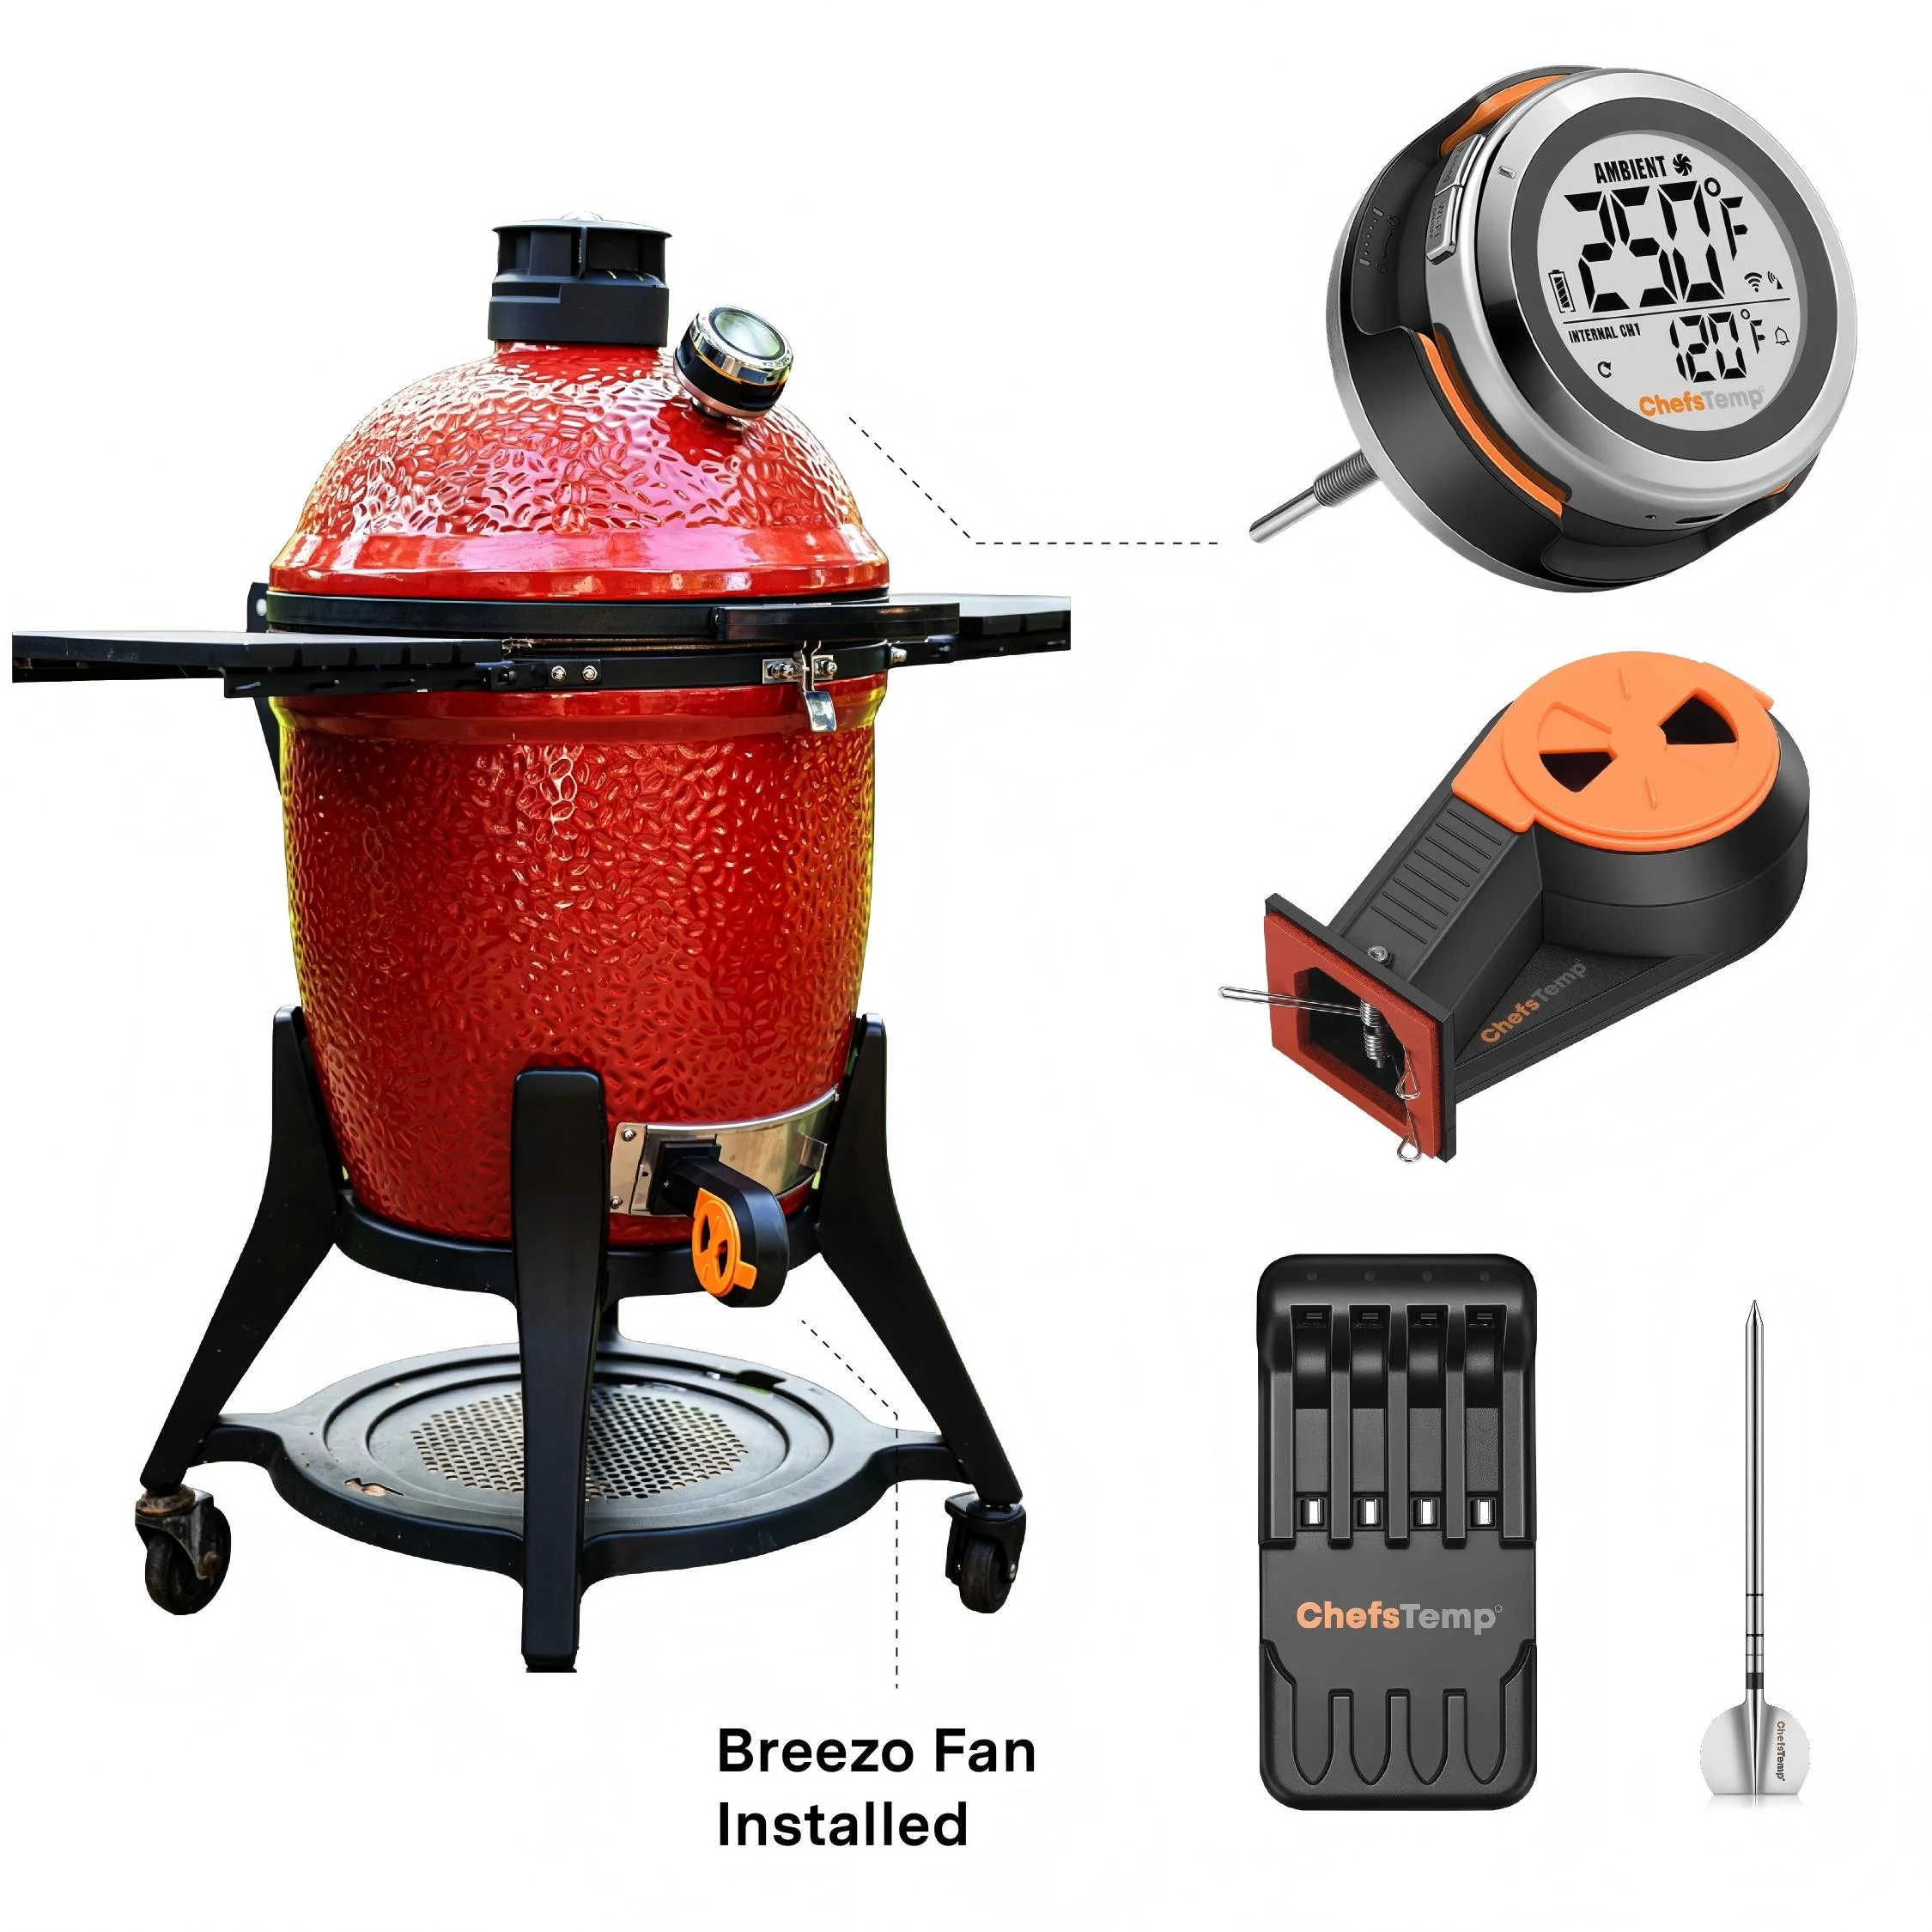
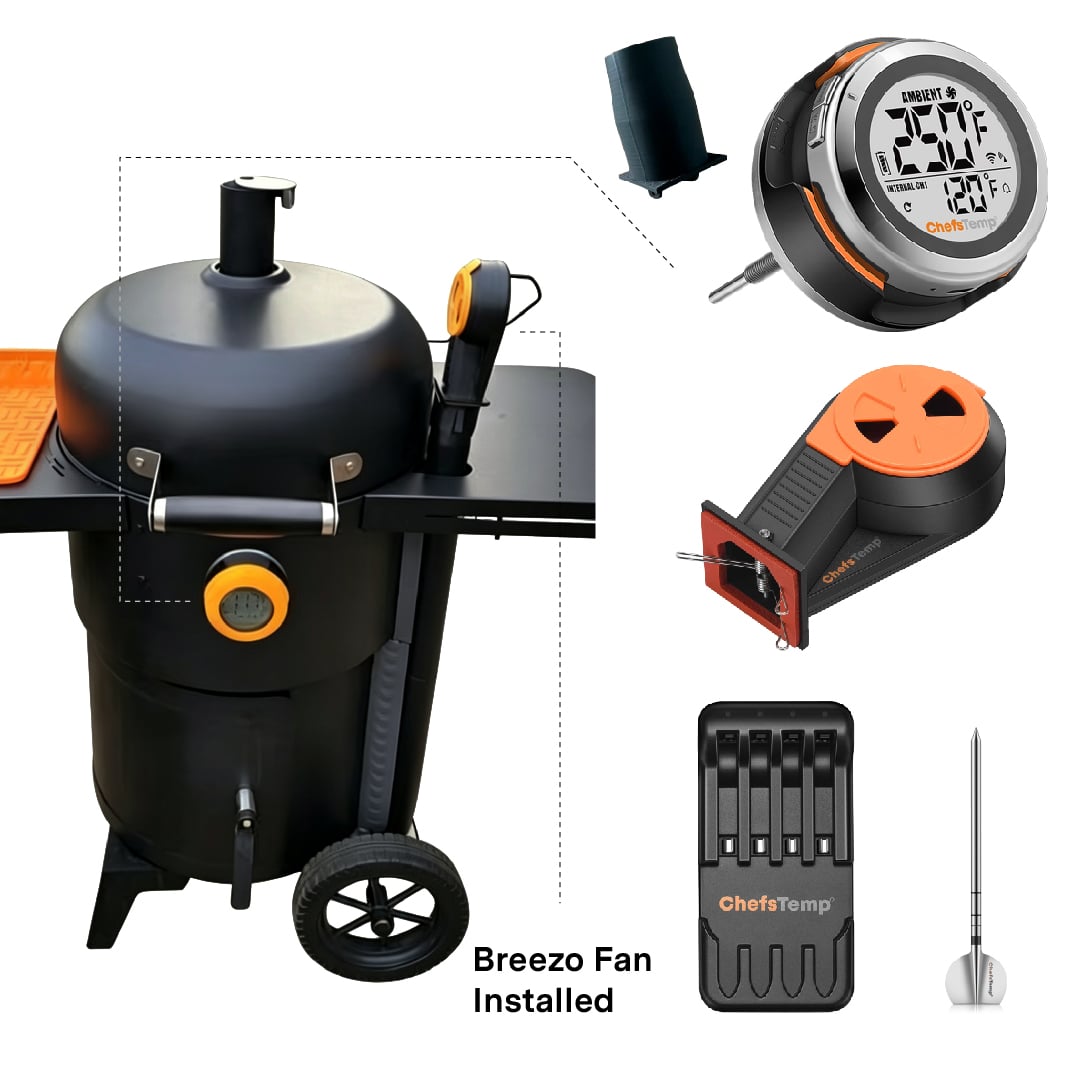
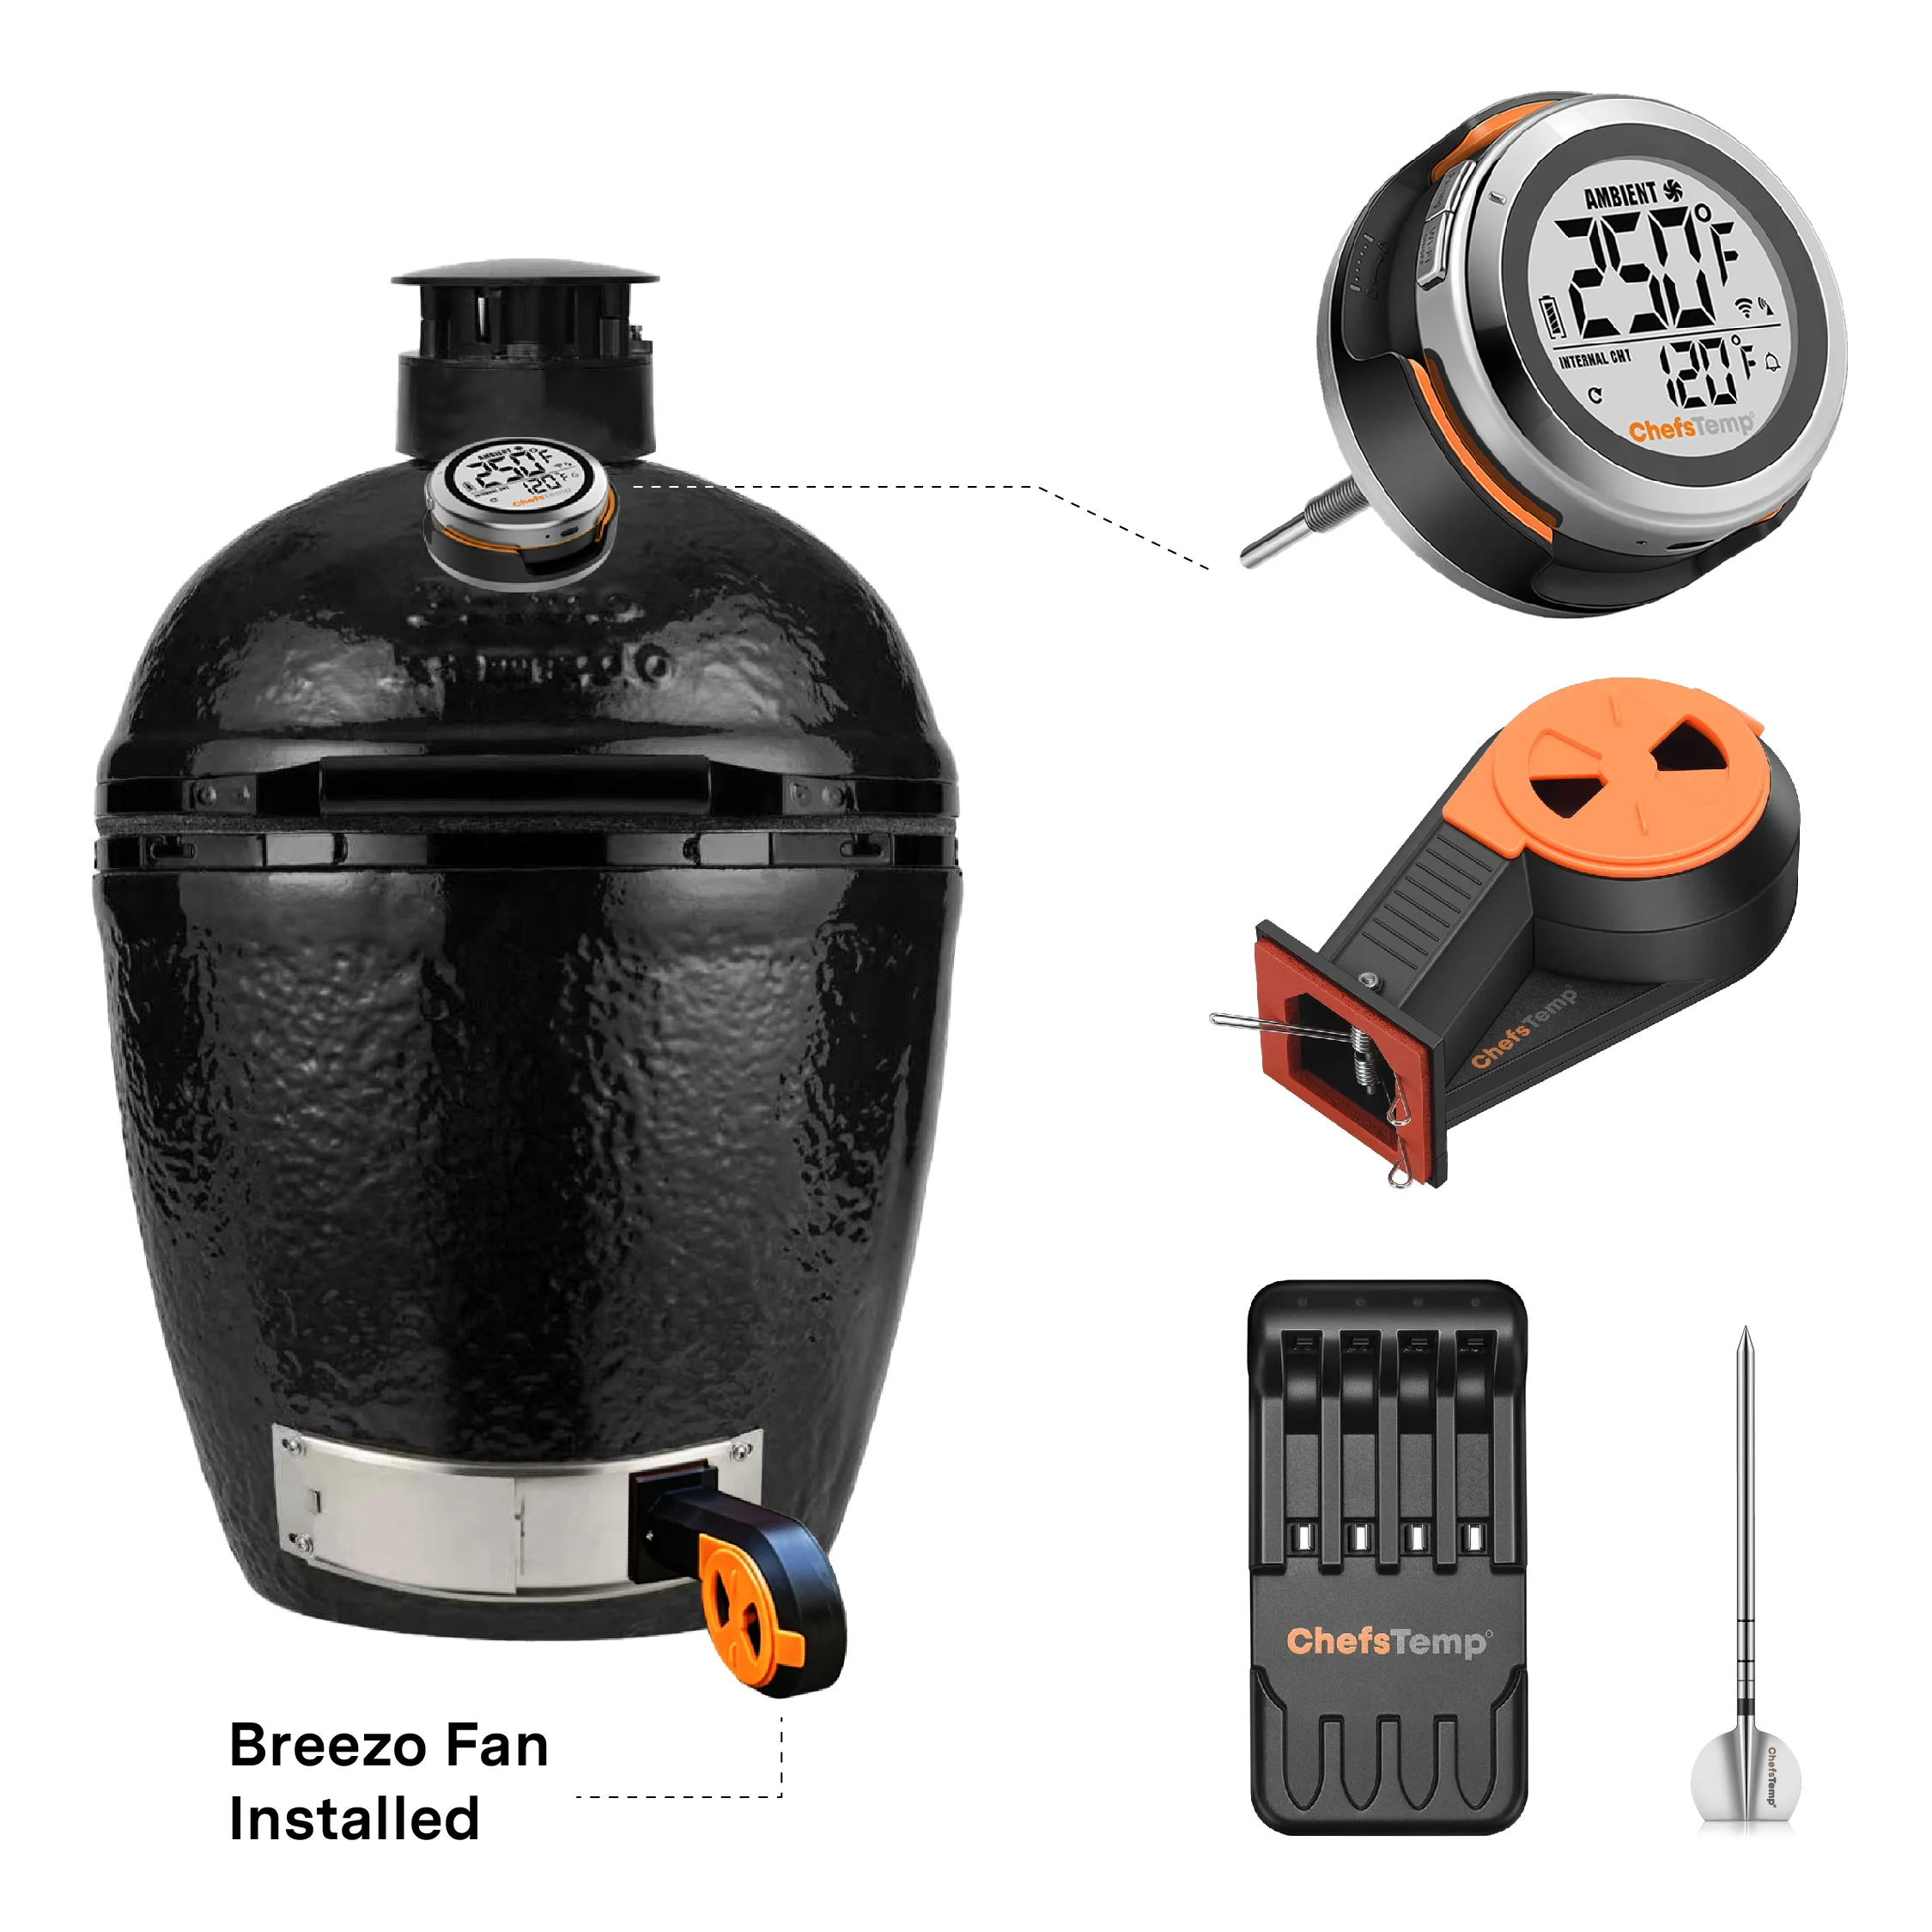
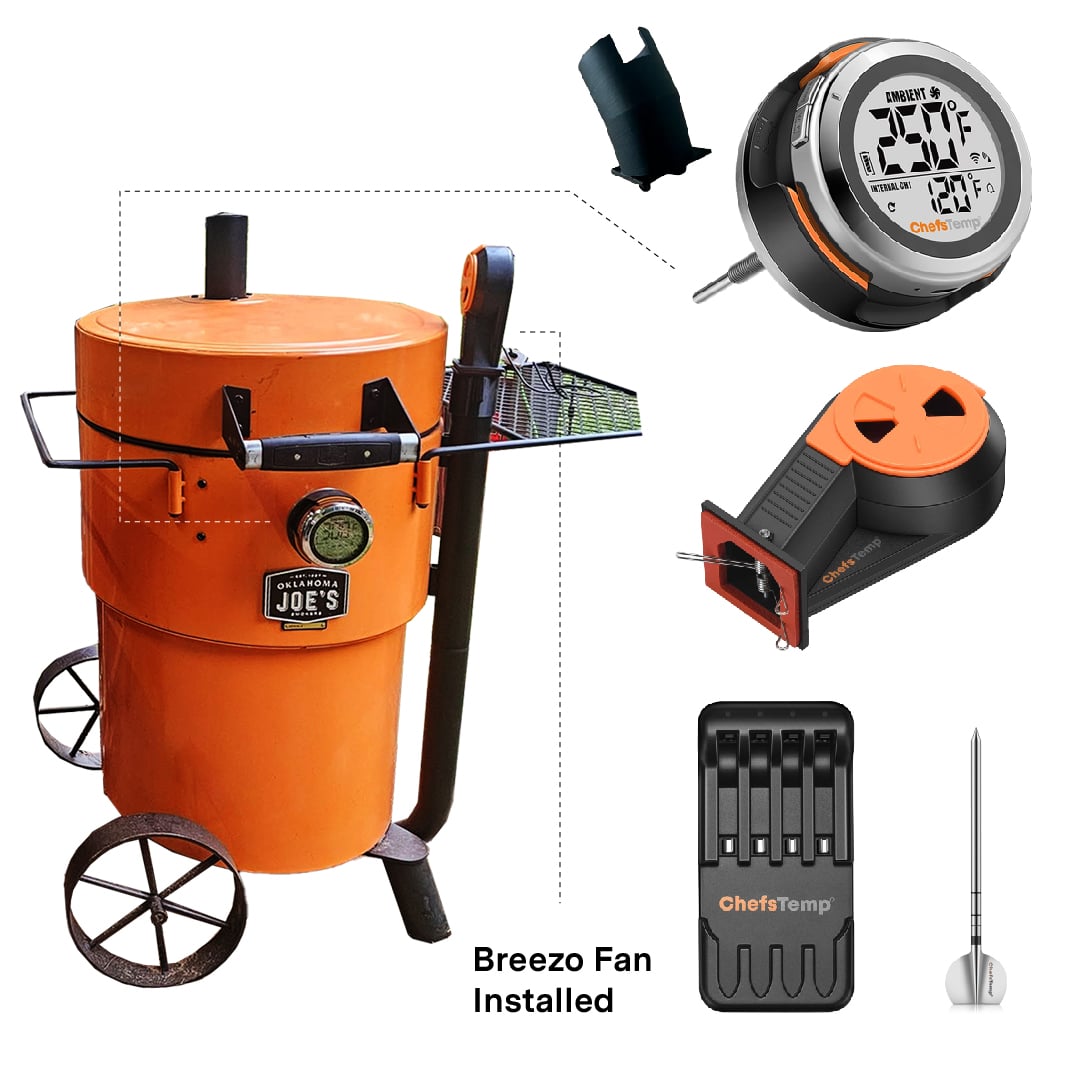
Totally get it—there’s nothing like the confidence of a seasoned grill master . But the ProTemp S1 isn’t about replacing skill—it’s about giving you more freedom. With everything wireless, you can monitor your cook from inside or even while running errands. No more standing in the cold or doing midnight temp checks. Paired with the Breezo fan and a wireless probe, it keeps temps rock steady. Think of it less like “rookie stuff” and more like a smart upgrade to your already sharp instincts. After all, even pros deserve a break.
S1: It cannot turn on.
- Reset: You can reset your S1 by using a needle to press the Reset button next to the charging port. The reset will be complete when the screen briefly lights up. You can watch this video: S1 Reset.
- Check Charging Operations: We suggest using the original charging block and cable and ensuring the S1 is fully charged before each use. Do not charge the device while it is operating on a grill, as cooking temperatures exceed the safe charging range. Charging under these conditions may cause power or charging issues. How to Safely Charge Your ProTemp S1?
S1: It cannot connect to WiFi.
Please watch our tutorial video to ensure you’re following the correct Wi-Fi setup process: How to Pair Your ProTemp S1 with Bluetooth and Wi-Fi | Step-by-Step.
- App Permissions: Make sure the ChefsTemp app has all required permissions—especially location access—enabled on your device. For iOS, please enable “Allow connecting to your nearby devices” in your settings.
- Bluetooth and Wi-Fi Settings: Turn on Bluetooth on your device and ensure the connected Wi-Fi on your phone is on a 2.4GHz network. If your router is an automatic dual-band (or only has the 5GHz Wi‑Fi), simply separate the 2.4GHz and 5GHz bands (or create a guest 2.4GHz Wi‑Fi network) in the router app.
- Password and SSID: Use the orange magnifying glass to auto-detect the SSID, and double-check that the Wi-Fi password is entered correctly, as spell-check may alter it.
- Router Settings: Disable fast roaming (e.g., 802.11r) on your router, as it may prevent the thermometer from connecting.
- Reconnection: After making sure the above settings are correct, delete all your current connections on the app, exit and reopen the app, shut off the Base to restart it, and connect the thermometer from the beginning.
S1: It cannot connect Bluetooth, or stuck in C-1 when connected.
If your ProTemp S1 is unable to connect to Bluetooth or is stuck on C-1 during pairing, please follow these steps to resolve the issue:
- Check App Permissions: Make sure the ChefsTemp app has all required permissions—especially location access—enabled on your device. For iOS, please enable “Allow connecting to your nearby devices” in your settings.
- Delete and Reconnection: After making sure the above settings are correct, delete all your current connections on the app, exit and reopen the app, press the RESET button next to the charging port to restart, and reconnect by following our tutorial video: How to Pair Your ProTemp S1 with Bluetooth and Wi-Fi | Step-by-Step
- Test with LightBlue App: If the issue persists, download the LightBlue app and check for “ProTemp S1 Base” in the device list.