FAQs
If you have any questions about your preferred items that aren't covered here or your order, you can start a chat using the message icon in the lower‑left corner for faster assistance. You're also welcome to contact our Customer Support Team at [email protected].
I cannot connect the ProTemp 2 Plus to my Wi-Fi.
Please watch our tutorial video for pairing operations: How to Pair Your ProTemp 2 Plus:
If you still can not pair it, please refer to the following steps:
Ensure you have entered the correct SSID. You can enter it automatically by clicking the orange “magnifying glass” icon on the Wi-Fi settings page. Double-check that you’ve entered the right password for your Wi-Fi. Avoid using spell checking, which can result in incorrect password input.
Use 2.4GHz network, the device must be connected to a 2.4GHz network, not a 5GHz one. Ensure your phone is also using the same 2.4GHz network during setup.
Grant location permission to the app for better connectivity. For Apple devices, please enable “Allow connecting to your nearby devices” in your settings. This is a recent update in iOS.
After making sure the above settings are correct, delete all your current connections, shut off the Stand to restart it, and pair it from the beginning.
S1: What should I do if my ProTemp S1 won’t charge or loses battery power unusually quickly?
First, remove the S1 Main Unit from its Base and let it cool before charging. Do not charge it while mounted on cooking equipment or resting on a hot surface.
Follow these steps:
1. Check charging. Use the supplied adapter and cable. A charging animation should appear on the battery icon. If it does not, try another compatible power supply and cable.
2. Confirm a full charge. Allow charging to complete rather than judging the battery level immediately after connecting the cable.
3. Update and reset. Update the S1 firmware, then reset the Main Unit using the RESET button next to the charging port.
If the battery drains while the S1 is stored, confirm that the Main Unit is fully powered off. Record its battery level after charging and again when you next switch it on, along with the elapsed time. Also note whether the problem occurs during cooking, storage, or both.
Investigate a substantial loss of charge while fully powered off rather than assuming it’s normal. If the issue continues after these checks, email [email protected] with your order number, charging video, firmware version, and battery records. Our support team will assess whether you need further troubleshooting or service.
The ambient temperature is not correct.
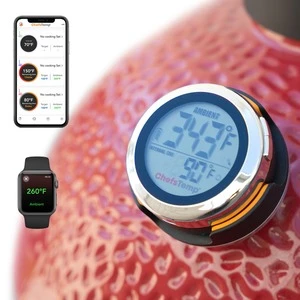
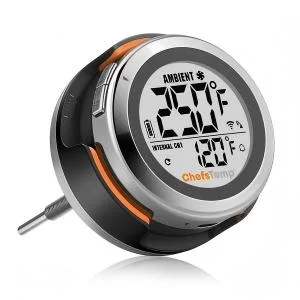
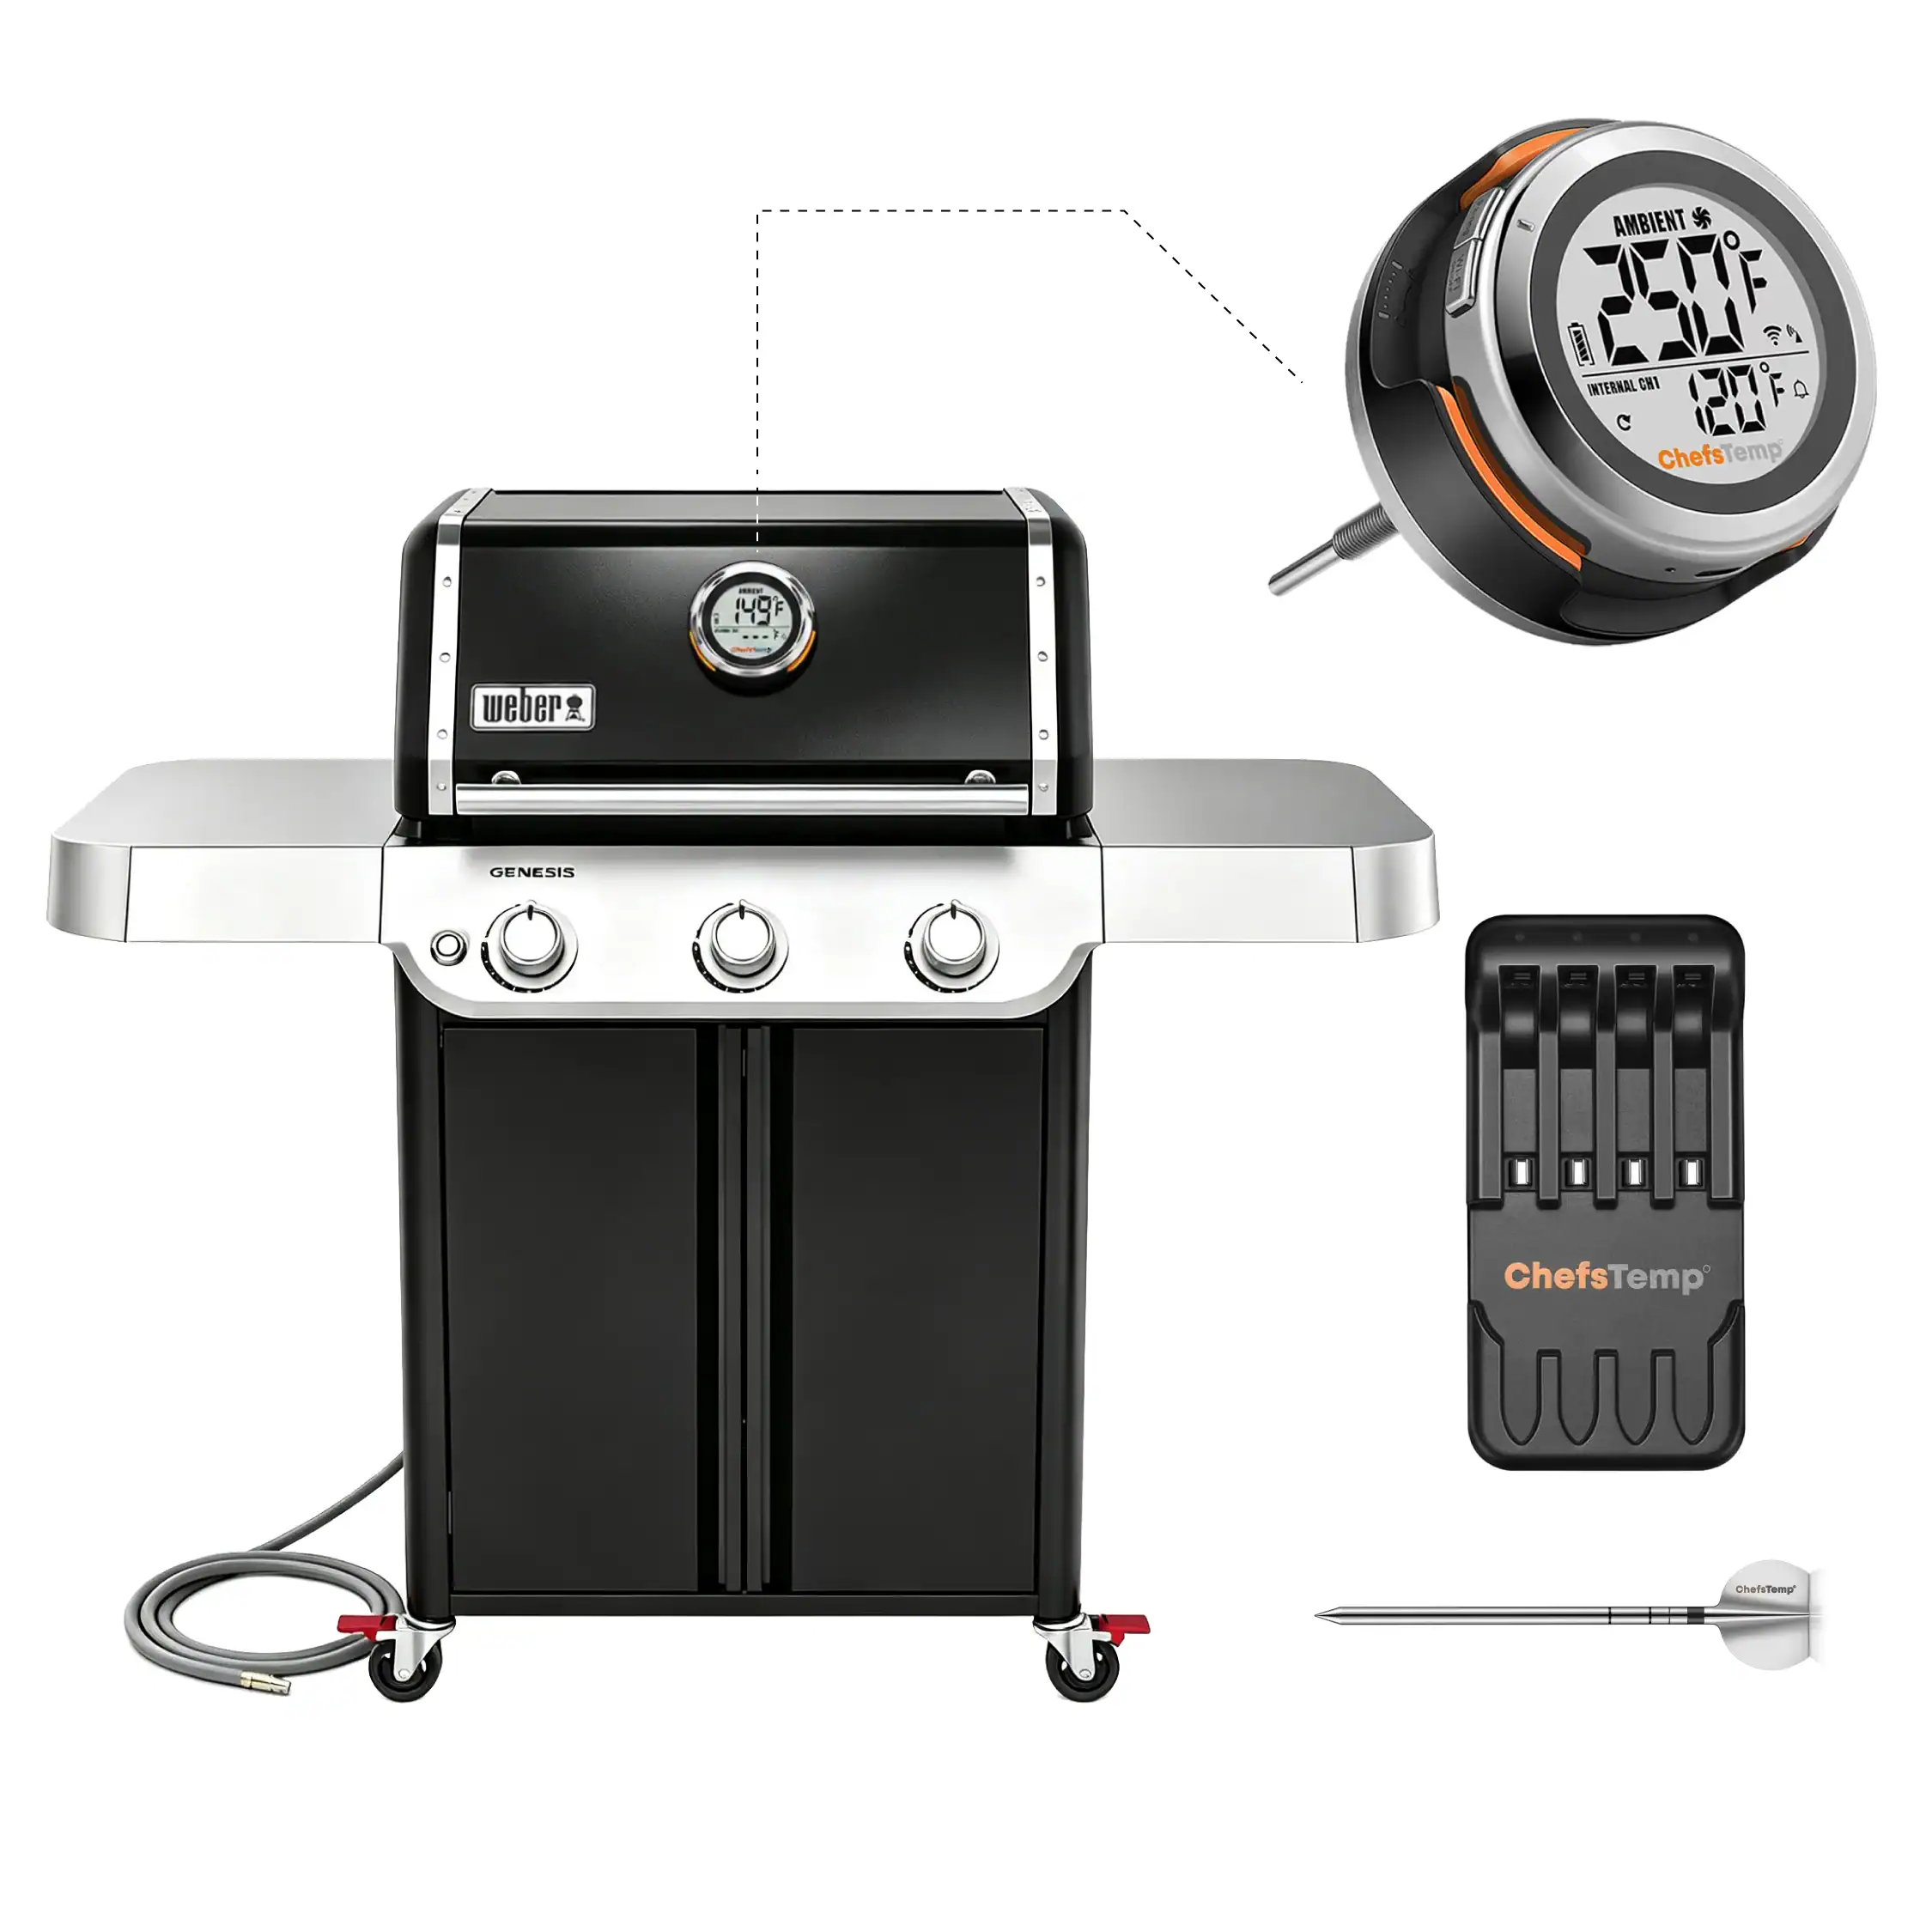
The ProTemp S1 is designed to replace the original grill thermometer, providing reference temperature data. Since temperature differences within various areas of the grill/smoker can be significant, sometimes varying by over 100°F, we recommend installing the ProTemp S1 in the original thermometer port for more accurate readings.
If your grill/smoker does not have a thermometer port, you may need to create one and position the ambient probe of ProTemp S1 closer to the meat for more accurate temperature measurements.
If there are still issues, please contact our customer service via phone or email for support.
My probe cannot be charged on ProTemp 2 Plus.
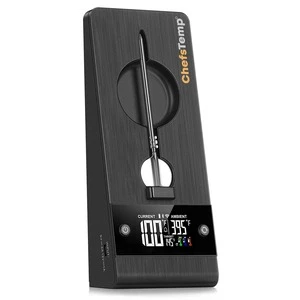
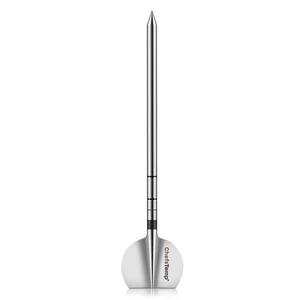
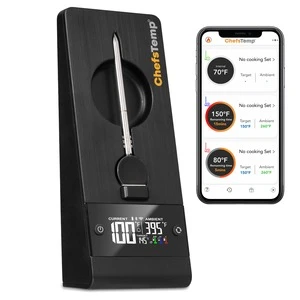
When charging your probe on the ProTemp 2 Plus Stand, the colored battery icon on the screen will display an animation. Once fully charged, the icon will disappear, indicating the probe is ready for at least 30 hours of use. If you are not sure if the probe has been fully charged or if it is unable to be charged, please go to My Connections>>My Paired Probes>>Tap it to check its battery.
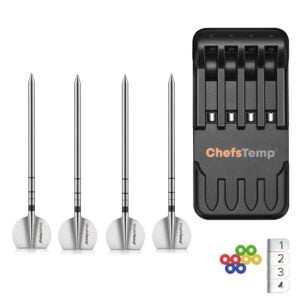
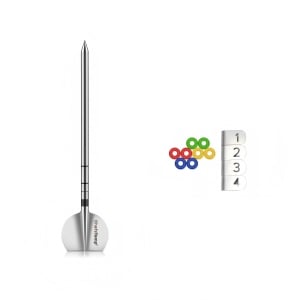
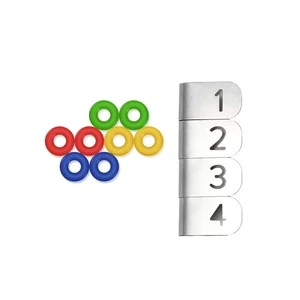
If your probe is equipped with a metal number chip, it is recommended to remove it before charging. If the metal number chip comes into contact with the metal contacts in the charging slot, it may prevent the probe from charging properly.
If the probe isn’t charging properly, please try the following:
- Clean the remaining grease on the probe before charging.
- Restart the Stand, then place the probe in another slot to charge it. (Both the front and back slots can be used to charge the probe.)
- Adjust the metal plate in the Stand’s charging slot to ensure proper contact with the probe: Fix Your Plus Charging Stand: Solve Loose Contact Issues Fast!
If the issue persists, please take out the probe from Stand, download the LightBlue app and check if “Probe” appears in the device list. Each charged probe should display as a separate entry.
My wireless probes can not connect to ProTemp 2 Plus/ My probes keep disconnecting with the ProTemp 2 Plus.
If you experience connection issues with your probes (can not connect the probes to ProTemp S1/ProTemp Plus Series, or the probe is disconnected during use), please try the following step-by-step guide:
- Delete all your connection in the app, including ProTemp S1, ProTemp Plus/ProTemp 2 Plus and probes.
- Uninstall the ChefsTemp app and reinstall it, ensure that your app is the latest version.
- Fully charge everything: Place all probes in the 4-in-1 Charger or ProTemp Plus/ProTemp 2 Plus Stand for at least 15 minutes.
- Pair probes one at a time: Take only one probe out of the Charger/Stand to pair. Wait for it to connect successfully, then put it back, and repeat with the next probe (Click on “…” in the upper right corner of the app homepage, click on “My Connections”, click on “Add New Probe”, and then click on “Probe” in “SEARCHING FOR NEARBY PROBES”).
- Ensure that your ProTemp S1 and ProTemp Plus/ProTemp 2 Plus Stand are located close to the probe to ensure smooth transmission of probe signals.
This method avoids signal interference between probes and helps the app detect them correctly.
If your probe still cannot connect, you can perform the following confirmation steps:
- Click on the probe icon on the probe page to perform fault diagnosis. You can watch this video to perform the operation: New ChefsTemp App Update Guide | How to Diagnose Disconnection Issues
- After charging the probes, remove them from the Charger/Stand, download and open the LightBlue app, search for “Probe”, and see if you can find them. Each charged and removed probe will display a line of “Probe”.
- Please take a video of your complete connection operation, screenshots of the app homepage and diagnostic information, as well as LightBlue screenshots and send them to us. We will analyze and provide a solution for you.
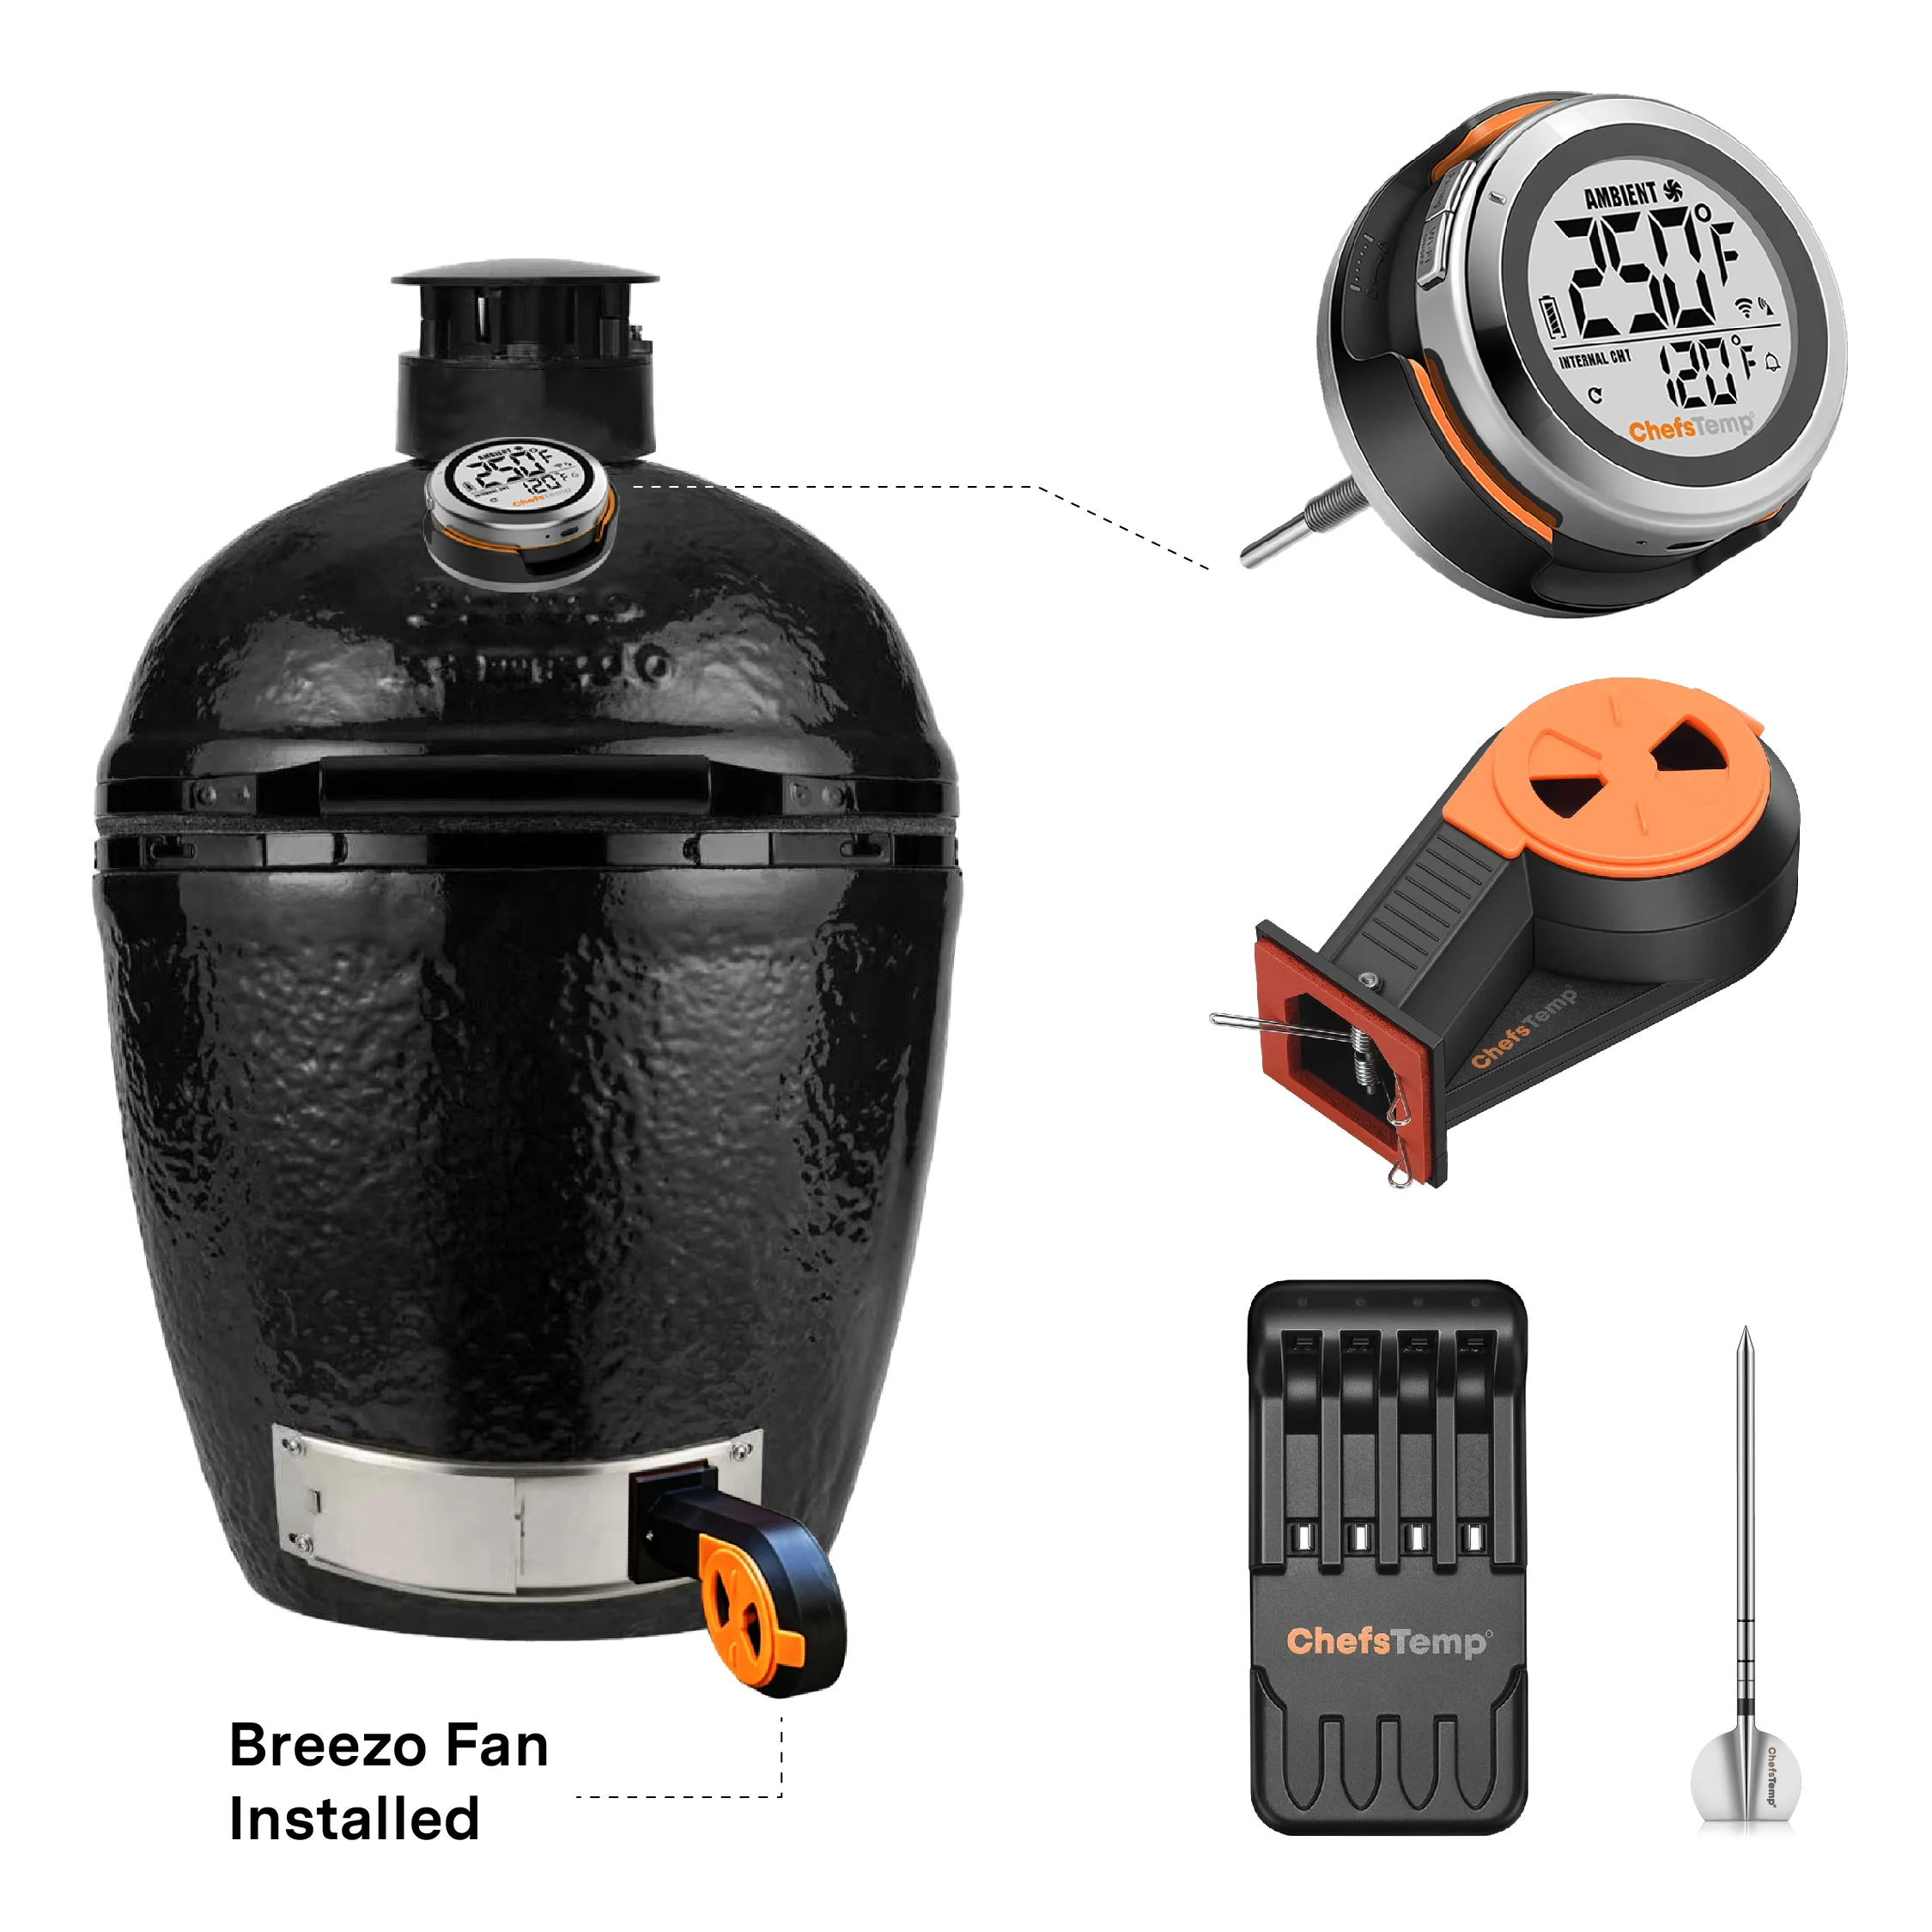
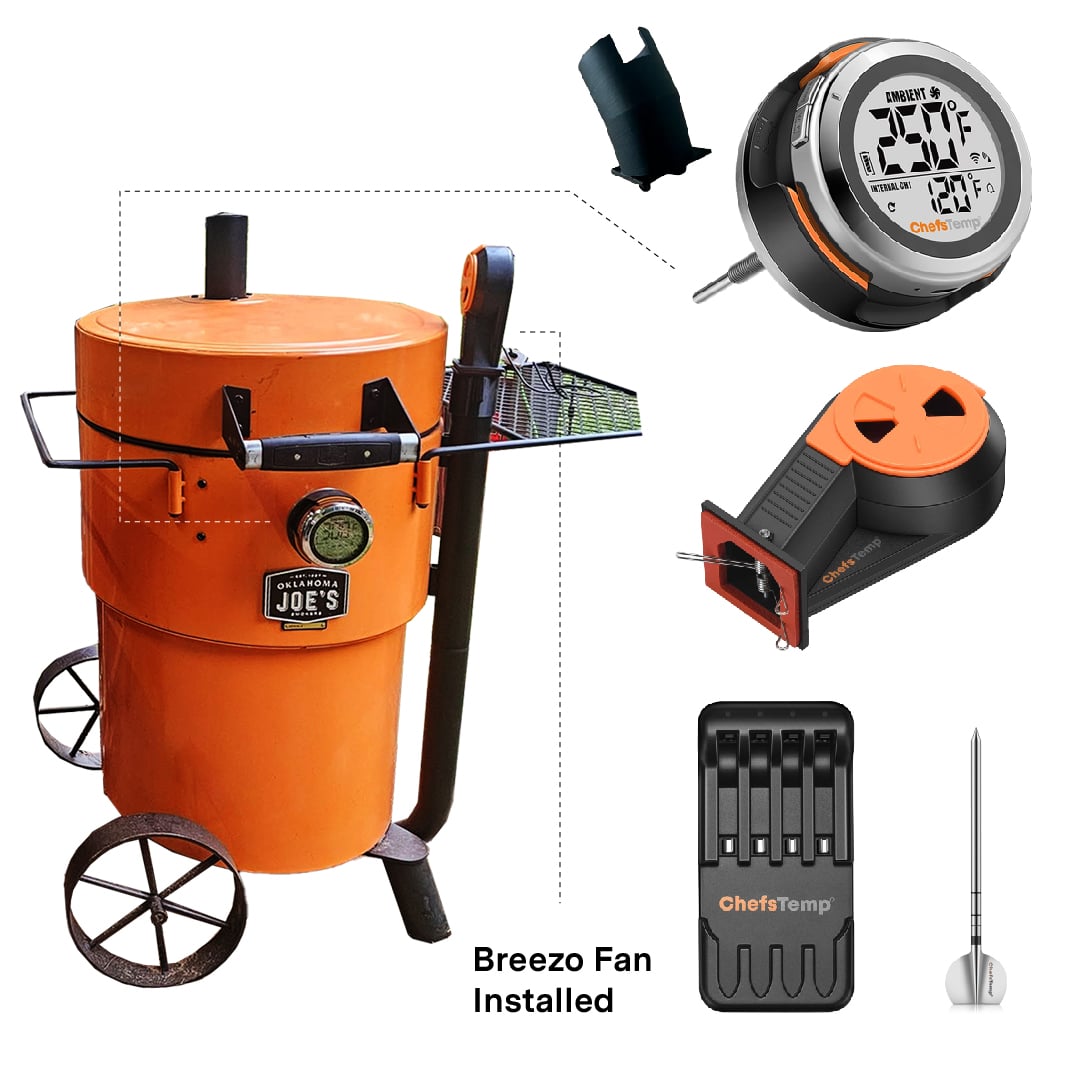
My fan does not stop after reaching the target temperature.
Please confirm that the firmware of your S1 and Breezo Fan has been upgraded to the latest version. Ensure that the app is also the latest version. After completing the firmware update, it is recommended to delete all devices and reconnect to check for any issues. How to Update Firmware on ProTemp S1 & Breezo Fan | Step-by-Step Guide
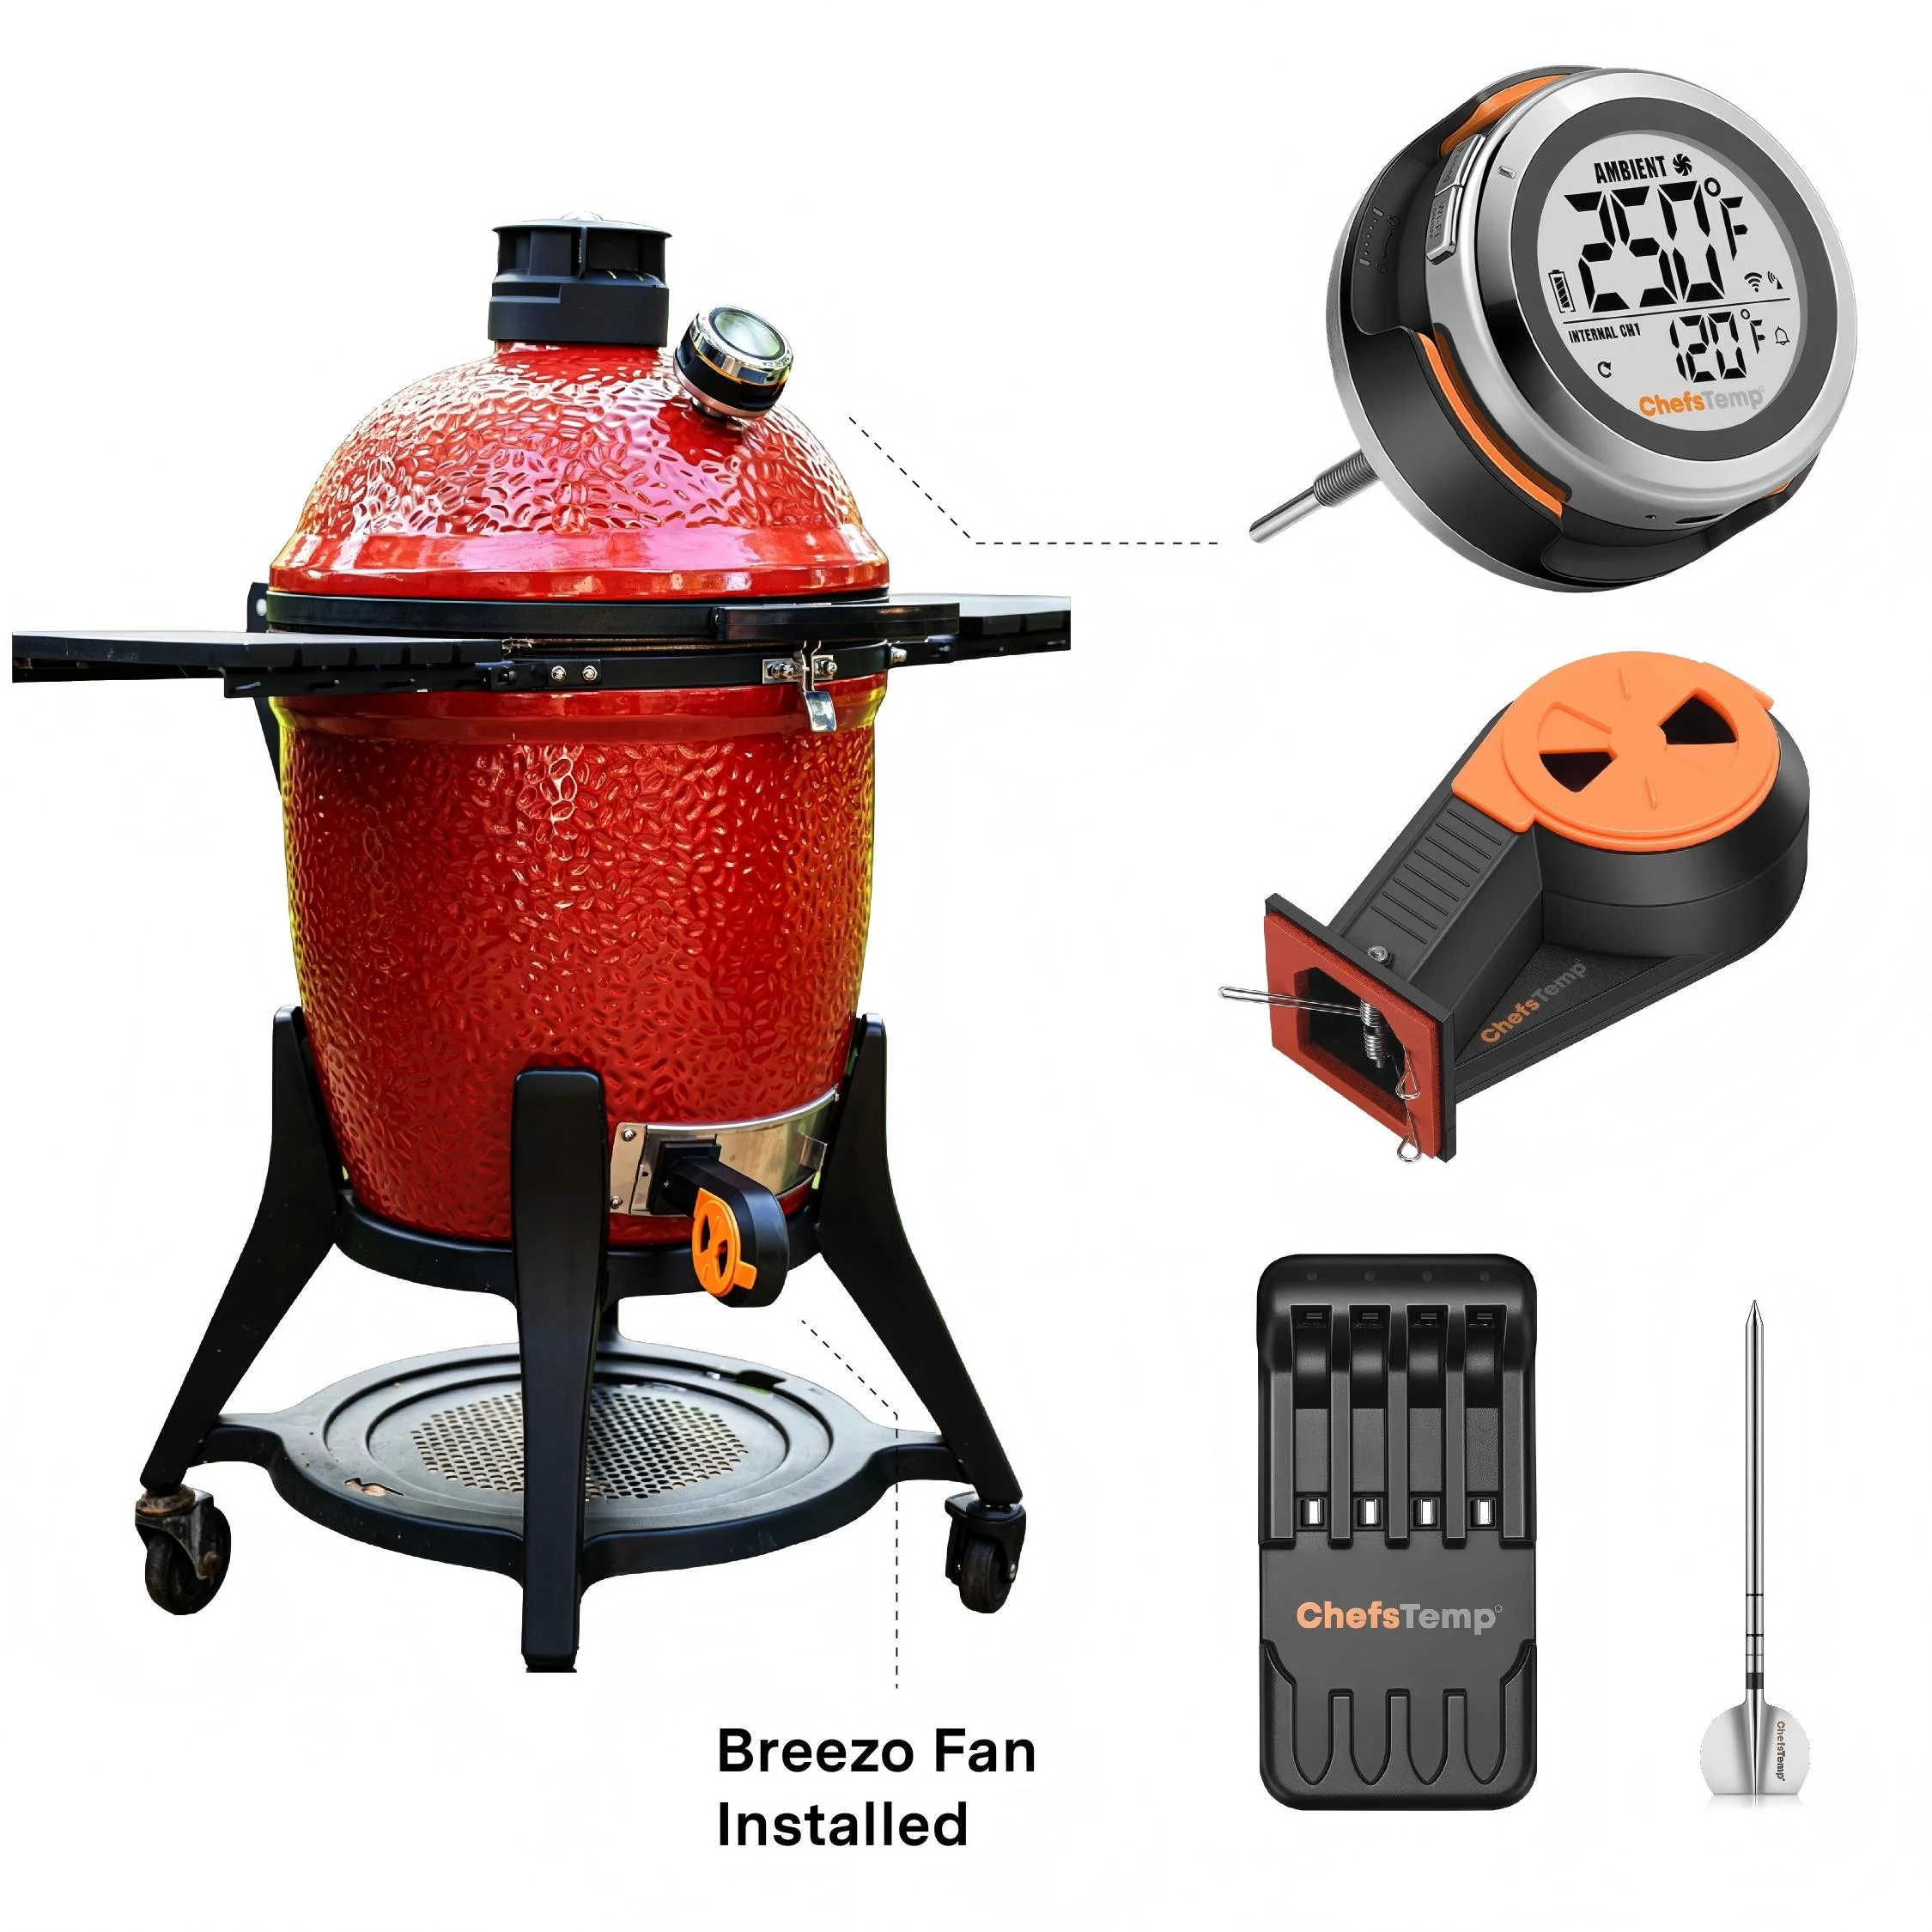
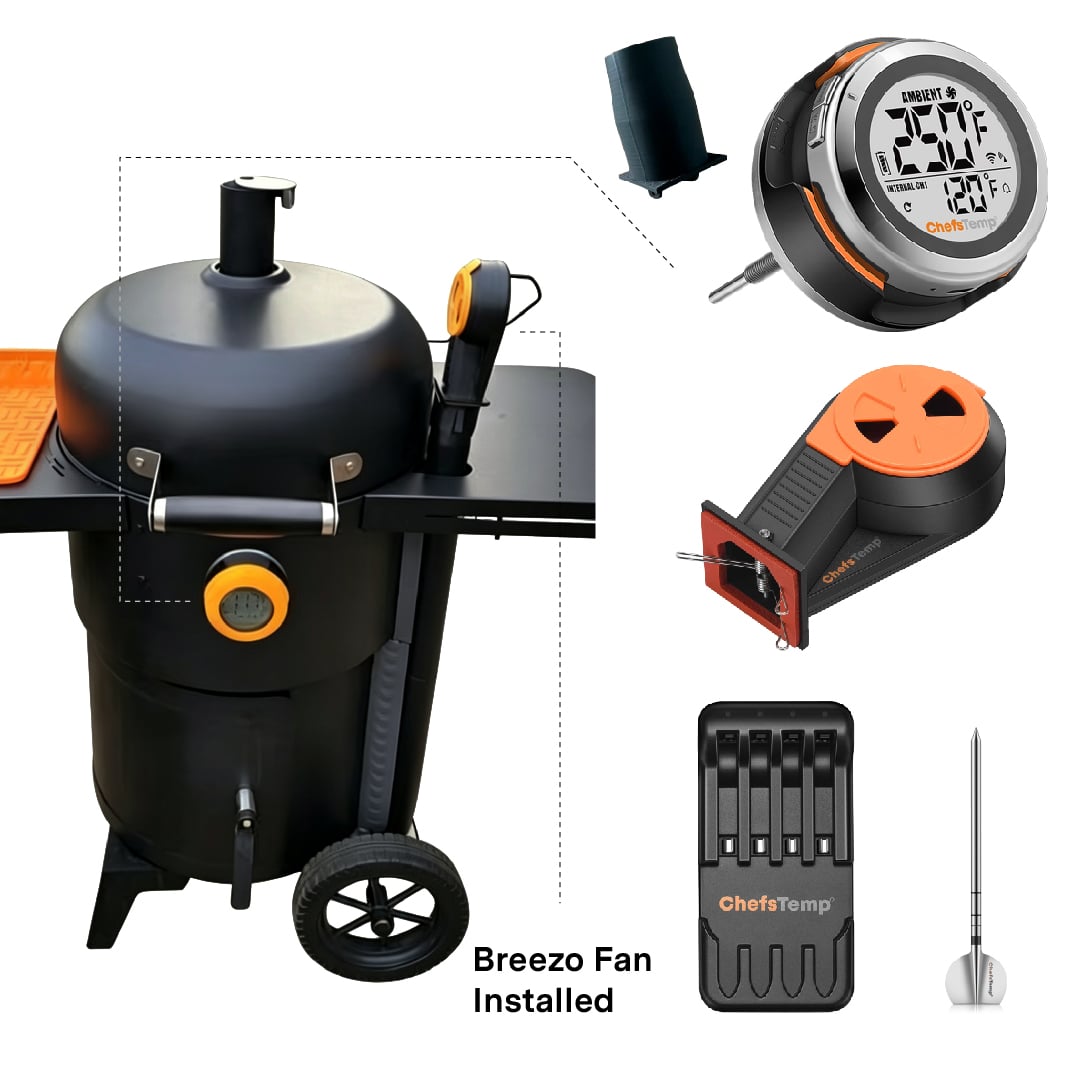
❤️For best results, we recommend keeping the top vent nearly closed and allowing the Breezo fan to add the necessary air to maintain your desired temperature. Opening the top vent too much can lead to overshooting your target temperature, especially at lower temperatures used for smoking. For higher-temperature grilling, such as searing, you may open the vent slightly more to accommodate the increased airflow needs. These settings work well across various grill sizes.
Please see our video instructions on:
1. How to Master Temperature Control on Big Green Egg or Kamado Joe with ProTemp S1 & Breezo
2. Adjusting Exhaust Vent & Damper for Perfect Grill Temps | ProTemp S1 & Breezo
My probe cannot charge, I have ProTemp 2 Plus.
When charging your probe on the ProTemp 2 Plus Stand, the colored battery icon on the screen will display an animation. Once fully charged, the icon will disappear, indicating the probe is ready for at least 30 hours of use. If you are not sure if the probe has been fully charged or if it is unable to be charged, please go to My Connections>>My Paired Probes>>Tap it to check its battery.
If the probe isn’t charging properly, please try the following:
- Clean the remaining grease on the probe before charging.
- Adjust the metal plate in the Stand’s charging slot to ensure proper contact with the probe: Fix Your Plus Charging Stand: Solve Loose Contact Issues Fast!
- Restart the stand, then place the probe in another slot to charge it. (Both the front and back slots can be used to charge the probe.)
If the issue persists, please take out the probe from Stand, and download the LightBlue app and check if “Probe” appears in the device list. Each charged probe should display as a separate entry.
If you encounter problems with charging after the guidance, please take a video of the charging process and send it to [email protected], and we will analyze and solve it for you.
My fan is unable to perform firmware updates, or fails to upgrade the firmware.
To ensure a successful firmware update for your Breezo V2 fan, please follow the steps outlined in this video: Firmware Update Guide. Please also make sure your app is updated to the latest version.
Here’s a step-by-step checklist that may help:
- Use the original charger to power the fan.
- Turn on and run the fan.
- Open the app and go to the firmware update section. If an update is available, proceed with the upgrade.
- After the update completes, fully close the app and reopen it.
- Return to the firmware page to confirm the update was successful.
If it still shows the old version, try logging out of your app account and logging back in before retrying the update.
If the issue persists:
- Try resetting the S1 unit.
- Disconnect and reconnect the S1 unit.
Important: If your Breezo was purchased before April 8, it is a V1 model, which does not support firmware updates. You can continue using it normally without updating.
Why does the fan need a charging cable for power supply? Isn’t it wireless?
The Breezo Fan is designed to sit close to the fire source for optimal airflow, so we deliberately avoided including a built-in rechargeable battery. High heat near the fire could cause a battery to overheat, leading to potential safety risks. Instead, it uses a detachable charging cable for power, keeping the fan free of heat-sensitive components and significantly safer during use.
The dome temp of the grill and the temperature on the grate differ significantly. In that case, will the S1 temperature be inaccurate?
No. The ProTemp S1 does more than just read dome temp. We use platinum sensors for 10x accuracy over analog, a long stem to get closer to grate level, and a temp compensation function in the app. Our tests show just a 3-5°F difference from a wired grate-level probe in Kamado grill before app compensation.