FAQs
If you have any questions about your preferred items that aren't covered here or your order, you can start a chat using the message icon in the lower‑left corner for faster assistance. You're also welcome to contact our Customer Support Team at [email protected].
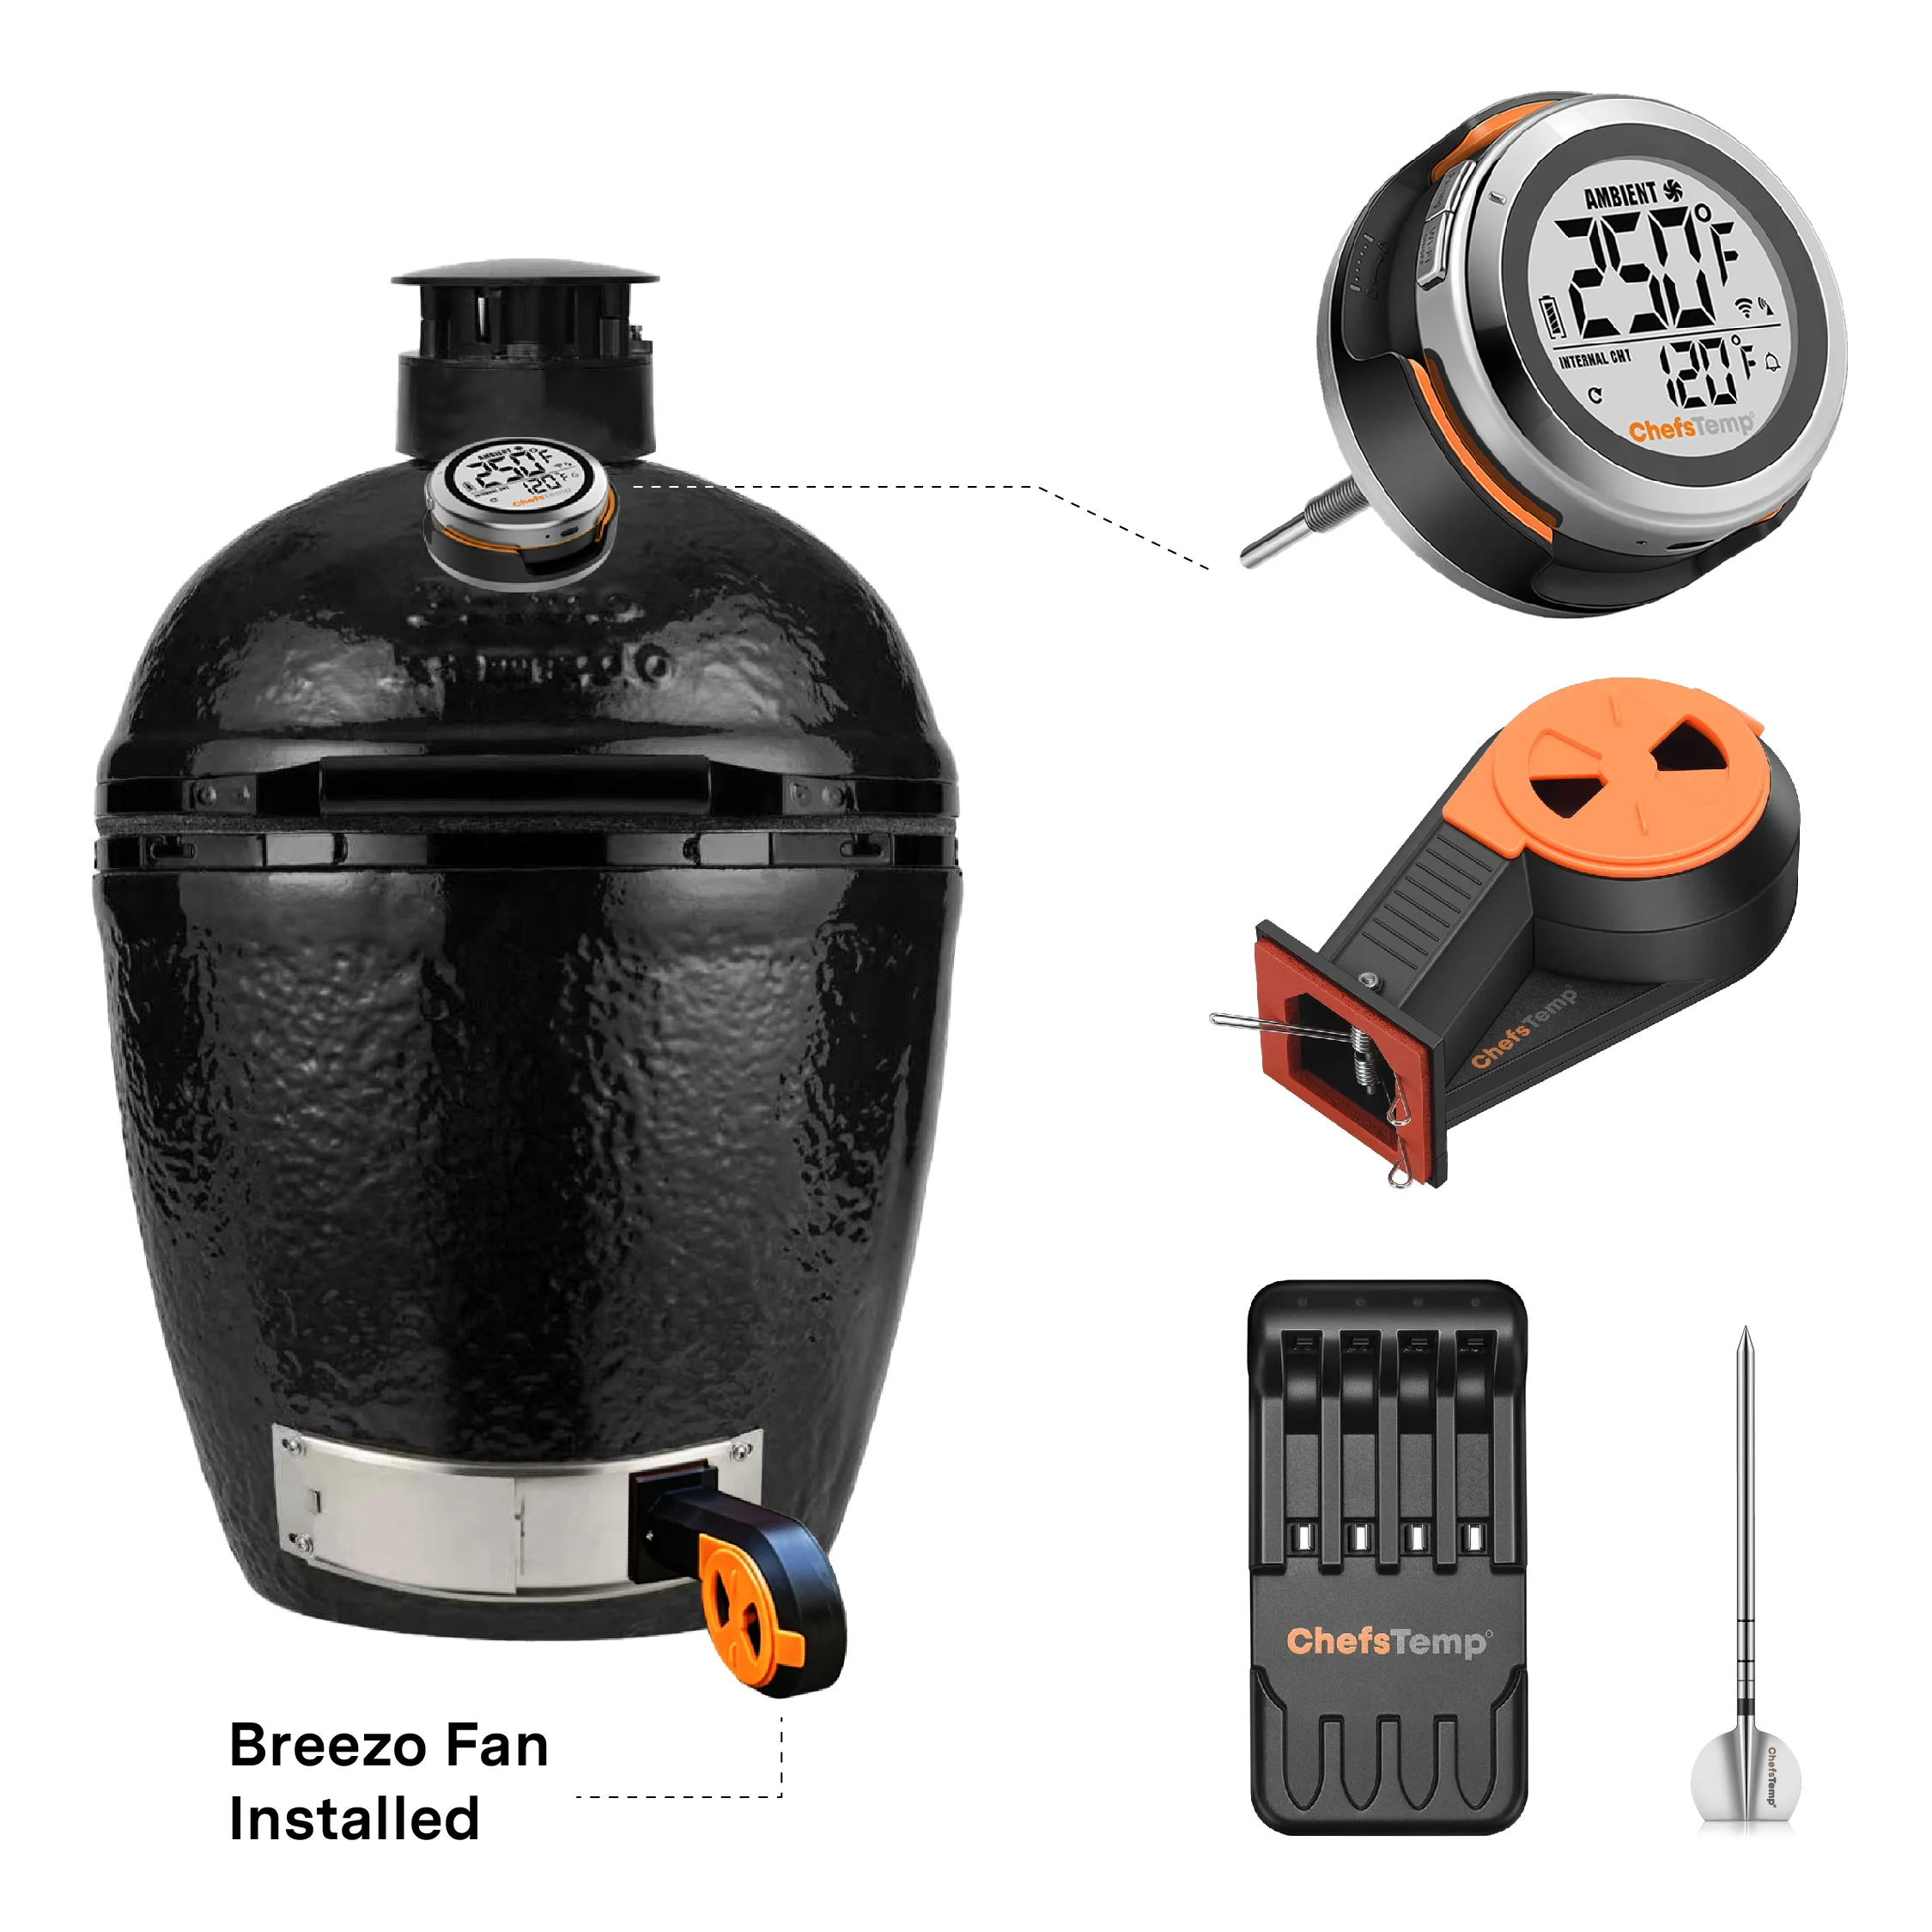
S1 Bundle: Can ProTemp S1 Be Applied to Vision kamado grills?
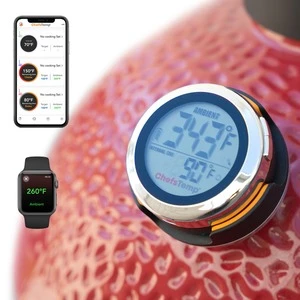
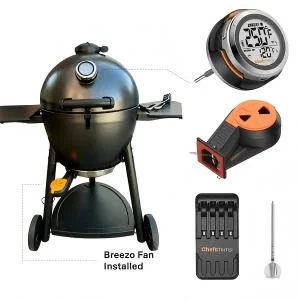
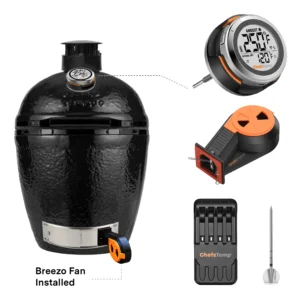
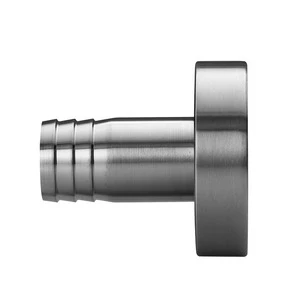
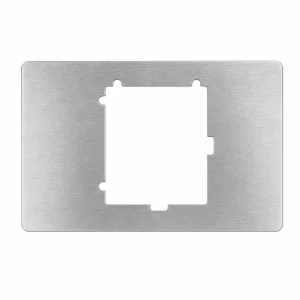
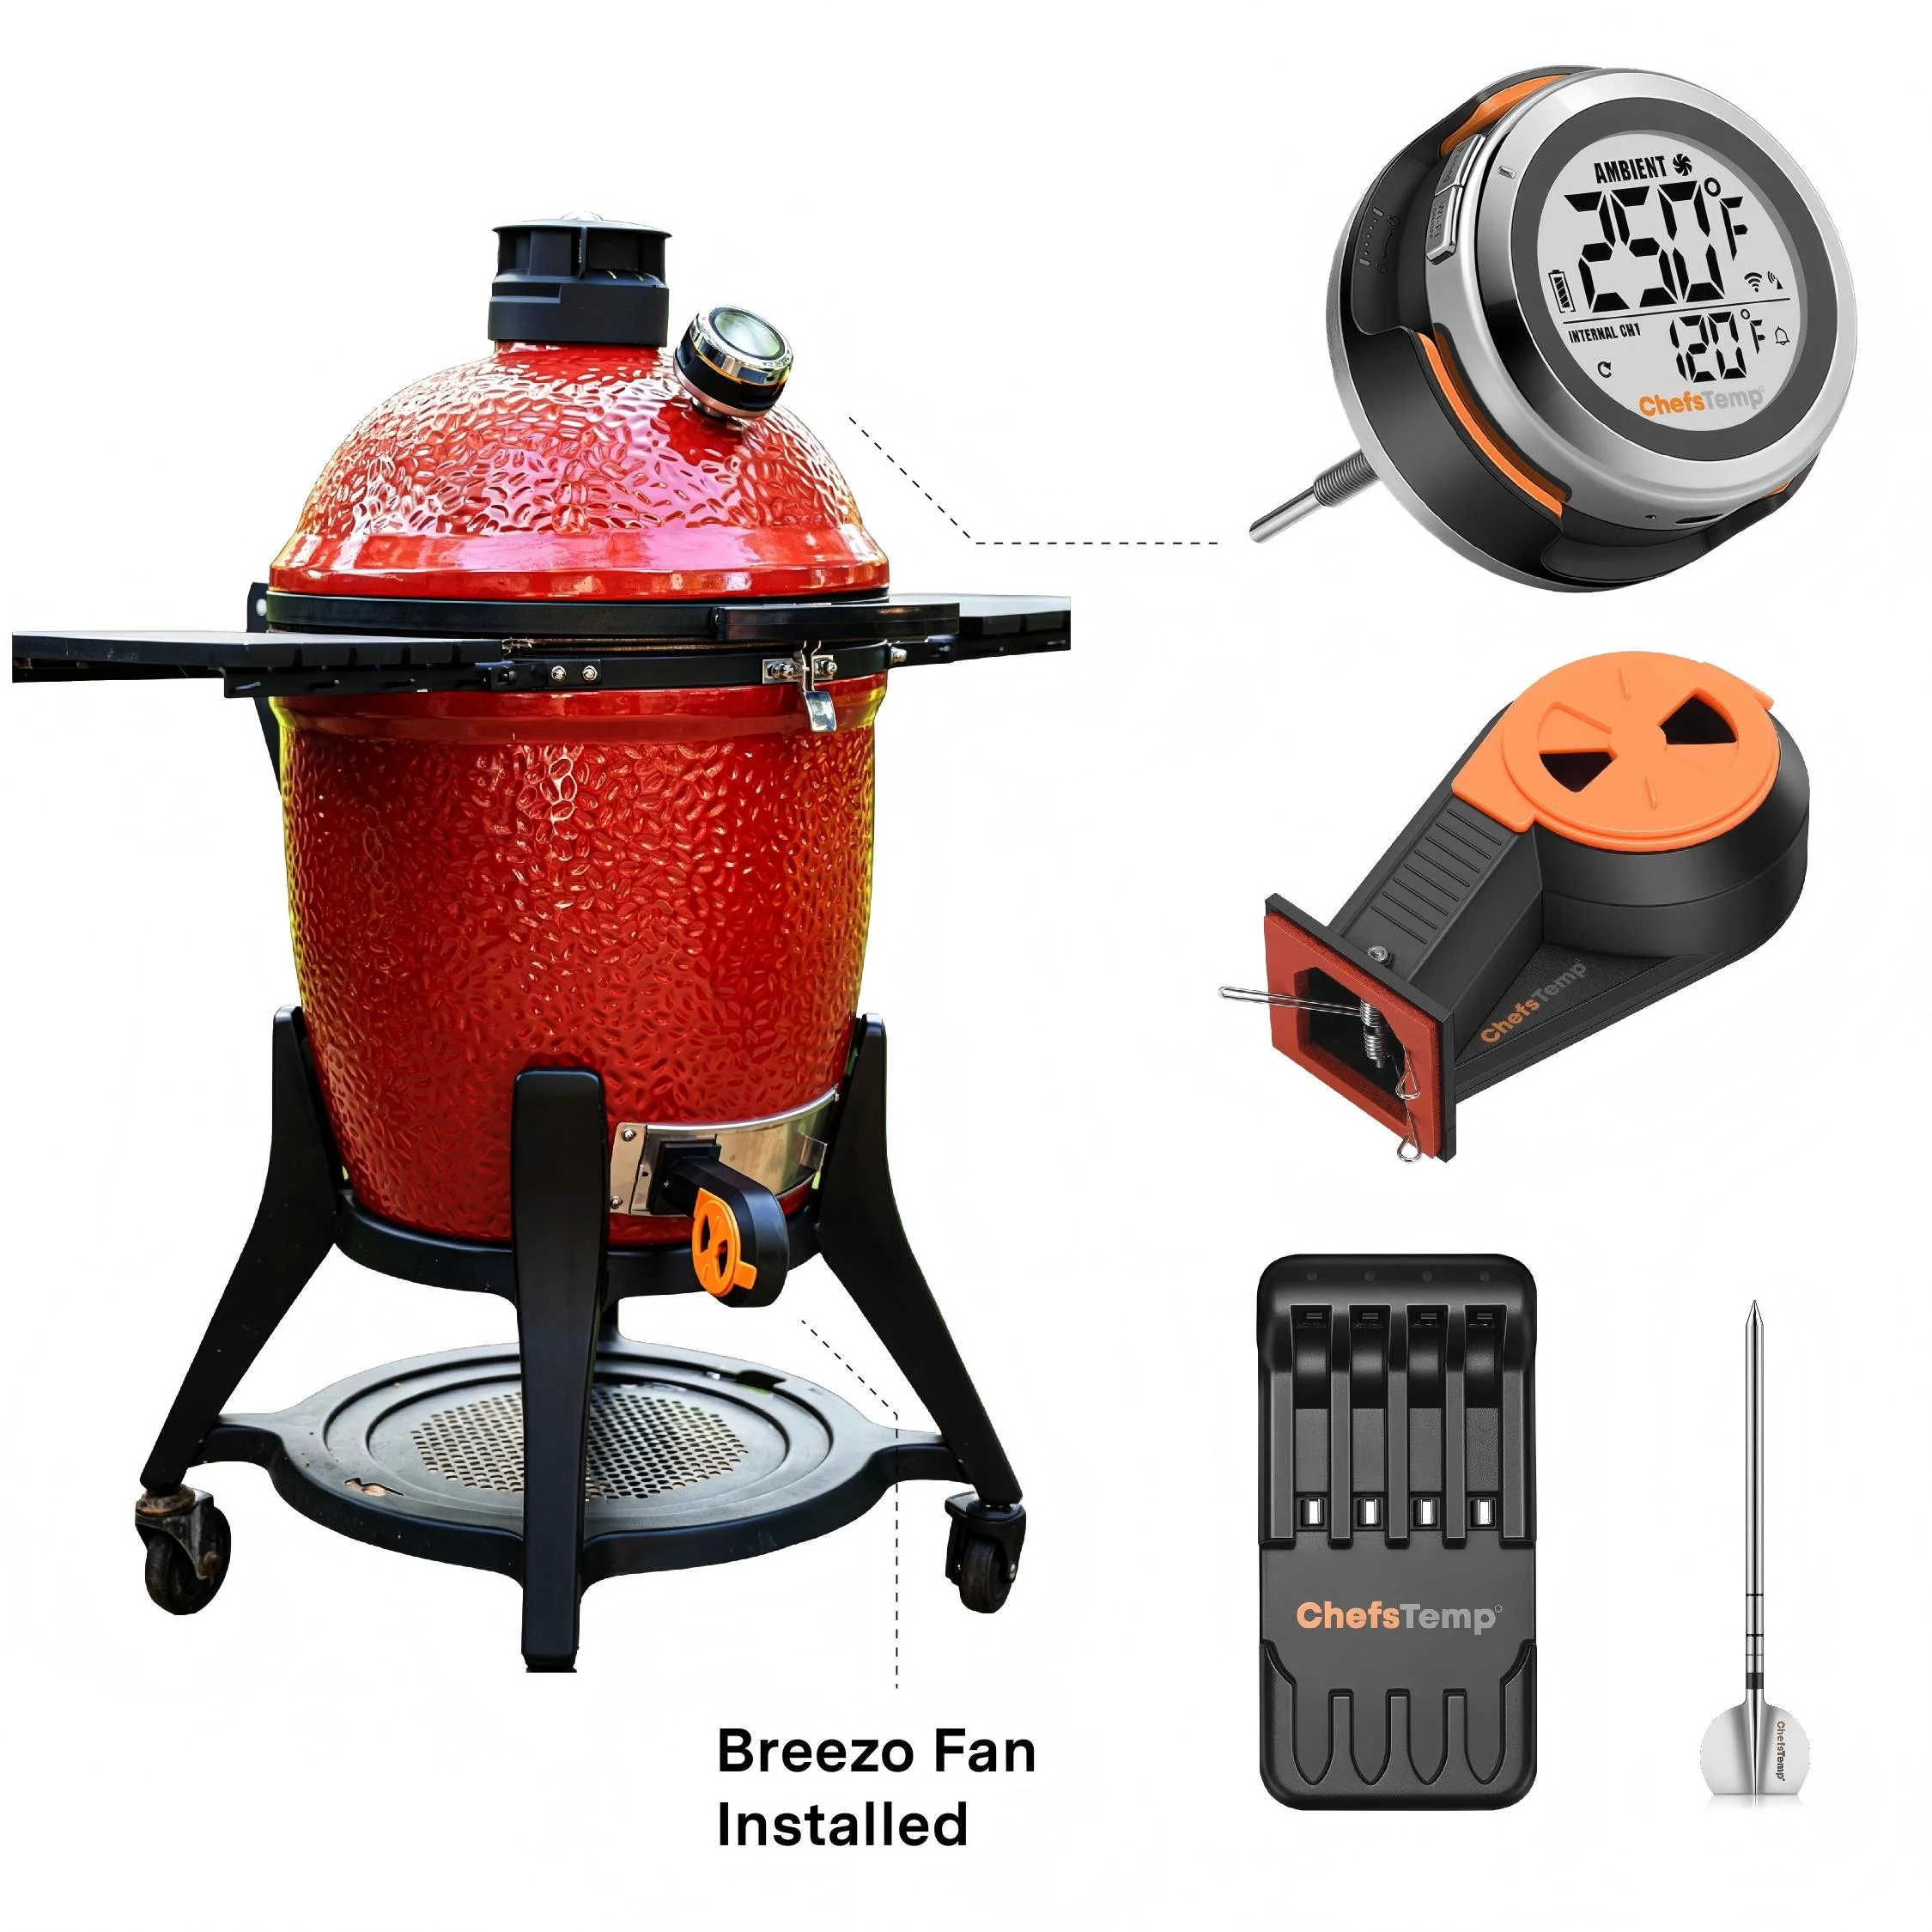
Yes. ChefsTemp supports Vision kamado grills through its ProTemp S1 Bundle for AKORN & Vision Kamados. The setup combines S1 pit-temperature monitoring with Breezo V2 airflow control using suitable mounting accessories. Check your exact Vision model, thermometer opening, and lower air-intake configuration before ordering, because the installation can differ between models. Do not drill the ceramic body.
S1 Bundle: Does the ChefsTemp ProTemp S1 work with Char-Griller AKORN kamado grills?
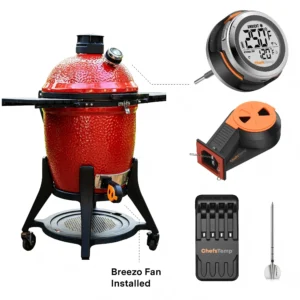
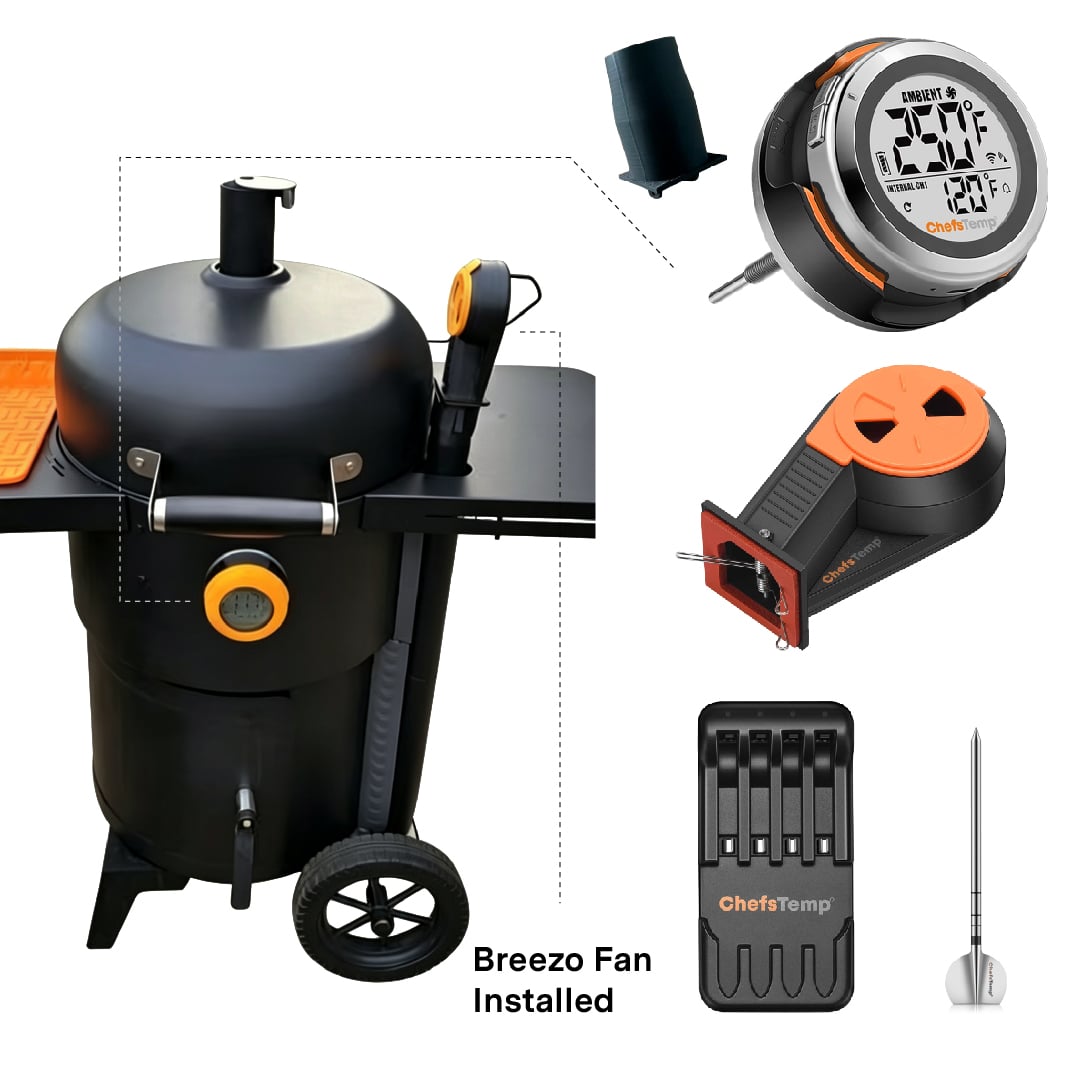
Yes. ChefsTemp offers a ProTemp S1 Bundle for Char-Griller AKORN and AKORN Jr. kamado grills. The bundle combines S1 pit-temperature monitoring with a Breezo V2 fan for automatic airflow control on the supported setup. Choose the installation and mounting accessories for your exact AKORN model. Check compatibility with other Char-Griller grills separately, rather than assuming it based on the AKORN recommendation.
S1 Bundle: Is the ChefsTemp ProTemp S1 compatible with Primo ceramic grills?
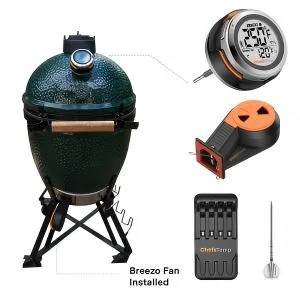
Yes. ChefsTemp offers a ProTemp S1 Bundle for Primo ceramic grills, including the Oval JR 200, Oval Large 300, Oval XL 400, and Primo Round. ProTemp S1 monitors pit temperature, while the Breezo V2 fan provides airflow-based temperature control with the appropriate mounting setup. Primo thermometer-port dimensions can vary by model and production year, so measure the opening before choosing the BGE or Universal stem. Do not drill the ceramic body.
4-in-1 Charger: Can I connect it with the wireless probes?
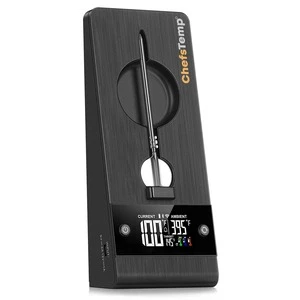
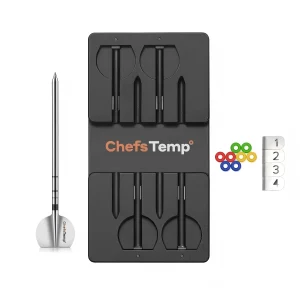
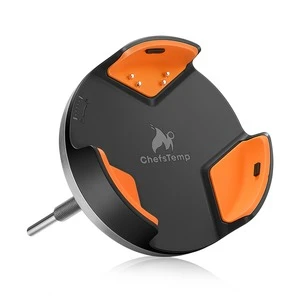
The 4-in-1 Charger is designed to charge multiple wireless probes simultaneously, but it does not have the capability to pair the probes.
Order: My package has been sent to other state. Is it normal?
We’re sorry for any concern caused by the delay in your package delivery. According to our records, USPS may have rerouted your package to another state, but it remains on track for delivery to your address. Please allow a few more days for it to arrive. We’re actively monitoring its progress and will continue to ensure it reaches you as smoothly as possible.
If you notice any unusual updates or issues with your shipment, please don’t hesitate to contact us at [email protected]—we’ll be happy to investigate and assist.
S1&Breezo: What are the outdoor operating temperature limits for the S1 thermometer and control fan?
For optimal performance and longevity, we recommend placing both the S1 thermometer and the Breezo control fan in environments where the temperature stays within safe operating limits.
- Minimum temperature: Avoid prolonged exposure below 50°F (10°C), as this may significantly reduce battery life and affect overall functionality.
- Maximum temperature: The fan is heat-resistant up to 302°F (150°C), while the S1 thermometer is rated for up to 140°F (60°C).
S1: Is it waterproof?
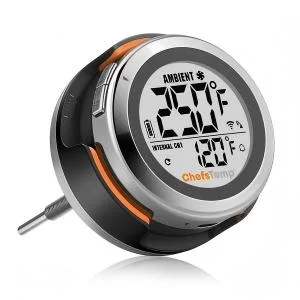
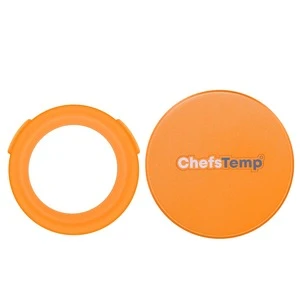
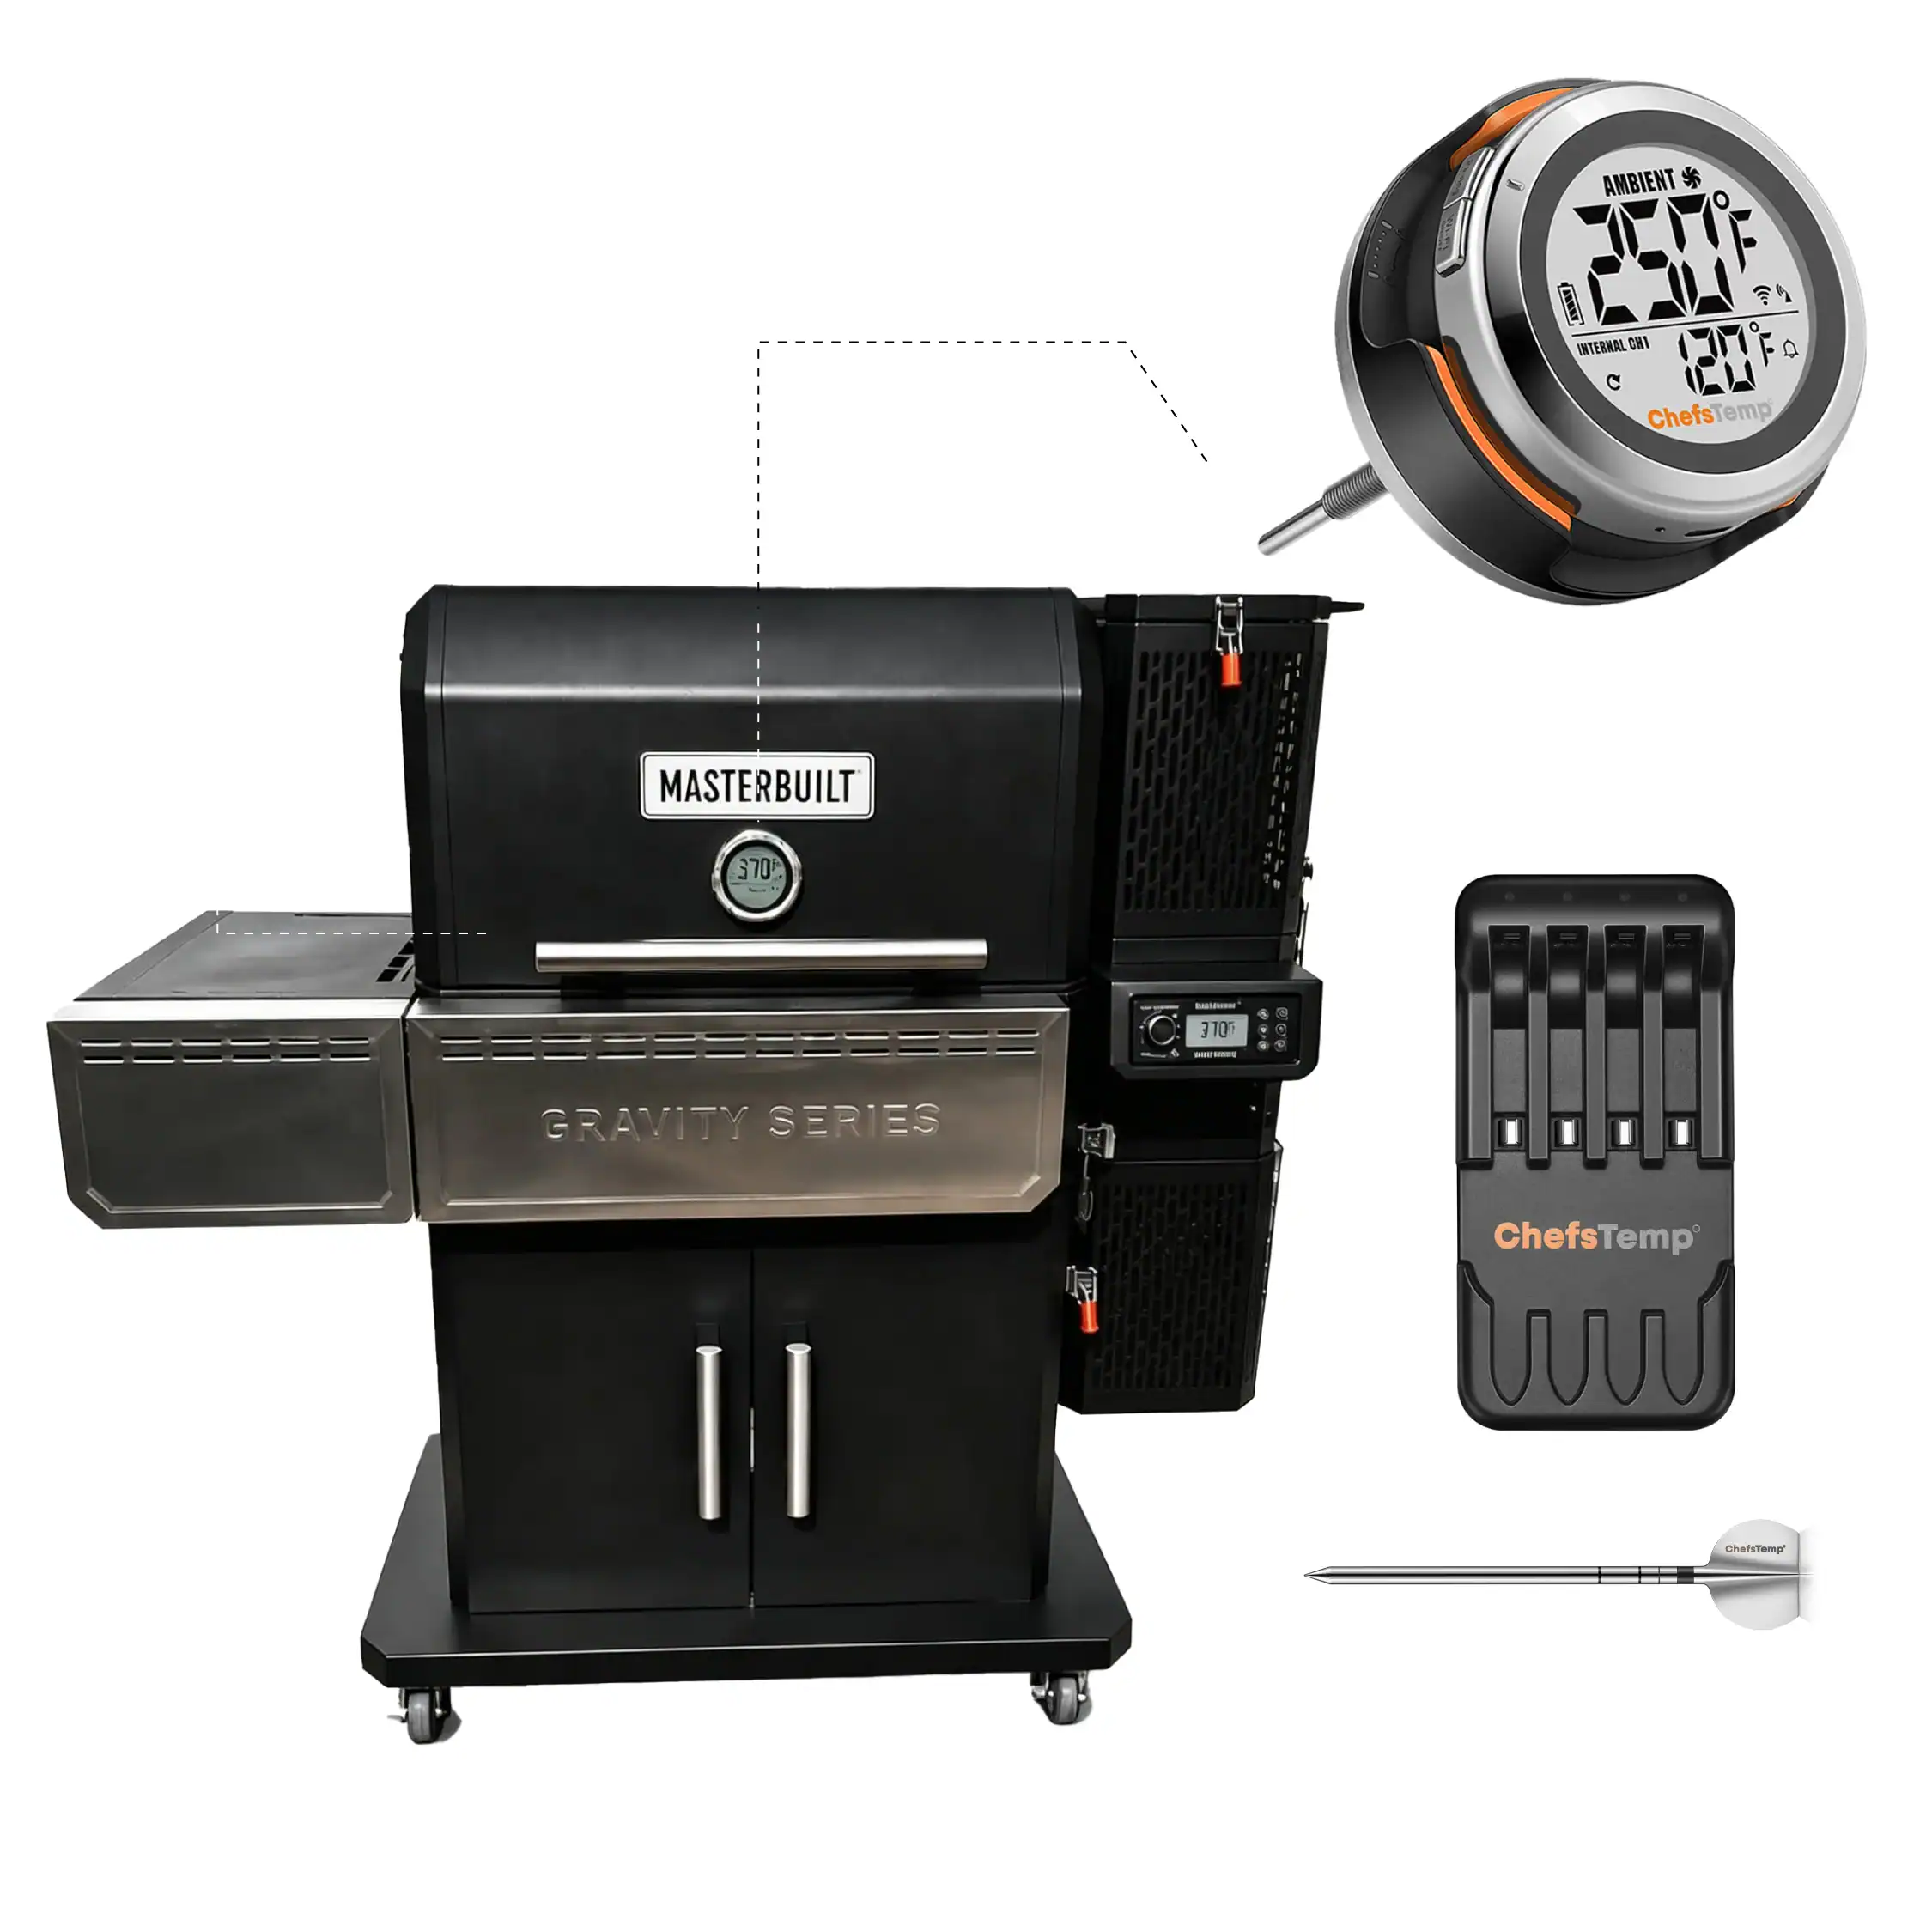
The Base Unit of ProTemp S1 is fully waterproof. However, the Main Unit has an IP54 rating, which provides limited protection against dust and splashing water. Please avoid exposing the unit to water. For enhanced protection, we recommend installing the optional ProTemp S1 Waterproof Silicone Protective Cover (sold separately).
NEW: Fix App “Disconnected” Notification & Missing Temperature for ProTemp S1 or ProTemp 2 Plus!
In this step-by-step tutorial, we walk you step-by-step through:
- Checking the Bluetooth connection between the probe and base
- Diagnosing Wi-Fi signal issues from the base to your phone/router
- Simple fixes like charging, repositioning, and avoiding interference
- When and how to contact support (with tips to get faster help)
NEW: How to Set Up a 2.4GHz Wi-Fi On Your Router for ProTemp S1 or ProTemp 2 Plus!
In this step-by-step tutorial, we’ll show you two easy ways to access or create a dedicated 2.4GHz network:
- Explain why your device might only show 5GHz, and finish with a complete pairing guide for your ProTemp S1 or ProTemp 2 Plus.
- Separating your router’s 2.4GHz and 5GHz bands by turning off Smart Connect or Band Steering.
- Setting up a guest network specifically for IoT devices like your ChefsTemp thermometer.
S1: Why does the ProTemp S1 battery only last about 40 hours?
The S1 has a large 6000mAh built-in rechargeable battery designed for constant Wi-Fi use. Unlike Bluetooth-only devices, Wi-Fi consumes much more power, resulting in ~40 hours of real-world runtime. This larger battery provides better portability without needing constant charging.