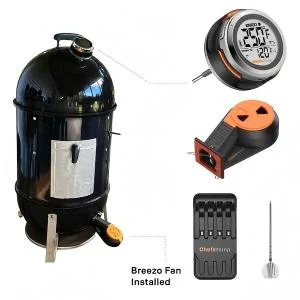
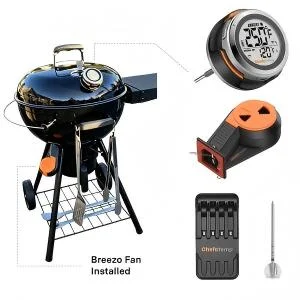
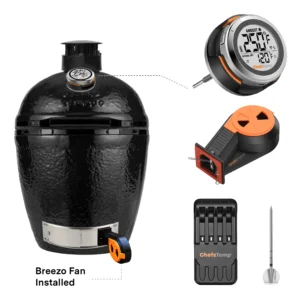
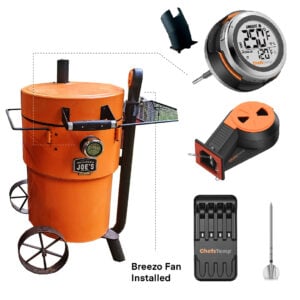
FAQs
If you have any questions about your preferred items that aren't covered here or your order, you can start a chat using the message icon in the lower‑left corner for faster assistance. You're also welcome to contact our Customer Support Team at [email protected].
S1: Can I buy one S1 and an additional Base unit to use the Main display unit with both?
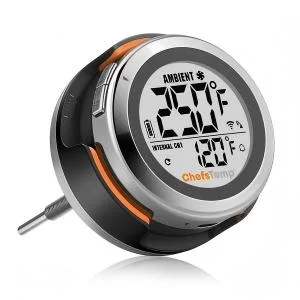
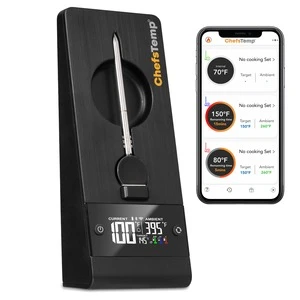
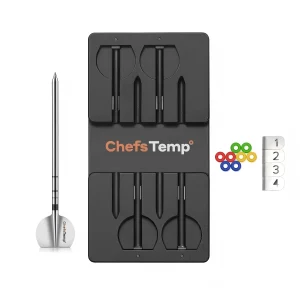
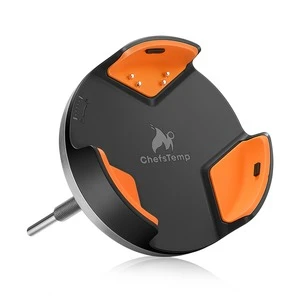
Good question! This is one of ProTemp S1’s standout features! You can pair a single Main Display Unit with multiple Base Units. This is especially useful for large grills or multi-zone setups, allowing you to mount Base Units in different locations while saving on additional display costs.
S1: Can I buy several ProTemp S1 units and monitor them with the same app?
Yes, you can monitor up to 3 ProTemp S1 units within one app. With just a simple swipe on the screen, you can easily switch between different devices.
S1: Can I use the ProTemp S1 on a gas pig cooker for better accuracy?
Yes, sure. You can use the ProTemp S1 on a gas cooker or grill.
S1: Can ProTemp S1 be installed on my cooking device?
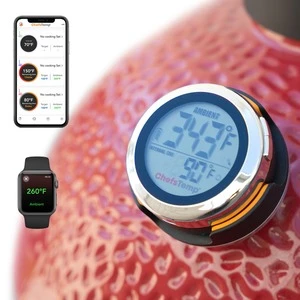
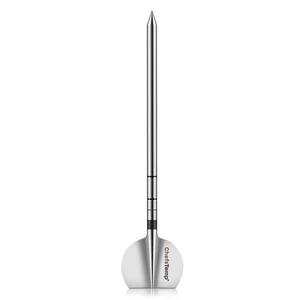
The ProTemp S1 comes in 4 versions: the Universal Version, the BGE (Big Green Egg) Version, the 5.5″ Special Edition, and the 1.5″ Short Stem Edition. Please measure the diameter of your grill’s existing thermometer port to ensure the best fit. If the hole is 7.8 mm (0.3 inches) or larger, the Universal Version is suitable. For smaller holes, such as those on a Big Green Egg, choose the BGE Version.
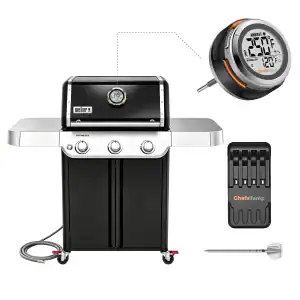
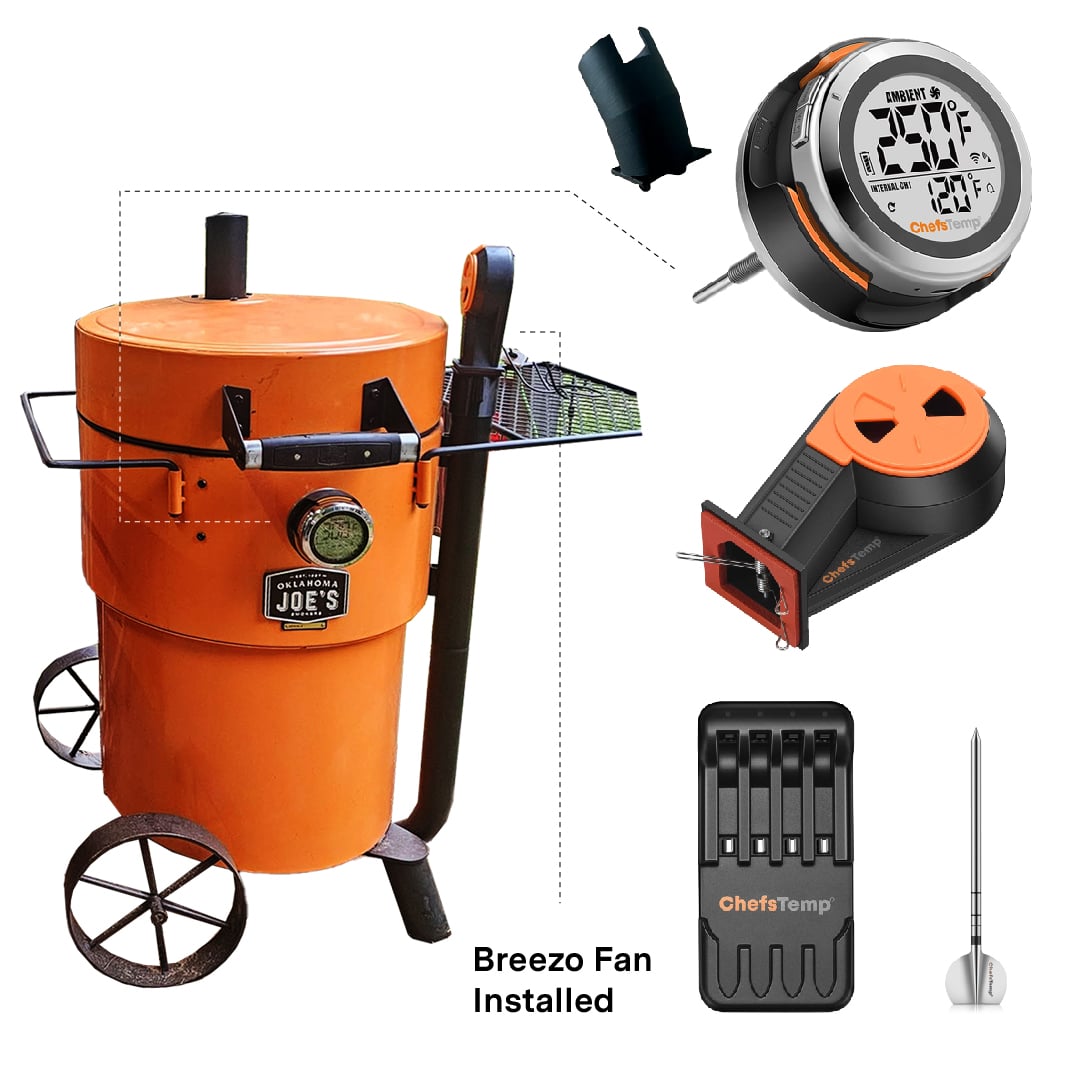
- Universal Version: This model has a base stem diameter of 7.8 mm (0.3 inches) and is compatible with most grills and smokers, including Weber, Kamado Joe (except Big Green Egg), drum, offset, and kettle grills. It’s ideal if your grill’s gauge hole is approximately 0.3 inches or larger.
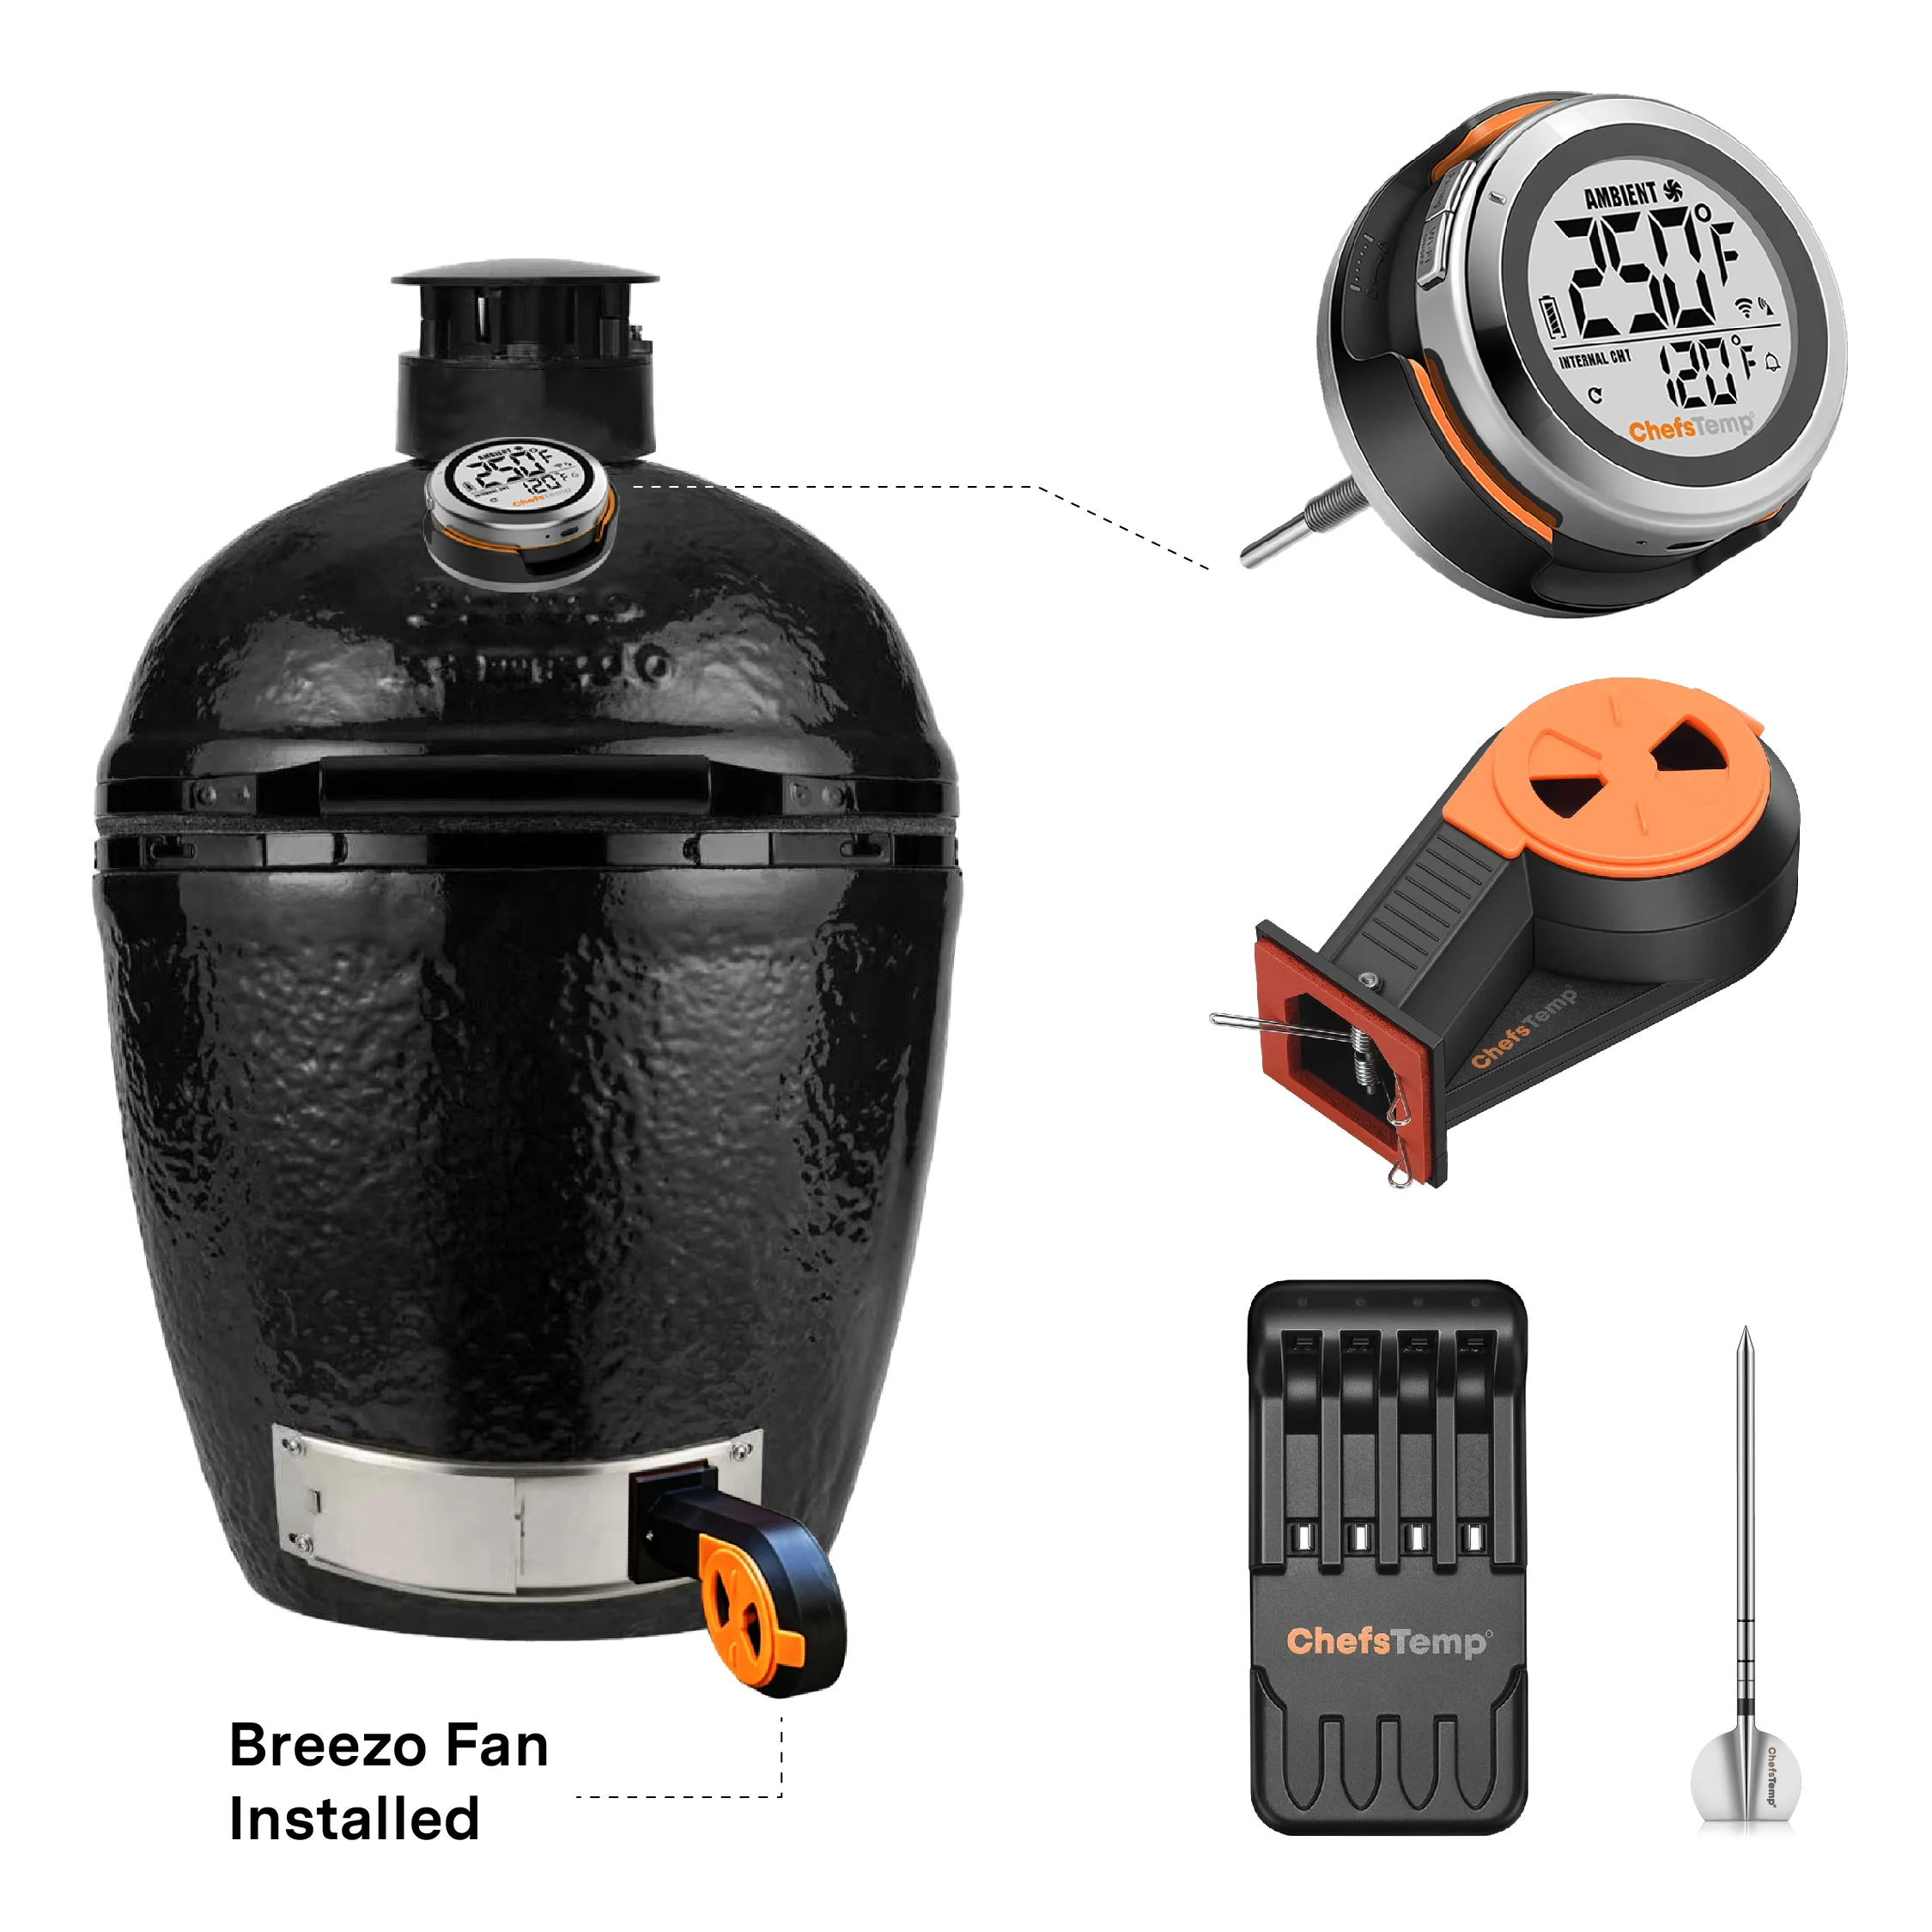
- BGE Version: Designed specifically for Big Green Egg grills or other grills with smaller gauge holes like Primo Oval XL, this version has a thinner base stem diameter of 4.1 mm (0.16 inches). It’s perfect for Big Green Egg, Primo Oval XL, or similar grills with smaller ports (For the Primo XL series, since the thermometer hole diameter may vary depending on the production year, it is recommended to measure the diameter of the thermometer hole before purchasing the ProTemp S1).
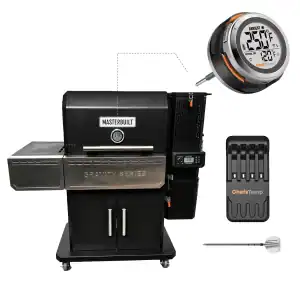
- 5.5″ Special Edition: Its base stem diameter is the same as the Universal Version, at 7.8 mm (0.3 inches), but its stem length is longer, at 5.5 inches, making it suitable for devices where the thermometer is farther from the food, like the Old Country Gravity Fed smoker.
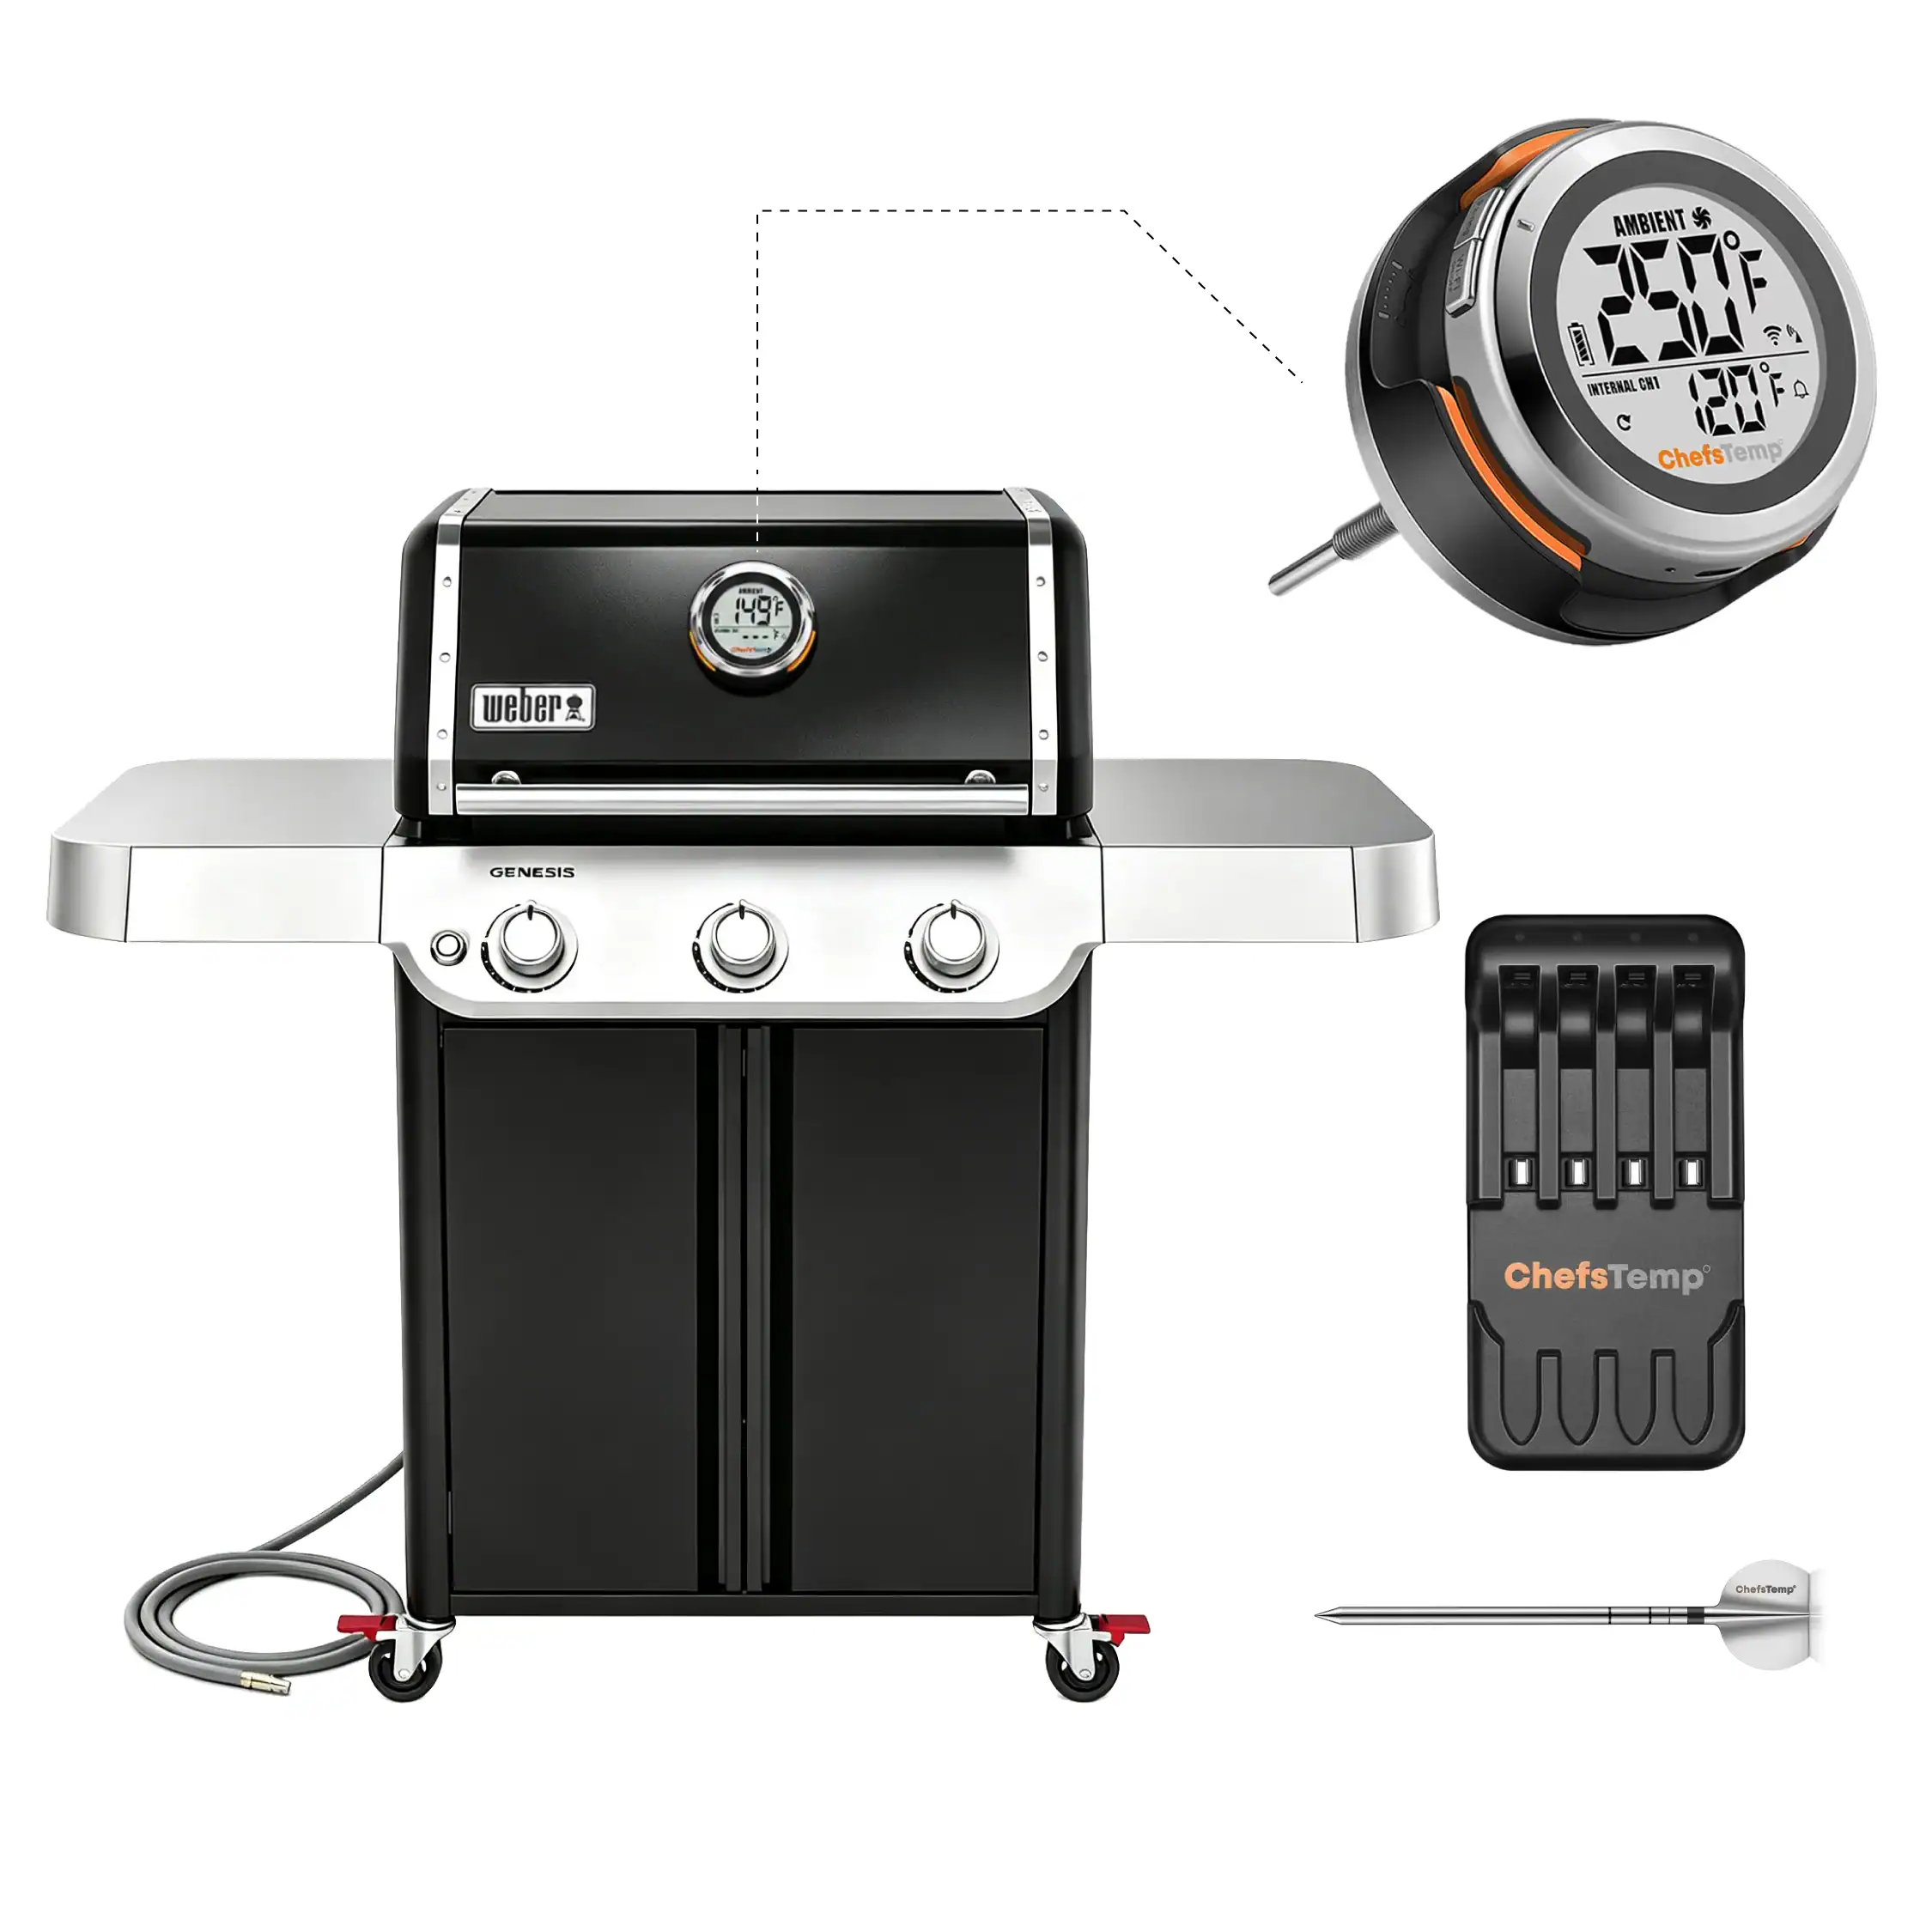
- 1.5″ Short Stem Edition: Retaining the same base stem diameter as the Universal Version, at 7.8 mm (0.3 inches). This model features a shorter 1.5-inch stem. The reduced length ensures better compatibility with grills requiring limited internal clearance, preventing interference with lid operation. It’s particularly well-suited for certain gas grills, such as the Weber Genesis and Napoleon Prestige PRO series.
Breezo Fan: Do I have to modify the vent for the Breezo fan myself?
Thanks for your question! This depends on your Grill model. Please check below:
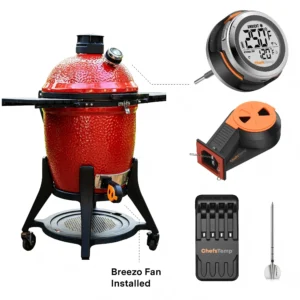
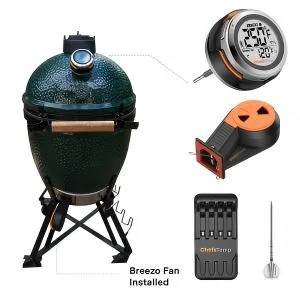
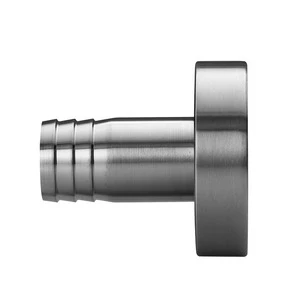
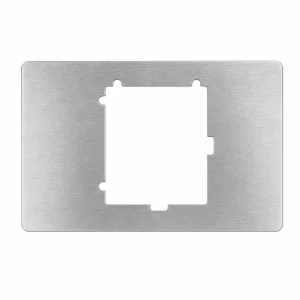
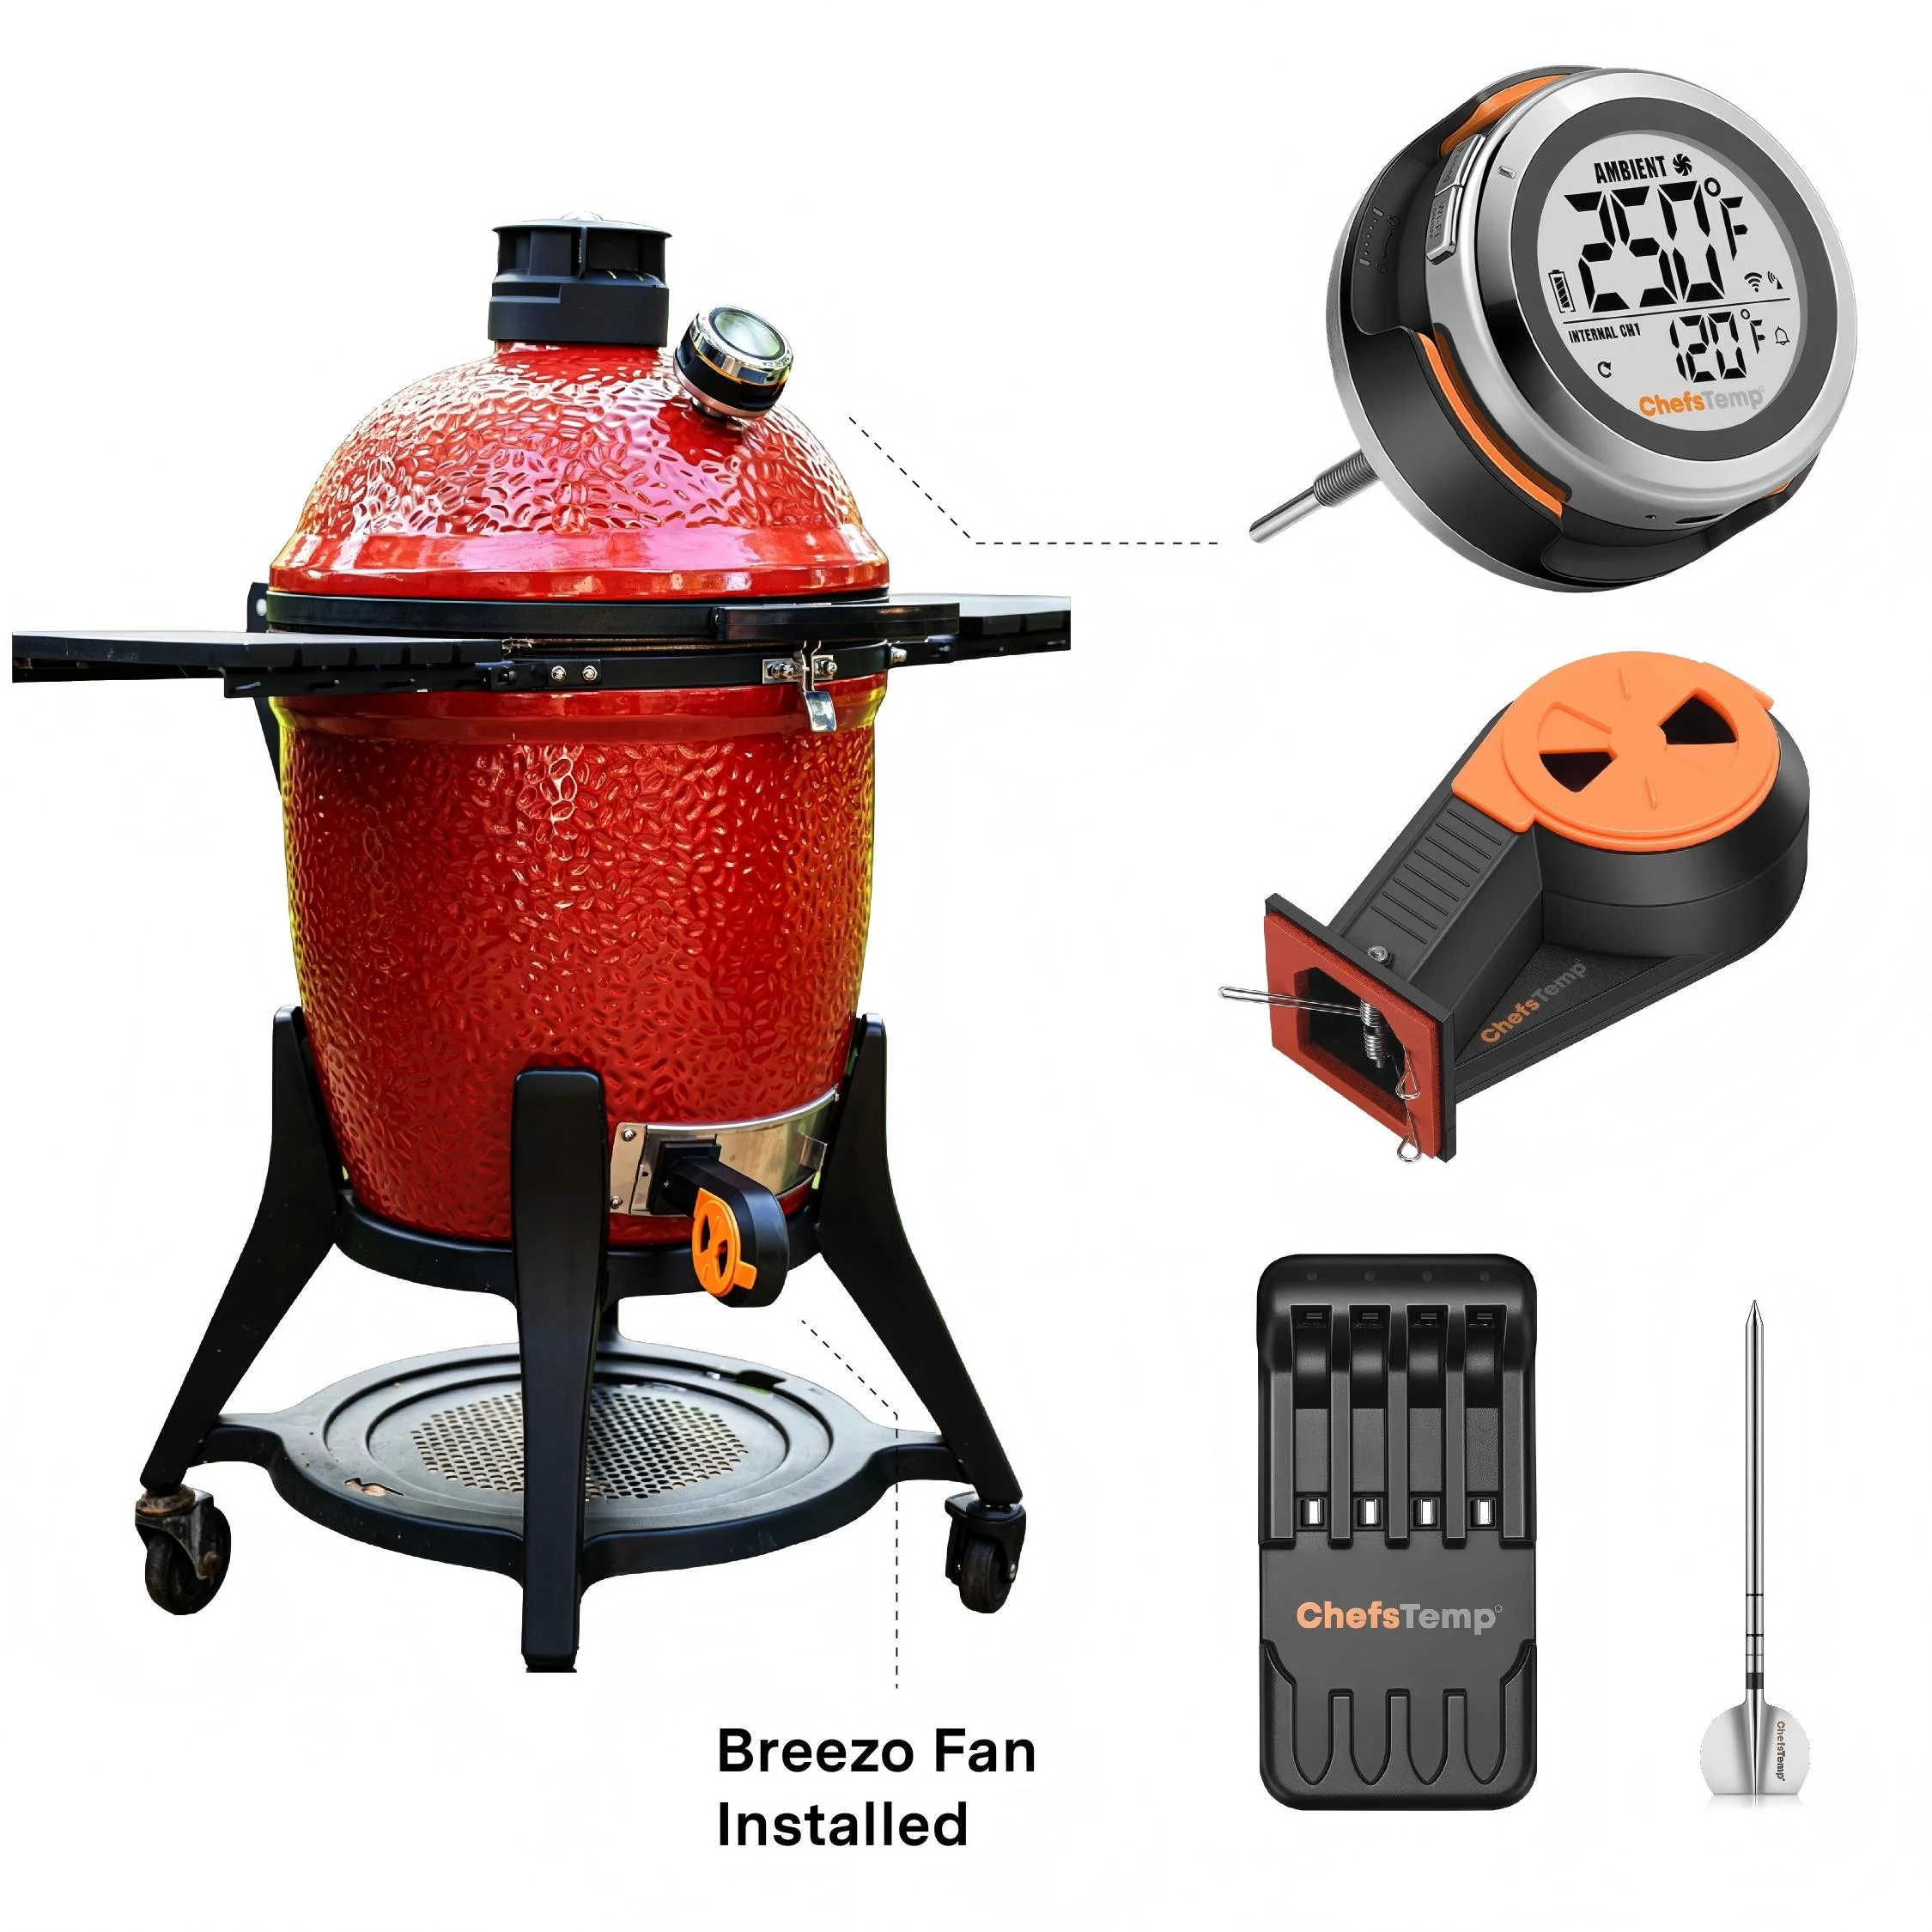
1. Models that fit directly with the Kamado Mounting Plates (package included): Kamado Joe Classic II, Kamado Big Joe III, Primo XL 400 grill, Pit Barrel Cooker, Pit Boss Kamado, Cypress Ceramic Kamado Bayou Classic grill, Big Green Egg, vision grills Series classic, Primo Oval large, Primo smoker, Pit Boss ceramic Kamado, Broil King Keg 2000.
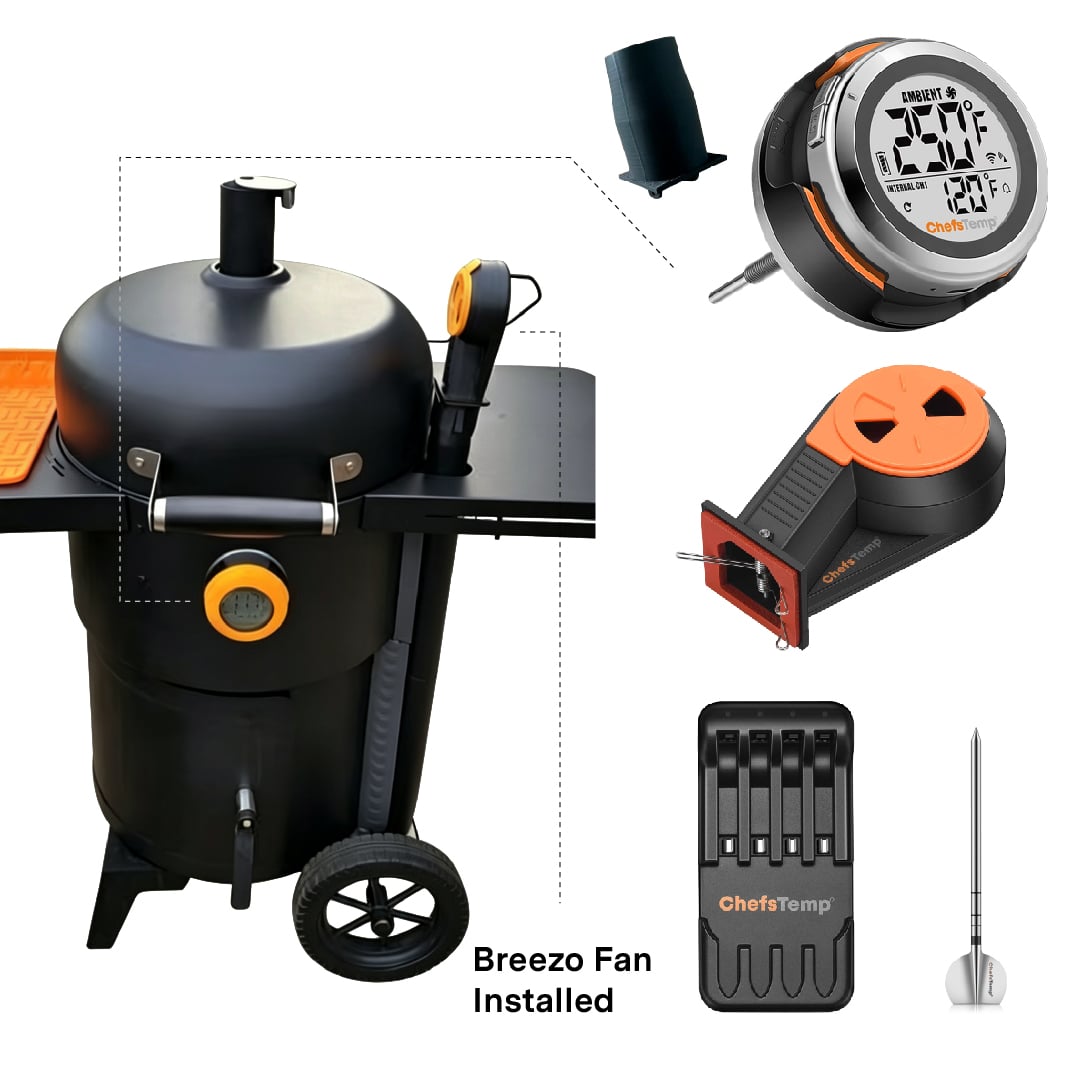
2. Models that fit directly without any adapters: Weber Summit Kamado, Weber Smokey Mountain, Backwoods Chubby 3400 Smokers that have round vent holes: Use one vent holes to insert the Breezo Fan, cover the other holes with high temperature flue tape (package included) : Kamado and Char-Griller Offset.
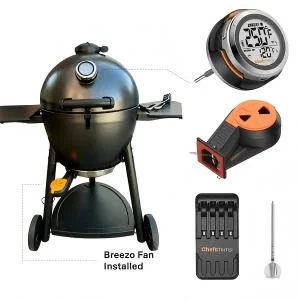
3. Smoker, Broil King Keg 5000 and CharGriller Akorn cooker.
4. Others solutions: Drill a 1.25-inch hole to which you can directly attach the Breezo fan and use high temperature flue tape to cover any gaps.
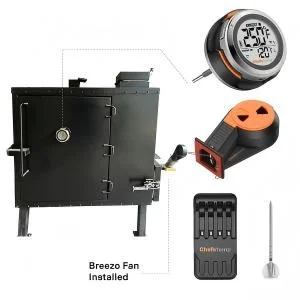
5. For big offerset smokers: You could cut a stainless steel plate to fit the opening in your smoker and then drill a 1.25″ hole in it in which to attach the Breezo through.
6. For Weber Kettle, please see instruction video here (You need to drip a 1.25″ hole to install the Breezo) : https://www.youtube.com/watch?v=s_JR379c4-c&t
S1: Does ProTemp S1 fit PK360?
Yes, it does. Some of our customers said as below: the S1 plus the Breezo fan is the business with the 360. I plug both intakes on the left, the front on the right and Breezo connected to the back right intake with the right exhaust closed. I put the Breezo to the back to keep everything out of my way in the front. Paired with a fire basket with tightly packed charcoal and I’ve got easily over 8 hours.
Come join our Facebook group to connect with others, share tips, and see how everyone’s having fun with our product: https://www.facebook.com/groups/chefstempofficial!
S1: Does ProTemp S1 fit Weber kettle?
Please check this video: https://www.youtube.com/watch?v=dEY4eFH4tXw. If you do a search about ProTemp S1 Weber Kettle on YouTube, there are lots of reviews. However, we are going to launch a new conversion kit for Breezo fan without drilling a hole. Please join our Facebook group and stay tuned!
How do you clean the thermometer?
We recommend carefully cleaning the metal probe only with water and soap. For the rest of the body, simply wipe down with a damp towel.
How do you change the batteries? (Finaltouch X10)
Using a screwdriver to remove the battery cover on the back and pop out the batteries.
Are infrared thermometers good for cooking?
Since the infrared thermometer can precisely measure oven temperatures from outside the oven itself, there’s no safer or more accurate way to measure high temperatures. Another benefit that makes infrared thermometers ideal for cooking is that they can also measure the surface temperature of the pizza itself.